Okay, Let’s Talk About Banana Split Dump Cake
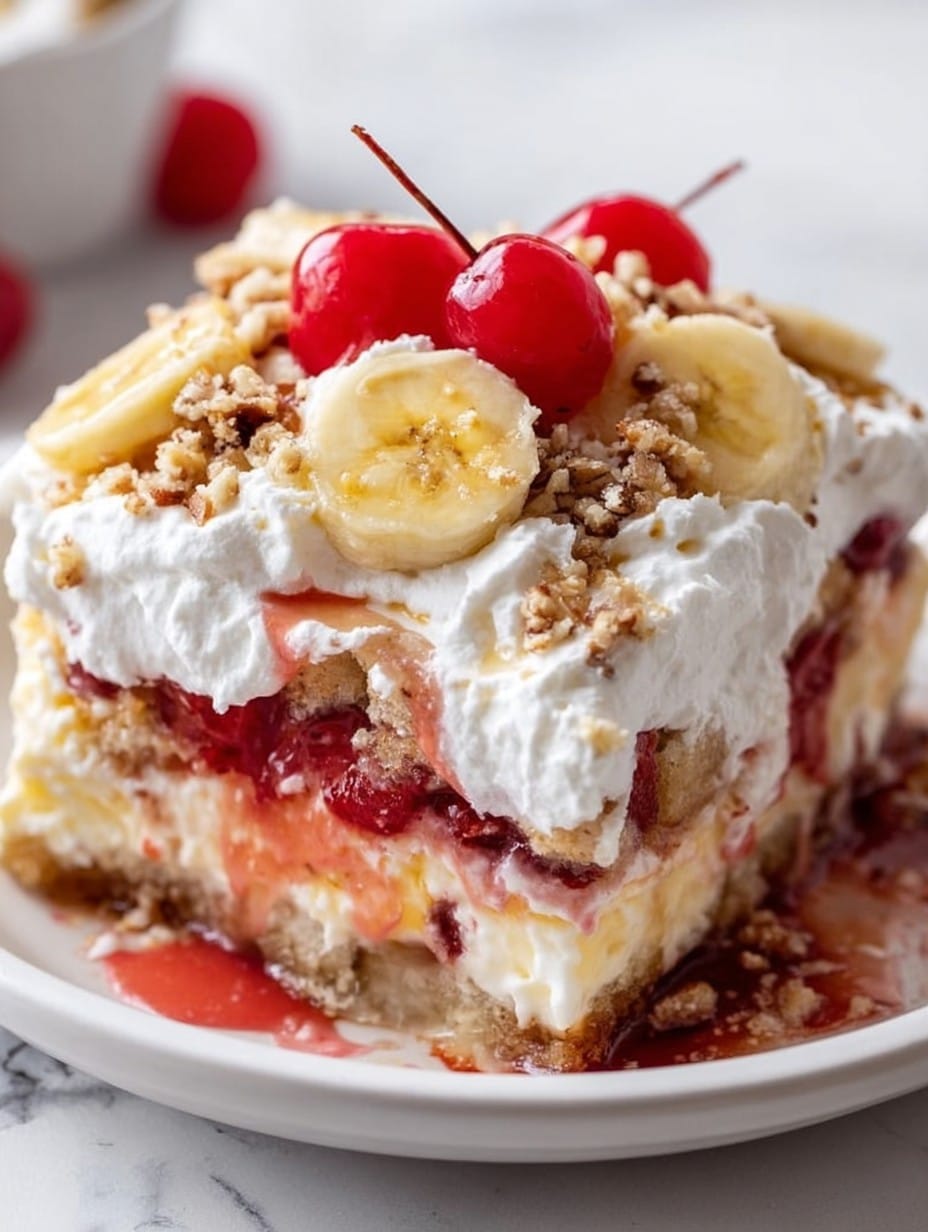
Honestly, I never thought I’d be waxing poetic about a dessert with the word “dump” in its name, but here we are. It’s one of those throwback recipes (you know, like the ones your aunt brings to potlucks) that somehow tastes like summer fairs and a sugar rush after a long, sticky day. I tried this the first time on a whim—my cousin dared me, long story, involved a bet over which canned fruit is best—and I’ve been making it ever since. It’s messy. It’s gooey. It’s sneak-back-for-seconds kind of good.
Why I Keep Making This Banana Split Dump Cake
I pull this one out when I’ve accidentally overbought bananas (happens more often than I’d like). Or when I want something that tastes nostalgic but doesn’t require careful measuring—in other words, most Sunday evenings. My family loves it because it’s warm, it’s got melty chocolate, and you can pretty much pile as much whipped cream as your conscience allows. Actually, sometimes I make it just because I want to eat maraschino cherries straight from the jar (they’re addictive!). Frankly, if you’ve ever tried to impress guests with a complicated dessert that flopped, this cake feels like sweet revenge—the laziest method wins in the tastiness department.
Here’s What You’ll Need
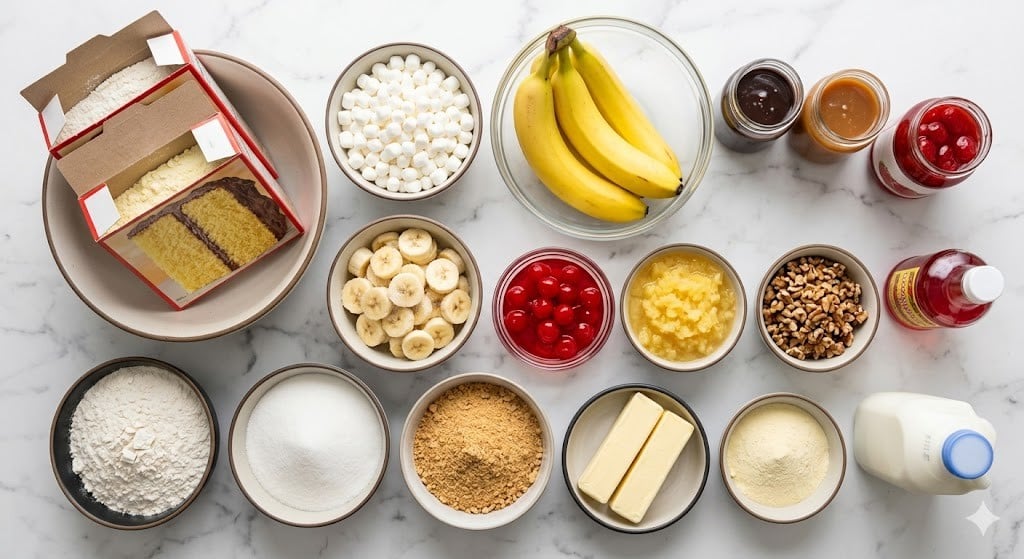
- 2 to 3 ripe bananas, sliced (sometimes I use plantains if I’m feeling fancy—turns out sweeter, but that’s just me)
- 1 can (20 oz) crushed pineapple, undrained (my gran swore by Dole, but honestly any brand works and once I even used pineapple tidbits, they were fine in a pinch)
- 1 can (21 oz) strawberry pie filling (I’ve tried cherry, too—totally works if that’s your thing)
- 1 box (about 15.25 oz) yellow cake mix (white cake mix sneaks in sometimes if that’s what I’ve got—still comes out lush)
- 1/2 cup (1 stick) unsalted butter, melted (I sometimes get lazy and just slice cold butter on top—it melts anyway)
- 1 heaping cup of semi-sweet chocolate chips (mini chips make for more even chocolate puddles, but regulars are just fine)
- 1/2 cup chopped walnuts or pecans (optional—kids pick them out, but grownups seem to love the crunch)
- Maraschino cherries for topping—go with your heart, honestly
How to Make It—Step by Step (With Slightly Messy Hands)
- Preheat your oven to 350°F (that’s about 180°C for folks outside the US). Grease up a 9 by 13 inch baking dish. Or don’t—sometimes I just swipe it with a paper towel and hope for the best, it’s not fussy.
- Layer those banana slices evenly at the bottom. (They might stick here and there, but who cares, we’re covering them up soon anyway.)
- Pour the entire can of crushed pineapple (juice and all!) over the bananas. Spread it out gently with a spoon so everything’s looking cozy.
- Next up, dollop and spread the strawberry pie filling over that pineapple layer. A little mingling is fine—it all gets gooey in the oven anyway.
- Evenly sprinkle all the dry cake mix over the top. Try to cover all the filling—if there’s a bald spot, just nudge some cake mix over with your hand. (Clean hands, obviously.)
- Pour the melted butter in as evenly as you can over the cake mix. I’ve had days where I missed spots—usually it’s fine, but if you see pockets of dry mix later, just bash the top with a spoon before serving. Either way, don’t stress.
- Scatter those chocolate chips over the top. Then (if you’re using them), the chopped nuts. I usually sneak a few chocolate chips at this point. For quality control. You know how it is.
- Bake for 45-50 minutes, until the top gets golden and you see some bubbling at the edges. Don’t worry if the middle wiggles a bit—just give it another five minutes if you want it totally set, or go rogue and scoop it gooey.
- Let it cool for 10-15 minutes (unless you like risking facial burns like I did once as a kid). Top with maraschino cherries and whipped cream as the mood strikes.
Real-Life Notes (a.k.a. Learning the Hard Way)
- If you cover too much of the filling with cake mix and not enough butter gets to it, you might end up with dry patches. I just spoon off the dry bits, nobody notices.
- The banana does brown a bit in the oven—if you hate that, maybe try frozen/thawed slices, though I’ve found it not so nice in texture.
- Actually, if you forget the nuts, don’t sweat it. Sometimes I totally skip them when I’m in a hurry and everything’s eaten just the same.
What If You Get Bored Easily? (Variations I’ve Survived)
- Try chocolate cake mix for a super rich version. Once I did half chocolate half yellow—looks… questionable, tastes fab.
- Switch up the fruit filling: cherry, blueberry, or raspberry pie filling are all good. However, “banana and lemon pie filling”? Not for me. Too tangy—learned the hard way at a birthday party.
- Top with crushed vanilla wafer cookies for extra crunch (but add during the last 10 mins or they burn).
If You Don’t Have All the Gear (Workarounds Galore)
You do not need anything fancy. No stand mixer, just a big spoon and a casserole dish. If you don’t have a 9×13, split between two smaller pans or use a deep roasting pan. Baking times might change a little—just keep half an eye (or two) on it. Also, melting butter in the microwave: game changer. Don’t bother with a saucepan if you don’t want.
Storing and Not-So-Long-Term Keeping
Cover leftovers and store in the fridge for up to 3 days… though honestly, it’s basically gone before morning around here. If you want to reheat it, a quick zap in the microwave works, and actually the flavors cozy up even more overnight—in my opinion, anyway. (Never tried freezing it, maybe that’s telling.)
How I Like To Serve It (And My Family’s Two Cents)
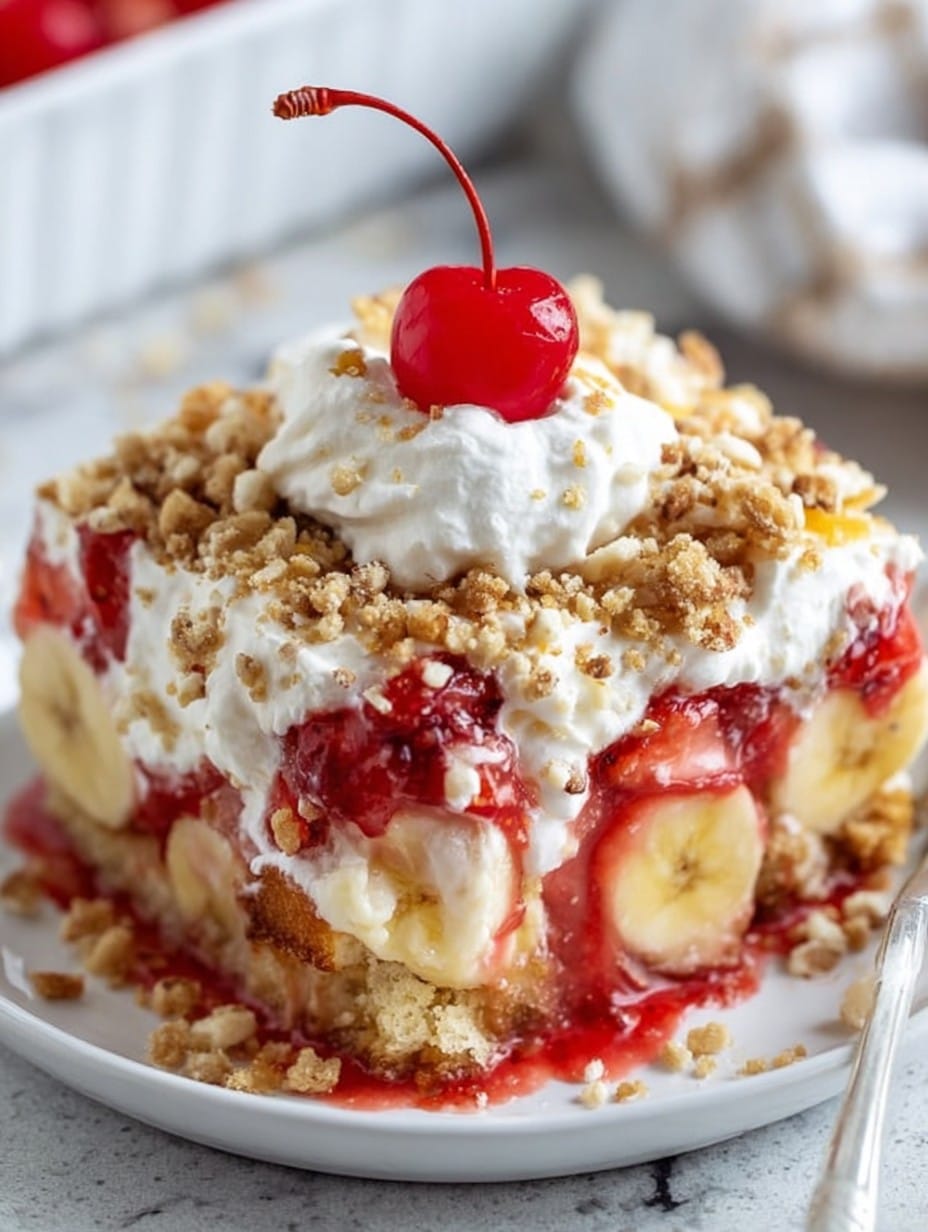
We do it classic banana split style: warm cake, scoop of vanilla ice cream, LOTS of whipped cream, and at least one cherry (I prefer three, but that’s between me and the cherry jar). My uncle once poured a bit of chocolate syrup on top and I’ll admit, it’s not a bad idea.
Honestly, These Are My Top Tips
- I once tried using room temp butter and just dotting it around—don’t. The top gets spotty and dry. Melt the butter!
- If you’re using extra-ripe bananas, slice instead of mash; mashed bananas make it too mushy (lesson learned after “banana pudding explosion” incident).
- Don’t skip the let-it-cool step, tempting as it is. Otherwise, you might end up with burnt tongues and sticky fingers. Oops.
Some FAQs From Friends, Neighbors & Slightly Nosy Relatives
- Can I make this ahead? Yep! Just bake and cool, then store covered—it’s still darn tasty next day. But, it gets a tiny bit softer.
- Any tips if my cake mix is still dry on top? Oh, for sure—it happens. Dot some extra butter on the spots and bake five more mins. Or, just spoon off the dry bits (I won’t tell).
- Can I cut back on sugar somehow? Actually, if you use a sugar-free cake mix or pie filling, it does work. Still sweet, but maybe a tad less sticky. You do you.
- Do I really have to use maraschino cherries? Absolutely not—leave them off, sub with fresh strawberries, or forget the topping entirely. I sometimes just eat it straight from the dish (not even sorry).
- Does this travel well? Decently, if you let it cool a bit before you put a lid on. Still, I’d avoid bumpy car trips, unless you want banana split soup.
So there it is: one of those unfussy, old-school cakes that never really goes out of style, just maybe gets remixed every now and then (kind of like my playlist—heavy on the 80s bops, light on the guilty conscience). Give it a bash, and let me know how it disappears at your next family bash. Or don’t—just keep it all for yourself. No judgment here.
Ingredients
- 2 to 3 ripe bananas, sliced (sometimes I use plantains if I’m feeling fancy—turns out sweeter, but that’s just me)
- 1 can (20 oz) crushed pineapple, undrained (my gran swore by Dole, but honestly any brand works and once I even used pineapple tidbits, they were fine in a pinch)
- 1 can (21 oz) strawberry pie filling (I’ve tried cherry, too—totally works if that’s your thing)
- 1 box (about 15.25 oz) yellow cake mix (white cake mix sneaks in sometimes if that’s what I’ve got—still comes out lush)
- 1/2 cup (1 stick) unsalted butter, melted (I sometimes get lazy and just slice cold butter on top—it melts anyway)
- 1 heaping cup of semi-sweet chocolate chips (mini chips make for more even chocolate puddles, but regulars are just fine)
- 1/2 cup chopped walnuts or pecans (optional—kids pick them out, but grownups seem to love the crunch)
- Maraschino cherries for topping—go with your heart, honestly
Instructions
-
1Preheat your oven to 350°F (that’s about 180°C for folks outside the US). Grease up a 9 by 13 inch baking dish. Or don’t—sometimes I just swipe it with a paper towel and hope for the best, it’s not fussy.
-
2Layer those banana slices evenly at the bottom. (They might stick here and there, but who cares, we’re covering them up soon anyway.)
-
3Pour the entire can of crushed pineapple (juice and all!) over the bananas. Spread it out gently with a spoon so everything’s looking cozy.
-
4Next up, dollop and spread the strawberry pie filling over that pineapple layer. A little mingling is fine—it all gets gooey in the oven anyway.
-
5Evenly sprinkle all the dry cake mix over the top. Try to cover all the filling—if there’s a bald spot, just nudge some cake mix over with your hand. (Clean hands, obviously.)
-
6Pour the melted butter in as evenly as you can over the cake mix. I’ve had days where I missed spots—usually it’s fine, but if you see pockets of dry mix later, just bash the top with a spoon before serving. Either way, don’t stress.
-
7Scatter those chocolate chips over the top. Then (if you’re using them), the chopped nuts. I usually sneak a few chocolate chips at this point. For quality control. You know how it is.
-
8Bake for 45-50 minutes, until the top gets golden and you see some bubbling at the edges. Don’t worry if the middle wiggles a bit—just give it another five minutes if you want it totally set, or go rogue and scoop it gooey.
-
9Let it cool for 10-15 minutes (unless you like risking facial burns like I did once as a kid). Top with maraschino cherries and whipped cream as the mood strikes.
Approximate Information for One Serving
Nutrition Disclaimers
Number of total servings shown is approximate. Actual number of servings will depend on your preferred portion sizes.
Nutritional values shown are general guidelines and reflect information for 1 serving using the ingredients listed, not including any optional ingredients. Actual macros may vary slightly depending on specific brands and types of ingredients used.
To determine the weight of one serving, prepare the recipe as instructed. Weigh the finished recipe, then divide the weight of the finished recipe (not including the weight of the container the food is in) by the desired number of servings. Result will be the weight of one serving.
Did you make this recipe?
Please consider Pinning it!




