Let’s Chat About Strawberry Ice Cream Sandwiches
Okay, so here’s the thing: I never thought I’d be the person making homemade ice cream sandwiches, but life has a funny way of surprising you. The first time I tried a no-churn recipe for strawberry ice cream, I was basically just avoiding doing the dishes (because my ice cream maker always has a knack for hiding its parts when I need them). Now, summer at my house means a kitchen speckled with pink smears and at least one sticky sandwich for breakfast—no judgment, right?
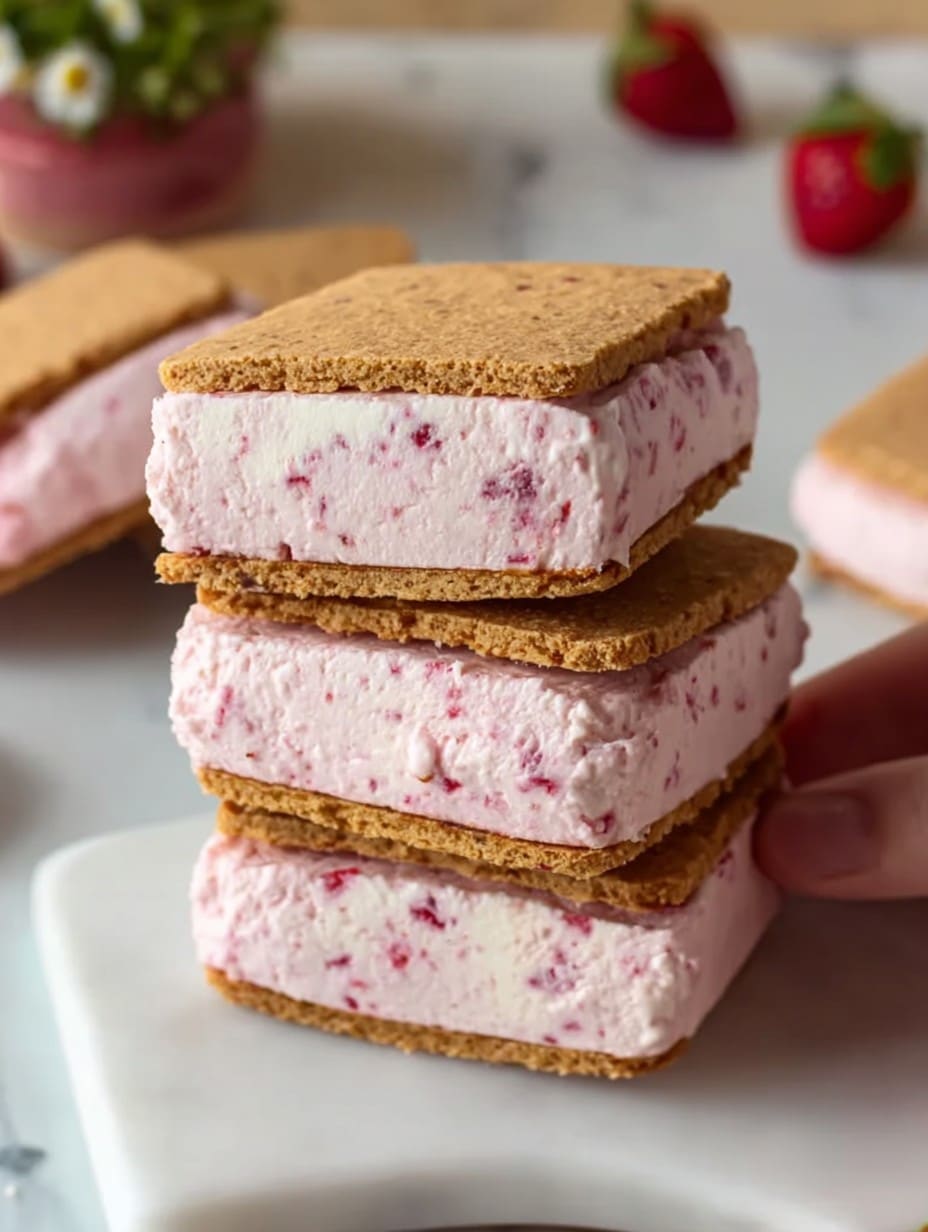
Also, my youngest claims these beat what we get at the ice cream truck. Some big shoes to fill! And yes, I did once forget to let the ice cream set all the way, so we had half-melted, slightly questionable sandwiches…still pretty great though.
Why I Keep Coming Back to This
I make these every June when strawberries explode at our local farmer’s market (honestly, it’s easier to just buy in bulk and deal with the strawberry storm at home). My family goes wild for them because they’re creamy, perfectly sweet, and let’s face it—no one ever says no to an ice cream sandwich. Sometimes it feels like the kitchen turns into a makeshift ice cream parlor, and, well, that’s not such a bad thing on a sticky-hot day. Plus, not having to lug out the ice cream maker is its own tiny victory.
I used to worry about getting the cookies just soft enough—but after the third batch I realized, even when they’re a bit chewy, it’s still glorious. Sure, there’s a bit of a mess, but that’s half the fun. (My tip: keep a kitchen towel handy, or just accept pink fingerprints as your new kitchen décor.)
Here’s What You’ll Need (but Feel Free to Swap!)
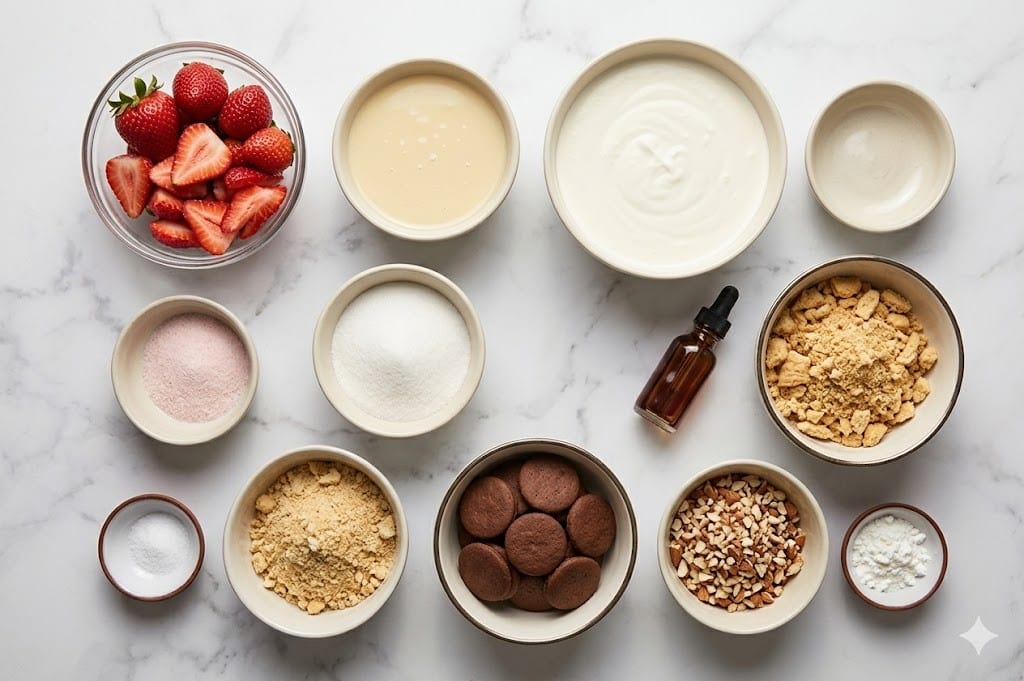
- 2 cups heavy whipping cream (I’ve been known to sub in half-and-half if I’m in a pinch, but it won’t get quite as fluffy)
- 1 can (14 oz) sweetened condensed milk (My grandma swears by Eagle Brand, but I’ve tried generic and no one noticed, honestly)
- 2 cups fresh strawberries, hulled and roughly chopped (or frozen if that’s what you have—just thaw and drain a bit)
- 2 teaspoons vanilla extract (imitation vanilla works if the real deal is hiding at the back of your cupboard)
- 20-24 soft sandwich cookies, like graham crackers or even chocolate chip cookies (whatever you fancy—I’ve even used digestive biscuits, which sounds fancy but is really just British for cookie)
- A pinch of salt (you could skip it, but it does perk up the flavor)
How To Actually Make These—No Ice Cream Maker, Promise
- First up, toss those strawberries into a blender or food processor and blitz them until they’re almost smooth—leave a few chunky bits if you like a surprise strawberry bite. I sometimes mash with a fork and call it a day (and talk to myself while doing it).
- In a big mixing bowl, whip the heavy cream until you hit stiff peaks—think lightly swooshed clouds. If you don’t have a mixer, some solid elbow grease gets you there (eventually). This is the point I sneak a taste, just for science.
- Gently fold in the condensed milk, vanilla, salt, and your strawberry puree. Honestly, don’t freak out if it looks streaky or pinker than you expect. It always sorts itself out in the freezer; trust me.
- Pour this pink magic into a lined loaf pan or any freezer-safe container. Lick the spoon (no shame). Smooth the top, cover, and let it chill in the freezer for at least 5-6 hours—overnight is actually way better, but who’s that patient?
- Once the ice cream is also the most solid thing in your freezer, cut it into squares or rectangles matching the size of your cookies. Or just scoop generous dollops if you’re feeling wild.
- Now, sandwich a slab or scoop of strawberry ice cream between two cookies. Press gently, but be careful—too much enthusiasm and the ice cream squishes everywhere. If that happens, congrats, welcome to the club!
- Pop the assembled sandwiches back in the freezer for another hour to firm up. Or not, if you simply cannot wait (but you’ll have a drippier experience, so maybe eat them over the sink…again, no judgment).
Some Notes From My Kitchen Blunders
- I once tried slicing the ice cream before it was fully set. Rookie mistake—it was like wrestling a slushie. Don’t do what I did; patience pays.
- If using cookies that are too crunchy, leaving the assembled sandwiches in the freezer overnight softens them up a touch. No tooth-chipping surprises!
- An extra drizzle of strawberry jam inside? Amazing. That said, my attempt with a swirl of peanut butter—total mess, so maybe skip that unless you love sticky fingers.
What Else Can You Try? My Experiments (Some Failures Included)
- Chocolate cookies instead of graham crackers? Absolutely dreamy. But the cookies I used were a bit too big and it got a bit awkward trying to fit them in my mouth. Still tasty though.
- Blueberries instead of strawberries: not bad, but the pretty pink is lost. The flavor gets a bit more subtle, sort of like an ice cream hiding under a blueberry bush.
- Once I got wild and tried crumbling pretzels inside the ice cream mix…eh, not my best work. Maybe don’t repeat that one.
Do You Really Need Special Equipment? Nah
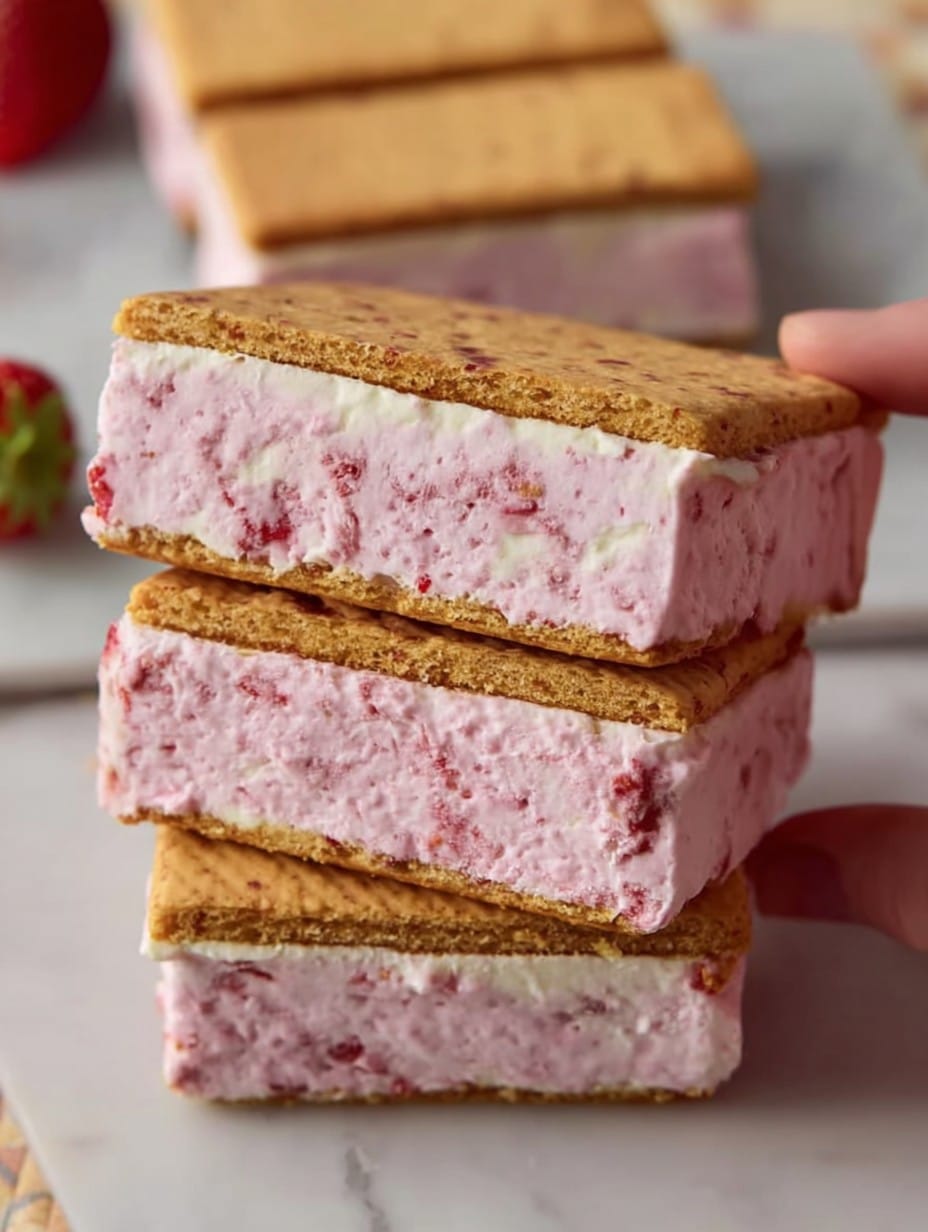
So, a stand mixer is handy for whipping the cream but a big balloon whisk and some determination will do the job. I’ve even used a large Mason jar—put the cream in, screw the lid tight, and shake it until you feel like your arm might fall off. It works, sort of. For slicing, a regular old bread knife is more than enough (just run it under hot water first and you’ll get cleaner slices).
How To Store (But It Might Disappear Quickly)
Wrap your finished sandwiches in parchment or stuck in a lidded container, and keep them in the freezer. They’ll stay happy for about a week—though honestly, in my house, they’re usually gone by bedtime. If you hide a few at the back of the freezer, I won’t tell.
Got Leftovers? Here’s How We Serve Them (If They Last)
Usually, I put them out on a plate for dessert, but my favorite: crumbling one into a bowl with some extra fresh berries on top. My kids go rogue and dip them in chocolate sauce—sometimes I join them.
Random Pro Tips I Learned the Hard Way
- I once tried to speed up the freezing by cranking the temp down—actually, I find it works better if you just let it set gently. Too cold and the texture gets a bit weird, almost icy.
- Don’t overfill the sandwiches. I got a little carried away once; chaos ensued, but at least the dog had a good day cleaning up the floor.
FAQ: Your Actual Questions (And My Honest Answers)
- Can I use frozen strawberries?
Sure, just thaw and drain them a bit first. You might notice the color isn’t as bright, but nobody’s ever complained in my kitchen. - What if I don’t have condensed milk?
Tough one. You could try thick Greek yogurt and sugar, but it’s not quite the same creamy magic. On second thought, I’d wait until you’ve got the real stuff—it’s worth it. - Any vegan swaps?
Actually, yes! Coconut cream instead of heavy cream, and a dairy-free condensed milk. The flavor is a little tropical, which I kinda like, but my son said, “It tastes like a beach.” Take from that what you will. - Why won’t my cookies soften?
Oh, happens to me sometimes with extra-crispy store cookies. Wrap the assembled sandwiches up and leave them in the freezer overnight; by morning, they’re just right (at least in my experience). - Do I really need to wait the full freeze time?
I mean…no one’s stopping you, but it might be more strawberry soup than sandwich at first. I can’t say I haven’t done it, but the photos weren’t pretty.
Phew, that’s everything. If you ever figure out a way to eat these without a mess, let me know! Otherwise, I say embrace the sticky fingers. They wash off. Eventually.
Ingredients
- 2 cups heavy whipping cream (I’ve been known to sub in half-and-half if I’m in a pinch, but it won’t get quite as fluffy)
- 1 can (14 oz) sweetened condensed milk (My grandma swears by Eagle Brand, but I’ve tried generic and no one noticed, honestly)
- 2 cups fresh strawberries, hulled and roughly chopped (or frozen if that’s what you have—just thaw and drain a bit)
- 2 teaspoons vanilla extract (imitation vanilla works if the real deal is hiding at the back of your cupboard)
- 20-24 soft sandwich cookies, like graham crackers or even chocolate chip cookies (whatever you fancy—I’ve even used digestive biscuits, which sounds fancy but is really just British for cookie)
- A pinch of salt (you could skip it, but it does perk up the flavor)
Instructions
-
1First up, toss those strawberries into a blender or food processor and blitz them until they’re almost smooth—leave a few chunky bits if you like a surprise strawberry bite. I sometimes mash with a fork and call it a day (and talk to myself while doing it).
-
2In a big mixing bowl, whip the heavy cream until you hit stiff peaks—think lightly swooshed clouds. If you don’t have a mixer, some solid elbow grease gets you there (eventually). This is the point I sneak a taste, just for science.
-
3Gently fold in the condensed milk, vanilla, salt, and your strawberry puree. Honestly, don’t freak out if it looks streaky or pinker than you expect. It always sorts itself out in the freezer; trust me.
-
4Pour this pink magic into a lined loaf pan or any freezer-safe container. Lick the spoon (no shame). Smooth the top, cover, and let it chill in the freezer for at least 5-6 hours—overnight is actually way better, but who’s that patient?
-
5Once the ice cream is also the most solid thing in your freezer, cut it into squares or rectangles matching the size of your cookies. Or just scoop generous dollops if you’re feeling wild.
-
6Now, sandwich a slab or scoop of strawberry ice cream between two cookies. Press gently, but be careful—too much enthusiasm and the ice cream squishes everywhere. If that happens, congrats, welcome to the club!
-
7Pop the assembled sandwiches back in the freezer for another hour to firm up. Or not, if you simply cannot wait (but you’ll have a drippier experience, so maybe eat them over the sink…again, no judgment).
Approximate Information for One Serving
Nutrition Disclaimers
Number of total servings shown is approximate. Actual number of servings will depend on your preferred portion sizes.
Nutritional values shown are general guidelines and reflect information for 1 serving using the ingredients listed, not including any optional ingredients. Actual macros may vary slightly depending on specific brands and types of ingredients used.
To determine the weight of one serving, prepare the recipe as instructed. Weigh the finished recipe, then divide the weight of the finished recipe (not including the weight of the container the food is in) by the desired number of servings. Result will be the weight of one serving.
Did you make this recipe?
Please consider Pinning it!




