Beef and Cheese Chimichangas: Let Me Tell You…
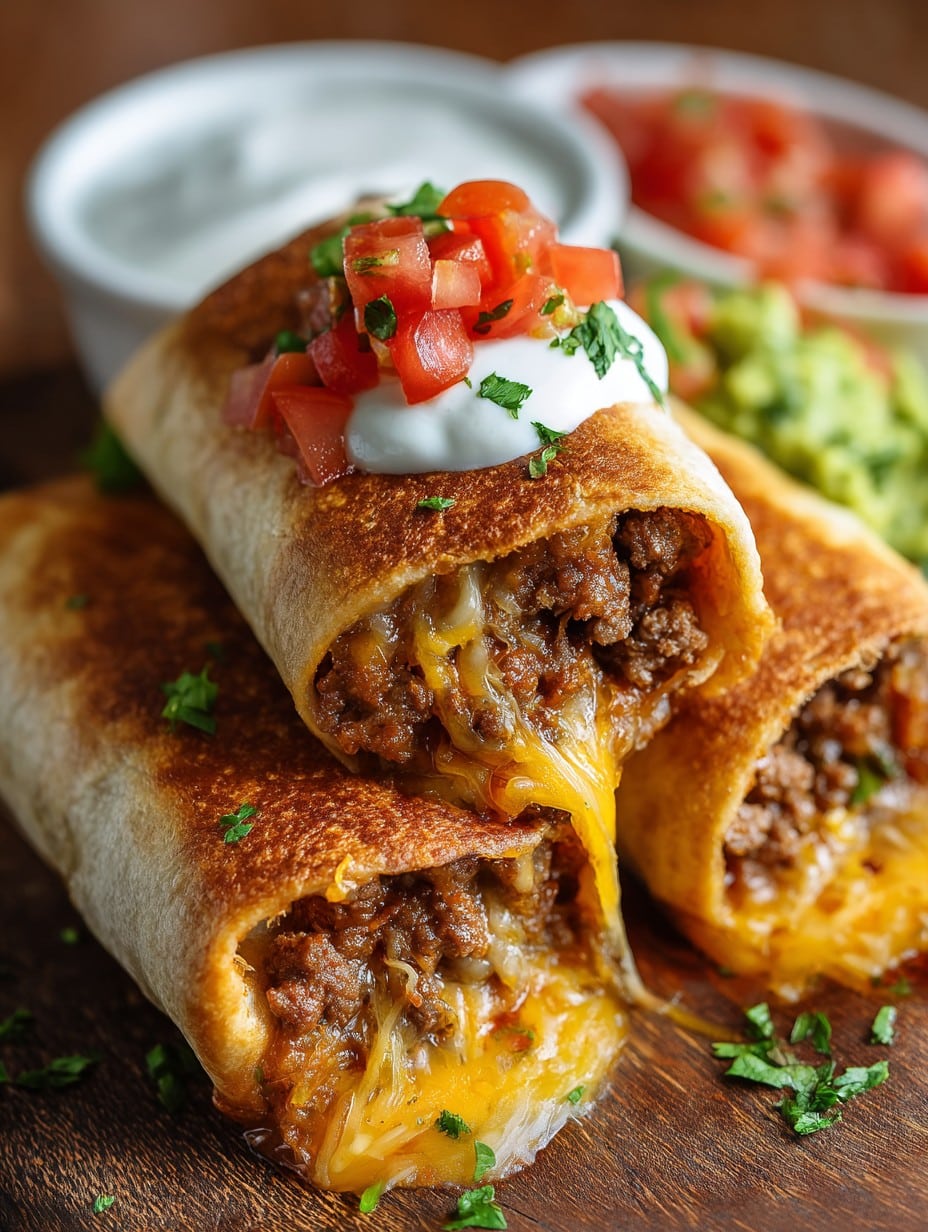
There’s just something about a crispy, golden chimichanga stuffed with beef and cheese that hits a comfort spot I didn’t even know I had. My first go at these was during a “clean out the fridge” kind of night, and honestly, it’s one of those glorious happy accidents. Ever since, it’s become my go-to when I want to impress people—especially folks who think Tex-Mex is just about tacos. Plus, frying anything always feels a bit daring at home (because, well, I get easily distracted and have set off the smoke alarm more than once—oof).
Why You’ll Love These (Or, At Least, Why My Crowd Does)
I make this when I want something hearty, cheesy, and a little decadent but don’t want to fuss with too many fancy ingredients. My family goes crazy for these because—I think—it’s hard to resist gooey cheese wrapped up in something crunchy. Plus, I can stretch one batch to feed a little army or, on sleepy weekends, just the two of us plus leftovers. And I like that if I mess up the rolling part (which, honestly, happens often), they still taste amazing; just call it “deconstructed,” right?
Here’s What You’ll Need (and What You Can Get Away With)
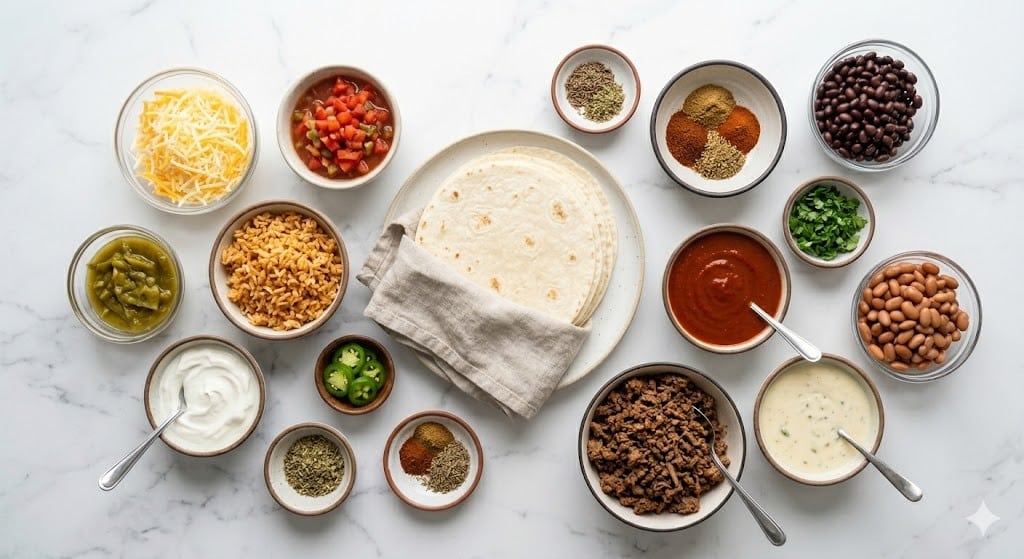
- 1 pound (about 450g) ground beef (I use 80/20, but I’ve done it with ground turkey in a pinch—still tasty)
- 1 small onion, diced (yellow is classic, red if that’s what you’ve got—I’ve even skipped onion once and survived)
- 2 cloves garlic, minced (garlic powder’s fine if you’re in a hurry—about 1 tsp)
- 1 packet taco seasoning mix (about 2 tablespoons, or make your own if you’re feeling ambitious—I usually don’t!)
- 1/2 cup tomato sauce (salsa works too, or even crushed tomatoes with a bit more seasoning)
- 1 can (4 oz/115g) diced green chilies (mild or hot depending on whether you like a kick—I swap in jalapeños for extra heat)
- 1 1/2 cups shredded cheddar cheese (sometimes I go half Monterey Jack because I love its meltiness)
- 6–8 large flour tortillas (10-inch size—smaller tortillas = more mini chimichangas, which honestly are adorable)
- Oil for frying (about 1 cup; vegetable or canola—honestly, whatever’s on sale works for me)
Alright, Here’s How I Actually Make ‘Em
- Grab your biggest skillet and toss in the ground beef over medium heat. Brown it, breaking it up with a wooden spoon (or, heck, a spatula if that’s what you got—no one’s judging). Drain off any grease if there’s a lake forming.
- Add the diced onion and cook until it’s soft and a bit see-through. Usually about 3–4 minutes. Throw in the garlic and cook for another 30 seconds or until it smells delicious, but don’t let the garlic burn. (I usually lean in for a whiff here—so good!)
- Sprinkle over the taco seasoning, then pour in the tomato sauce and the whole can of green chilies, juice and all. Stir, and let everything simmer on low for 4-5 minutes. This is where I sneak a taste to check spices—sometimes I add a pinch more salt or a dash more chili powder if it’s looking too tame.
- Take the pan off the heat and let the mixture cool for a few minutes. (If you toss hot filling on tortillas, they tend to get… stretchy. It’s weird.) Once cooled a bit, stir in shredded cheese until it’s all gooey and tempting.
- Warm up the tortillas for about 20 seconds in the microwave, just so they’re soft and won’t crack when rolling (if you skip this, you’ll probably regret it like I did once—lesson learned).
- Spoon about half a cup of the beef mixture into each tortilla, placing the filling just below center. Fold in the sides, then roll it up tightly from the bottom, like a burrito—but don’t stress too much about it looking perfect. Toothpicks can help keep them closed! (Just, uh, remember to take them out before eating.)
- Pour enough oil into a deep skillet so it’s about an inch deep and heat it to 350°F (180°C). I just flick in a breadcrumb to see if it sizzles.
- Fry 2 or 3 chimichangas at a time, seam side down first. 2–3 minutes per side, or until crazy golden and crisp. (Don’t overcrowd or they’ll get soggy—trust me.) Drain them on a paper towel-lined plate or a wire rack.
- Repeat with the rest. If you want to keep them hot, stash the finished ones in a warm oven, but honestly, I just start munching them right away.
What I’ve Figured Out Along the Way (Notes)
- If your tortillas crack, try “patching” them with a bit of cheese—kind of like culinary glue.
- Don’t fill them too much or you’ll end up with a splattery mess in the oil. I do this pretty much every time, so I’m warning you as a repeat offender.
- The oil doesn’t need to be super deep; shallow frying works wonders—less mess, and less panic.
Some Oddball Variations I’ve Played With
- Shredded rotisserie chicken instead of beef—super fast and honestly, darn good.
- Spicy black bean and corn filling for a veggie version. The kids were suspicious at first but… they came around.
- Once tried fancy smoked gouda cheese. Didn’t really work, got a little rubbery. Stick to the basics if you ask me.
Do You Really Need Fancy Equipment?
A deep frying thermometer is great, but honestly I just go by the “breadcrumb sizzle test” most of the time. Don’t have a wire rack? Just use extra paper towels, but be ready for soggy bottoms if you forget about ‘em.
Storing Leftovers (If There Are Any… Rarely)
Store leftover chimichangas wrapped up in foil in the fridge for 2–3 days. Reheat in the oven at 350°F for 10 minutes—makes that shell crisp again. Though honestly, in my house, it never makes it past the first day, no matter how sly I try to hide them.
How I Like to Serve These
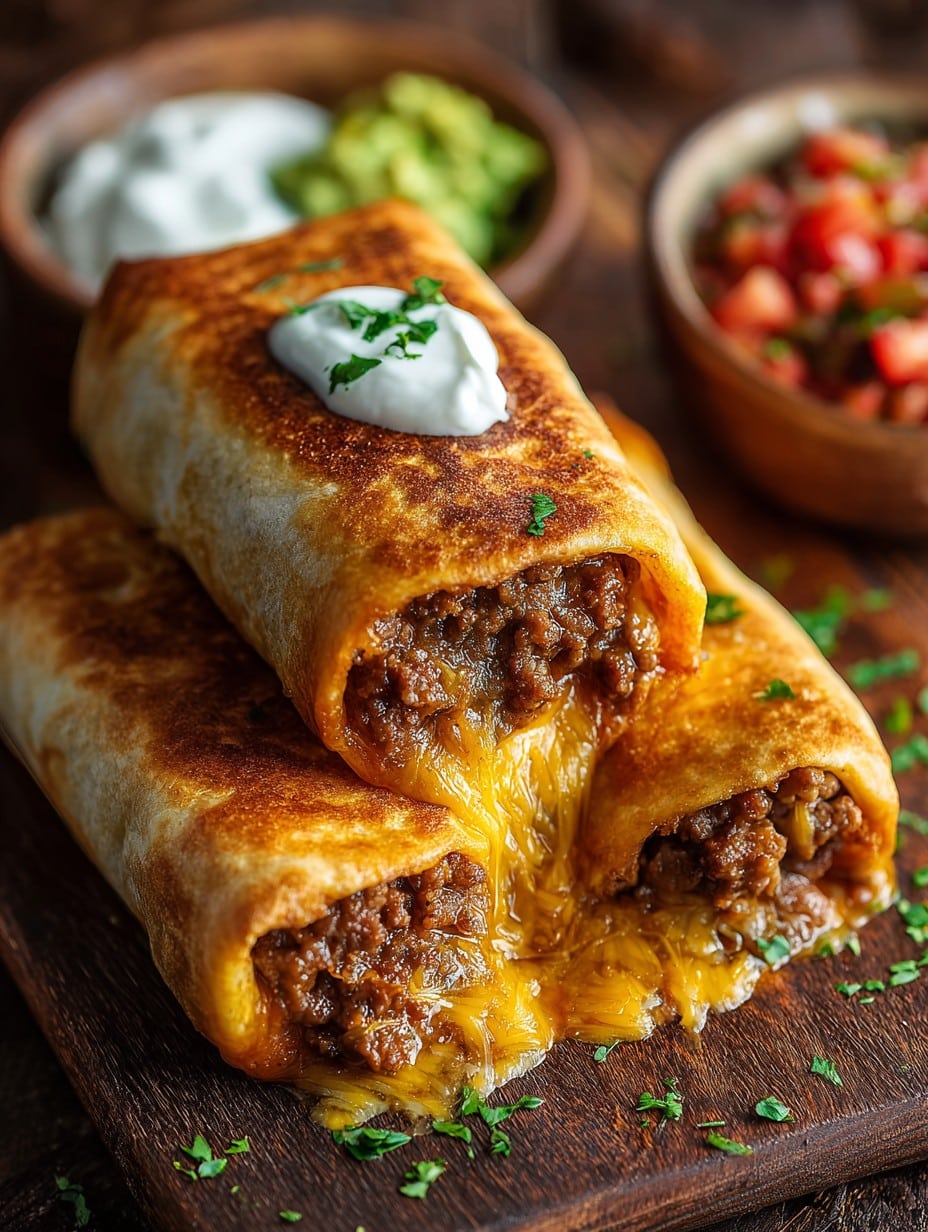
I’m big on the classic toppers: shredded lettuce, salsa, sour cream, even a drizzle of hot sauce if I’m feeling bold. If it’s a proper family gathering, we do a giant pile on a big platter with a bowl of guac in the middle—looks sharp. My aunt once brought pickled jalapeños to the table, and now I always set out some on the side.
A Few Pro Tips I Learned (Sometimes the Hard Way)
- Don’t rush the cooling step. I’ve tried skipping it because I’m impatient—ended up with torn tortillas and an absolute mess.
- If you make minis, watch them in the oil—they brown in a hot minute. Learned that one form burnt little dudes…
- If you’re short on time, skip the frying and brush them with oil—bake at 425°F for 15 minutes, flipping once. Not quite the same, but it’s passable, especially on busy weeknights.
A Few Questions People Have Actually Asked Me
- Can I freeze these chimichangas?
- Honestly, yes! Wrap tightly in foil and freeze for up to two months. Reheat in the oven straight from frozen—maybe 25 minutes at 350°F. They’re not quite as crispy but it’s close enough for me.
- How spicy are they?
- Depends on your green chilies and if you add extra. Mine are usually pretty mild (I’m a bit of a wimp with heat, truth be told), but my friend Tom always brings his own hot sauce.
- Is it okay to swap in corn tortillas?
- Corn tortillas just aren’t sturdy enough. Flour’s best for rolling. But, if you’re going for gluten free, try those special GF wraps—they’re a tad fragile, but they work if you baby them.
- Can I air fry instead of deep fry?
- Yep! Brush them with oil and air fry at 400°F for about 7–8 minutes, flipping halfway. And they get crisp enough to fool most folks.
Now go on—get a little messy in the kitchen. Even if they aren’t picture-perfect, I bet these beef and cheese chimichangas end up being your new favorite comfort food! Just don’t forget to pull out those toothpicks before chowing down. (Ask me how I know…)
Ingredients
- 1 pound (about 450g) ground beef (I use 80/20, but I’ve done it with ground turkey in a pinch—still tasty)
- 1 small onion, diced (yellow is classic, red if that’s what you’ve got—I’ve even skipped onion once and survived)
- 2 cloves garlic, minced (garlic powder’s fine if you’re in a hurry—about 1 tsp)
- 1 packet taco seasoning mix (about 2 tablespoons, or make your own if you’re feeling ambitious—I usually don’t!)
- 1/2 cup tomato sauce (salsa works too, or even crushed tomatoes with a bit more seasoning)
- 1 can (4 oz/115g) diced green chilies (mild or hot depending on whether you like a kick—I swap in jalapeños for extra heat)
- 1 1/2 cups shredded cheddar cheese (sometimes I go half Monterey Jack because I love its meltiness)
- 6–8 large flour tortillas (10-inch size—smaller tortillas = more mini chimichangas, which honestly are adorable)
- Oil for frying (about 1 cup; vegetable or canola—honestly, whatever’s on sale works for me)
Instructions
-
1Grab your biggest skillet and toss in the ground beef over medium heat. Brown it, breaking it up with a wooden spoon (or, heck, a spatula if that’s what you got—no one’s judging). Drain off any grease if there’s a lake forming.
-
2Add the diced onion and cook until it’s soft and a bit see-through. Usually about 3–4 minutes. Throw in the garlic and cook for another 30 seconds or until it smells delicious, but don’t let the garlic burn. (I usually lean in for a whiff here—so good!)
-
3Sprinkle over the taco seasoning, then pour in the tomato sauce and the whole can of green chilies, juice and all. Stir, and let everything simmer on low for 4-5 minutes. This is where I sneak a taste to check spices—sometimes I add a pinch more salt or a dash more chili powder if it’s looking too tame.
-
4Take the pan off the heat and let the mixture cool for a few minutes. (If you toss hot filling on tortillas, they tend to get… stretchy. It’s weird.) Once cooled a bit, stir in shredded cheese until it’s all gooey and tempting.
-
5Warm up the tortillas for about 20 seconds in the microwave, just so they’re soft and won’t crack when rolling (if you skip this, you’ll probably regret it like I did once—lesson learned).
-
6Spoon about half a cup of the beef mixture into each tortilla, placing the filling just below center. Fold in the sides, then roll it up tightly from the bottom, like a burrito—but don’t stress too much about it looking perfect. Toothpicks can help keep them closed! (Just, uh, remember to take them out before eating.)
-
7Pour enough oil into a deep skillet so it’s about an inch deep and heat it to 350°F (180°C). I just flick in a breadcrumb to see if it sizzles.
-
8Fry 2 or 3 chimichangas at a time, seam side down first. 2–3 minutes per side, or until crazy golden and crisp. (Don’t overcrowd or they’ll get soggy—trust me.) Drain them on a paper towel-lined plate or a wire rack.
-
9Repeat with the rest. If you want to keep them hot, stash the finished ones in a warm oven, but honestly, I just start munching them right away.
Approximate Information for One Serving
Nutrition Disclaimers
Number of total servings shown is approximate. Actual number of servings will depend on your preferred portion sizes.
Nutritional values shown are general guidelines and reflect information for 1 serving using the ingredients listed, not including any optional ingredients. Actual macros may vary slightly depending on specific brands and types of ingredients used.
To determine the weight of one serving, prepare the recipe as instructed. Weigh the finished recipe, then divide the weight of the finished recipe (not including the weight of the container the food is in) by the desired number of servings. Result will be the weight of one serving.
Did you make this recipe?
Please consider Pinning it!




