A Little Story Before We Get Our Hands Dirty
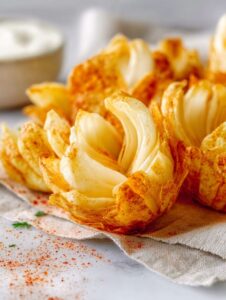
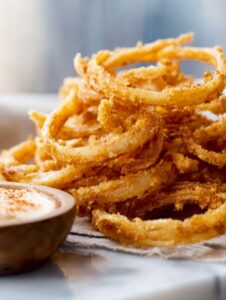
You ever have something at a restaurant—a chain one, let’s be honest—that just burrows into your brain, and then you think about it wayyy too often? Yeah, that’s me with Bloomin’ Onion petals. My first bloom was at one of those semi-fancy Australian-ish places, which, sure, is a weird association for onions, but you can’t argue with crunch. I tried to make the whole giant onion at home once… Let’s just say oil got everywhere and the dog smelled like onions for days. Petals are my answer for that. Less drama. More dipping. Kids still make a mess but, you know, smaller messes. (If you ever need a quick crowd-pleaser, trust me, these do the job.)

Why You’ll Love This (Or Find It Mildly Addictive)
I make these Bloomin’ Onion Petals when it’s raining, or when the neighbor brings over those massive onions that look like they could double as bowling balls. My husband goes a bit feral for them; honestly, the only downside is the fight for the last one. The best is when you can just dunk and crunch and, frankly, pretend you’re eating vegetables (these aren’t health food, but hey, it’s an onion, right?). I used to be annoyed at all the dredging steps, but it really does make ’em extra crispy. Worth it, I promise.
What You’ll Need (Substitutions Welcome!)
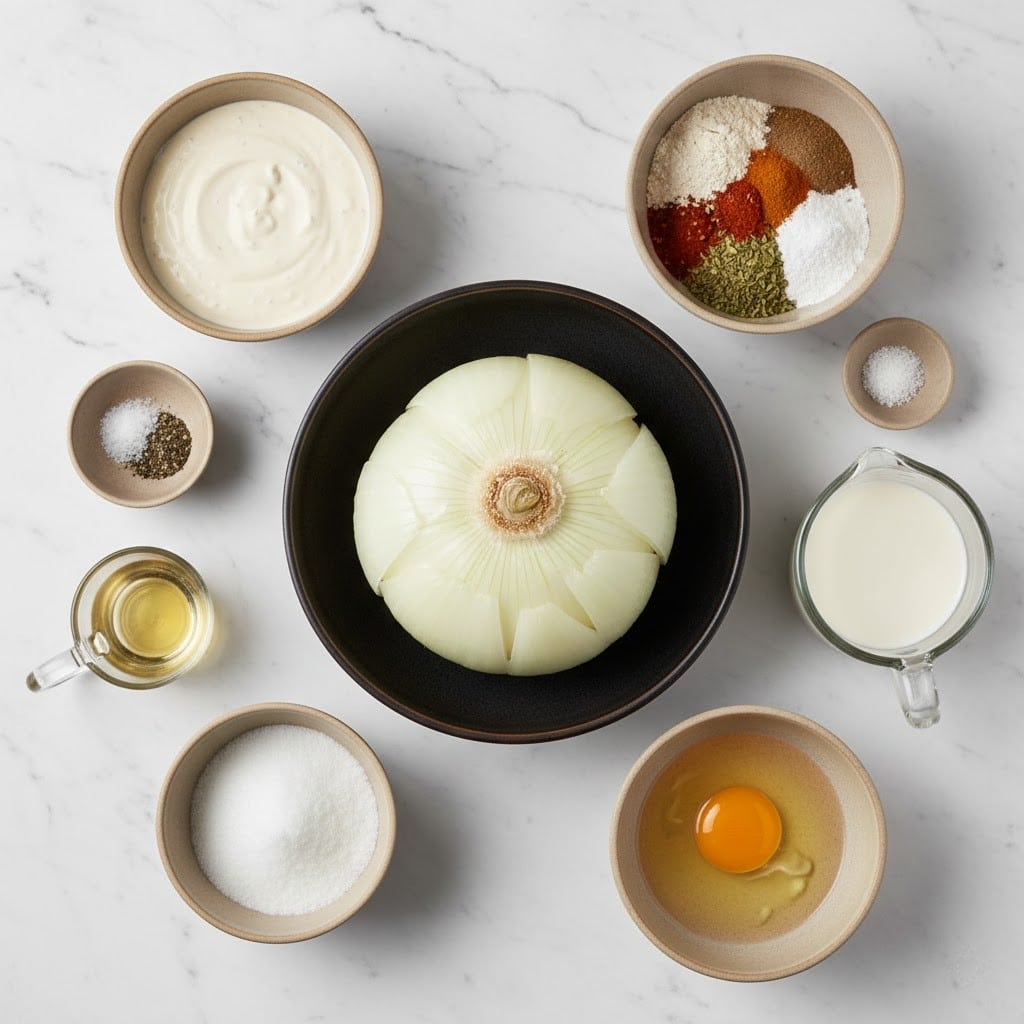
- 1 large sweet onion (Vidalia works best, but I’ve used plain yellow, too, when the fancy ones ran out)
- 1 cup buttermilk (or just regular milk with a splash of vinegar works in a pinch—done that more than once)
- 1 cup all-purpose flour (my grandmother insisted on White Lily, but honestly any is fine)
- 1/2 cup cornstarch (optional but I think it makes the crunch better)
- 1 teaspoon smoked paprika (or regular paprika if that’s all you’ve got—I’ve even left it out accidentally and it was still good)
- 1 teaspoon garlic powder
- 1/2 teaspoon onion powder (because, you know, we’re subtle here)
- 1/2 teaspoon kosher salt (or a pinch more if you like things bold)
- 1/2 teaspoon black pepper
- Oil for frying (something neutral—I usually use canola, but peanut oil is dreamy if you’ve got it, or whatever’s cheapest, honestly)
- Optional: Pinch of cayenne, if you’re feeling feisty
- For dipping: Ranch, spicy mayo, or that weird horseradish sauce my uncle keeps pushing on us
How I Pull This Off (No Fancy Talk, Just Steps)
- First, peel that onion. Cut off the ends, slice it in half, then into bite-size petals (think chunky wedges, nothing dainty).
- Soak the onion petals in buttermilk in a big bowl. Toss ’em around so everyone’s coated. Let them hang out for at least 30 minutes—sometimes I leave them longer if I’m distracted.
- Meanwhile, mix flour, cornstarch (if using), paprika, garlic powder, onion powder, salt, pepper, and cayenne in another bowl. I just whisk it with a fork. No need for a sifter unless you feel fancy.
- Heat about 2-3 inches of oil in a deep pan or Dutch oven to 350°F (or, honestly, until a bit of flour tossed in sizzles—I’ve forgotten the thermometer more than once)
- Working in batches (don’t crowd them! Learned this the hard way), lift onion petals out of the buttermilk, let ’em drip a second, then tumble them into the flour mix. Toss to coat well (I sometimes do a double dip for extra crust: back into buttermilk, then back to flour. Messy, but worth it).
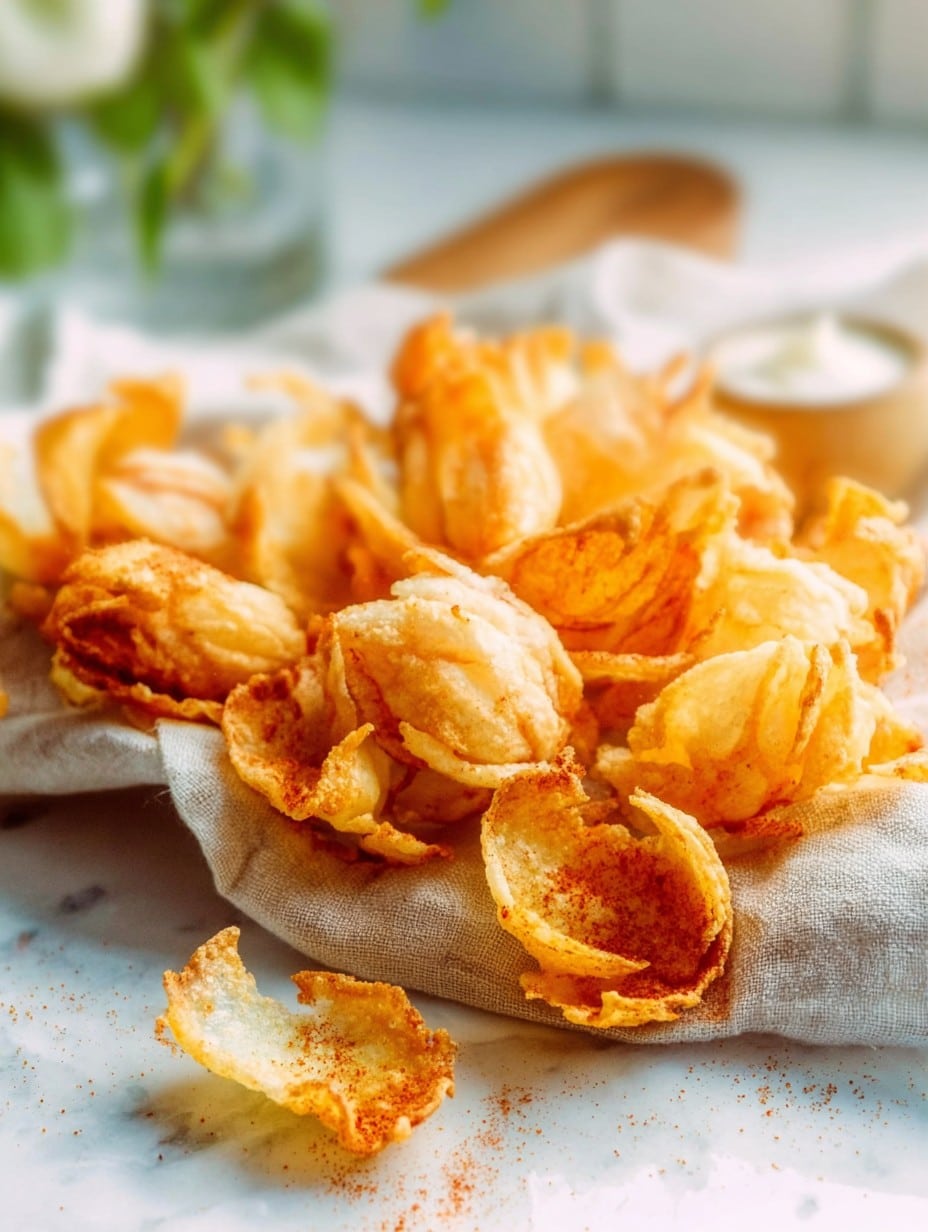
- Fry petals, maybe 8-10 at a time, until crisp and golden—about 2-3 minutes. Grab them out with a slotted spoon and set on a plate lined with paper towels. Resist the urge to eat them all right now. Okay, maybe just one. (Yes, they look weird mid-fry. That’s normal!)
- Repeat until you’ve fried every last petal. If you’re like me, you’ll have to shoo folks away until you’re done.
- Serve hot with your dip of choice—ranch is king at our house, but I could see a spicy ketchup working. Not that anyone’s waiting for me to finish this sentence anyway.
A Couple Notes From My Many Mistakes
- The cornstarch is totally optional—but I really think it makes the crust lighter and crunchier. Tried once without and… not the same.
- If your oil’s not hot enough, the petals get greasy. But too hot? They burn. Learned to have a cuppa nearby so I don’t rush.
- Eat these fresh-ish—after a couple hours, they’re not exactly sad, but they aren’t their best selves either.
- Sometimes the flour coating clumps a bit; just give the petals a gentle shake before frying.
Variations (Some Winners, Some Duds)
- Tried with red onions—came out sweeter, but the color made my nephew suspicious. Yellow is safest for picky eaters.
- Once added a heap of chili powder; too much, honestly. These like subtle heat.
- I don’t recommend air frying these petals, they get… chewy? Not my best idea, but maybe you’ll crack that code.
- If you’re gluten-free, rice flour works! A bit less fluffy, but still very crunchy.
What You’ll Want Equipment-Wise
- Biggish mixing bowls (you could just use a zip-top bag for the flour part if you’re low on dishes—I’m not here to judge)
- Sharp knife (a bread knife works if your chef’s knife is suddenly missing/dirty)
- Deep frying pan, Dutch oven, or honestly, I’ve used a large saucepan in a pinch
- Slotted spoon or spider (but a regular fork works if you don’t mind risking a splash—just be careful!)
- Paper towels for draining. Or, fine, a cooling rack if you’re trying to impress someone.
How to Store ‘Em (If Any Survive)
Store leftovers in an airtight container in the fridge—should last up to two days, maybe three on a good run. Although, in my house, they never last even one full day; sometimes people claim they ‘disappeared.’ Reheat in the oven (or toaster oven) at 375°F for 5-8 minutes. They’re passable in the microwave but honestly kinda limp.
If You’re Wondering How to Serve These…
I love to pile them high in a basket lined with baking paper and put little bowls of different dips around—ranch, spicy mayo, and sometimes that random barbecue sauce bottle that’s on its last legs. If it’s a game night, I’ll set the petals out on a tray with toothpicks stuck in (looks fancy, makes less mess; you could fool yourself into thinking they’re sophisticated this way.) Genuinely, these are dangerous on the side of a burger.
Pro Tips (Learned the Hard Way)
- I once rushed dipping and my coating slid right off—never again. Let those onions drain a sec before dredging.
- Don’t go overboard with the batch sizes while frying—it just tempers the oil and everything gets a bit soggy. Small batches = crispier petals.
- Actually, I find it works better if you eat them hot. I once waited for guests, and… cold onion petals don’t have the same vibe.
FAQ’s From Friends, Family, and Internet Folks
- Can I slice the onions thinner or thicker? You can! Thicker pieces stay juicier, but too thick and they can stay a bit raw. I prefer wedge-y, about thumb-width. It’s not a science, though.
- Does it work with other veggies? Tried it with zucchini once, came out a bit soggy. Onions are king here.
- Help, my coating falls off! Make sure the onions aren’t too wet (shake off that buttermilk). Also, press the flour coating on a little bit—don’t just sprinkle it on.
- Is an oil thermometer really necessary? Not gonna lie, it’s handy, but half the time I wing it with the flour sizzle trick. Just keep an eye on color.
- How do I make it less spicy for kids? Just skip the cayenne and maybe cut back on black pepper. My youngest only objects if he can physically see the “red stuff.”
If you make these, let me know how your crowd likes ’em—or if you run out of onions part-way (yep, been there). When all else fails, just pour yourself a drink and call it a night. Happy frying! (I nearly called this recipe “Onion Bouquet” but, honestly, that sounds far too delicate for these beauties.)
Ingredients
- 1 large sweet onion (Vidalia works best, but I’ve used plain yellow, too, when the fancy ones ran out)
- 1 cup buttermilk (or just regular milk with a splash of vinegar works in a pinch—done that more than once)
- 1 cup all-purpose flour (my grandmother insisted on White Lily, but honestly any is fine)
- 1/2 cup cornstarch (optional but I think it makes the crunch better)
- 1 teaspoon smoked paprika (or regular paprika if that’s all you’ve got—I’ve even left it out accidentally and it was still good)
- 1 teaspoon garlic powder
- 1/2 teaspoon onion powder (because, you know, we’re subtle here)
- 1/2 teaspoon kosher salt (or a pinch more if you like things bold)
- 1/2 teaspoon black pepper
- Oil for frying (something neutral—I usually use canola, but peanut oil is dreamy if you’ve got it, or whatever’s cheapest, honestly)
- Optional: Pinch of cayenne, if you’re feeling feisty
- For dipping: Ranch, spicy mayo, or that weird horseradish sauce my uncle keeps pushing on us
Instructions
-
1First, peel that onion. Cut off the ends, slice it in half, then into bite-size petals (think chunky wedges, nothing dainty).
-
2Soak the onion petals in buttermilk in a big bowl. Toss ’em around so everyone’s coated. Let them hang out for at least 30 minutes—sometimes I leave them longer if I’m distracted.
-
3Meanwhile, mix flour, cornstarch (if using), paprika, garlic powder, onion powder, salt, pepper, and cayenne in another bowl. I just whisk it with a fork. No need for a sifter unless you feel fancy.
-
4Heat about 2-3 inches of oil in a deep pan or Dutch oven to 350°F (or, honestly, until a bit of flour tossed in sizzles—I’ve forgotten the thermometer more than once)
-
5Working in batches (don’t crowd them! Learned this the hard way), lift onion petals out of the buttermilk, let ’em drip a second, then tumble them into the flour mix. Toss to coat well (I sometimes do a double dip for extra crust: back into buttermilk, then back to flour. Messy, but worth it).
-
6Fry petals, maybe 8-10 at a time, until crisp and golden—about 2-3 minutes. Grab them out with a slotted spoon and set on a plate lined with paper towels. Resist the urge to eat them all right now. Okay, maybe just one. (Yes, they look weird mid-fry. That’s normal!)
-
7Repeat until you’ve fried every last petal. If you’re like me, you’ll have to shoo folks away until you’re done.
-
8Serve hot with your dip of choice—ranch is king at our house, but I could see a spicy ketchup working. Not that anyone’s waiting for me to finish this sentence anyway.
Approximate Information for One Serving
Nutrition Disclaimers
Number of total servings shown is approximate. Actual number of servings will depend on your preferred portion sizes.
Nutritional values shown are general guidelines and reflect information for 1 serving using the ingredients listed, not including any optional ingredients. Actual macros may vary slightly depending on specific brands and types of ingredients used.
To determine the weight of one serving, prepare the recipe as instructed. Weigh the finished recipe, then divide the weight of the finished recipe (not including the weight of the container the food is in) by the desired number of servings. Result will be the weight of one serving.
Did you make this recipe?
Please consider Pinning it!