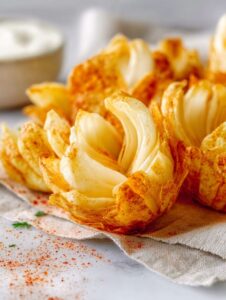
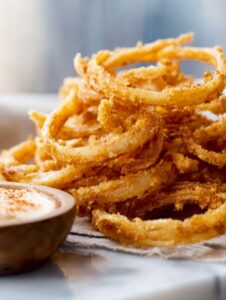
French Fried Onion Strings – Why They’re my Secret Snack Weapon
Alright, pull up a chair and let me tell you about my ongoing love affair with French Fried Onion Strings. There was this time, ages ago, when I totally overcooked an onion ring and thought I’d ruined the whole batch, but my nephew literally started eating the crispy, skinny little bits and declared them the best thing he’d ever put in his mouth. So, from that beautiful kitchen disaster, these addictive onion strings were born. These show up at everything—from backyard burgers (my brother’s always sneaking an extra handful!) to just a tower of them next to some cold ranch. Also, who knew a frying session could be this fun? Or messy.

Why You’ll Love This Recipe (Besides the Obvious)
I make this when a regular old burger or salad just seems too plain—honestly, toss these on anything and suddenly you’re a kitchen genius. My family goes wild for them because they get that golden, crispy crunch, but also because apparently eating onions in string form counts as a vegetable serving now (that’s my story and I’m sticking to it!). There’s a bit of chopping, a bit of flour flying all over, and a lot of sneaking tastes straight form the rack. And, I’d be lying if I didn’t say I’ve screwed up a few batches by overcrowding the oil—so don’t do that. Seriously.
What You’ll Need – Ingredients (Plus a Few Substitutes)
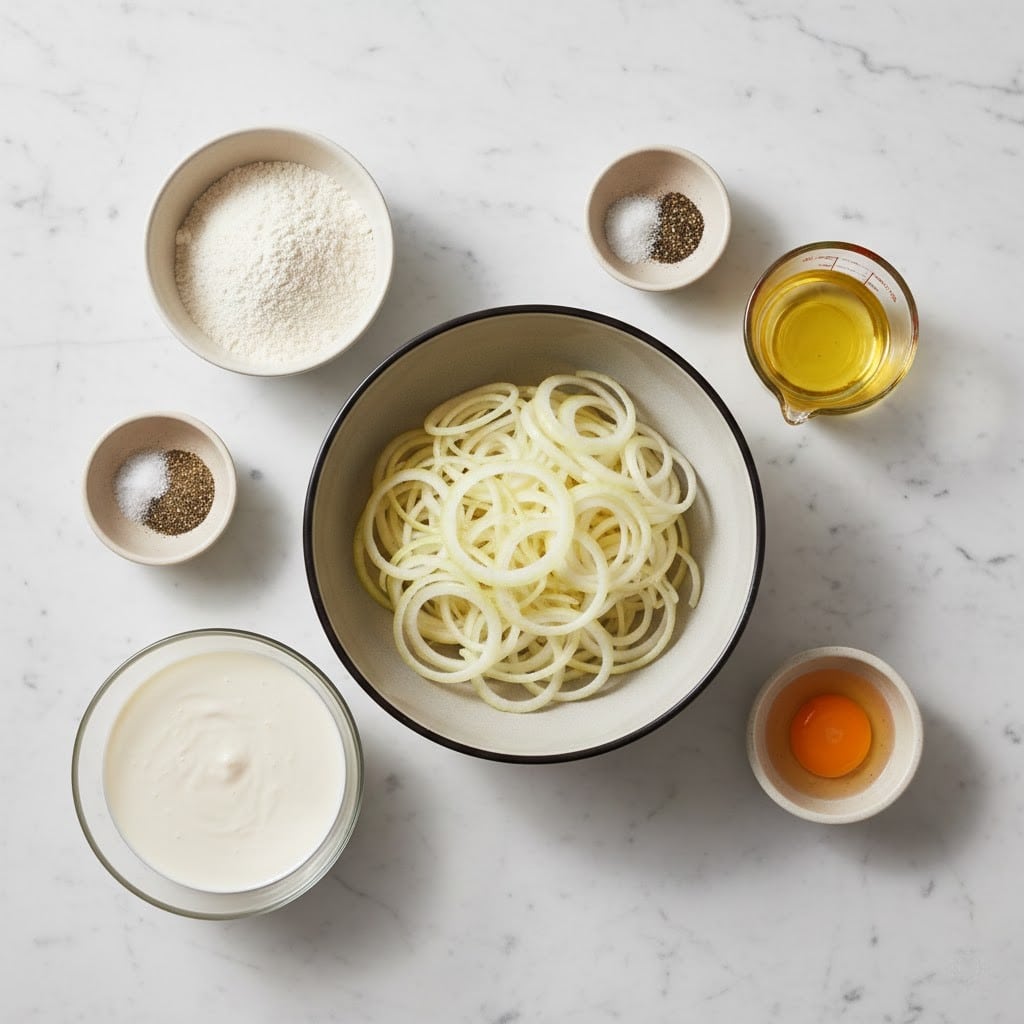
- 2 large yellow onions (I’ve grabbed sweet onions on occasion too, works fine!)
- 2 cups buttermilk (or, if you don’t have buttermilk, regular milk plus a big squeeze of lemon juice is my usual hack)
- 2 cups all-purpose flour (granny swears by self-rising, but I’m too lazy for that level of specificity)
- 1 1/2 teaspoons kosher salt (table salt works if that’s all you have)
- 1 teaspoon black pepper (go heavier if you want a little more kick)
- 1/2 teaspoon garlic powder (totally optional—it’s my little twist)
- 1/2 teaspoon smoked paprika (sometimes I swap this for cayenne if I want heat, but watch out!)
- Vegetable oil or canola oil for frying (as much as your pot can safely hold)
How You Actually Make These (No Need for Perfection)
- Peel and slice those onions as thin as you can—I mean, like, translucent thin. A mandoline is ideal, but a sharp knife and a steady-ish hand work too. (This is where I typically start crying, both form onion fumes and nostalgia, ha.)
- Toss all those slices into a big bowl and cover them with buttermilk. Let them soak for at least 30 minutes. Or longer if you get distracted—no one’s counting. This helps with the tang and makes them less harsh.
- In a separate shallow dish, mix together the flour, salt, pepper, garlic powder, and smoked paprika. Give it a good stir (kids love this part until half the flour ends up on the counter).
- Grab a handful of those soaked onion strings and toss them right into the flour mixture. Make sure they’re all coated—don’t be shy, dig in with your hands! Actually, I find it works better if you shake off some of the excess buttermilk first.
- Meanwhile, heat your oil in a deep pan or Dutch oven to about 350°F (180°C). I never use a thermometer, but a wooden spoon handle will sizzle right away when it’s hot enough. Safety first, though!
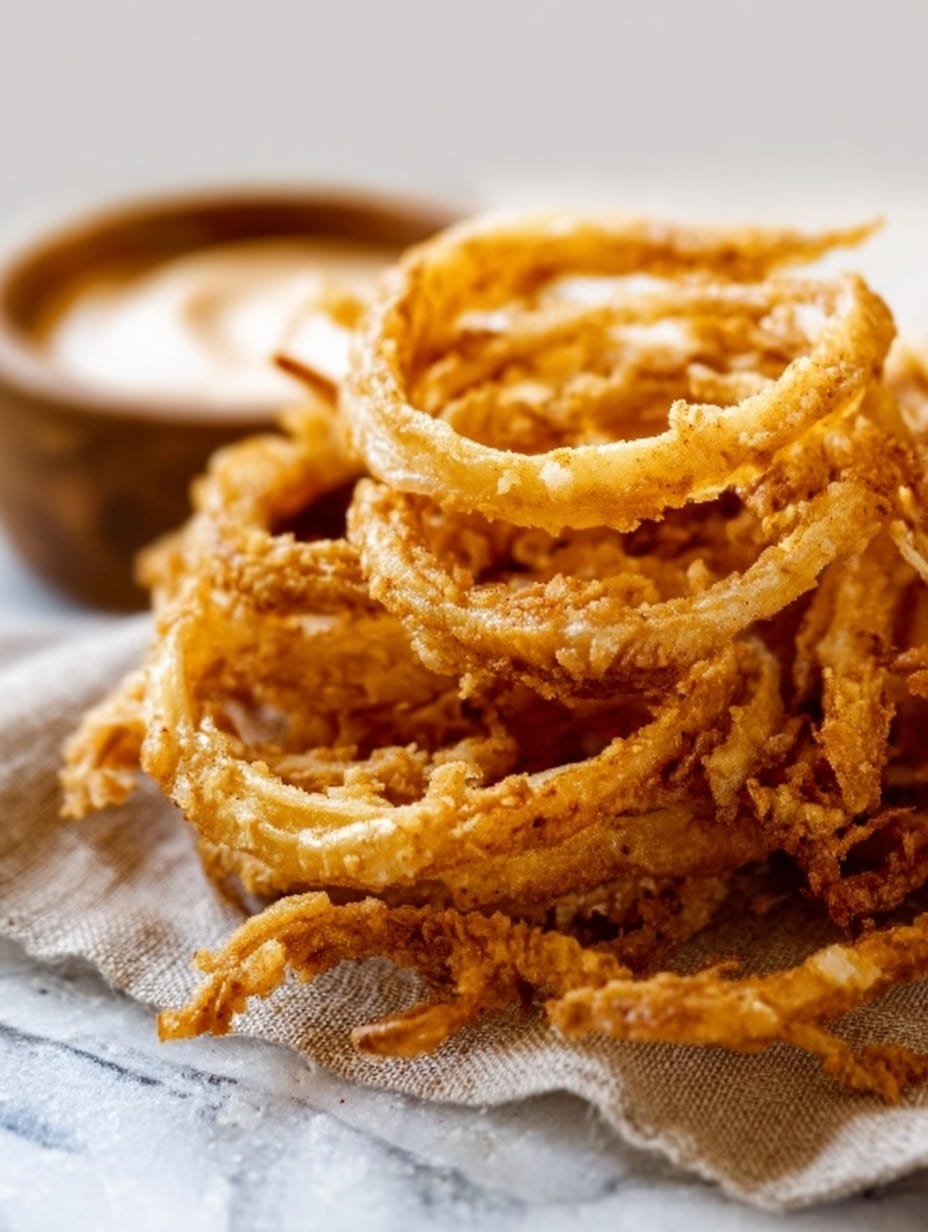
- Drop the coated onions into the hot oil in small batches—don’t overcrowd or they’ll steam instead of crisp. Fry for about 2 minutes, flipping if you remember (I often forget), until golden brown and just screaming for attention.
- Use a slotted spoon to transfer the cooked strings to a paper-towel lined plate. Salt them immediately because yum.
- Repeat with the rest. And this is where I usually sneak a taste or three, just for quality control (ahem).
Notes – Little Things I Learned from My Own Goofs
- Don’t slice the onions too thick—they never get quite as crispy and, frankly, floppy onions are a kitchen crime.
- If your oil isn’t hot enough, they’ll be greasy. Ugh. Learned that the hard way.
- I sometimes forget the garlic powder and honestly, it still tastes great. So don’t stress.
Some Variations I’ve Actually Attempted (Not All Winners…)
- I swapped smoked paprika for cayenne to add heat—good for adults, not as great for the kids. Oops.
- Tried using sour cream instead of buttermilk once, but it gets weirdly clumpy. Not my best idea; stick to buttermilk or the milk-lemon thing.
- Sprinkled parmesan over them fresh out of the oil: 10/10 would recommend if you like cheese on everything (who doesn’t?).
Equipment – What You Need (And Workarounds)
- Sharp knife or mandoline (a box grater will NOT work, learned that one Saturday morning)
- Deep pan, Dutch oven or even a heavy old soup pot—I’ve seen folks fry in skillets, but be careful
- Paper towels—a must, unless you want greasy fingers (who am I kidding, you’ll have them anyway)
- Slotted spoon or spider is helpful, though I’ve fished them out with a fork in a pinch. Not recommended but you do you.
How to Store / Reheat—Though Good Luck Having Leftovers
Store any leftovers (haha) in an airtight container at room temp. Reheat in the oven at 375°F for a few minutes until crispy again. Though honestly, in my house it never lasts more than a day! If they go soggy, don’t say I didn’t warn ya.
How I Serve These – My Two Cents
Is there anything these don’t go with? I love them piled high on burgers, or sprinkled on green bean casserole (classic). My cousin puts them on mashed potatoes. Sometimes I just stand near the rack and eat them with my fingers—don’t judge. Ranch or spicy mayo for dipping is our family tradition on game nights.
Pro Tips I’ve Learned (Because I Messed Up Enough)
- Don’t rush the soaking—if they’re not in the buttermilk long enough, the flavor just isn’t the same. I once skipped it and regretted it because the onions stayed harsh, like a bad first date.
- Frying in batches is a pain, but if you crowd the pan, they get pale and limp. It’s not worth shaving minutes off the cook time, trust me.
FAQ – Real Questions I’ve Heard from Friends (and Myself)
- Can I make these ahead? Yes—sort of. They’re crispiest right out of the oil. But you can slice and soak the onions ahead to save time.
- Can I bake instead of fry? I’ve tried, but honestly they never get as good. Maybe my oven’s just too persnickety?
- What’s the deal if I only have red onions? Go for it! The flavor’s a tad different but still tasty—plus the color’s kind of funky-cool.
- Do I need buttermilk? Regular milk with lemon works in a pinch. Don’t let lack of buttermilk stop you from crispy bliss!
- How thin is ‘thin’ for slicing? Like, paper-thin… if you can see your finger through it, you’re probably good!
Oh—side note: one time my cat got into the onions and I had to start over. So, pro tip #2: keep curious pets out of the kitchen! Anyway, hope you love these as much as we do. Let me know how your batch turns out, even if you drop half them on the floor (been there, done that).
Ingredients
- 2 large yellow onions
- 2 cups buttermilk
- 2 cups all-purpose flour
- 1 1/2 teaspoons kosher salt
- 1 teaspoon black pepper
- 1/2 teaspoon garlic powder
- 1/2 teaspoon smoked paprika
- Vegetable oil or canola oil for frying
Instructions
-
1Peel and slice those onions as thin as you can—I mean, like, translucent thin. A mandoline is ideal, but a sharp knife and a steady-ish hand work too. (This is where I typically start crying, both form onion fumes and nostalgia, ha.)
-
2Toss all those slices into a big bowl and cover them with buttermilk. Let them soak for at least 30 minutes. Or longer if you get distracted—no one’s counting. This helps with the tang and makes them less harsh.
-
3In a separate shallow dish, mix together the flour, salt, pepper, garlic powder, and smoked paprika. Give it a good stir (kids love this part until half the flour ends up on the counter).
-
4Grab a handful of those soaked onion strings and toss them right into the flour mixture. Make sure they’re all coated—don’t be shy, dig in with your hands! Actually, I find it works better if you shake off some of the excess buttermilk first.
-
5Meanwhile, heat your oil in a deep pan or Dutch oven to about 350°F (180°C). I never use a thermometer, but a wooden spoon handle will sizzle right away when it’s hot enough. Safety first, though!
-
6Drop the coated onions into the hot oil in small batches—don’t overcrowd or they’ll steam instead of crisp. Fry for about 2 minutes, flipping if you remember (I often forget), until golden brown and just screaming for attention.
-
7Use a slotted spoon to transfer the cooked strings to a paper-towel lined plate. Salt them immediately because yum.
-
8Repeat with the rest. And this is where I usually sneak a taste or three, just for quality control (ahem).
Approximate Information for One Serving
Nutrition Disclaimers
Number of total servings shown is approximate. Actual number of servings will depend on your preferred portion sizes.
Nutritional values shown are general guidelines and reflect information for 1 serving using the ingredients listed, not including any optional ingredients. Actual macros may vary slightly depending on specific brands and types of ingredients used.
To determine the weight of one serving, prepare the recipe as instructed. Weigh the finished recipe, then divide the weight of the finished recipe (not including the weight of the container the food is in) by the desired number of servings. Result will be the weight of one serving.
Did you make this recipe?
Please consider Pinning it!