So You Want Boneless Skinless Chicken Breast in the Oven?
Let me just say—if you’ve ever wrestled with rubbery chicken (and, who hasn’t?), I’ve seriously been there. The first time I tried roasting boneless chicken breasts, they came out harder than cold pizza that’s lost in the fridge for a week. Not ideal. These days, though, I can do it with my eyes half open (not that I recommend that, ha). The secret’s in the details, and the last time I made this, my friend Rachel actually said, “This is the only reason I eat chicken.” Which is, you know, pretty flattering since she’s very picky!
Why I Always Come Back to This Recipe
I make this when dinner needs to happen fast but I don’t want just another takeout meal that makes me feel meh afterwards. My family goes crazy for this because—well, it’s just reliable. Tender. Not all dry and sad like those cafeteria-style chicken breasts from my childhood (does anyone else remember those?). Plus, if I need leftovers for lunchboxes, this nails it. Sometimes I get bored and drizzle on different sauces because, why not?
What You’ll Need (Substitutions and All That)
- 2 boneless skinless chicken breasts (about the size of your palm each—give or take)
- Olive oil (a glug or so; some folks swear by avocado oil, but olive is what’s always around at my house)
- 1/2 teaspoon kosher salt (table salt works okay in a pinch, but I think the texture’s better with kosher)
- 1/4 teaspoon black pepper
- 1/2 teaspoon garlic powder—or, if you’re feeling fancy and have time, two cloves minced garlic
- 1/2 teaspoon smoked paprika (sometimes I use regular paprika; my grandmother always insisted on Hungarian paprika, but honestly any version works fine—it’s not like the chicken judges you)
- Optional: a squeeze of lemon juice, dried Italian herbs, or even ranch seasoning if the mood strikes (I use what’s leftover in the pantry half the time)
This Is How I Do It (With a Few Side Comments)
- Preheat your oven to 425°F (218°C). I know, it sounds high, but trust me—the higher heat keeps things juicy inside. Though if you forget and do 400°F, it’ll probably be fine.
- Pat the chicken dry. This is where I make a mess, honestly—paper towels everywhere—but it makes the oil and seasoning stick better.
- Rub a nice coat of olive oil on each side of the chicken. Not swimming in it, just enough to glisten (use your hands, or a brush if you’re feeling civilized).
- Mix up the salt, pepper, garlic powder, and paprika (sometimes I just sprinkle them individually because I can’t be bothered, and no one notices).
- Season chicken on both sides. Also, if you want to tuck a little lemon wedge underneath, go for it.
- Place on a baking sheet or casserole dish—parchment paper makes clean-up a snap, but foil or nothing works too.
- Bake about 18-22 minutes, depending how thick the breasts are. This is where I usually get impatient and poke them with a fork. You’re aiming for 165°F (74°C) at the fattest part (but confession: I sometimes just cut one open to check because thermometers are hiding half the time).
- Let rest 5-ish minutes before serving. This is actually pretty important but, honestly, sometimes I just can’t wait.
Notes I’ve Learned the Hard Way
- If the chicken looks a bit pale, you can broil it for a minute or two at the end (as long as you don’t wander off—ask me how I know!).
- I tried marinating in yogurt for an hour once. Actually, it works better if you use buttermilk, but honestly, plain oil and spices are still great.
- Don’t stress if the shape is wonky; sometimes they cook unevenly, so I just pull the thinner one out early.
- I think this tastes better sliced thin the next day—makes great sandwiches!
Variations I’ve Tried (Some More Successful Than Others)
- Butterfly the chicken for faster cooking. Eh, it dries out fast, so keep an eye.
- Add a coating of parmesan and breadcrumbs. Now that’s tasty, but needs a spritz of oil on top for crispness.
- Tried honey mustard glaze once. It was… well, my husband loved it, but I thought it was a bit much.
- Honestly, I once just dumped salsa on top before baking. Not my greatest idea—the bottom went soggy. So, maybe skip that.
Equipment (and What to Do If You Don’t Have It)
- Baking sheet or roomy casserole dish (I’ve used both; I guess purists like the sheet best for evenness)
- Meat thermometer—if you can find it. If not, just cut into the thickest part and check for juices running clear. Or do the “give it a poke, see if it bounces back” trick, which is not scientific but works in a pinch.
- Parchment paper (makes clean-up easier), but you can forgo it too.
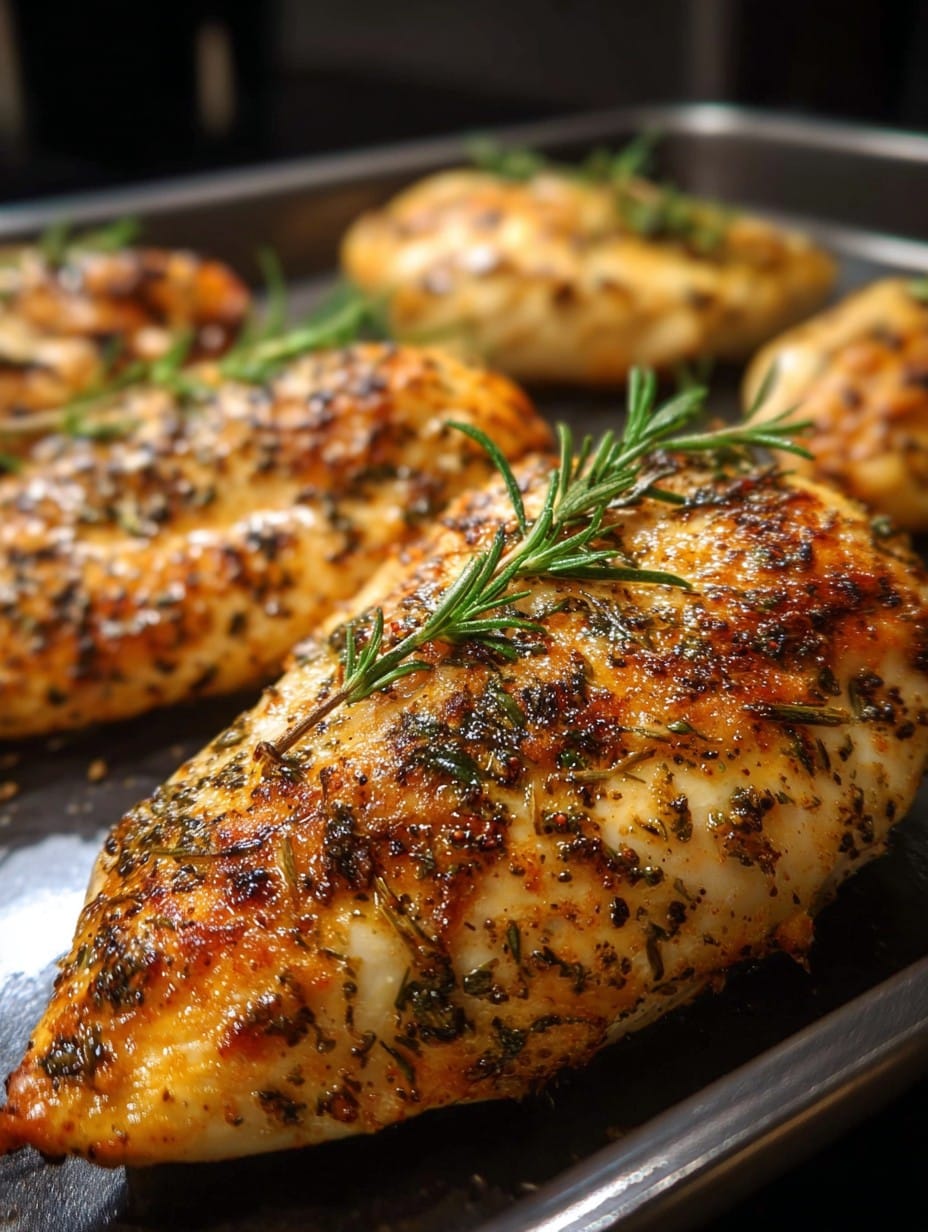
How I Store Leftovers (If There Are Any!)
Store sliced or whole chicken in an airtight container in the fridge. Should keep 2-3 days, though honestly in my house it never lasts more than a day. I sometimes wrap mine in foil, then put in a baggie, but that’s just me being overcautious. Freezes okay too, though reheating tends to dry it out a tad—fair warning.
How I Like to Serve This
My personal favorite is serving with roasted sweet potatoes and whatever green veg is hanging around (lately, broccolini has been stealing the show). My youngest calls it “dippin’ chicken” and loads it up with BBQ sauce, which I just go along with. If we’re feeling fancy, a quick squeeze of lemon and some fresh herbs goes a long way. Oh, and here’s someone else’s baked chicken breast method just in case you want another take.
Lessons from Trial and Error (Pro Tips & Regrets)
- Once, I tried rushing the resting time—big mistake. The juices seep out and you end up with dry bits (not fun!).
- If you forget to preheat, the cooking time gets weird. Chicken gets tough. So just start again, or bake it longer and cross your fingers.
- Don’t be shy with the seasoning. First few times, mine tasted bland as cardboard—honestly, more salt is usually the fix.
Questions I’ve Actually Gotten About This
- Do I really need parchment paper? Nope, not really—it’ll just help you skip the stuck-on bits. Foil, or just lightly oil the pan works fine.
- How do I know it’s cooked? If you’ve got a meat thermometer, golden! Otherwise, slice into the thick part; if it’s white all the way, you’re good. Juices should run clear, not pinky.
- Can I make a big batch? Yes, but crowding the pan is tempting fate (hello, soggy chicken). Give each breast its own little parking spot for best results.
- What’s the best seasoning? Totally depends—I like smoked paprika and garlic, but honestly, just salt and pepper works. Oh, check out these seasoning blends for more ideas.
- Is it okay to freeze cooked chicken? Absolutely, but wrap well to avoid freezer burn. Honestly, I think fresh tastes better, but sometimes life gets busy.
- Can I skip the oil? You can, but honestly, it protects the chicken a bit and makes the spices stick. Up to you, though—I once forgot it and got away with it.
Final thought—if you’ve made it this far, thanks for sticking with all my rambling. Oh! And if you want more roasting inspiration, Serious Eats has a whole guide worth a peek. Let me know how yours turns out (and if you find the meat thermometer before I do, give it my regards!).
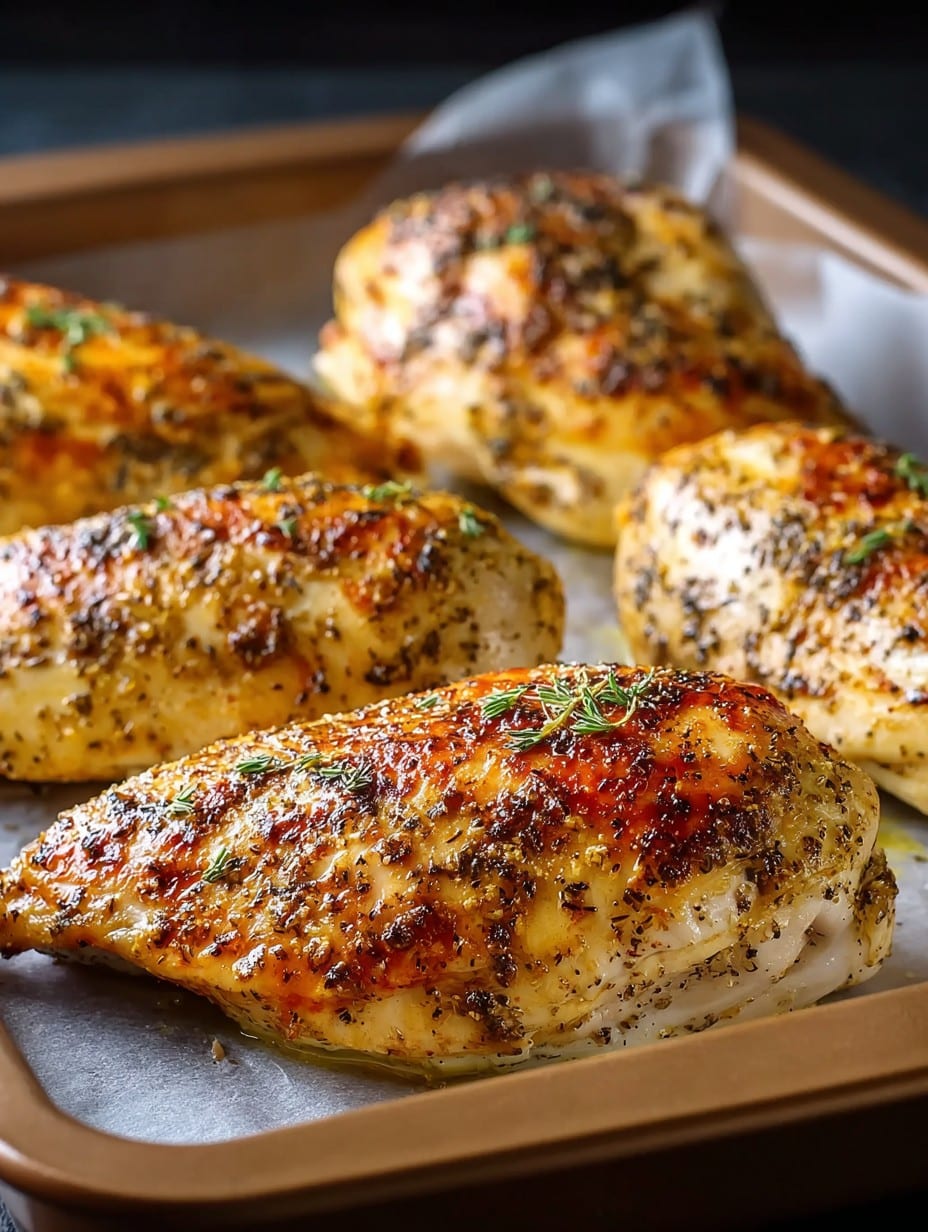
Ingredients
- 4 boneless skinless chicken breasts
- 2 tablespoons olive oil
- 1 teaspoon garlic powder
- 1 teaspoon paprika
- 1 teaspoon dried Italian herbs
- 1/2 teaspoon salt
- 1/2 teaspoon black pepper
- 1 lemon, sliced
Instructions
-
1Preheat your oven to 400°F (200°C) and lightly grease a baking dish with olive oil.
-
2Pat the chicken breasts dry with paper towels and place them evenly in the prepared baking dish.
-
3In a small bowl, mix olive oil, garlic powder, paprika, dried Italian herbs, salt, and black pepper. Brush the mixture liberally over both sides of each chicken breast.
-
4Arrange lemon slices on top of the chicken breasts.
-
5Bake in the preheated oven for 22-25 minutes, or until the internal temperature reaches 165°F (74°C) and the chicken is cooked through.
-
6Let the chicken breast rest for 5 minutes before serving. Serve warm with your favorite sides.
Approximate Information for One Serving
Nutrition Disclaimers
Number of total servings shown is approximate. Actual number of servings will depend on your preferred portion sizes.
Nutritional values shown are general guidelines and reflect information for 1 serving using the ingredients listed, not including any optional ingredients. Actual macros may vary slightly depending on specific brands and types of ingredients used.
To determine the weight of one serving, prepare the recipe as instructed. Weigh the finished recipe, then divide the weight of the finished recipe (not including the weight of the container the food is in) by the desired number of servings. Result will be the weight of one serving.
Did you make this recipe?
Please consider Pinning it!!




