Just the Way I Do Boneless Skinless Chicken Breast in the Oven
Alright, friend, let me paint a picture: It’s Tuesday night, I forgot to defrost anything fancy, and my local shop only had boneless skinless chicken breast (again). So, I pop the oven on, throw together whatever I’ve got in the fridge, and—voilà!—dinner that even the pickiest family member will eat without making their “is this really chicken?” face. This recipe has seen me through bachelor days, sudden in-law visits, and one unfortunate attempt at a romantic dinner (we’ll not talk much about that sauce mishap, ha!).
Why I Keep Coming Back to This Recipe
I make this when I just need something that works. My family goes crazy for it because it’s juicy, tastes like actual food (not bland cardboard), and—let’s be real—cleanup is a breeze if you line your tray. There was a time when I couldn’t get chicken breast to stay moist for the life of me (seriously, I thought I was cursed!), but this method finally did the trick. Plus, you can dress it up or down, depending on how close payday is or how fancy you feel. (Ever tried it with a squirt of sriracha? Life-changing. Or at least, dinner-changing.)
What You’ll Need (and What I Swap Sometimes)
- 2 boneless skinless chicken breasts (about 250g each, but honestly, use whatever size you have)
- 2 tablespoons olive oil (I’ve used melted butter in a pinch, or that random avocado oil lurking in the cupboard)
- 1 teaspoon garlic powder (fresh garlic is great, but who has time to mince after work?)
- 1 teaspoon paprika (smoked is my favorite, but plain works too; my grandmother swore by Hungarian paprika, though I just grab what’s cheapest)
- 1 teaspoon dried oregano (sometimes I’m wild and use Italian seasoning instead)
- Salt and pepper to taste (I tend to go heavy on the pepper, just saying)
- Optional: a squeeze of lemon juice or a handful of fresh parsley for garnish (if you’ve got it, if not, skip it)
How I Actually Cook This (With a Few Side Notes)
- Preheat your oven to 425°F (220°C). This is not the time for low and slow—trust me, the hotter temp keeps things juicy. (Or maybe it’s just my oven, which seriously runs cold… one day I’ll get it fixed!)
- Pat the chicken breasts dry with a bit of paper towel. This helps them crisp up on the edges. If you forget, no big deal, just a bit less golden.
- Whisk together the olive oil, garlic powder, paprika, oregano, salt, and pepper in a little bowl. Or, if I’m feeling lazy, I drizzle the oil straight on the chicken and sprinkle everything else on top. Both work, one just looks slightly fancier if you’re Instagramming.
- Rub the mixture all over the chicken breasts—top, bottom, sides, even the wonky bits. I usually sneak a taste of the spice mix at this stage (don’t judge, it’s habit).
- Lay your chicken breasts on a baking tray lined with parchment. Or foil. Or just straight up if you want to live dangerously and like scrubbing pans.
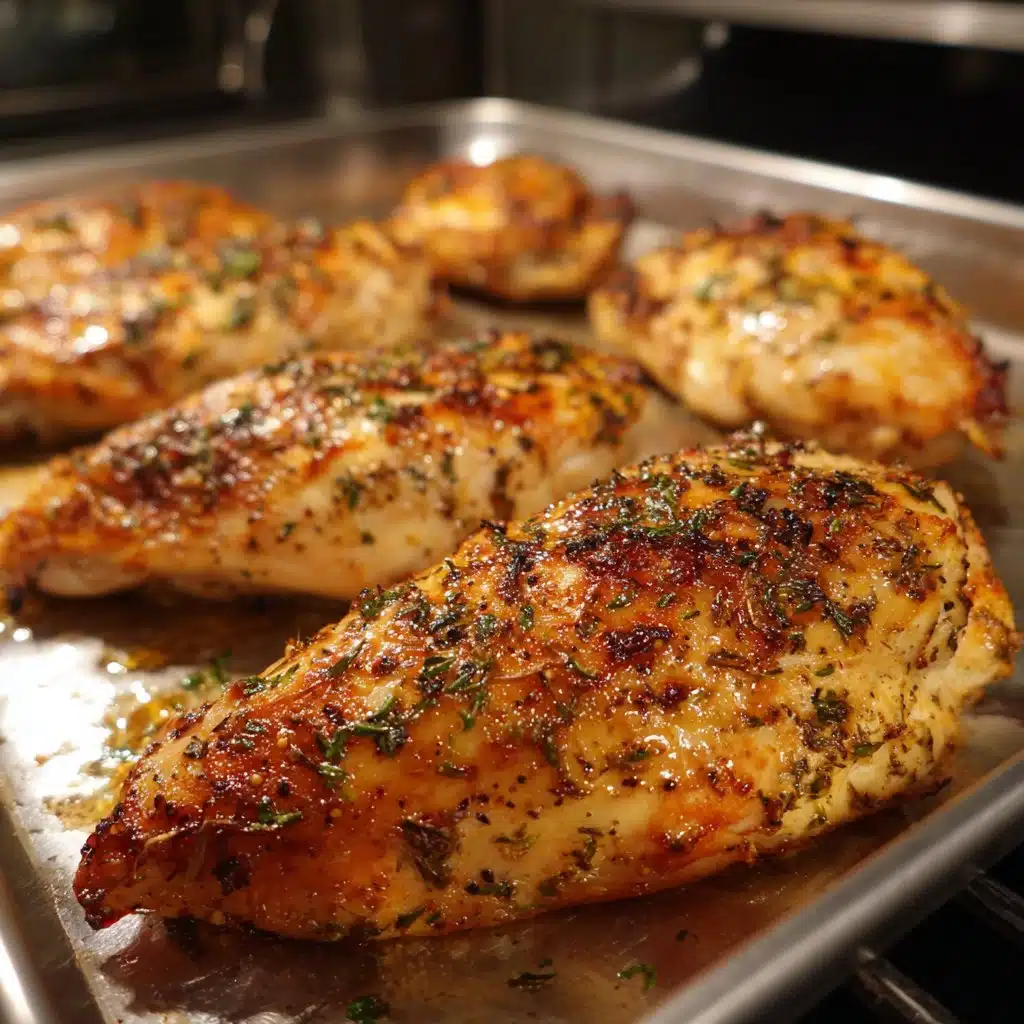
- Bake on the middle rack for 18-22 minutes, depending on size. Now, here’s where I used to mess up: I’d overbake, and they turned into tire rubber. If you have a thermometer, aim for 165°F (74°C) in the thickest part. If not, I just poke the fattest bit with a knife, and if the juices run clear, we’re good!
- Let rest for five minutes before slicing. I used to skip this step—big mistake. Now I just scroll my phone for a bit and pretend I’m being patient.
- Garnish with lemon or parsley if you remembered to buy them, or just dig in.
Things I’ve Learned the Hard Way
- Don’t marinate in lemon juice for too long unless you like weirdly tough chicken (one hour max, please)
- I actually find that pounding the chicken a bit so it’s evenish helps it cook way more evenly. But when I’m in a rush, I just pretend they’re all the same thickness. They’re not. Oh well.
- Covering with foil halfway through doesn’t really help, unless your oven is ancient like mine and burns everything after 15 minutes.
Fun Variations (and a Dud)
- I’ve swapped paprika for chili powder and added a splash of honey—tastes oddly like a BBQ night, minus the mosquitoes.
- Lemon zest and loads of black pepper make it feel fancy, at least to me.
- One time I tried smothering it in pesto before baking. Looked gorgeous, tasted… just okay (the basil got a bit sad in the oven, so maybe stick to adding pesto after?).
What if You Don’t Have the Right Equipment?
Honestly, a baking sheet is great, but I’ve used a casserole dish, or even a cast iron skillet. Once, I tried using my toaster oven. It worked, but took forever—and the kitchen smelled like chicken for a week. So yep, any ovenproof dish should do the trick. No parchment? Just grease the pan well and maybe soak it after.
How I Store Leftovers (When There Are Any)
Supposedly, you can keep these in an airtight container in the fridge for up to three days, but honestly, in my house it never lasts more than a day! If you do have leftovers, slice them up for a sandwich, salad, or just snack straight from the fridge (I swear it tastes even better cold sometimes).
How I Like to Serve This (And You Might Too)
I love this chicken sliced over a big green salad, or with a heap of mashed potatoes and some roasted veg. Sometimes, I’ll make little wraps with tortillas, a bit of cheese, and whatever greens I didn’t let wilt in the crisper drawer. My cousin dips his in ranch—which I think is a crime, but hey, whatever makes you happy.
Stuff I Wish I’d Known Sooner (Pro Tips, Sort Of)
- Don’t skip drying the chicken. I once rushed and skipped it—ended up with a weird soggy texture.
- If you’re not sure if it’s done, err on the side of slightly under, then let it rest covered—the carryover heat usually finishes it off (but don’t go wild, raw chicken is not a vibe).
- Layering on too much spice mix can make it taste gritty. Less is sometimes more here, especially with garlic powder.
Questions I Actually Get Asked About This
Can I use frozen chicken breast?
I mean, technically yes, but you’ll need to add another 7-10 minutes or so. I usually just thaw it in the microwave if I’m in a rush (don’t tell the food safety police).
How do I keep it from drying out?
Honestly, it’s all about the oven temp and not overbaking. Also, smothering it in sauce after doesn’t hurt if you go a bit too long!
Is this good for meal prep?
Absolutely, if you’re into that. It’s probably the only chicken breast recipe I don’t mind eating two days in a row. I like to check out some meal prep ideas from Budget Bytes for more inspiration.
Can I grill this instead?
Oh, for sure. Just grill over medium heat, 5-6 minutes per side. But I just love the oven version for its simplicity. For grilling tips, Serious Eats has a nice guide.
Do I have to use all those spices?
Not at all. Sometimes I just use salt, pepper, and oil, and call it a day.
Anyway, don’t overthink it—the more you make this, the easier it gets. (And the faster you’ll stop overcooking the chicken, like I did every week for a year.) If you come up with a weird flavor combo, let me know—I’m always game to try something new!
Ingredients
- 4 boneless skinless chicken breasts (about 6 oz each)
- 2 tablespoons olive oil
- 1 teaspoon garlic powder
- 1 teaspoon paprika
- 1 teaspoon dried Italian herbs
- 1/2 teaspoon salt
- 1/2 teaspoon black pepper
- 1/2 teaspoon onion powder
Instructions
-
1Preheat your oven to 400°F (200°C). Line a baking sheet with parchment paper or lightly grease it.
-
2Pat the chicken breasts dry with paper towels. Place them on the prepared baking sheet.
-
3In a small bowl, mix together olive oil, garlic powder, paprika, Italian herbs, salt, black pepper, and onion powder.
-
4Brush the seasoning mixture evenly over both sides of each chicken breast.
-
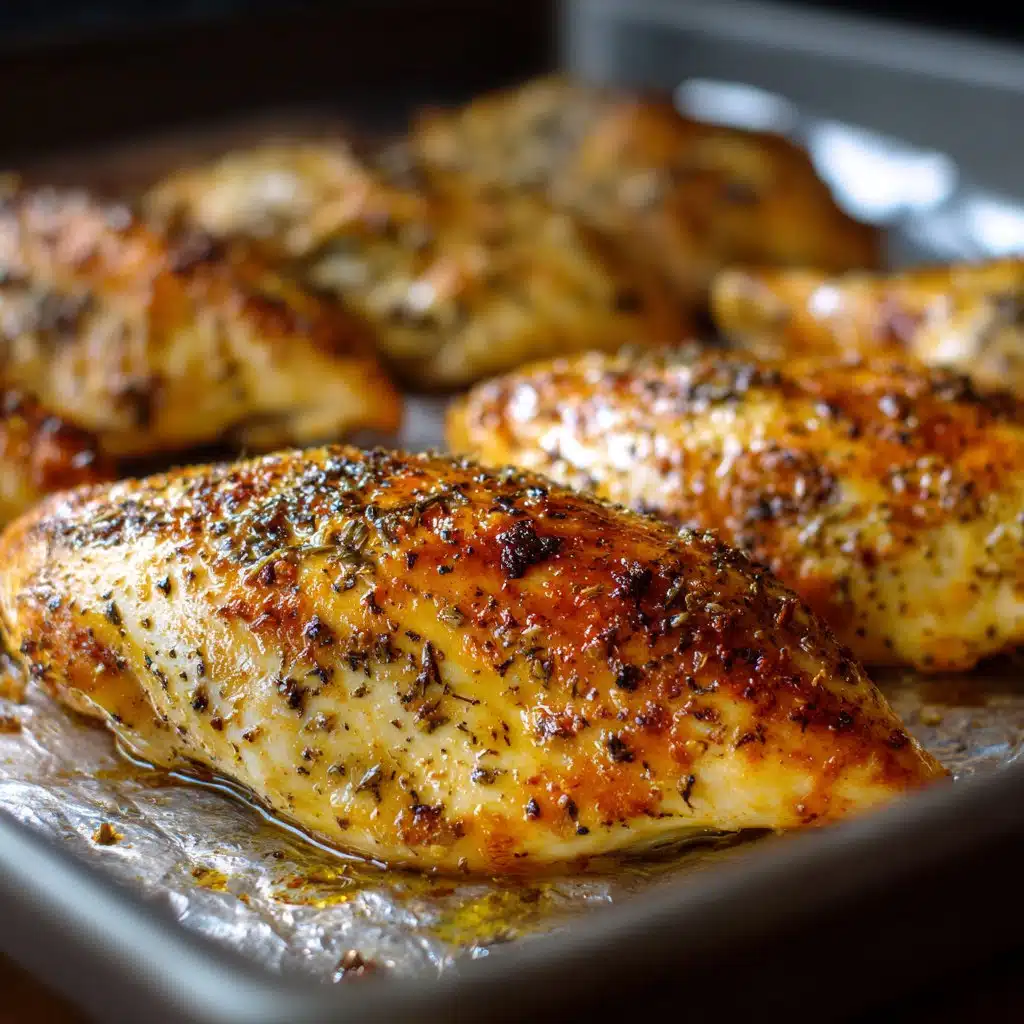
5Bake in the preheated oven for 22-25 minutes, or until the internal temperature reaches 165°F (74°C) and the chicken is cooked through.
-
6Remove from the oven and let the chicken rest for 5 minutes before slicing and serving.
Approximate Information for One Serving
Nutrition Disclaimers
Number of total servings shown is approximate. Actual number of servings will depend on your preferred portion sizes.
Nutritional values shown are general guidelines and reflect information for 1 serving using the ingredients listed, not including any optional ingredients. Actual macros may vary slightly depending on specific brands and types of ingredients used.
To determine the weight of one serving, prepare the recipe as instructed. Weigh the finished recipe, then divide the weight of the finished recipe (not including the weight of the container the food is in) by the desired number of servings. Result will be the weight of one serving.
Did you make this recipe?
Please consider Pinning it!!




