Let Me Tell You About Buffalo Chicken Taquitos
I can’t even count the number of times I’ve made these Buffalo Chicken Taquitos—mostly because I keep forgetting whether I made them last week or the week before (it’s usually both). Honestly, I started making these on football Sundays when my cousin Dan used to show up with a bag of frozen taquitos and a six-pack, thinking he was contributing. One day, I decided to make some from scratch, and, well, no one’s asked for the frozen ones since. Warning: these are spicy, but you can always dial it back if you’re not into fiery food sweats.
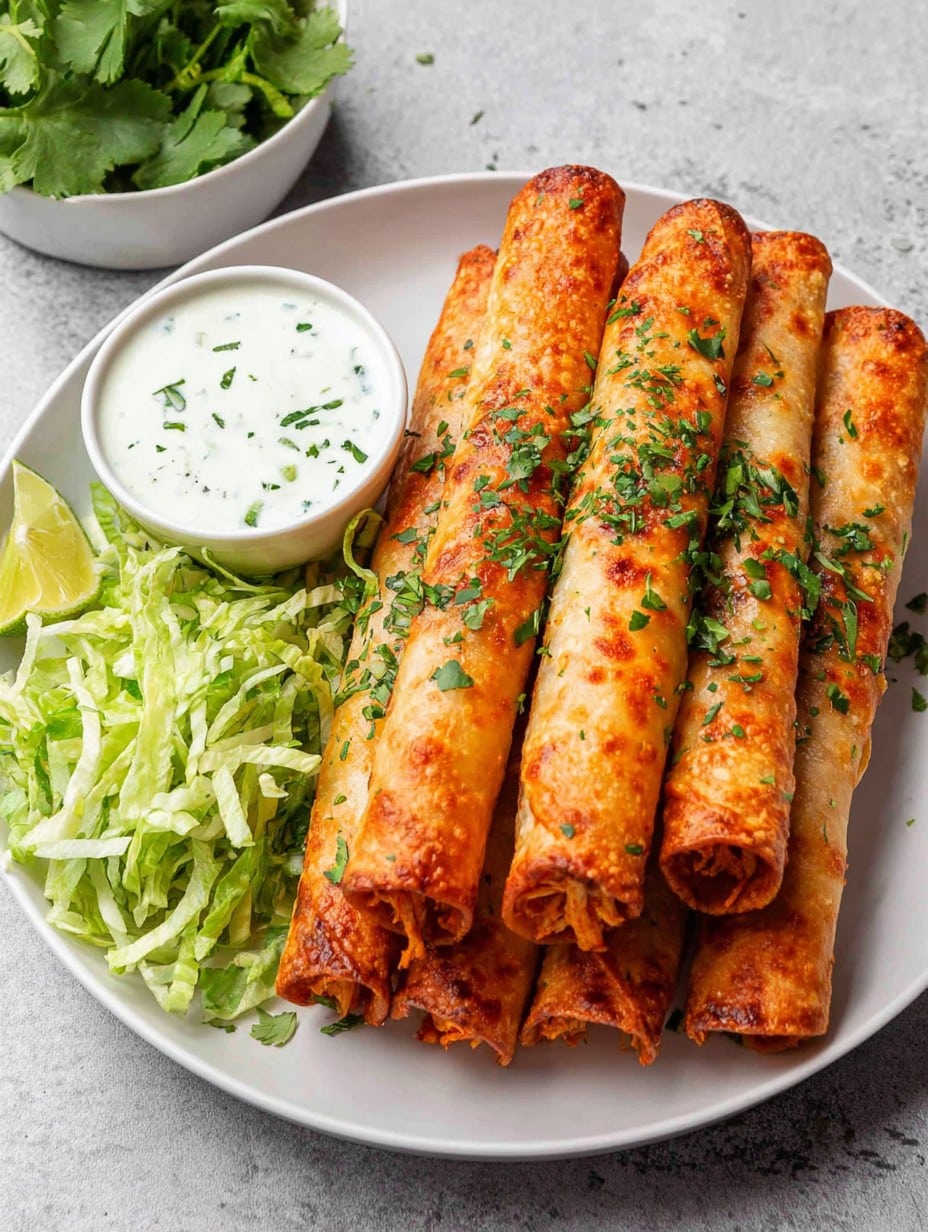
Why You’ll Love These (And Sometimes I Do, Too Much)
I toss these together when I want something easy but more exciting than plain old chicken wraps. My family goes a bit bonkers for these because they’re crunchy, cheesy, and perfectly messy. (Tip: don’t wear a white shirt unless you’re braver than me.) I used to get frustrated trying to keep the filling from escaping, but honestly, even the messy ones taste great with extra ranch.
Here’s What You’ll Need (Or What I Use When I’m in a Rush)
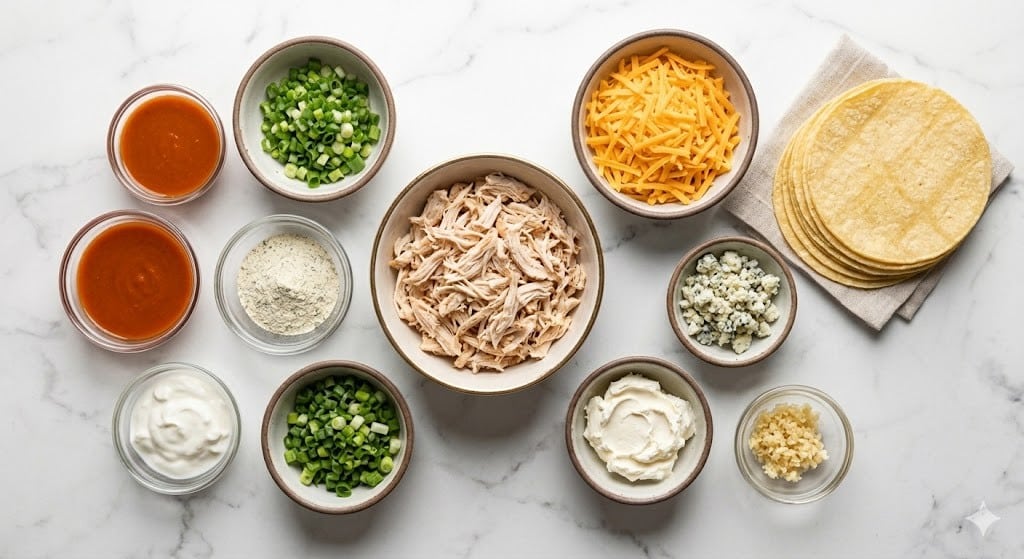
- 2 cups cooked chicken, shredded (I just snag a rotisserie chicken most times—less stress!)
- 2/3 cup Buffalo wing sauce (Frank’s is classic, but I’ve used store brand and lived to tell the tale)
- 4 oz (about 1/2 cup) cream cheese, softened (if you forget to soften it, microwaving is totally fine)
- 1 cup shredded cheddar cheese (Pepper Jack if you want a kick!)
- 1/4 cup chopped green onions (my kids call these “spicy grass”)
- 12 small flour tortillas (I suppose corn works but they always crack on me)
- Nonstick cooking spray or a little oil for brushing
- Ranch or blue cheese dressing, for dipping (optional but highly recommended)
How To Make These (Handfuls and All)
- Turn your oven up to 425°F (220°C). Trust me, you want them crispy. Line a baking sheet with parchment or foil (skip this if you love scrubbing pans; I don’t).
- Mix shredded chicken, Buffalo sauce, cream cheese, cheddar, and green onions in a big bowl. This is where I usually sneak a taste—you know, for quality control. If it looks a bit gloopy, don’t worry! It bakes up fine.
- Grab each tortilla and add a heaping spoonful of filling near one edge. Try not to overload. Roll ’em up tight like a little rug—you want them snug but not bursting. If they crack a bit, honestly, they still taste awesome.
- Arrange taquitos seam-side down on your baking sheet. Give them space—otherwise they get kind of mushy. Spray or brush lightly with oil. Baker’s choice.
- Bake for 15-18 minutes, turning them halfway if you remember (sometimes I forget). You’re looking for golden, crispy vibes here, not burnt hockey pucks.
- Let cool for maybe 5 minutes. Or don’t, but remember they’re officially lava inside for a bit!
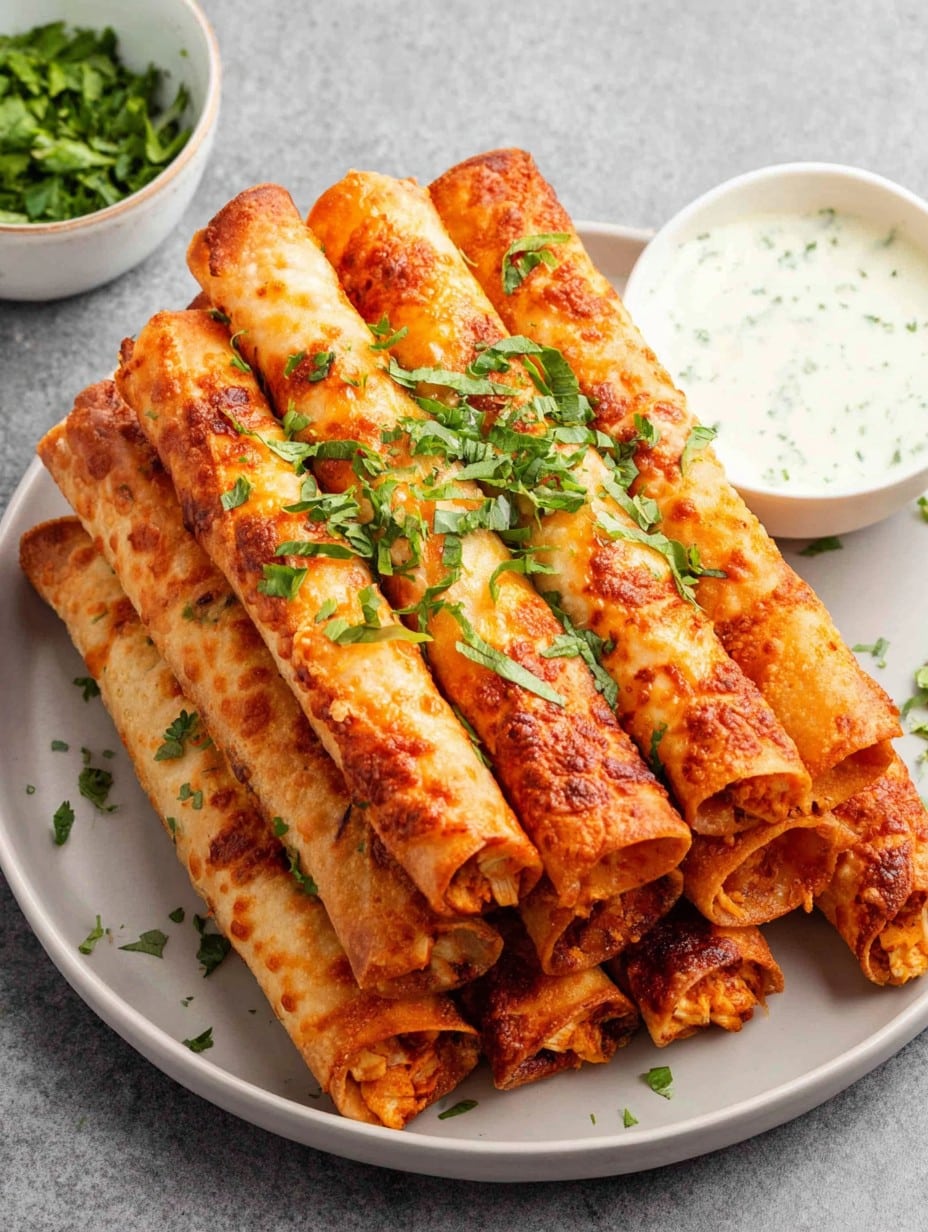
- Serve with ranch or blue cheese and, if you’re fancy, more green onions on top.
Notes from the (Somewhat) Wise
- If you want less heat, use half the Buffalo sauce and add a bit more cream cheese. That’s what I do for my little nephew.
- A rotisserie chicken makes this about five times faster and it’s tastier, too, in my opinion.
- I once used extra-large tortillas and, well, ended up with monster burritos. Funny, but not quite the hand-held thing we’re after.
Fun Variations I’ve Tried (And One Fail)
- Sneaking in some cooked bacon makes these extra indulgent. No regrets.
- Corn tortillas technically “work,” but they always split on me unless I microwave them in a damp paper towel first. Still tasted good but way messier.
- I tried a vegetarian batch with black beans and roasted cauliflower—it wasn’t bad, but my husband asked if the chicken was “hidden.” So there’s that.
Equipment You’ll Need—But Not Really
- Baking sheet (or a pizza pan; I’ve improvised)
- Mixing bowl (I once used a pot—no one noticed)
- Something to spread oil/spray (honestly, your hands work fine in a pinch)
How To Store ‘Em (If You Even Get The Chance)
I stash leftovers in a container in the fridge for up to 3 days. They actually crisp up again if you reheat them in the oven or air fryer (microwave works but they get kind of limp—still tastes nice, though). Not that I usually have leftovers; these vanish faster than socks in the dryer at my place.
Serving These Beauties
We always do these with a bowl of celery and carrots on the side, mostly so it feels a bit healthier. On game days, sometimes I make a little toppings bar: extra Buffalo sauce, chopped tomatoes, jalapeños, whatever’s left rolling around in the fridge. My sister dips hers in blue cheese then salsa, which is… bold.
Pro Tips I Learned The Hard Way
- If you try to roll them before the filling cools a little, it gets super slippery and you’ll make a mess. I know because I insist on being impatient every single time.
- Don’t overstuff—trust me, the filling wants to escape. Actually, I think less is more here.
- Once, I baked at a lower temp to multitask. Big mistake—came out soggy and sad. Just crank the heat!
Questions People (Actually) Ask Me
- Can I freeze these before baking? Oh, for sure! Lay them seam-side-down on a tray, freeze until solid, then cram ’em in a bag. Add a couple extra minutes to bake ’em straight from frozen. Tastes pretty much like fresh!
- Can I use leftover grilled chicken? Absolutely; that smoky flavor is actually kind of awesome in these. Chop it up fine, though.
- What if my taquitos burst open? Happens to the best of us! Sometimes I even like the crispy edges of the chicken poking out. Just make sure the seam is on the bottom when you bake ’em.
- Is there a way to make these gluten free? Good question! Honestly, I’ve only tried with gluten-free tortillas once, and they did stick a bit. Maybe try brushing a little oil before you roll?
- Do they taste just as good cold? I mean, nothing beats fresh and hot, but I caught my kid eating one from the fridge and she claimed “it’s kinda like buffalo chicken sushi!” So, yes?
Anyway, if you give these Buffalo Chicken Taquitos a shot, let me know how yours turn out. And if you find a way to keep your shirt stain-free, you owe me that secret!
Ingredients
- 2 cups cooked chicken, shredded (I just snag a rotisserie chicken most times—less stress!)
- 2/3 cup Buffalo wing sauce (Frank’s is classic, but I’ve used store brand and lived to tell the tale)
- 4 oz (about 1/2 cup) cream cheese, softened (if you forget to soften it, microwaving is totally fine)
- 1 cup shredded cheddar cheese (Pepper Jack if you want a kick!)
- 1/4 cup chopped green onions (my kids call these “spicy grass”)
- 12 small flour tortillas (I suppose corn works but they always crack on me)
- Nonstick cooking spray or a little oil for brushing
- Ranch or blue cheese dressing, for dipping (optional but highly recommended)
Instructions
-
1Turn your oven up to 425°F (220°C). Trust me, you want them crispy. Line a baking sheet with parchment or foil (skip this if you love scrubbing pans; I don’t).
-
2Mix shredded chicken, Buffalo sauce, cream cheese, cheddar, and green onions in a big bowl. This is where I usually sneak a taste—you know, for quality control. If it looks a bit gloopy, don’t worry! It bakes up fine.
-
3Grab each tortilla and add a heaping spoonful of filling near one edge. Try not to overload. Roll ’em up tight like a little rug—you want them snug but not bursting. If they crack a bit, honestly, they still taste awesome.
-
4Arrange taquitos seam-side down on your baking sheet. Give them space—otherwise they get kind of mushy. Spray or brush lightly with oil. Baker’s choice.
-
5Bake for 15-18 minutes, turning them halfway if you remember (sometimes I forget). You’re looking for golden, crispy vibes here, not burnt hockey pucks.
-
6Let cool for maybe 5 minutes. Or don’t, but remember they’re officially lava inside for a bit!
-
7Serve with ranch or blue cheese and, if you’re fancy, more green onions on top.
Approximate Information for One Serving
Nutrition Disclaimers
Number of total servings shown is approximate. Actual number of servings will depend on your preferred portion sizes.
Nutritional values shown are general guidelines and reflect information for 1 serving using the ingredients listed, not including any optional ingredients. Actual macros may vary slightly depending on specific brands and types of ingredients used.
To determine the weight of one serving, prepare the recipe as instructed. Weigh the finished recipe, then divide the weight of the finished recipe (not including the weight of the container the food is in) by the desired number of servings. Result will be the weight of one serving.
Did you make this recipe?
Please consider Pinning it!




