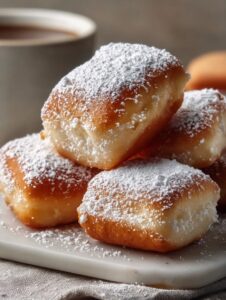
A Tale of Cheese Danish (and a Few Kitchen Woes)
If you’re anything like me, you probably have that one pastry from the corner bakery that calls your name on a dreary Tuesday. For me? It’s cheese danish. That tangy-sweet filling, the flaky pastry… and, well, the inevitable guilt of hitting up the shop three times in one week. So, I started making Cheese Danish Delight at home instead. Not gonna lie, my first go-round was more like “cheese blob surprise,” but these days I’ve got it down to a slightly (okay, barely) less messy science. Plus, if you accidentally eat half the pan for breakfast, who’s gonna know? I certainly won’t tell. Oh, and once, I dropped an entire baking sheet on the floor, but that’s a story for another time—or maybe for never. Let’s just say my dog was thrilled.

Why You’ll Love This (Or, Why My Family Demands Seconds)
I whip this up on weekends when I want folks to think I’ve been slaving away for hours (spoiler: I haven’t). My family is bonkers for that creamy, tangy cheese nestled in buttery pastry (my son swears the corners are the best part—I think he’s onto something). I’ve tried a few shortcuts here and there—some work, some don’t, but there’s something deeply satisfying about pulling these golden beauties out of the oven. Plus, I’ve made every mistake in the book so you don’t have to (wait till you hear about the great “forgotten sugar” incident of 2021… that was awkward at brunch).
What You’ll Need (aka the Grocery List with Wiggle Room)
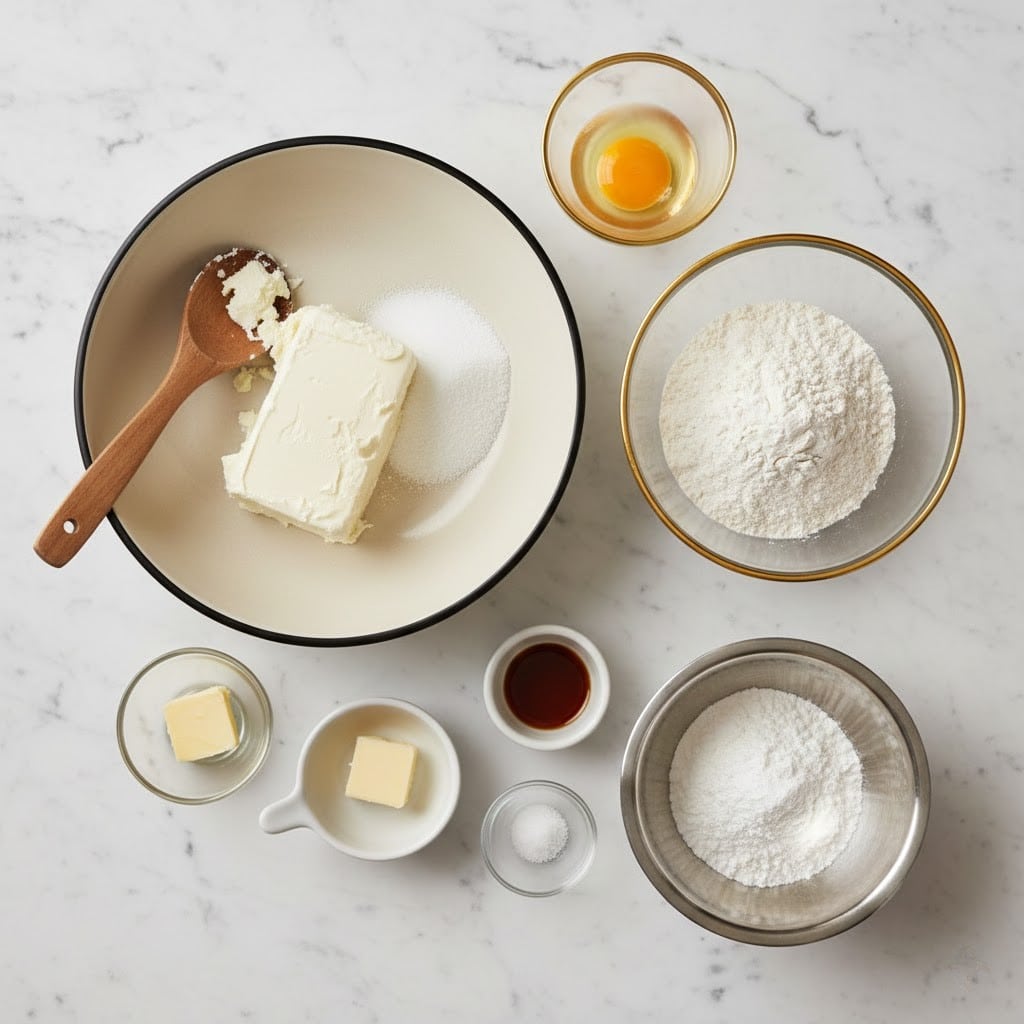
- 1 sheet frozen puff pastry, thawed (sometimes I go wild and use crescent roll dough if I’m out—it works, but it’s kind of a different vibe)
- 115g (4 oz) cream cheese, softened (any brand; my grandma swore by Philadelphia, but store brand honestly does the trick)
- 3 tablespoons granulated sugar (I’ve tried brown sugar once — it was fine, but the texture went a bit weird)
- 1 large egg yolk (or, if you don’t want to waste the egg white, just use the whole egg—texture gets looser though)
- 1/2 teaspoon pure vanilla extract (I use a smidge more, but that’s me)
- 1/2 teaspoon freshly grated lemon zest (optional, but it really does something zingy—if you like lemon, throw in a bit more)
- 1 tablespoon all-purpose flour (I’ve skipped this in a pinch, but the filling gets runny)
- 1 egg (beaten, for brushing – I’ve used milk instead if I was running low on eggs)
- Powdered sugar, for dusting (looks fancy, tastes fun, totally optional, but messy if you sneeze)
Directions (Somewhere Between Precise and “It’ll Be Fine!”)
- First, preheat your oven to 400°F (200°C). Line a baking tray with parchment. Or don’t, but be prepared for some sticky cleanup – you’ve been warned.
- On a lightly floured surface, gently roll the thawed puff pastry into a rough rectangle (about 10×12 inches). And honestly, if it’s not a perfect rectangle, who cares? Cut into sixish squares—sometimes mine turn out more like wonky hexagons, but hey, more edges for crispiness.
- In a bowl, beat together cream cheese, sugar, egg yolk, vanilla, lemon zest (if using), and flour till smooth and creamy. This is where I sneak a taste “for science.” I regret nothing.
- Spoon a generous blob (tablespoon or so) of the cheese mixture into the middle of each pastry square. Resist the urge to overfill, unless you’re into molten cheese lava (which, now that I think about it, isn’t the worst outcome).
- Fold the corners of each square over the filling, so they overlap in the center—press gently to seal. If they pop open in the oven, that’s just “rustic charm”. Brush the tops with the beaten egg (or milk if you’re improvising because the store closed early—yep, happened to me last week).
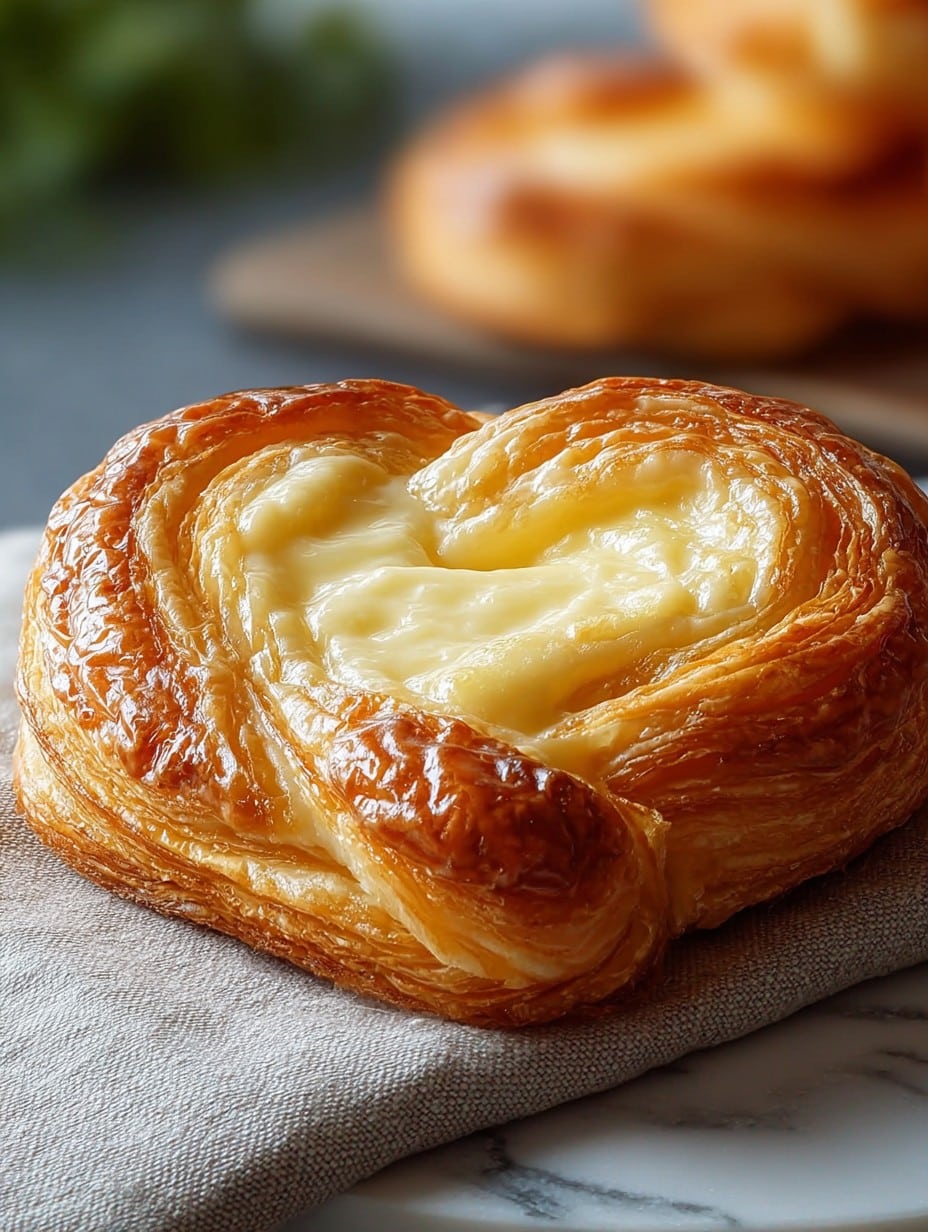
- Bake for 16-20 minutes, or until delightfully golden and puffy. Sometimes they puff unevenly and that’s honestly part of the charm. Try not to eat them all straight from the oven—burned tongues are not a badge of honor, I promise.
- Cool for 10 minutes, dust liberally with powdered sugar if you’re feeling fancy (I go overboard, it’s like a sugar blizzard every time), and, well, dig in!
Stuff I Learned the Hard Way (Notes)
- If your kitchen’s too warm, the pastry gets sticky—whack it in the fridge for five if it’s misbehaving.
- Forgot the flour once—ended up with a cheese puddle. Still tasted fab, just not exactly photo-worthy.
- Overstuffed danishes = cheesy eruptions. Actually fun to eat, but tricky to serve company.
Variations I’ve Tested (and a Flop or Two)
- Fruit swirl: Dab a little raspberry or apricot jam with the filling—my daughter says this is “extra fancy.”
- Chocolate chip: Sprinkle in mini chips. Tastes like dessert for breakfast (which, honestly, isn’t illegal—yet).
- Almond extract instead of lemon zest? I tried it—kind of intense. Maybe cut it with a half-lemon instead?
- Full crescent dough experiment: Came out oddly chewy. Not bad, just… different.
Kit You (Probably) Need
- Rolling pin (or, honestly, a wine bottle—done it, no shame)
- Parchment paper (I once just greased the pan really well and prayed)
- Mixing bowl and spoon (fancy stand mixers stay in the cupboard for this one—muscle power!)
How to Store (If You Even Need To)
Keep any leftovers in an airtight container at room temperature for a day, or pop in the fridge if you somehow have self-control (I do not). They get a bit softer after a night in the fridge—but sometimes I think they’re even better on day two. That said, mine rarely survive breakfast.
How We Like to Serve These
Warm, with strong coffee. Or—if it’s Sunday—sometimes I’ll pile on berries and a drizzle of honey. My partner dunks them in milk, which, honestly, is adorable and slightly chaotic.
Lessons Learned the There-Hard-Way (Pro Tips)
- Don’t try skipping the chill if your dough gets too soft—I did, and had shapeless cheese pancakes. Still edible, though.
- Resist the temptation to over-bake. I left a batch in for “just five more minutes” once and the filling turned brown and weird. Not ideal unless you like “extra-caramelized”.
Frequently Asked (and Sometimes Odd) Questions
- Can I use low-fat cream cheese? Sure, but the danish isn’t quite as creamy. Still good in a pinch!
- My filling leaked out! What gives? Happens to the best of us. Try sealing the corners more firmly—or just serve as is. Folks’ll still eat ’em.
- Can I freeze these? Actually, yes! Freeze unbaked and bake straight from frozen, or freeze leftovers—just pop in the toaster oven to crisp up a bit.
- Why are mine not as puffy? Could be the dough got too warm, or maybe your oven runs cool. Happens. Still edible. Trust me.
- Wait, you really use a wine bottle as a rolling pin? Look, desperate times call for creative solutions. Improvise, adapt, overcome!
Ingredients
- 1 sheet frozen puff pastry, thawed (sometimes I go wild and use crescent roll dough if I’m out—it works, but it’s kind of a different vibe)
- 115g (4 oz) cream cheese, softened (any brand; my grandma swore by Philadelphia, but store brand honestly does the trick)
- 3 tablespoons granulated sugar (I’ve tried brown sugar once — it was fine, but the texture went a bit weird)
- 1 large egg yolk (or, if you don’t want to waste the egg white, just use the whole egg—texture gets looser though)
- 1/2 teaspoon pure vanilla extract (I use a smidge more, but that’s me)
- 1/2 teaspoon freshly grated lemon zest (optional, but it really does something zingy—if you like lemon, throw in a bit more)
- 1 tablespoon all-purpose flour (I’ve skipped this in a pinch, but the filling gets runny)
- 1 egg (beaten, for brushing – I’ve used milk instead if I was running low on eggs)
- Powdered sugar, for dusting (looks fancy, tastes fun, totally optional, but messy if you sneeze)
Instructions
-
1First, preheat your oven to 400°F (200°C). Line a baking tray with parchment. Or don’t, but be prepared for some sticky cleanup – you’ve been warned.
-
2On a lightly floured surface, gently roll the thawed puff pastry into a rough rectangle (about 10×12 inches). And honestly, if it’s not a perfect rectangle, who cares? Cut into sixish squares—sometimes mine turn out more like wonky hexagons, but hey, more edges for crispiness.
-
3In a bowl, beat together cream cheese, sugar, egg yolk, vanilla, lemon zest (if using), and flour till smooth and creamy. This is where I sneak a taste “for science.” I regret nothing.
-
4Spoon a generous blob (tablespoon or so) of the cheese mixture into the middle of each pastry square. Resist the urge to overfill, unless you’re into molten cheese lava (which, now that I think about it, isn’t the worst outcome).
-
5Fold the corners of each square over the filling, so they overlap in the center—press gently to seal. If they pop open in the oven, that’s just “rustic charm”. Brush the tops with the beaten egg (or milk if you’re improvising because the store closed early—yep, happened to me last week).
-
6Bake for 16-20 minutes, or until delightfully golden and puffy. Sometimes they puff unevenly and that’s honestly part of the charm. Try not to eat them all straight from the oven—burned tongues are not a badge of honor, I promise.
-
7Cool for 10 minutes, dust liberally with powdered sugar if you’re feeling fancy (I go overboard, it’s like a sugar blizzard every time), and, well, dig in!
Approximate Information for One Serving
Nutrition Disclaimers
Number of total servings shown is approximate. Actual number of servings will depend on your preferred portion sizes.
Nutritional values shown are general guidelines and reflect information for 1 serving using the ingredients listed, not including any optional ingredients. Actual macros may vary slightly depending on specific brands and types of ingredients used.
To determine the weight of one serving, prepare the recipe as instructed. Weigh the finished recipe, then divide the weight of the finished recipe (not including the weight of the container the food is in) by the desired number of servings. Result will be the weight of one serving.
Did you make this recipe?
Please consider Pinning it!