The Easiest Vanilla French Beignets: My Kitchen Anthems
Okay, so here’s the honest truth: the first time I tried making French beignets at home, I made a gigantic mess. Powdered sugar everywhere, my jeans were basically a flour canvas, and somehow I got a bit of dough in my hair. (Don’t ask.) But when I finally pulled those warm, vanilla pillows out of the fryer, I understood why folks in New Orleans risk powdered sugar disasters every day. These little clouds are my happy place, especially when a Saturday morning needs a pick-me-up (or when a friend shows up and you want to pretend you’re fancier than you are.)

Why I Keep Coming Back to This Recipe
I make these whenever I feel like I need a mini holiday—seriously, my kids ask for these on their birthdays (and sometimes Tuesday afternoons). I love how you don’t need to babysit a yeast dough for hours (patience isn’t a family trait here). I mean, sure, I get impatient with the sticky dough sometimes. But the smell of vanilla hits, and it’s like—yup, worth it. Plus, you get to eat them hot, dunked in more sugar, or if you’re like me and live a little wild, actually dunked in coffee. My aunt swears you have to serve them with chicory coffee, but I think strong tea works just fine. (Sorry, Aunty Jo!)
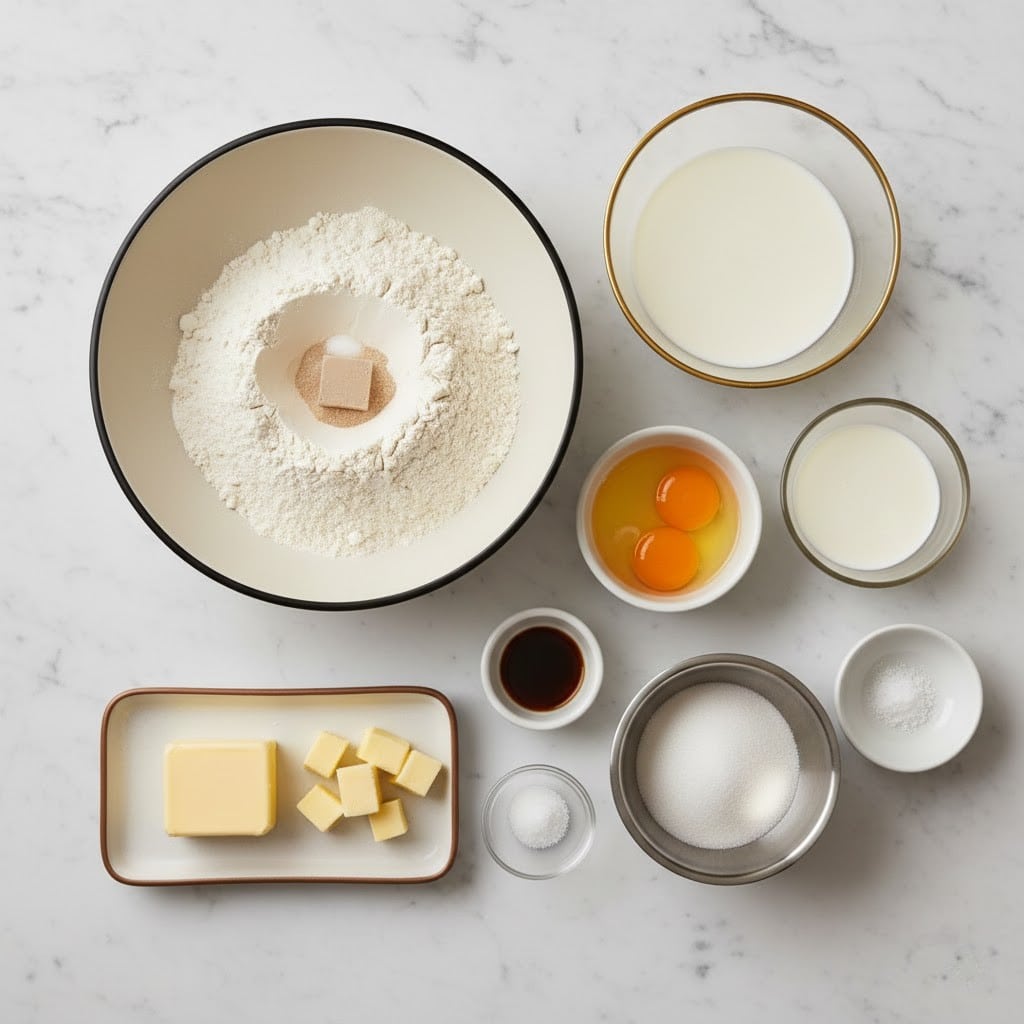
What You’ll Need (With My Rambles)
- 2 cups all-purpose flour (okay, I’ve even used bread flour when I ran out—works fine, just a touch chewier)
- 1/4 cup granulated sugar (my grandma always used caster sugar, but not essential—I use what’s on hand)
- 2 tsp baking powder
- 1/2 tsp salt (sometimes I pinch a bit more—I like the contrast)
- 2 large eggs
- 1/2 cup milk (whole milk is best, but I’ve gotten away with 2%—once with oat milk when I was desperate, taste was slightly earthier)
- 1 Tbsp pure vanilla extract (I always add a splash more; vanilla makes me happy)
- 3 Tbsp unsalted butter, melted and very slightly cooled
- Vegetable oil for frying (I usually use sunflower oil—peanut oil is fancy but, honestly, expensive where I am)
- Powdered sugar, for dusting (I just throw on as much as I can without looking too scandalous)
Directions: My Not-So-Serious Step-by-Step
- In a big-ish bowl, whisk together the flour, sugar, baking powder, and salt. (It’ll look a bit boring; that’s normal. Sometimes I zone out here, thinking about Paris. Or just laundry.)
- In another bowl—yes, you need two, sorry—beat the eggs. Then stir in milk, vanilla, and melted butter until it’s looking like a very light custard. Don’t panic, it’s supposed to look a little runny.
- Now, dump the wet stuff into the dry bowl. Stir with a spatula or even a wooden spoon—gently, not aggressively—until it just comes together. If it looks lumpy, that’s okay; if you overmix, the beignets will fight back!
- On a floured surface, lightly knead the dough a few times until it’s just holding together. If it sticks, sprinkle on more flour, but resist full-on snowstorm mode.
- Pat the dough into a thick rectangle—like, about 3/4 inch thick. I never bother measuring. Then cut into squares or little rectangles with a knife or pizza cutter (I’ve even used kitchen scissors in a pinch—nobody cared!)
- Pour vegetable oil into a heavy pot or a deep skillet—enough for the beignets to float. Heat it up to 350°F (or until a bit of dough sizzles energetically—be careful though!).
- Gently drop a few dough pieces in at a time—don’t crowd them, they need space to puff! Fry each side until golden, about 1–2 minutes per side. (They sometimes flip themselves, which always makes me oddly proud.)
- Fish them out with a slotted spoon and flop onto paper towels to drain. This is where I usually sneak a taste (if it burns my tongue, I know they’re fresh.)
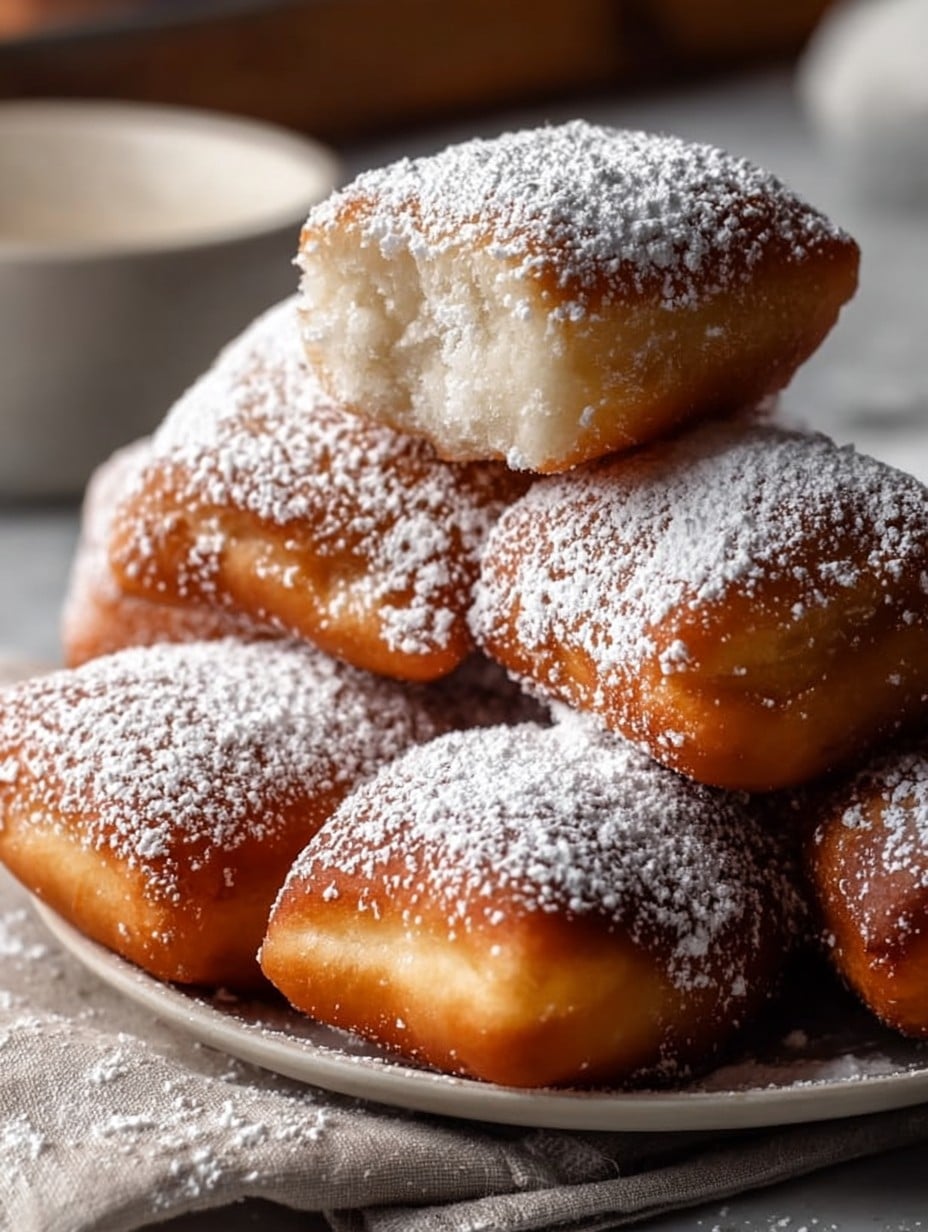
- Toss while warm with obscene amounts of powdered sugar. Seriously, don’t skimp.
My Handwritten Notes (Read: Oops Moments)
- If you forgot to cool the butter and it scrambles the eggs—don’t panic, just keep going; I’ve done this more times than I’d like to admit.
- Beignets are best immediately but if you have leftovers, I actually think they’re quite nice reheated in the oven for a few minutes.
- You can shape them literally however you want—squares, circles, triangles—no French pastry police here.
Some Variations from My Kitchen Experiments
- Tried adding lemon zest instead of vanilla—decent on its own, but not exactly a hit with the younger crowd.
- I once sandwiched a tiny piece of chocolate inside each square before frying. That actually turned out pretty good, but the melt and mess was a bit next-level (chocolate lava everywhere—watch out for shirts).
- Less successful: using coconut oil for frying. Smelled amazing, but I thought it tasted weirdly tropical for a French treat.
Got the Right Gear? It’s Fine If You Don’t
A deep-fry thermometer is great if you have one, but honestly, tossing a tiny bit of dough in to see if it sizzles is just as good. And if you don’t have a slotted spoon, use tongs or even a fork (I have, more than once—just don’t burn yourself, eh?).
How To Store – But Why Would You Need To?
Supposedly, you can keep these in an airtight tin for a day or so, but honestly in my house it never lasts more than a day! If you absolutely must, warm them in a medium oven (about 300°F) for five-ish minutes to bring back the fluff.
Serving: My Favorite Beignet Ritual
I eat mine with even more powdered sugar than is wise—and maybe a mug of strong coffee, ideally while sitting at my kitchen table pretending it’s a sidewalk café. Sometimes I plop a dollop of whipped cream on the side (don’t judge, it works.)
Pro Tips (Learned the Hard Way)
- Don’t rush the frying. One time, I cranked the heat, and the beignets went brown straight away but stayed raw in the middle. Much sadness.
- Actually, I find it works better if you give the dough a quick 5-minute rest before cutting … not totally necessary, but it seems fluffier? Or maybe that’s just in my head.
- Don’t wear black clothes. Trust me. Powdered sugar drama.
Real-Life FAQ (I Swear I Get Asked These!)
- “Can I use self-raising flour?”
Sure, just leave out the baking powder—your beignets might poof a bit higher, but honestly, go for it! - “Is it okay to bake these instead of frying?”
Look, you can but the texture’s really not the same. I tried it once, and got what I’d call sweet, puffy biscuits. Good, but not that proper beignet experience. - “What if I don’t have vanilla?”
You could use almond extract—just use less, because that flavor gets bossy quick. Or skip it if you’re in a rush (but, you’ll miss out, I promise). - “Can I freeze the dough?”
Probably, but I never bother. Fresh is best; honestly, making a new batch is less bother than wrestling with frozen dough (for me anyway.) - “Why are my beignets tough?”
Likely you over-mixed the dough or fried them too long (I’ve made both mistakes plenty—don’t sweat it, just try again next time.)
And that’s a wrap—or, more fittingly, a dusting—on my easiest vanilla French beignets! If you end up with powdered sugar footprints across the kitchen, welcome to the club. Mine taste like a little vacation, no passport required.
Ingredients
- 2 cups all-purpose flour (okay, I’ve even used bread flour when I ran out—works fine, just a touch chewier)
- 1/4 cup granulated sugar (my grandma always used caster sugar, but not essential—I use what’s on hand)
- 2 tsp baking powder
- 1/2 tsp salt (sometimes I pinch a bit more—I like the contrast)
- 2 large eggs
- 1/2 cup milk (whole milk is best, but I’ve gotten away with 2%—once with oat milk when I was desperate, taste was slightly earthier)
- 1 Tbsp pure vanilla extract (I always add a splash more; vanilla makes me happy)
- 3 Tbsp unsalted butter, melted and very slightly cooled
- Vegetable oil for frying (I usually use sunflower oil—peanut oil is fancy but, honestly, expensive where I am)
- Powdered sugar, for dusting (I just throw on as much as I can without looking too scandalous)
Instructions
-
1In a big-ish bowl, whisk together the flour, sugar, baking powder, and salt. (It’ll look a bit boring; that’s normal. Sometimes I zone out here, thinking about Paris. Or just laundry.)
-
2In another bowl—yes, you need two, sorry—beat the eggs. Then stir in milk, vanilla, and melted butter until it’s looking like a very light custard. Don’t panic, it’s supposed to look a little runny.
-
3Now, dump the wet stuff into the dry bowl. Stir with a spatula or even a wooden spoon—gently, not aggressively—until it just comes together. If it looks lumpy, that’s okay; if you overmix, the beignets will fight back!
-
4On a floured surface, lightly knead the dough a few times until it’s just holding together. If it sticks, sprinkle on more flour, but resist full-on snowstorm mode.
-
5Pat the dough into a thick rectangle—like, about 3/4 inch thick. I never bother measuring. Then cut into squares or little rectangles with a knife or pizza cutter (I’ve even used kitchen scissors in a pinch—nobody cared!)
-
6Pour vegetable oil into a heavy pot or a deep skillet—enough for the beignets to float. Heat it up to 350°F (or until a bit of dough sizzles energetically—be careful though!).
-
7Gently drop a few dough pieces in at a time—don’t crowd them, they need space to puff! Fry each side until golden, about 1–2 minutes per side. (They sometimes flip themselves, which always makes me oddly proud.)
-
8Fish them out with a slotted spoon and flop onto paper towels to drain. This is where I usually sneak a taste (if it burns my tongue, I know they’re fresh.)
-
9Toss while warm with obscene amounts of powdered sugar. Seriously, don’t skimp.
Approximate Information for One Serving
Nutrition Disclaimers
Number of total servings shown is approximate. Actual number of servings will depend on your preferred portion sizes.
Nutritional values shown are general guidelines and reflect information for 1 serving using the ingredients listed, not including any optional ingredients. Actual macros may vary slightly depending on specific brands and types of ingredients used.
To determine the weight of one serving, prepare the recipe as instructed. Weigh the finished recipe, then divide the weight of the finished recipe (not including the weight of the container the food is in) by the desired number of servings. Result will be the weight of one serving.
Did you make this recipe?
Please consider Pinning it!