Cheese-Stuffed Garlic Bread Balls: My Ultimate Party Trick
Okay, so here’s the thing: I’ve been making these cheese stuffed garlic bread balls for, oh, I don’t even know—years?—and it’s gotten to the point where my friends are suspicious if they don’t see them on the table at get-togethers (I once tried to hide them for a more ~sophisticated~ snack lineup; that did not go over well). The first time I made them, my timing was a bit off and half the cheese ran out all over the tray. These days, though, I have the trick down to a not-so-sciencey science. They’re cheesy, garlicky, pillowy—and if someone eats only two, I mentally mark them as very self-controlled. Or sick.
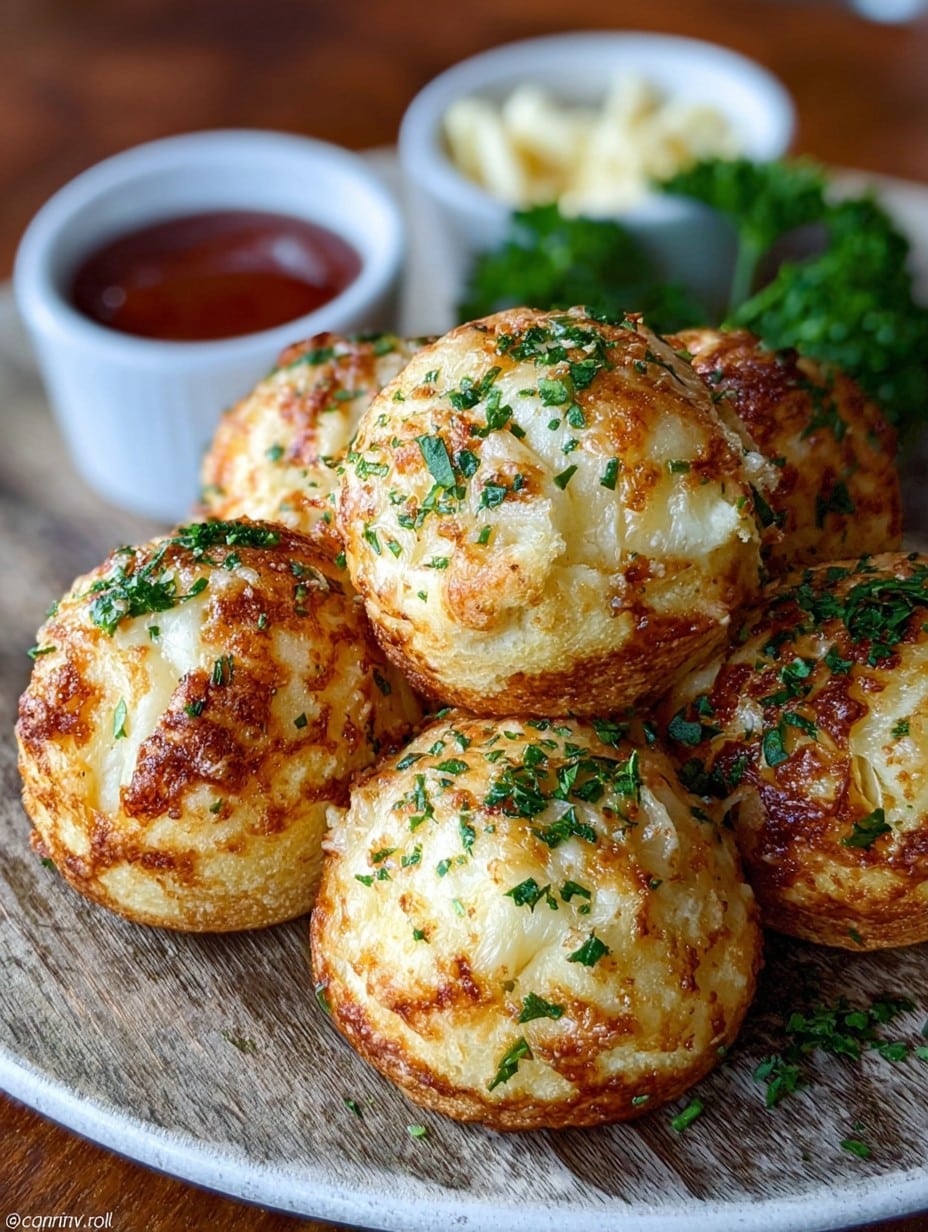
Why You’ll Love Making—and Eating—These
I pull out this recipe most often on cold evenings, when everyone wants finger food but I can’t face another bowl of chips. My family—especially my cousin, who claims to hate garlic—goes absolutely nuts for these (he eats six before admitting it). Even the pickiest little cousin, who declared he doesn’t like ‘soggy bread’, is now a convert. And here’s the best part: if you’re one of those ‘everything from scratch’ people, be my guest with homemade dough. But honestly, I just grab store-bought pizza dough 75% of the time—it makes life easier, and nobody has ever complained. There used to be a battle about which cheese works best, but spoiler: it barely matters once it’s pillowed inside that garlicky bread!
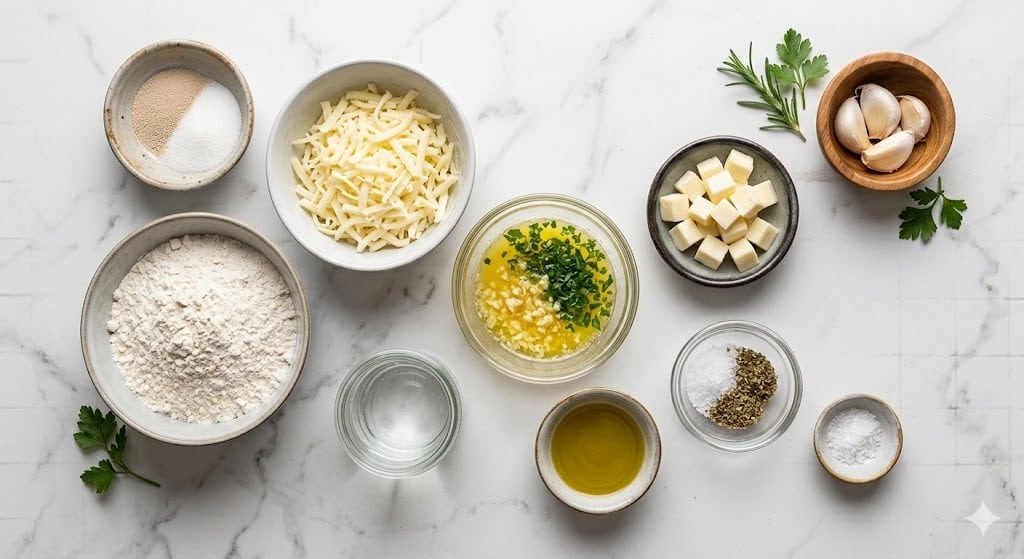
What You’ll Need (Ingredients)
- 1 pound pizza dough (homemade or from the store; on lazy days, I go store-bought, no shame)
- 1 1/4 cups shredded mozzarella cheese (you can cube fresh if you want to feel fancy)
- 3 tablespoons unsalted butter (salted is fine if that’s all you’ve got; you can skip the pinch of salt then)
- 4 garlic cloves, minced (or just use ~1 1/2 teaspoons garlic powder when you’ve run out/fresh is too much bother)
- 2 tablespoons finely chopped parsley (dried parsley if you, like me, sometimes find your fresh bunch wilted in the fridge…)
- 1/4 teaspoon salt
- 1/2 teaspoon Italian seasoning (I’ve left this out before and honestly, it’s still tasty, just a bit less herby)
- Grated parmesan, for topping (optional, but my neighbour swore it’s ‘non-negotiable’, so do with that what you will)
How To Actually Make These (Directions)
- Preheat your oven to 400°F (200°C). If your oven takes forever like mine, you’ll have time to find your baking tray and a sheet of parchment.
- Tear or cut your dough into 12 (or, okay, sometimes 14 when I misjudge) even-ish balls. Roll each into a flat-ish circle about the size of your palm—don’t worry if it’s a bit off, they puff in the oven anyway.
- Plop a generous tablespoon of mozzarella in the center of each dough circle. If I get too eager and overstuff, they do sometimes leak, but it’s not the end of the world (think: crunchy cheese bits!).
- Pinch and seal the edges together over the cheese, so nothing escapes—at least, that’s the dream. Place each, seam-side-down, on your tray. If one opens up a bit, it’s honestly fine.
- In a small pan (or a microwave bowl, because who wants extra dishes?), melt the butter with your garlic over low heat. You want it fragrant but not brown. Sometimes I get distracted—if you do and the garlic browns, just start over. Bitter garlic is a crime.
- Stir in parsley, salt, and Italian seasoning. This is where I taste-test, because—well—who can resist garlicky butter?
- Brush the tops of your dough balls generously with the garlic butter mix. Sprinkle parmesan if you want to live large (or if you’ve got that neighbor hovering).
- Bake for 14–16 minutes, until golden brown on top. Keep an eye around minute 12, because ovens have minds of their own.
- Let cool for a couple minutes (the cheese will scald your tongue if not—ask me how I learned).
- Serve warm, preferably with some kind of marinara or pizza sauce for dipping. Or just as-is. Honestly, no one ever waits for sauce in my house.
Some Notes (A.K.A. Things I Learned Along The Way)
- If your dough tears, just squish the seam, maybe patch with a tiny bit from another ball—no one will notice.
- Butter can go from toasty to burnt in a heartbeat, so don’t wander off to check your phone (guilty… more than once).
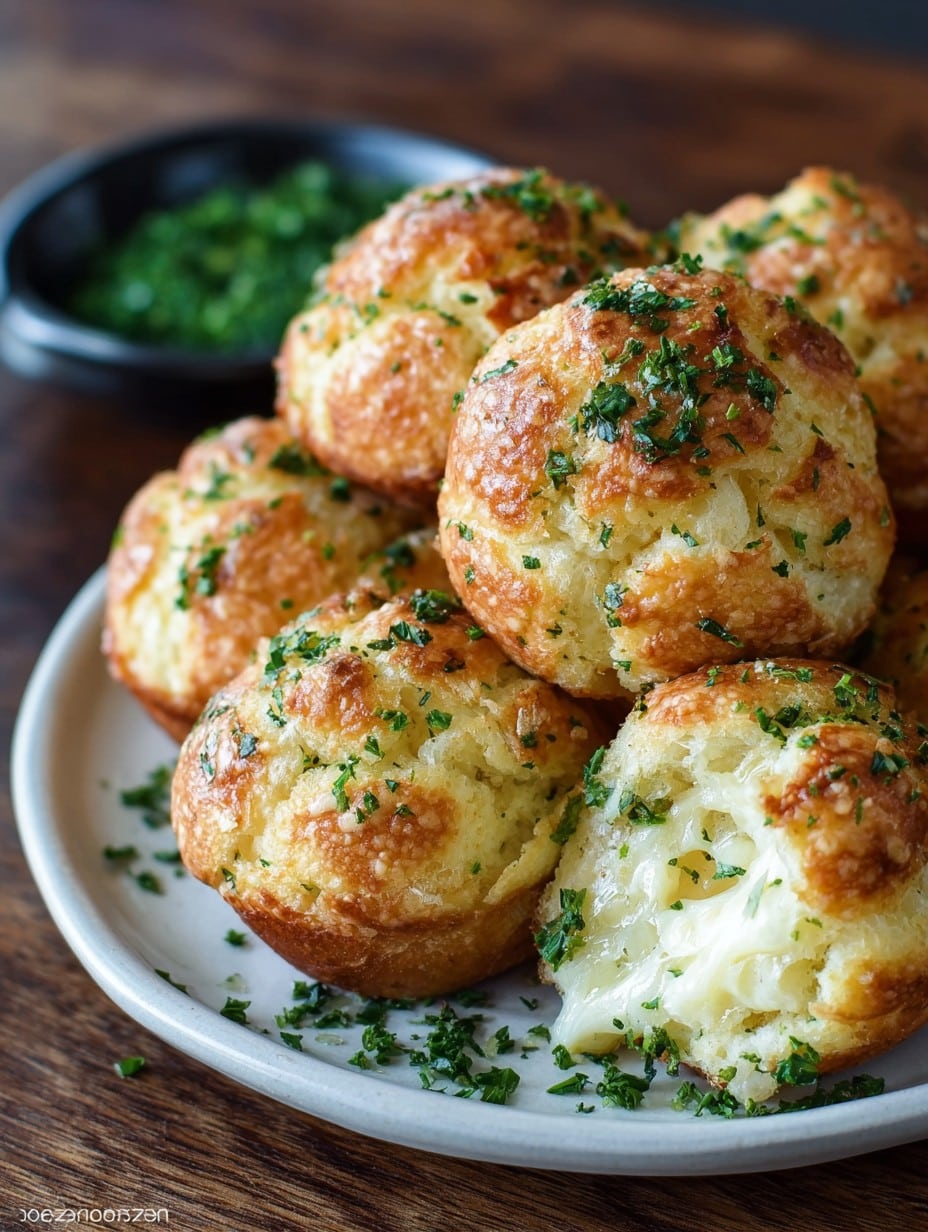
- I used to overload the cheese for that epic ‘cheese pull’—turns out, less is sometimes more. Or at least less mess.
- You can freeze the balls after step 4 and bake from frozen! Just add 5 minutes of baking time.
Variations I’ve Tried (And One I Gave Up On…)
- Swapping in cheddar or fontina for the mozzarella—yum. Pepper jack got mixed reviews (my brother loved, kids not so much).
- Adding chopped sundried tomato to the cheese center—delicious, but kinda messy.
- Once I tried blue cheese. The kitchen lingered with that aroma for days. Not my finest hour, but spice junkies may enjoy? Wouldn’t really recommend, though.
- Brushed with olive oil instead of butter: works in a pinch, but lacks that rich flavor.
Do You Need Fancy Equipment? (I Don’t)
Baking tray and some parchment paper. Rolling pin is great, but honestly I’ve used an empty wine bottle (clean… mostly), and it works fine. If you’re without a pastry brush, you can dab the garlic butter on with a spoon. Not perfect, but it gets the job done!
How To Store These (Though Good Luck With Leftovers)
Technically, you can keep them in an airtight container at room temp for up to a day, or the fridge for 3 days. I know this because I once made a double batch and hid a few in the back of the fridge to see if they survived. They do, but they’re best reheated in the oven for a few minutes so the bread perks up and the cheese gets oozy again. In reality? They barely last the afternoon in my place, let alone three days.
How I Like To Serve Them
If it’s just family, I plonk them on a big board with whatever jarred marinara I find in the fridge—sometimes I even fancy it up with a little bowl of pesto. Occasionally, on game nights, I add a plate of pickles for no reason other than my family is pickle-obsessed. You could serve them as a side with pasta, too. Or eat them standing at the counter, pretending you’ll stop at one. (Spoiler: you won’t.)
My Top Tips (Mostly Lessons from Mistakes)
- Don’t skimp on the garlic. I did once—never again. The flavor is what makes these, er, sing.
- Pinch and seal those dough balls like you mean it. Otherwise you get cheese lava on your baking sheet (which, honestly, I now eat straight off the pan, but it’s not exactly pretty).
- Let them cool for a few minutes before biting in, unless you’re immune to mouth burns. I once bit in too soon; lesson learned.
- Rushing the proofing if you’re using homemade dough? Don’t! They just bake up dense. Give them a little rise time if you can spare it.
Wait, Let’s Do a Quick FAQ!
- Can I use whole-wheat dough?
- Yep, but they’ll be a bit more, uhh, hearty? Still tasty though. Maybe not as fluffy.
- What if I don’t have fresh garlic?
- Just use garlic powder (1 1/2 teaspoons-ish). Did that last week when I realized my garlic had sprouted. No one knew.
- Can I freeze them after baking?
- For sure. Just cool completely, wrap well, and reheat in the oven. I reckon the texture’s best straight from the oven, but they’re decent from frozen, too.
- How do I get a really good cheese pull?
- Make sure your cheese is cold, and don’t overstuff. Also, eat them hot. Actually, eat them whenever you want—I won’t judge.
- Can these be made gluten-free?
- I’ve not tried, honestly, so if you do, let me know how it shakes out. I suspect a good GF pizza dough could work!
Oh, one more thing—if you double the recipe, you might want to double the dipping sauces as well. I learned that the loud way last New Year’s Eve. Happy cooking, hope you make a glorious, gooey mess!
Ingredients
- 1 pound pizza dough (homemade or from the store; on lazy days, I go store-bought, no shame)
- 1 1/4 cups shredded mozzarella cheese (you can cube fresh if you want to feel fancy)
- 3 tablespoons unsalted butter (salted is fine if that’s all you’ve got; you can skip the pinch of salt then)
- 4 garlic cloves, minced (or just use ~1 1/2 teaspoons garlic powder when you’ve run out/fresh is too much bother)
- 2 tablespoons finely chopped parsley (dried parsley if you, like me, sometimes find your fresh bunch wilted in the fridge…)
- 1/4 teaspoon salt
- 1/2 teaspoon Italian seasoning (I’ve left this out before and honestly, it’s still tasty, just a bit less herby)
- Grated parmesan, for topping (optional, but my neighbour swore it’s ‘non-negotiable’, so do with that what you will)
Instructions
-
1Preheat your oven to 400°F (200°C). If your oven takes forever like mine, you’ll have time to find your baking tray and a sheet of parchment.
-
2Tear or cut your dough into 12 (or, okay, sometimes 14 when I misjudge) even-ish balls. Roll each into a flat-ish circle about the size of your palm—don’t worry if it’s a bit off, they puff in the oven anyway.
-
3Plop a generous tablespoon of mozzarella in the center of each dough circle. If I get too eager and overstuff, they do sometimes leak, but it’s not the end of the world (think: crunchy cheese bits!).
-
4Pinch and seal the edges together over the cheese, so nothing escapes—at least, that’s the dream. Place each, seam-side-down, on your tray. If one opens up a bit, it’s honestly fine.
-
5In a small pan (or a microwave bowl, because who wants extra dishes?), melt the butter with your garlic over low heat. You want it fragrant but not brown. Sometimes I get distracted—if you do and the garlic browns, just start over. Bitter garlic is a crime.
-
6Stir in parsley, salt, and Italian seasoning. This is where I taste-test, because—well—who can resist garlicky butter?
-
7Brush the tops of your dough balls generously with the garlic butter mix. Sprinkle parmesan if you want to live large (or if you’ve got that neighbor hovering).
-
8Bake for 14–16 minutes, until golden brown on top. Keep an eye around minute 12, because ovens have minds of their own.
-
9Let cool for a couple minutes (the cheese will scald your tongue if not—ask me how I learned).
-
10Serve warm, preferably with some kind of marinara or pizza sauce for dipping. Or just as-is. Honestly, no one ever waits for sauce in my house.
Approximate Information for One Serving
Nutrition Disclaimers
Number of total servings shown is approximate. Actual number of servings will depend on your preferred portion sizes.
Nutritional values shown are general guidelines and reflect information for 1 serving using the ingredients listed, not including any optional ingredients. Actual macros may vary slightly depending on specific brands and types of ingredients used.
To determine the weight of one serving, prepare the recipe as instructed. Weigh the finished recipe, then divide the weight of the finished recipe (not including the weight of the container the food is in) by the desired number of servings. Result will be the weight of one serving.
Did you make this recipe?
Please consider Pinning it!




