Let’s Talk Homemade Churros: My Slightly Chaotic Journey
Honestly, making churros at home feels a bit like unleashing controlled chaos in the kitchen. I’ve done it late at night after a movie marathon, during snow days with the kids (horrible idea, by the way—powdered sugar gets everywhere), and that one time I tried to impress my in-laws. They went for seconds, so I guess it worked. There’s something mischievously fun about frying dough, rolling it in sugar, and not caring if it’s a little lopsided or if the kitchen gets an extra cleaning session. Also—I always eat one hot and just burn my tongue every. single. time. Haven’t learned; probably never will.

Why You’ll Love This (Yep, Even You)
I make these whenever the sweet tooth strikes but the local bakery’s closed (or honestly, because I secretly like mine better—there, I said it!). My family goes wild for churros, especially dipped in chocolate sauce or just coffee on a lazy Sunday afternoon. I used to get so annoyed when my batter turned into a sticky monster, but actually, I find it works better if you don’t stress about it being perfectly smooth. Plus, if the churros come out a tad wonky looking, it just means more nooks for cinnamon sugar to cling to. Worth it!
Ingredients: The Real Deal (With Some Options)
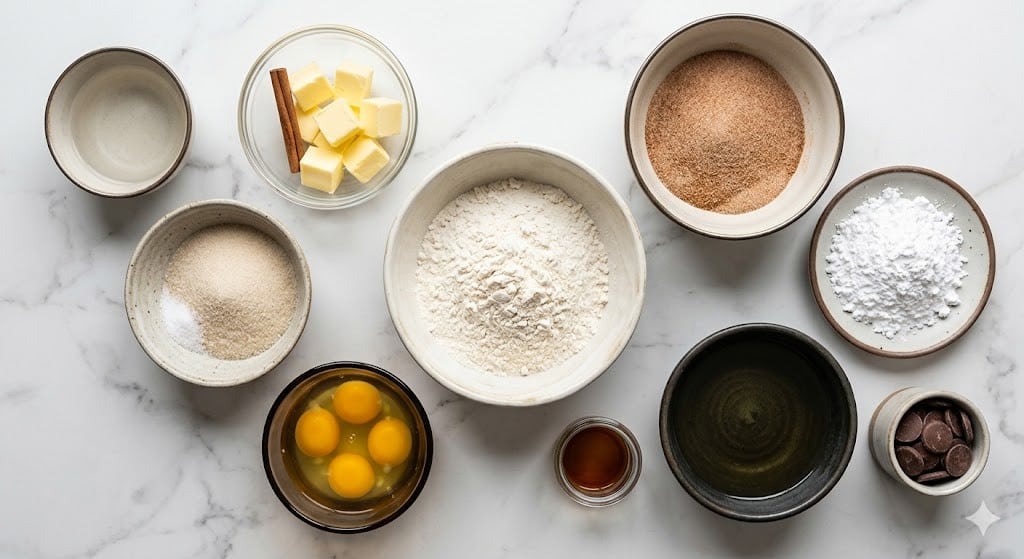
- 1 cup water (filtered if yours tastes weird, but plain tap is fine)
- 2 1/2 tablespoons sugar (white, though I tried brown once—good but a bit heavy)
- 1/2 teaspoon salt
- 2 tablespoons unsalted butter (honestly, I’ve used margarine once or twice in a pinch)
- 1 cup all-purpose flour (my grandmother always swore by King Arthur, but any brand seems to work the same to me)
- 2 large eggs (room temp is nice, but sometimes I just use them straight from the fridge)
- 1 teaspoon vanilla extract (imitation if you’re desperate, won’t judge)
- Oil for frying (about 2 to 3 cups; vegetable or canola)
- 1/2 cup sugar (for rolling, and sometimes I swap in turbinado for extra crunch)
- 1 teaspoon ground cinnamon (don’t fuss if it’s a little more or less)
How You Actually Make Churros at Home
- In a medium saucepan, combine the water, 2 1/2 tablespoons sugar, salt, and butter. Heat over medium; get it bubbling, then just as it starts, dump in all the flour. Stir fast! (It’ll look like a doughy mess—don’t panic.)
- Cook the dough for about 2 minutes, smushing it around. It’s supposed to form a ball, though mine sometimes looks more like an amoeba.
- Let the dough cool for 5 minutes so you don’t scramble your eggs in the next step—trust me, I learned this the fun way.
- Add eggs and vanilla to the slightly cooled dough. Beat with a wooden spoon or electric mixer until smooth(ish). It takes some elbow grease, and sometimes the eggs just slide around before blending—but that’s normal.
- Scoop the dough into a piping bag fitted with a large star tip. Or just a ziplock bag with the tip snipped off—your churros will look a bit rustic but honestly taste the same.
- Heat the oil in a heavy-bottomed pot (or deep skillet, or heck, even the wok that’s gathering dust) to 350°F—if you don’t have a thermometer, drop in a little dough; it should sizzle and float after about 8 seconds.
- Pipe strips of dough (around 4-6 inches usually, but who’s measuring?) directly into the oil. Use scissors to snip, being careful not to baptize your fingers.
- Fry 3-5 churros at a time, flipping occasionally, until gloriously golden—takes about 2 to 4 minutes.
- Fish them out with a slotted spoon and drain on paper towels. At this stage, I usually sneak one. Safety testing, obviously.
- Mix your rolling sugar and cinnamon in a shallow dish. Toss warm churros in there like logs in a forest (bad simile but I’m running with it)
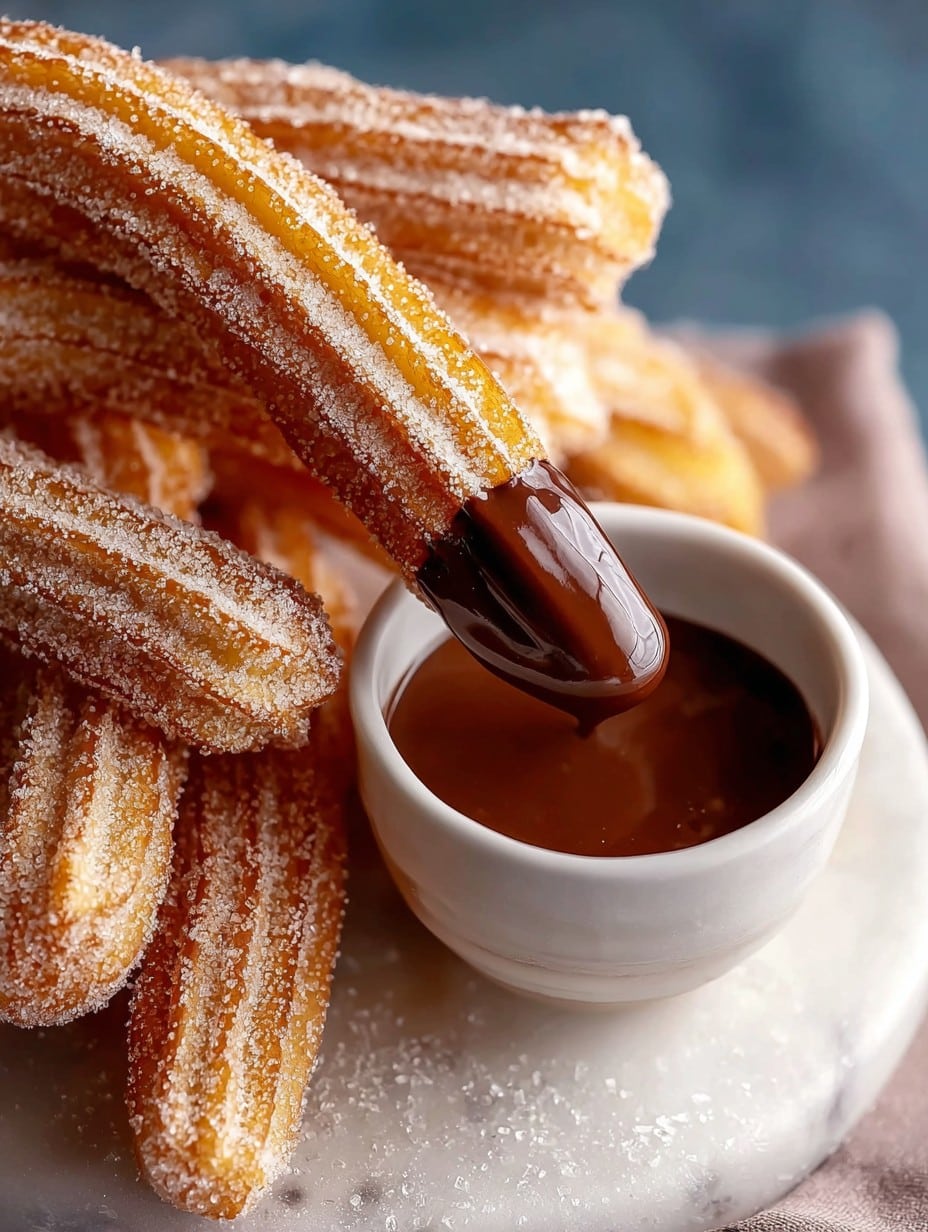
- Serve hot, preferably with chocolate sauce or just straight up. You do you.
Notes: Stuff I Wish Someone Had Told Me
- If your dough is super stiff, try beating it another minute. Once I added an extra splash of water but honestly, it made things a bit too soft.
- Never walk off while the oil’s heating. I tried multitasking with laundry and came back to smoke. Oops.
- Churros taste best right after frying, but they’re still pretty alright after a few hours… not that they last long around here.
If You Want to Tinker: My Churros Experiments
- I once stuffed churros with dulce de leche using a piping bag—messy but delicious.
- Tried baking them instead of frying (for science). Nah. Too dry for my taste, though maybe it’s just my oven acting up again. Give it a shot?
- Swapped vanilla for orange zest once—surprisingly tasty! Felt very fancy for a minute.
Gear Up (Or Improvise!)
Piping bag with a star tip makes the classic ridges, but if you don’t have one, a ziplock bag works—or just roll into little chubby logs by hand. No thermometer? No worries, just test with dough like I mentioned. I even used chopsticks for flipping once, and it worked, but definitely made things more interesting.
How (and If) To Store Churros
Honestly, in my house these are gone before the oil cools. But if you somehow have leftovers, store them uncovered at room temp for a few hours. If you stow them in a container they’ll go soggy, but a quick toast in the oven (say, 350°F for 5ish minutes) brings them back to life. Probably not as good as fresh, but still edible. I think they taste better the next day with coffee—though I might be alone in that boat.
How I Serve Churros at Home (It’s a Scene)
We go classic: a big pile dumped onto a sheet pan, chocolate sauce on the side, everyone diving in while still standing in the kitchen. Sometimes we get fancy with whipped cream or caramel. Once my cousin demanded ice cream—actually, not a bad combo. Eating churros around the TV is a family tradition at this point, crumbs be damned. (Sorry, couch.)
What I’ve Learned the Hard Way
- I once tried to rush cooling the dough and ended up with eggy scrambled bits—learned my lesson.
- Don’t over-crowd the pot. The churros will get greasy and limp. Patience pays off. (Did I always have patience? Nope. But, you know, growth!)
- Oh, actually, I found that using a too-small pot just makes a mess—go bigger than you think you’ll need.
FAQ: Real Questions I’ve Actually Gotten
- Do I really need to use a star tip? Honestly, not unless you’re chasing that churro-stand authenticity. I’ve made fat little ones with just a plastic bag and scissors and no one complained!
- Can I freeze churros? You can freeze the dough strips, fry from frozen—but be careful, they splatter more—so, maybe a bit of a juggling act.
- What’s the best dipping sauce? I’m pretty basic; love chocolate, but my aunt swears by thicker caramel. Even just coffee is great. Up to you—and your sweet tooth.
- Is it normal for the dough to feel weirdly elastic? Totally normal. Sometimes it feels like it’ll never blend, but just keep mixing.
- How do I make churros less greasy? Make sure your oil’s hot enough and drain them on lots of paper towels. I tried oven-frying once—eh, not the same.
And, weird sidebar, but once I tried to time frying churros while binging ‘The Great British Bake Off’ and got so invested in a showstopper cake I nearly let my churros go full charcoal. Lesson: one kitchen adventure at a time.
Ingredients
- 1 cup water (filtered if yours tastes weird, but plain tap is fine)
- 2 1/2 tablespoons sugar (white, though I tried brown once—good but a bit heavy)
- 1/2 teaspoon salt
- 2 tablespoons unsalted butter (honestly, I’ve used margarine once or twice in a pinch)
- 1 cup all-purpose flour (my grandmother always swore by King Arthur, but any brand seems to work the same to me)
- 2 large eggs (room temp is nice, but sometimes I just use them straight from the fridge)
- 1 teaspoon vanilla extract (imitation if you’re desperate, won’t judge)
- Oil for frying (about 2 to 3 cups; vegetable or canola)
- 1/2 cup sugar (for rolling, and sometimes I swap in turbinado for extra crunch)
- 1 teaspoon ground cinnamon (don’t fuss if it’s a little more or less)
Instructions
-
1In a medium saucepan, combine the water, 2 1/2 tablespoons sugar, salt, and butter. Heat over medium; get it bubbling, then just as it starts, dump in all the flour. Stir fast! (It’ll look like a doughy mess—don’t panic.)
-
2Cook the dough for about 2 minutes, smushing it around. It’s supposed to form a ball, though mine sometimes looks more like an amoeba.
-
3Let the dough cool for 5 minutes so you don’t scramble your eggs in the next step—trust me, I learned this the fun way.
-
4Add eggs and vanilla to the slightly cooled dough. Beat with a wooden spoon or electric mixer until smooth(ish). It takes some elbow grease, and sometimes the eggs just slide around before blending—but that’s normal.
-
5Scoop the dough into a piping bag fitted with a large star tip. Or just a ziplock bag with the tip snipped off—your churros will look a bit rustic but honestly taste the same.
-
6Heat the oil in a heavy-bottomed pot (or deep skillet, or heck, even the wok that’s gathering dust) to 350°F—if you don’t have a thermometer, drop in a little dough; it should sizzle and float after about 8 seconds.
-
7Pipe strips of dough (around 4-6 inches usually, but who’s measuring?) directly into the oil. Use scissors to snip, being careful not to baptize your fingers.
-
8Fry 3-5 churros at a time, flipping occasionally, until gloriously golden—takes about 2 to 4 minutes.
-
9Fish them out with a slotted spoon and drain on paper towels. At this stage, I usually sneak one. Safety testing, obviously.
-
10Mix your rolling sugar and cinnamon in a shallow dish. Toss warm churros in there like logs in a forest (bad simile but I’m running with it)
-
11Serve hot, preferably with chocolate sauce or just straight up. You do you.
Approximate Information for One Serving
Nutrition Disclaimers
Number of total servings shown is approximate. Actual number of servings will depend on your preferred portion sizes.
Nutritional values shown are general guidelines and reflect information for 1 serving using the ingredients listed, not including any optional ingredients. Actual macros may vary slightly depending on specific brands and types of ingredients used.
To determine the weight of one serving, prepare the recipe as instructed. Weigh the finished recipe, then divide the weight of the finished recipe (not including the weight of the container the food is in) by the desired number of servings. Result will be the weight of one serving.
Did you make this recipe?
Please consider Pinning it!




