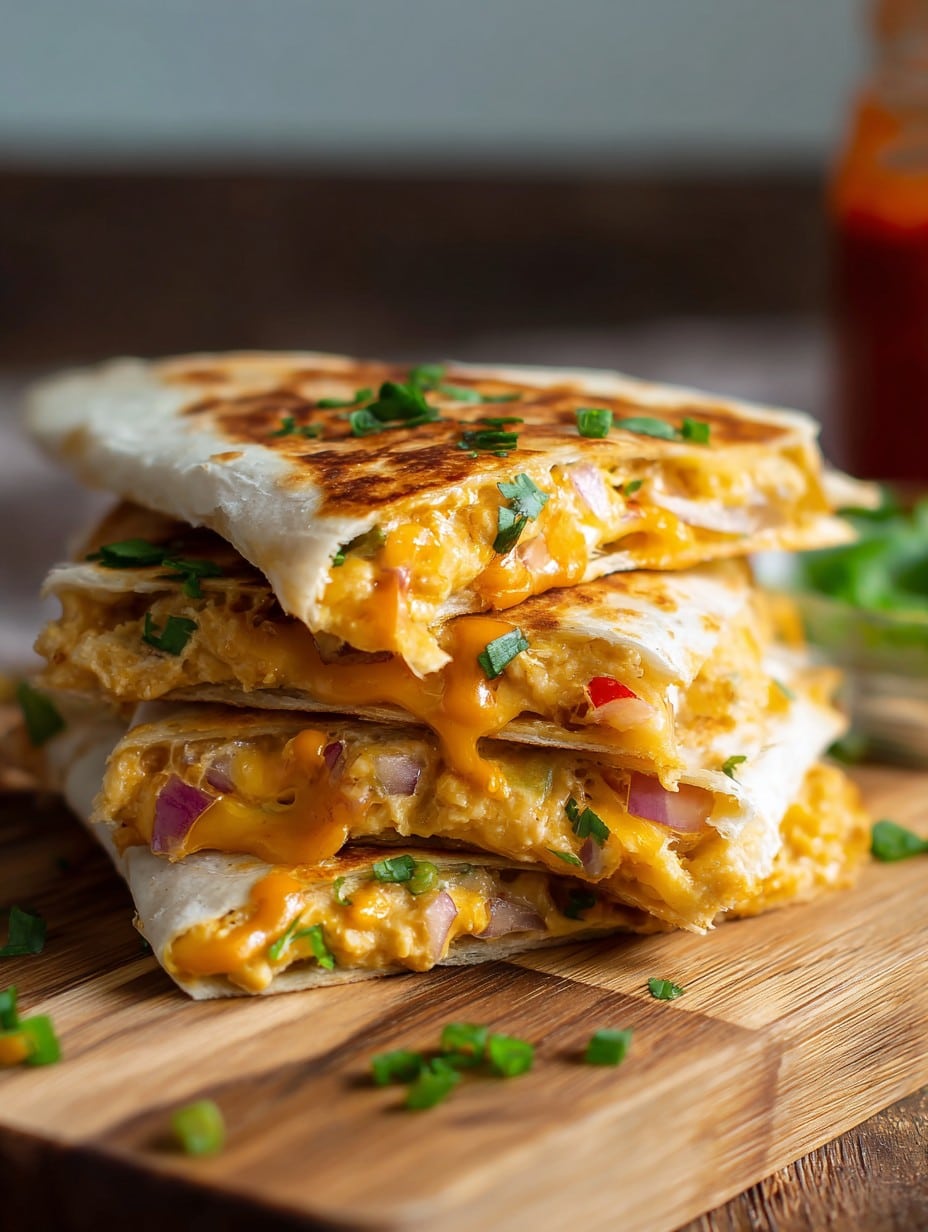
I’ll be honest—these Chickpea and Cheddar Quesadillas were born on a night when I’d promised my family tacos and, as fate would have it, completely forgot to thaw anything. Story of my life. Rummaged through the pantry, spotted a sad can of chickpeas, and a block of cheddar that had just about seen better days (please don’t ask how old). Next thing I know, the kitchen smelled like heaven and my kids were actually excited for dinner. Now? I make these even when I do remember to go shopping, which isn’t as often as I’d like to admit! I mean, who can resist gooey cheese and crispy tortillas? Not me, apparently.
Why You’ll Love This (Or At Least Not Hate It)
I make this when my energy is flat as a pancake—or when I just can’t face another night of pasta. My family goes a bit wild for them (honestly, I think they’re just grateful it’s not beans and rice again). The best part? Chickpeas stand in for meat and soak up the cheddar like little flavor sponges. Oh! If you, like me, have wrestled with sticky tortillas on the pan, I’ll share how I finally got them not to rip… most of the time.
What You’ll Need (But Don’t Panic If You Don’t Have Everything)
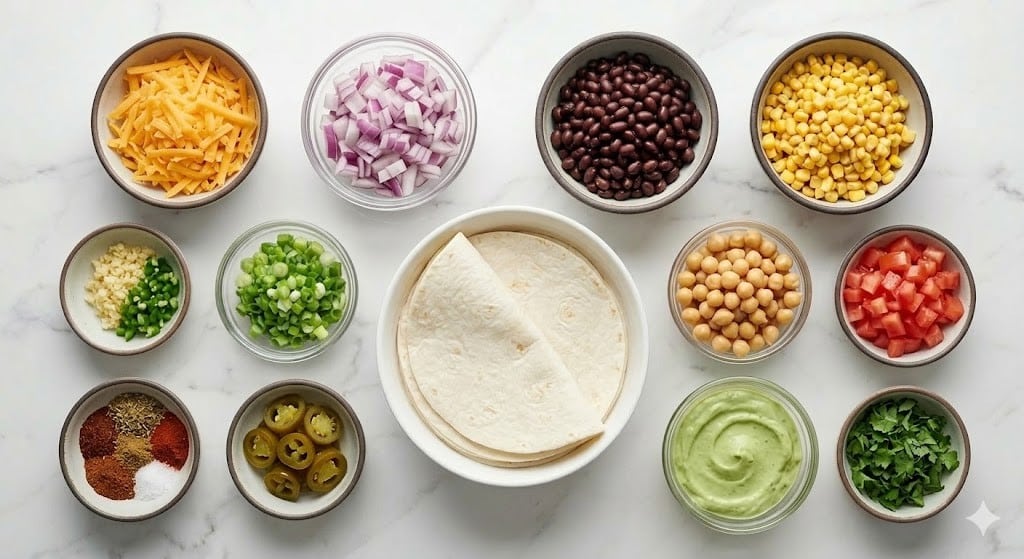
- 1 can (15 oz) chickpeas, drained and rinsed (in dire straits, I’ve mashed up white beans—also fine, just a little softer)
- 1 1/2 cups cheddar cheese, shredded (My gran swears by seriously sharp, but if all you’ve got is the pre-shredded kind, you’re golden)
- 1/2 small red onion, finely chopped (yellow works if that’s all you have, or skip if onions just aren’t your thing)
- 1 small handful fresh cilantro, chopped (eh, skip it if you’re a cilantro hater, we can still be friends)
- 1 tsp cumin (it’s not the end of the world if you leave this out; sometimes, I forget!)
- 8 small flour tortillas (sometimes I use those street taco corn ones; just trickier to fold, but somehow cuter?)
- 1 tbsp olive oil (any neutral oil is just fine, or even butter, if you’re feeling dangerous)
- Salt and pepper to taste (yes, I forget the pepper every single time. It’s fine.)
How To Throw These Together (Mostly Chaos, Some Order)
- Tip your chickpeas into a big bowl and mash them up with a fork or potato masher. Don’t stress about perfection—a few chunky bits give them character. I usually spill a couple. It adds to the fun.
- Add the shredded cheddar, chopped onion, cilantro, cumin, a pinch of salt, and just enough pepper to make you sneeze. Mix it all together. This is where I sneak a bit of the cheese, just to, uh, make sure it’s still edible.
- Lay out 4 tortillas, scoop a nice mound (maybe 1/2 a cup?) of chickpea mixture onto each one, and spread it out—but not too close to the edge, or you’ll be scraping burnt cheese off your pan later (ask me how I know).
- Top with the other 4 tortillas. Press down so it sticks a little—don’t worry if the filling tries to escape, just push it back in.
- Heat a splash of oil in a large skillet over medium heat. I usually forget to let it heat up properly and regret it, but if you wait, you’ll get a crispier crust.
- Cook each quesadilla for about 2-3 minutes per side. If you peek and it’s not golden yet, just give it another minute (it’s kind of a matter of vibes; trust your gut). Flip carefully—I broke one last week, but it still tasted fine.
- Pop them onto a cutting board and let ’em cool for a sec—you will burn your tongue otherwise, trust me.
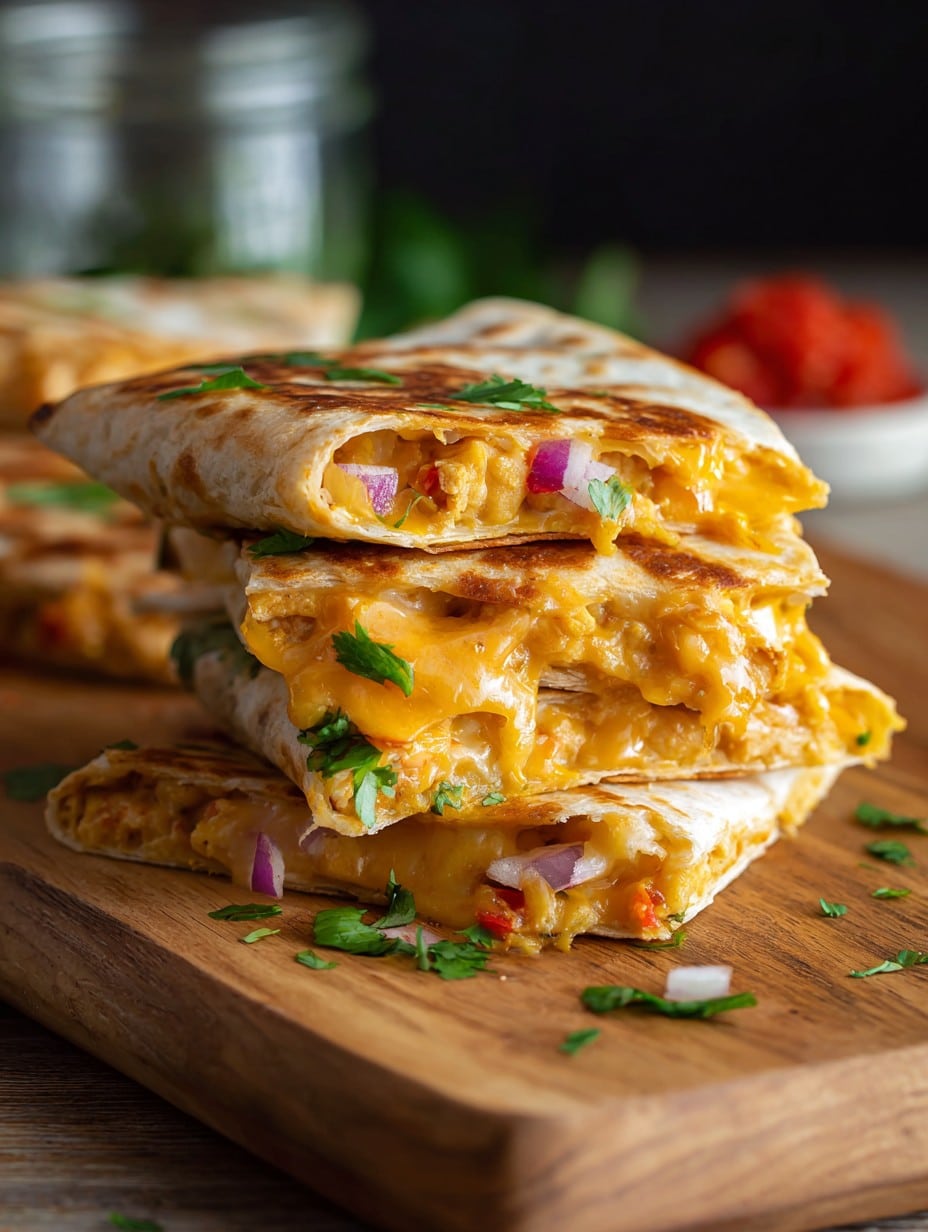
- Slice into wedges (pizza wheel works, or just a sharp-ish knife). Serve warm but honestly, they are still pretty tasty at room temp.
A Few Notes, Learned the Hard Way
- If using a nonstick pan, you might skip oil—but I find a little oil makes the edges extra crispy (not exactly health food, but whatever).
- Don’t overload the filling; I did once and my quesadilla turned into an oozy, nuclear-hot mess. Less is more. Sometimes.
Experiments & Variations (and One That Flopped)
- Tried smoky paprika instead of cumin—tasty switch!
- Added leftover sweet corn one night; kids loved it, and so did I, oddly enough.
- Attempted mozzarella one time, thinking it’d be extra gooey. Actually, it made everything a bit bland and rubbery. No thanks.
Equipment? Well, Ideally…
A big skillet is ideal, obviously. But honestly, I’ve made these on a griddle and even, in a moment of desperation, squished them into a sandwich press (they got extra crunchy). No potato masher? Use a mug. No stress.
How To Keep Them (Or, Why They Never Last In My Fridge)
Store leftovers in the fridge for up to 2-3 days, tightly wrapped. Reheat in a dry pan for the best crispiness. But—let’s be truthful here—they rarely last till breakfast in my house. I once found a lone triangle in the fridge the next morning; it was even better cold.
How To Serve ‘Em Up
Plop them on a plate with salsa, sour cream, or (my favorite) a dollop of Greek yogurt with chili flakes. On Tuesday nights, we like to have them with tomato soup (I call it ‘Midwestern tapas’—my kids groan every time, but secretly, they love it).
Lessons Learned The Messy Way (aka Pro Tips)
- I once tried to rush the flipping step, and everything went everywhere. Let it cook until you see the edges crisp up—that’s your sign.
- If the filling tries to escape while cutting, just smoosh it back in. No one’s judging here.
Real Questions From Real (Hungry) People
- Q: Can I use corn tortillas instead?
Absolutely you can, though they’re harder to keep intact when flipping. It’s worth it for the flavor, though, if you’ve got some patience. - Q: Do I have to mash the chickpeas?
You don’t have to, but whole chickpeas tend to fall out and roll away. I find a gentle mash works best—texture city! - Q: What if I don’t have cumin?
Skip it, or try chili powder or paprika. Or just pretend you meant to leave it out! Seriously, these are pretty forgiving. - Q: Can these be frozen?
I haven’t had much luck with freezing—always turns mushy for me. But, maybe your freezer is less temperamental than mine? - Q: Any gluten-free tortilla options?
Oh, definitely. Use any GF wrap—though they sometimes crack (I might just be cursed with dry tortillas, I dunno).
Oh, and before you go: I once tried adding leftover roasted broccoli and regretted it almost instantly. Some things just don’t belong between tortillas, no matter how good they sound in your head. Happy cooking!
Ingredients
- 1 can (15 oz) chickpeas, drained and rinsed
- 1 1/2 cups cheddar cheese, shredded
- 1/2 small red onion, finely chopped
- 1 small handful fresh cilantro, chopped
- 1 tsp cumin
- 8 small flour tortillas
- 1 tbsp olive oil
- Salt and pepper to taste
Instructions
-
1Tip your chickpeas into a big bowl and mash them up with a fork or potato masher. Don’t stress about perfection—a few chunky bits give them character. I usually spill a couple. It adds to the fun.
-
2Add the shredded cheddar, chopped onion, cilantro, cumin, a pinch of salt, and just enough pepper to make you sneeze. Mix it all together. This is where I sneak a bit of the cheese, just to, uh, make sure it’s still edible.
-
3Lay out 4 tortillas, scoop a nice mound (maybe 1/2 a cup?) of chickpea mixture onto each one, and spread it out—but not too close to the edge, or you’ll be scraping burnt cheese off your pan later (ask me how I know).
-
4Top with the other 4 tortillas. Press down so it sticks a little—don’t worry if the filling tries to escape, just push it back in.
-
5Heat a splash of oil in a large skillet over medium heat. I usually forget to let it heat up properly and regret it, but if you wait, you’ll get a crispier crust.
-
6Cook each quesadilla for about 2-3 minutes per side. If you peek and it’s not golden yet, just give it another minute (it’s kind of a matter of vibes; trust your gut). Flip carefully—I broke one last week, but it still tasted fine.
-
7Pop them onto a cutting board and let ’em cool for a sec—you will burn your tongue otherwise, trust me.
-
8Slice into wedges (pizza wheel works, or just a sharp-ish knife). Serve warm but honestly, they are still pretty tasty at room temp.
Approximate Information for One Serving
Nutrition Disclaimers
Number of total servings shown is approximate. Actual number of servings will depend on your preferred portion sizes.
Nutritional values shown are general guidelines and reflect information for 1 serving using the ingredients listed, not including any optional ingredients. Actual macros may vary slightly depending on specific brands and types of ingredients used.
To determine the weight of one serving, prepare the recipe as instructed. Weigh the finished recipe, then divide the weight of the finished recipe (not including the weight of the container the food is in) by the desired number of servings. Result will be the weight of one serving.
Did you make this recipe?
Please consider Pinning it!




