Let Me Tell You About These Burrito Bowls…
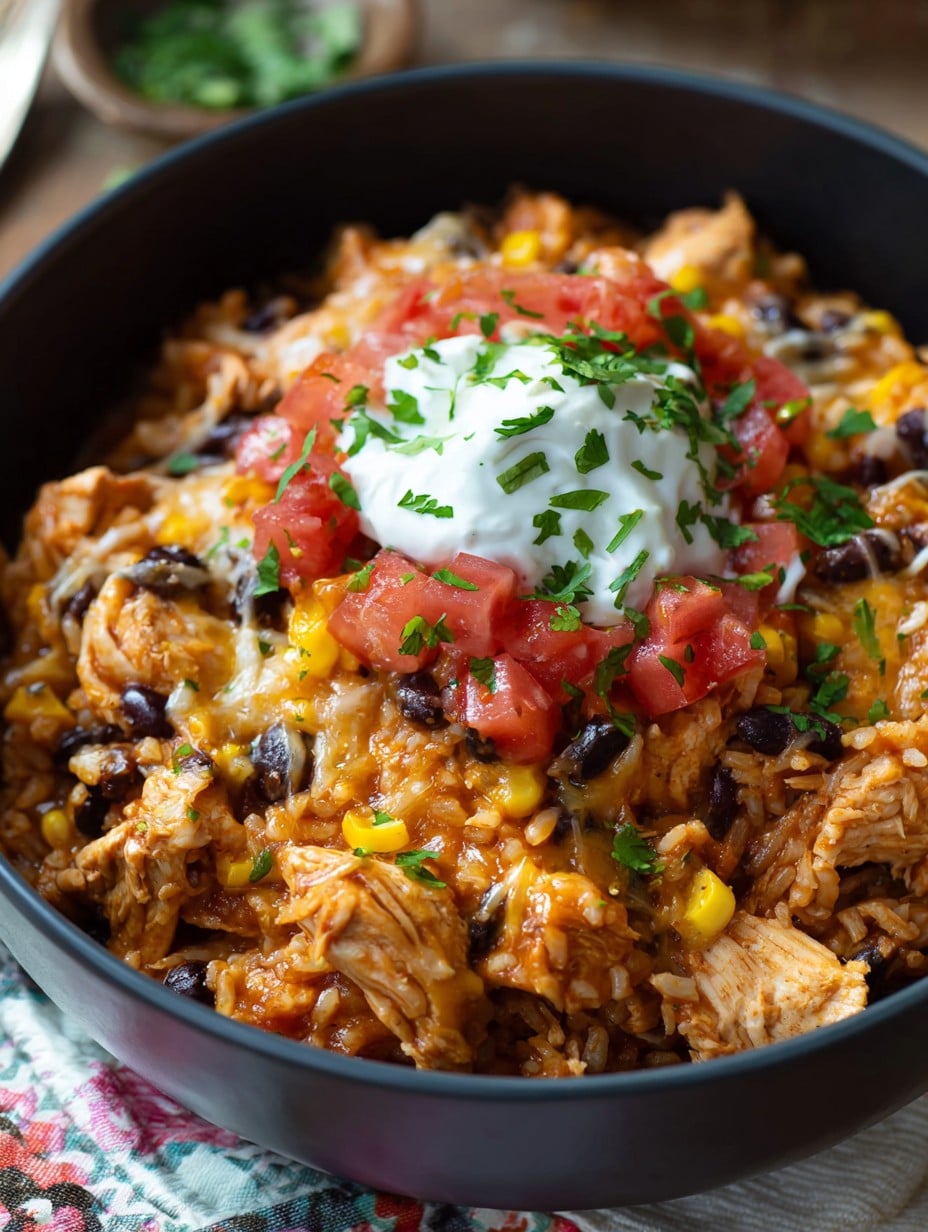
Friends, you know I’m usually the queen of kitchen chaos (my husband once claimed he could tell what I cooked just by looking at the mess). But, every now and then, I land on a recipe that saves my sanity—One-Pot BBQ Chicken Burrito Bowls is that hero. First time I cobbled this together was on a crazy Tuesday after youth soccer and a work thing ran late. Not gonna lie, half my motivation was avoiding a mountain of dirty pans. Turns out, the flavor is wild for how little fuss it takes. My youngest even said it “tastes like burritos from the fun place—except maybe better cause we didn’t have to wait 40 minutes.” Flattery or hunger? Probably both.
Why I Keep Coming Back to This (and Maybe You Will Too)
I make this when I really don’t have the brainpower for complicated cooking (which, let’s be honest, is most weekdays). My family goes nuts for the sticky-sweet BBQ and that smoky kick; plus, you get to dump everything in the pot, so there’s no juggling a zillion pans or forgetting something in the oven (guilty). I used to stress about not having every exact ingredient—now I just improvise, and honestly, it always works. The rice soaks up the BBQ in a way that’s kind of magical (science or wizardry, I couldn’t say). Oh, and if you’ve ever had the joy of scraping burnt rice off a saucepan, well, I feel your pain. That’s where nonstick comes to the rescue (most of the time!).
Gather Up These Ingredients (Substitutions Happen)
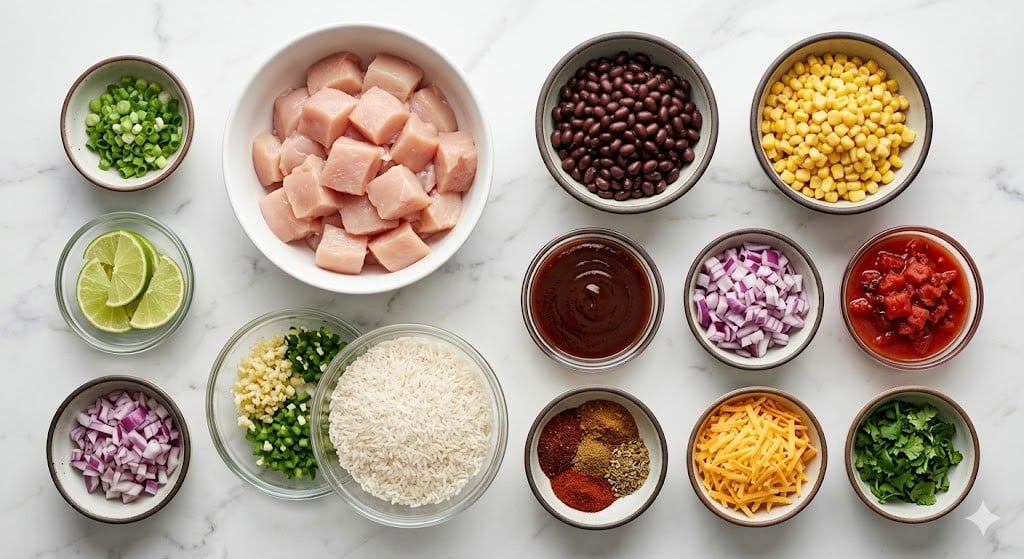
- 2 tbsp olive oil (sometimes I use avocado oil if it’s on sale)
- 1 lb (about 450g) boneless, skinless chicken breast, diced (thighs are juicier if you ask me, and I’ve even used rotisserie chicken in a pinch)
- 1 medium yellow onion, chopped
- 1 red bell pepper, diced (no red? green or orange are fine—my grandmother would refuse but I say use whatever)
- 2 cloves garlic, minced (or a big ol’ teaspoon of that pre-minced jar stuff—no judgment)
- 1 1/2 cups long-grain white rice (basmati works, jasmine gets a bit too sticky for me, but use what’s lurking in your cupboard)
- 1 (15 oz/425g) can black beans, drained and rinsed
- 1 cup frozen corn (canned works, just drain it well—my freezer is a black hole so I use whatever I can find)
- 1 1/2 cups low-sodium chicken broth (honestly, water + a bouillon cube is fine too)
- 3/4 cup BBQ sauce (your favorite brand – I’ve tried sweet, smoky, and even spicy…never tried Carolina Gold though)
- 1 tsp ground cumin
- 1/2 tsp smoked paprika (if you’re out, regular paprika is fine, just less drama)
- Salt and pepper, to taste
- 1 cup shredded cheddar cheese (or Monterey Jack, or skip it—my lactose-intolerant cousin just uses vegan stuff)
- Fresh cilantro, chopped, for topping (totally optional—some people think it tastes like soap, and that’s okay!)
- Avocado, sliced, for serving (not required but adds a nice touch)
- Lime wedges, for squeezing over at the end (I forget these half the time and it’s still pretty tasty)
How to Make One-Pot BBQ Chicken Burrito Bowls (No Chef Hat Needed)
- Grab your biggest nonstick pot or a Dutch oven (doesn’t have to be fancy—mine’s chipped and it’s still kicking), set it over medium heat, and swirl in the olive oil.
- Add your chicken and a pinch of salt and pepper. Cook for about 3-4 minutes, stirring now and again until just barely cooked through—it’ll keep cooking later, so don’t fret if it looks a little pale now.
- Toss in the onion and bell pepper. Give them a stir and let them soften for another 2-3 minutes. Add the garlic and stir until fragrant—don’t let it burn or things get dicey.
- Pour in the rice, give it a good stir so it mingles with the veggies and chicken fat. This is where I usually sneak a taste (not the raw rice, just a little onion off the spoon!).
- In go the black beans and corn. Stir everything around; it might look crowded, but it’ll sort itself out.
- Next throw in the broth, BBQ sauce, cumin, smoked paprika, and another solid pinch of salt and pepper. Stir well. Bring it to a gentle simmer, cover with a lid (it doesn’t have to fit perfectly—sometimes I just balance a baking sheet on top), and reduce the heat to low.
- Simmer for 18–22 minutes, or until the rice is tender and the liquid is mostly gone. Okay, sometimes the rice takes longer (especially if you get distracted listening to a podcast), so don’t panic. Give it a peek and a stir after 15 minutes. If it seems dry but the rice is still toothy, just splash in a bit more broth or water, cover, and cook on.
- Once the rice is happy and cooked, stir in half the shredded cheese. Scatter the rest over the top, clap the lid back on, and let it sit off the heat for 5 minutes so the cheese gets all gooey. Good things come to those who wait!
- Serve straight from the pot. Top with chopped cilantro, avocado slices, and a squeeze of lime—unless, like me, you forgot to buy them, in which case, it’s still totally delicious naked. Grab a fork and dig in!
Notes I Learned the Hard Way (So You Don’t Have To)
- Don’t skip rinsing your rice if you want fluffiness. The one time I forgot, it went all mushy. Not a deal-breaker but a little sad.
- If you use pre-cooked chicken (hey, no shame), just add it with the beans and corn so it doesn’t dry out.
- BBQ sauce makes or breaks it—taste yours first. Once I tried a super vinegary one, and… let’s just say, nope.
- If your pot is small, halve the recipe. Otherwise, the rice gets squished and has nowhere to go, which is just tragic.
Things I’ve Tried (Some Wins, One Flop)
- Turkey instead of chicken – really good, very juicy.
- Brown rice – takes way longer (like double), but I guess that’s healthy? I wasn’t wild about the texture but go for it.
- Added jalapeños for more kick – tasty, but my 8-year-old called it “mean food.”
- I once tried cauliflower rice instead of real rice. Mistake. It went weirdly soupy; maybe I just need more practice. Don’t blame the cauliflower, blame the cook.
If You Don’t Have “Official” Equipment, No Worries
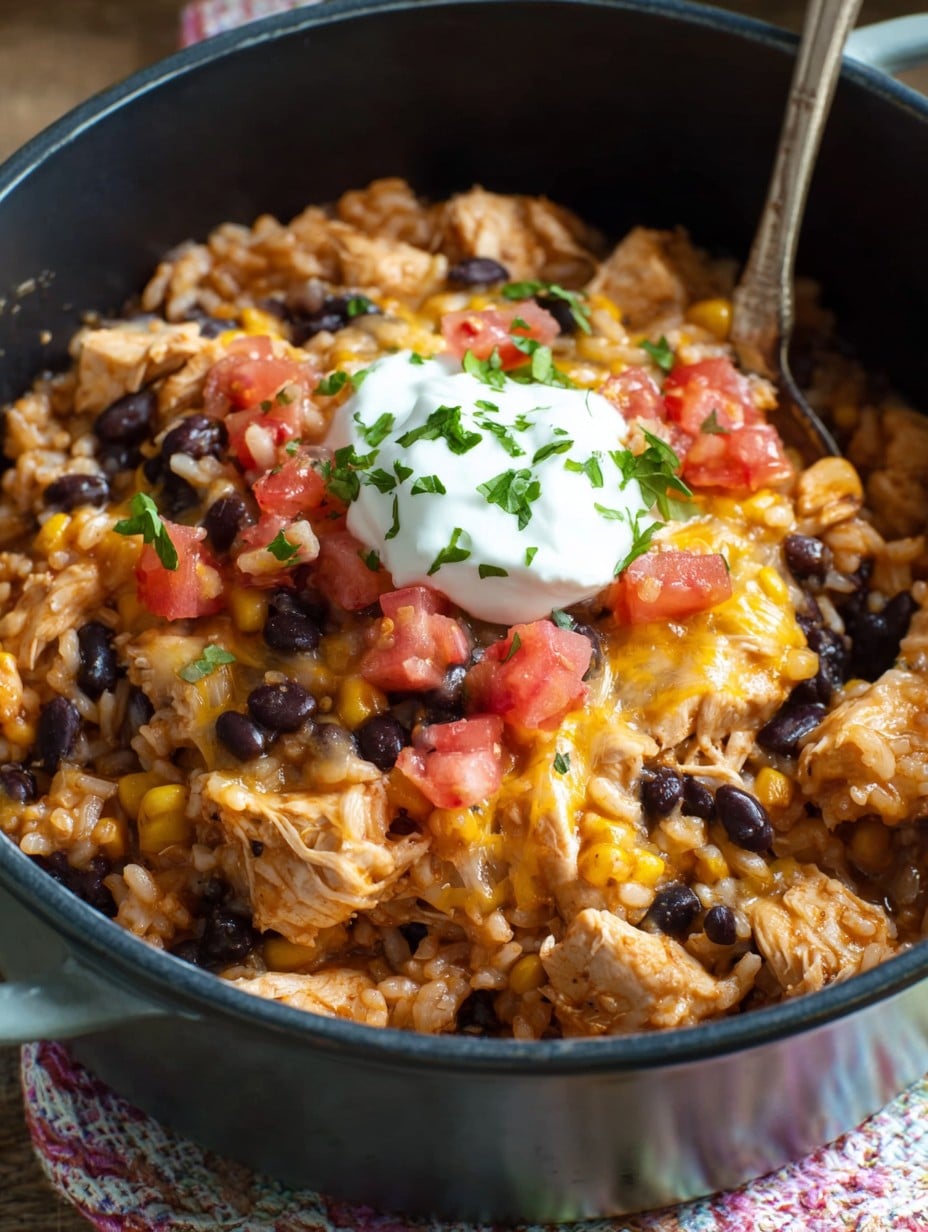
- Any wide, deep skillet or a big soup pot works. I’ve even used an old pasta pot—just don’t tell anyone. Nonstick is helpful so the rice doesn’t cement itself.
- No lid? A baking sheet, or even foil you crimp around the sides, does the job (spoken from experience… more than once).
How to Store And What Actually Happens
Store leftovers in an airtight container in the fridge for up to three days. I find it tastes even better the next day (probably because I’m not the one reheating it). Freezes alright—though, honestly, in my house this disappears before I even get a chance.
How We Eat This (and The Great Nacho Debate)
I serve these straight from the pot, ladled into big bowls. Sometimes, we go rogue and scoop with tortilla chips instead of forks—a tradition that started on accident and stuck because, well, who doesn’t love a good crispy bite? My neighbor swears by a dollop of sour cream and sliced jalapeños, but I keep it simpler because my kids think spicy is a threat.
Handy Lessons I’ve Learned (the Hard Way)
- If you rush the rice step, it’ll be half-raw and nobody’s happy. I did that once. Won’t do it again!
- Don’t overdo the cheese until after it’s cooked or you’ll get a big, chewy blob that’s hard to stir through. (Ask me how I know.)
- Always taste before serving. Sometimes the BBQ gets lost and you’ll want to add a toot more, or maybe a splash of hot sauce. Trust your gut.
FAQ From People I Actually Know
Can I use brown rice?
Yep, but it takes a LOT longer and you’ll probably need extra broth. Last time I tried it, we ended up eating at almost 9pm. Oops.
Is it spicy?
Not really. Unless your BBQ sauce is wild. If you want some heat, toss in diced jalapeños or a squirt of hot sauce, but tread carefully.
Can I make this vegetarian?
Sure thing! Skip the chicken and use an extra can of beans or some chopped mushrooms. Mushroom haters (like my brother) can pretend they’re invisible.
What about leftovers?
These do great in the fridge or lunchbox. Though, actually, I think the flavors get even better overnight—if you can wait that long.
My rice isn’t cooking—what gives?
On second thought, it’s usually a lid or heat issue. Just add a splash more liquid, cover tight, and give it a bit more time. Don’t give up yet!
Can I use store-bought rotisserie chicken?
Heck yes, I do that more than I care to admit. Add it with the beans so it doesn’t dry out.
Ingredients
- 2 tbsp olive oil (sometimes I use avocado oil if it’s on sale)
- 1 lb (about 450g) boneless, skinless chicken breast, diced (thighs are juicier if you ask me, and I’ve even used rotisserie chicken in a pinch)
- 1 medium yellow onion, chopped
- 1 red bell pepper, diced (no red? green or orange are fine—my grandmother would refuse but I say use whatever)
- 2 cloves garlic, minced (or a big ol’ teaspoon of that pre-minced jar stuff—no judgment)
- 1 1/2 cups long-grain white rice (basmati works, jasmine gets a bit too sticky for me, but use what’s lurking in your cupboard)
- 1 (15 oz/425g) can black beans, drained and rinsed
- 1 cup frozen corn (canned works, just drain it well—my freezer is a black hole so I use whatever I can find)
- 1 1/2 cups low-sodium chicken broth (honestly, water + a bouillon cube is fine too)
- 3/4 cup BBQ sauce (your favorite brand – I’ve tried sweet, smoky, and even spicy…never tried Carolina Gold though)
- 1 tsp ground cumin
- 1/2 tsp smoked paprika (if you’re out, regular paprika is fine, just less drama)
- Salt and pepper, to taste
- 1 cup shredded cheddar cheese (or Monterey Jack, or skip it—my lactose-intolerant cousin just uses vegan stuff)
- Fresh cilantro, chopped, for topping (totally optional—some people think it tastes like soap, and that’s okay!)
- Avocado, sliced, for serving (not required but adds a nice touch)
- Lime wedges, for squeezing over at the end (I forget these half the time and it’s still pretty tasty)
Instructions
-
1Grab your biggest nonstick pot or a Dutch oven (doesn’t have to be fancy—mine’s chipped and it’s still kicking), set it over medium heat, and swirl in the olive oil.
-
2Add your chicken and a pinch of salt and pepper. Cook for about 3-4 minutes, stirring now and again until just barely cooked through—it’ll keep cooking later, so don’t fret if it looks a little pale now.
-
3Toss in the onion and bell pepper. Give them a stir and let them soften for another 2-3 minutes. Add the garlic and stir until fragrant—don’t let it burn or things get dicey.
-
4Pour in the rice, give it a good stir so it mingles with the veggies and chicken fat. This is where I usually sneak a taste (not the raw rice, just a little onion off the spoon!).
-
5In go the black beans and corn. Stir everything around; it might look crowded, but it’ll sort itself out.
-
6Next throw in the broth, BBQ sauce, cumin, smoked paprika, and another solid pinch of salt and pepper. Stir well. Bring it to a gentle simmer, cover with a lid (it doesn’t have to fit perfectly—sometimes I just balance a baking sheet on top), and reduce the heat to low.
-
7Simmer for 18–22 minutes, or until the rice is tender and the liquid is mostly gone. Okay, sometimes the rice takes longer (especially if you get distracted listening to a podcast), so don’t panic. Give it a peek and a stir after 15 minutes. If it seems dry but the rice is still toothy, just splash in a bit more broth or water, cover, and cook on.
-
8Once the rice is happy and cooked, stir in half the shredded cheese. Scatter the rest over the top, clap the lid back on, and let it sit off the heat for 5 minutes so the cheese gets all gooey. Good things come to those who wait!
-
9Serve straight from the pot. Top with chopped cilantro, avocado slices, and a squeeze of lime—unless, like me, you forgot to buy them, in which case, it’s still totally delicious naked. Grab a fork and dig in!
Approximate Information for One Serving
Nutrition Disclaimers
Number of total servings shown is approximate. Actual number of servings will depend on your preferred portion sizes.
Nutritional values shown are general guidelines and reflect information for 1 serving using the ingredients listed, not including any optional ingredients. Actual macros may vary slightly depending on specific brands and types of ingredients used.
To determine the weight of one serving, prepare the recipe as instructed. Weigh the finished recipe, then divide the weight of the finished recipe (not including the weight of the container the food is in) by the desired number of servings. Result will be the weight of one serving.
Did you make this recipe?
Please consider Pinning it!




