Let’s Chat Sourdough Muffins (and Cinnamon!)
So, a while back, I found myself staring down the last of my overzealous sourdough starter (honestly, I treat that thing like a pet), wondering what on earth to bake other than more bread. Enter: Cinnamon Sourdough Muffins. I whipped these up on a rainy Saturday – wound up eating two before the coffee even finished brewing. And my husband, who normally “doesn’t care for muffins” (his words, not mine), well, he ate three. They’re now a rainy-day tradition, though, truthfully, I make them whenever the starter’s just begging for its moment in the spotlight. Plus, the cinnamon smell makes the house feel like one giant hug. Or a candle store, but better, because you get muffins at the end. Anyway, let’s get to it.
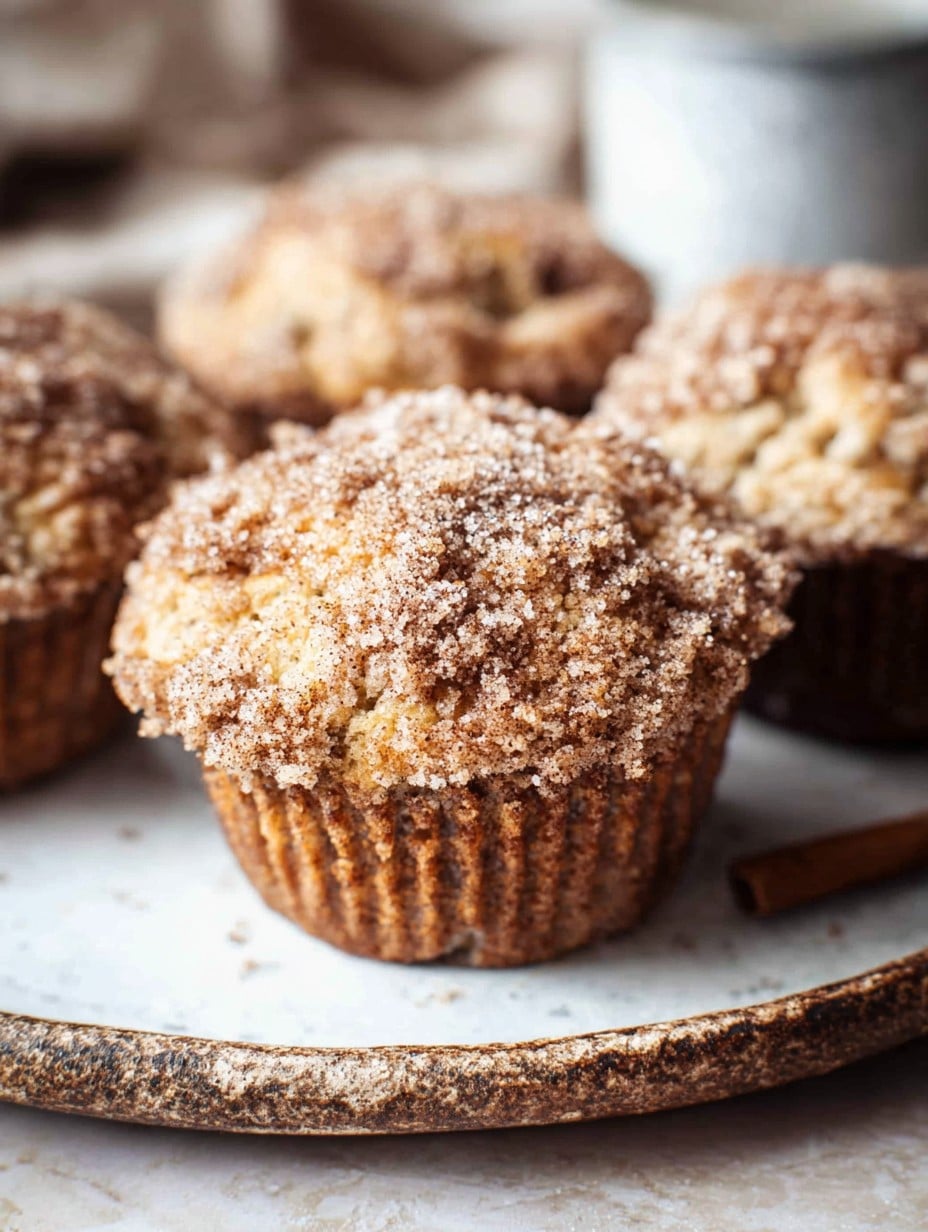
Why You’ll Flip for These Muffins
I pull out this recipe when I’m staring at a bubbling jar of starter and can’t handle the thought of another loaf (the freezer’s already full, let’s be honest). My family demolishes these; even the picky nephew who claims to hate “that sour stuff.” The cinnamon gives you just the right warmth, but the sourdough keeps the sweetness from turning the whole thing into a sugar bomb. Plus, if you’ve ever been a bit irked by muffins turning out dry as cardboard – these will cure you of that trauma for good. (I used to think muffins were supposed to be bland, but maybe that’s just the ones from the gas station.) Oh! And if you’re impatient like me, you’ll love that they’re way faster than a sourdough loaf. No endless folding, just mix and bake.
Which Ingredients You’ll Need (and a Few Swaps)
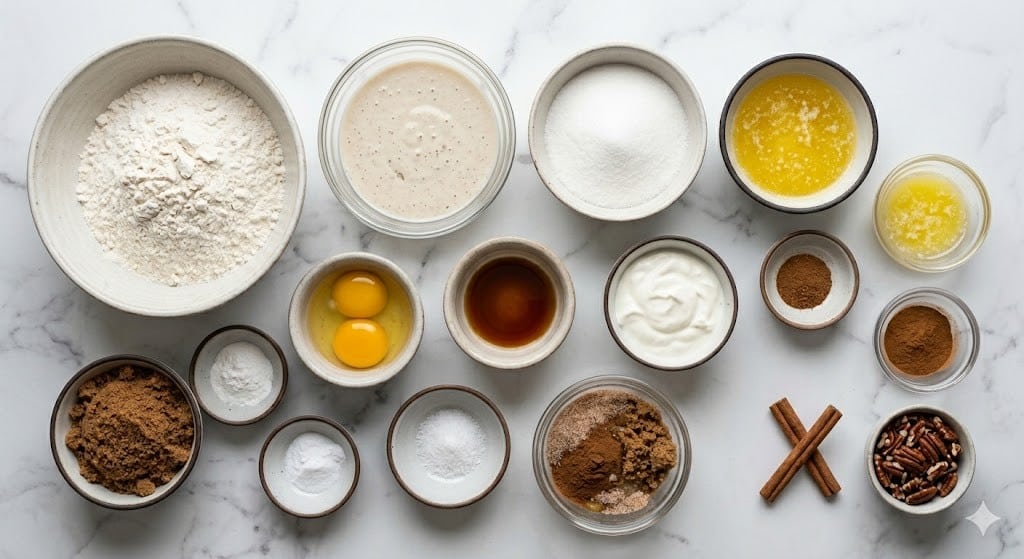
- 1 cup sourdough starter (active, but I’ve used discard in a pinch and lived to tell the tale)
- 1 and 1/2 cups all-purpose flour (I sometimes mix in 1/2 cup whole wheat if I’m feeling virtuous; honestly, Bob’s Red Mill, Gold Medal, whatever you have works just fine)
- 1/2 cup granulated sugar (or brown sugar if I’m feeling fancy – it adds a nice caramel note)
- 1/3 cup melted butter (You can use coconut oil, I suppose, but then the flavor kinda shifts. I tried it once. Not bad, not my fave.)
- 2 large eggs
- 1/2 cup milk (almond milk, oat milk – probably any of those is fine, though regular old cow milk is what I usually use)
- 2 teaspoons ground cinnamon (sometimes I get wild with 3, but tread carefully, friend)
- 1 teaspoon vanilla extract (had to use imitation once – honestly, could barely tell)
- 1/2 teaspoon baking soda
- 1/2 teaspoon salt
- Optional: a handful of chopped pecans or walnuts (my grandma swore by pecans, but my kid swears at pecans, so that’s what we’re dealing with)
- Optional: Turbinado sugar or cinnamon sugar for topping (for those bakery vibes)
Casual Step-by-Step (With a Few Sidetracks)
- Preheat your oven to 375°F (190°C). Line a 12-cup muffin tin with papers, or just grease them if you’re the rebel type who doesn’t mind a little scrubbing later.
- In a big bowl, whisk together the flour, cinnamon, baking soda, salt, and sugar. Don’t skimp on the cinnamon unless blandness is the goal – but hey, you do you.
- In another bowl (or your biggest measuring jug, which is what I always grab), whisk up your sourdough starter, eggs, milk, melted butter, and vanilla. The mixture can look a bit strange. Don’t panic, it all comes together.
- Pour the wet stuff into the dry stuff, then gently stir until just barely combined. A few floury streaks are fine, honestly – overmixing is the road to rubbery muffins. Actually, I find it works better if you leave the batter looking slightly messy.
- Now’s the time to stir in any nuts. Or raisins. Or chocolate chips, if you’re feeling mischievous (I tried white chocolate once – not a fan, but maybe it’ll work for you).
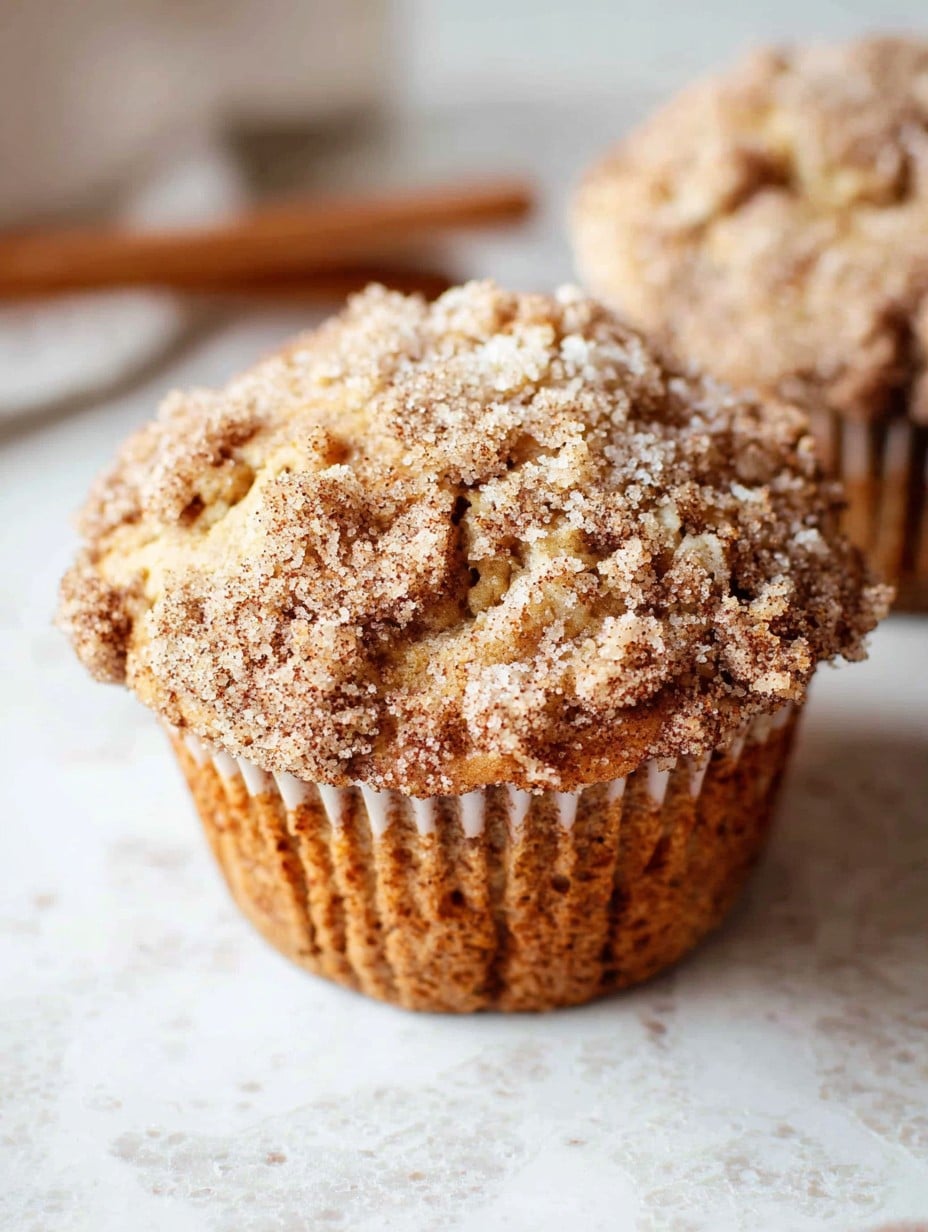
- Spoon the batter evenly into your muffin cups, filling them about two-thirds up. Sprinkle the tops with turbinado sugar or extra cinnamon sugar if you like a bit of crunch.
- Bake for 20 to 22 minutes, or until a toothpick poked in the center comes out with just a few crumbs. Don’t worry if they look a tad uneven – that’s the charm of homemade muffins, right?
- Let them cool in the tin for maybe 5 minutes (the hardest step, hands down), then move to a rack or just start peeling papers off when you can’t take it anymore.
Notes from the Trenches
- Turned out, using discard starter adds a bit more tang, and I actually like it better the next morning. Go figure.
- If you forgot to take the eggs out to warm up – meh, throw them in anyway. I’ve done this plenty, and it doesn’t ruin the world.
- Oh, and if you use dark brown sugar, expect a slightly denser muffin. Still good, just different. Variety is the spice and all that.
Variations I’ve Actually Tried (and One Dud)
- Blueberry Boost: Tossed in a cup of fresh blueberries one time, and wow… that batch disappeared fast.
- Mega Cinnamon: Swirled extra cinnamon-sugar right in the batter. Not subtle but mega satisfying.
- Chocolate Mishap: Tried cocoa powder instead of some flour – tasted like breakfast cake, which wasn’t bad, but not really what I wanted. Just a heads-up.
Gear You Need (and How to Improvise)
- Muffin tin (I once used a mini loaf pan, cutting into squares – less cute, more rustic)
- Mixing bowls (though, let’s be honest, I often just wing it in one bowl if it’s clean)
- Whisk or big fork – whatever’s handy. Spoon works in a pinch, too.
- Measuring cups & spoons (I eyeball the cinnamon, but don’t tell the baking police)
How I Store Them (Or Don’t, Actually)
Supposedly, these keep best in an airtight box, room temp, for 2 days. Mine rarely last past breakfast, so I can’t really say how they are on day three. If you do have leftovers, throwing one in the toaster oven brings it right back to life. Or even freeze ’em, wrapped up tight – I just keep forgetting they’re there (too many leftovers, not enough memory, what can I say?).
Serving Up
I love mine warm with a big mug of milky coffee. My kids vote for a smear of salted butter (the good stuff), while my husband’s all about dunking muffins in hot cocoa. It’s not fancy, but it sure feels special on a slow Sunday morning. We once tried splitting a muffin and filling with a scoop of vanilla ice cream… not traditional, very delicious.
Pro Tips (from a Few Near-Disasters)
- I once skipped lining or greasing the pan in a hurry – never again. Took me twenty minutes to chisel muffins free. Line or grease, even if you’re in a rush.
- Never overmix. One time I did and we could’ve used those muffins as hockey pucks.
- Let ’em rest for at least 5 min before removing; hot muffins fall apart faster than you’d think.
FAQ with Real Questions (and Real Answers)
- Can I make these with just sourdough discard? You bet! They’re a bit tangier, probably even better for it.
- What if I don’t have muffin liners? Just butter or spray your tin well. Or go rogue and bake as a traybake, then slice. Tastes the same, looks… different.
- Is it okay to leave out the nuts? Totally. I skip them half the time. Add chocolate chips or berries instead if you want.
- Can I make these dairy-free? Yep, swap in a neutral oil for the butter and use your favorite plant milk. I’ve even tried oat milk; works a treat.
- How about freezing the muffins? Definitely freezes well – just wrap them up good. But honestly, if they make it to freezing, you’ve got more willpower than me.
So, there you go – cinnamon sourdough muffins for your starter’s next big adventure. If you wind up adding something wild (marshmallows? lemon zest?) drop me a line, I’m always curious what’s cooking in someone else’s kitchen.
Ingredients
- 1 cup sourdough starter (active, but I’ve used discard in a pinch and lived to tell the tale)
- 1 and 1/2 cups all-purpose flour (I sometimes mix in 1/2 cup whole wheat if I’m feeling virtuous; honestly, Bob’s Red Mill, Gold Medal, whatever you have works just fine)
- 1/2 cup granulated sugar (or brown sugar if I’m feeling fancy – it adds a nice caramel note)
- 1/3 cup melted butter (You can use coconut oil, I suppose, but then the flavor kinda shifts. I tried it once. Not bad, not my fave.)
- 2 large eggs
- 1/2 cup milk (almond milk, oat milk – probably any of those is fine, though regular old cow milk is what I usually use)
- 2 teaspoons ground cinnamon (sometimes I get wild with 3, but tread carefully, friend)
- 1 teaspoon vanilla extract (had to use imitation once – honestly, could barely tell)
- 1/2 teaspoon baking soda
- 1/2 teaspoon salt
- Optional: a handful of chopped pecans or walnuts (my grandma swore by pecans, but my kid swears at pecans, so that’s what we’re dealing with)
- Optional: Turbinado sugar or cinnamon sugar for topping (for those bakery vibes)
Instructions
-
1Preheat your oven to 375°F (190°C). Line a 12-cup muffin tin with papers, or just grease them if you’re the rebel type who doesn’t mind a little scrubbing later.
-
2In a big bowl, whisk together the flour, cinnamon, baking soda, salt, and sugar. Don’t skimp on the cinnamon unless blandness is the goal – but hey, you do you.
-
3In another bowl (or your biggest measuring jug, which is what I always grab), whisk up your sourdough starter, eggs, milk, melted butter, and vanilla. The mixture can look a bit strange. Don’t panic, it all comes together.
-
4Pour the wet stuff into the dry stuff, then gently stir until just barely combined. A few floury streaks are fine, honestly – overmixing is the road to rubbery muffins. Actually, I find it works better if you leave the batter looking slightly messy.
-
5Now’s the time to stir in any nuts. Or raisins. Or chocolate chips, if you’re feeling mischievous (I tried white chocolate once – not a fan, but maybe it’ll work for you).
-
6Spoon the batter evenly into your muffin cups, filling them about two-thirds up. Sprinkle the tops with turbinado sugar or extra cinnamon sugar if you like a bit of crunch.
-
7Bake for 20 to 22 minutes, or until a toothpick poked in the center comes out with just a few crumbs. Don’t worry if they look a tad uneven – that’s the charm of homemade muffins, right?
-
8Let them cool in the tin for maybe 5 minutes (the hardest step, hands down), then move to a rack or just start peeling papers off when you can’t take it anymore.
Approximate Information for One Serving
Nutrition Disclaimers
Number of total servings shown is approximate. Actual number of servings will depend on your preferred portion sizes.
Nutritional values shown are general guidelines and reflect information for 1 serving using the ingredients listed, not including any optional ingredients. Actual macros may vary slightly depending on specific brands and types of ingredients used.
To determine the weight of one serving, prepare the recipe as instructed. Weigh the finished recipe, then divide the weight of the finished recipe (not including the weight of the container the food is in) by the desired number of servings. Result will be the weight of one serving.
Did you make this recipe?
Please consider Pinning it!




