If you ever find yourself side-eyeing that jar of sourdough discard in the fridge (the one you swore you’d use last week but, well, life happened), you’re in good company. I used to feel all guilty until my cousin handed me this gem of a coffeecake recipe. Let’s just say now my discard disappears faster than socks in the laundry—and my kitchen smells like a bakery for hours. Honestly, it’s one of those lazy weekend projects I look forward to, especially if Sunday comes with rain—or just Netflix and zero motivation.
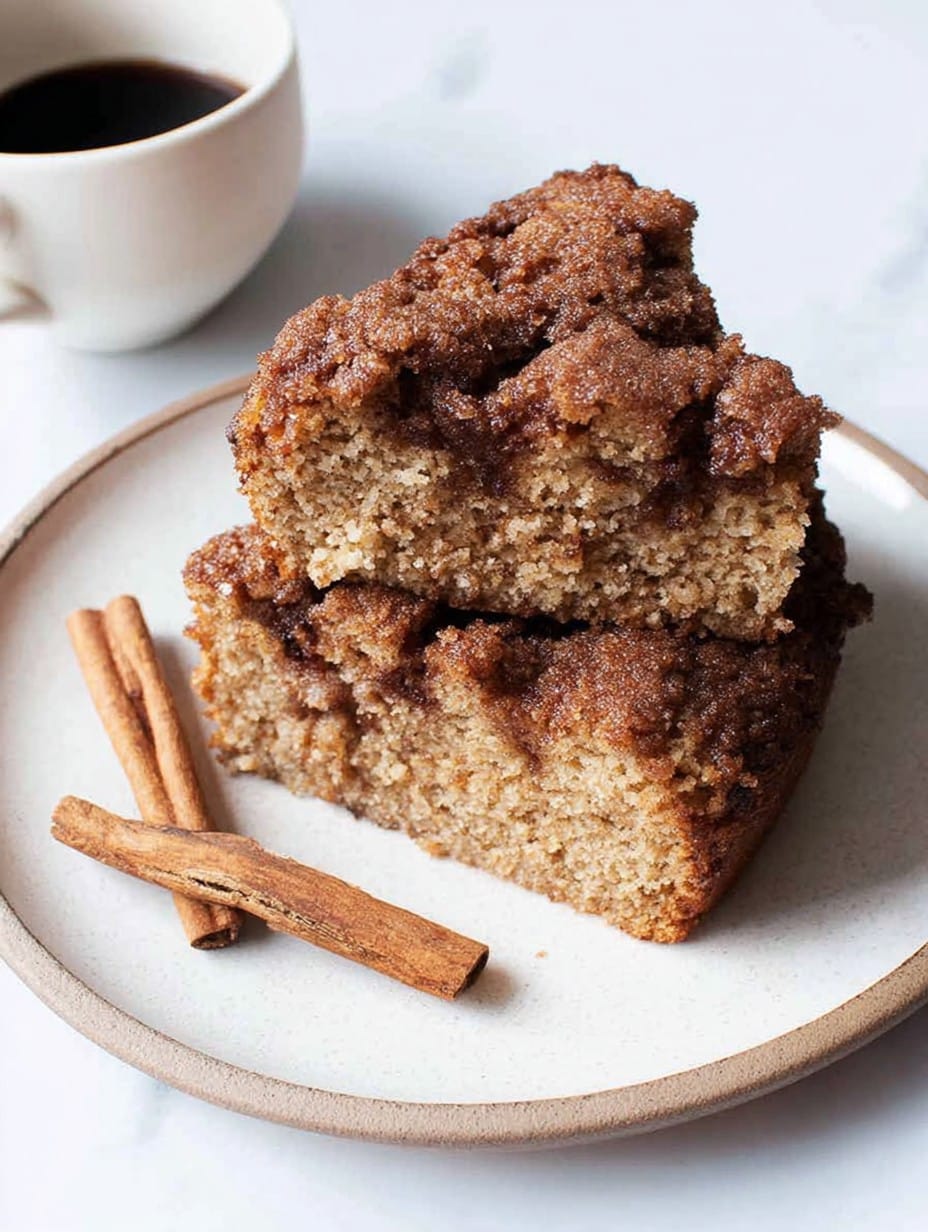
Side note: my dog once tried to steal a corner (behind my back, typical Labrador sabotage). Proof it passes the four-legged test, I guess.
Why You’ll Love This (Seriously)
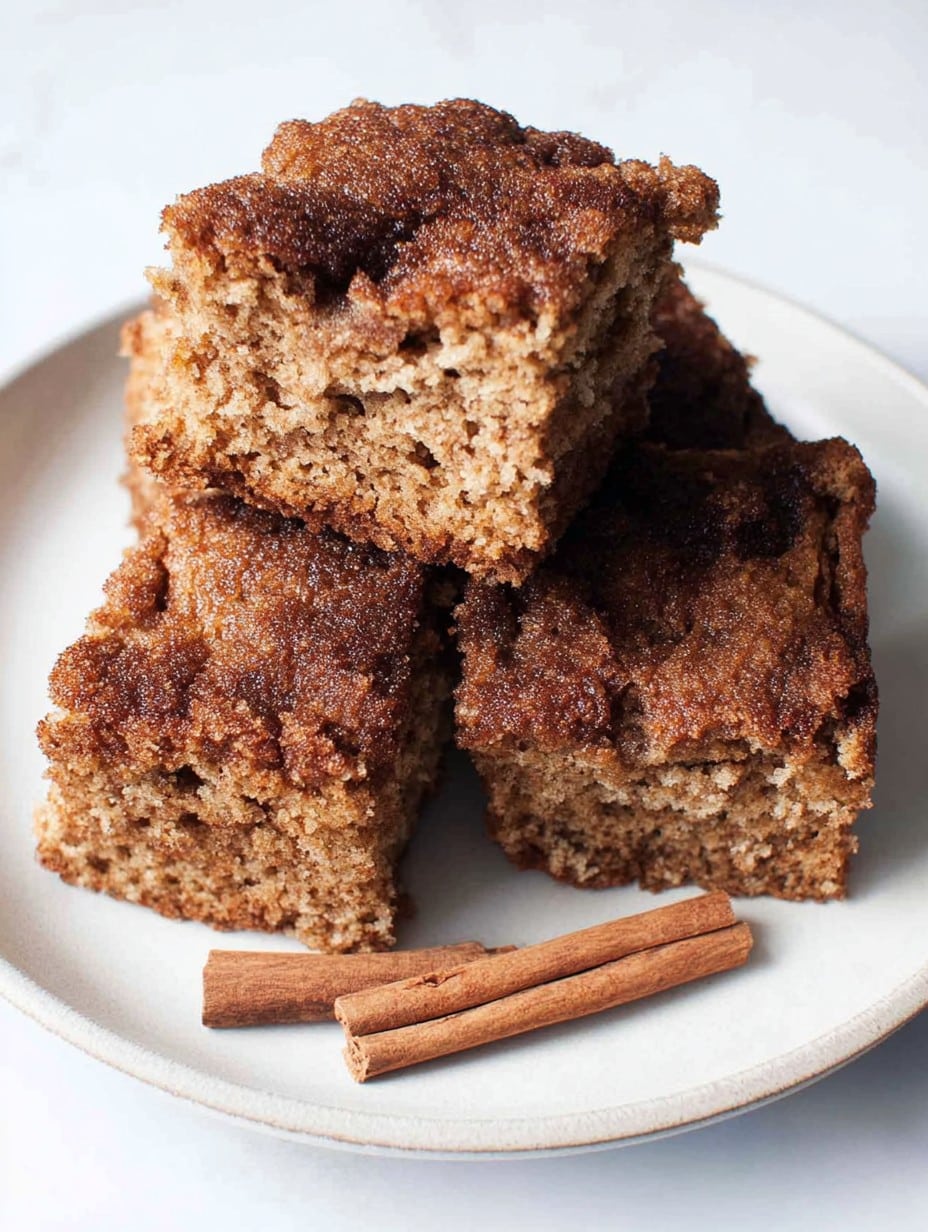
I make this when my ‘real’ sourdough aspirations don’t exactly pan out, or when my family wants something warm and sweet but I, uh, didn’t plan ahead. My people go nuts for the cinnamon streusel (and if I’m honest, half the time I double it). It’s one of those low-pressure bakes—I’ve accidentally left out the vanilla and nobody noticed. Plus, it somehow tastes even better with coffee the next day—if you have any left; that’s rare at my house. No stand mixer? No problem. Most days I just grab a wooden spoon and call it good. And, confession: sometimes I don’t even bother peeling the apples if I’m adding them (lazy person’s hack).
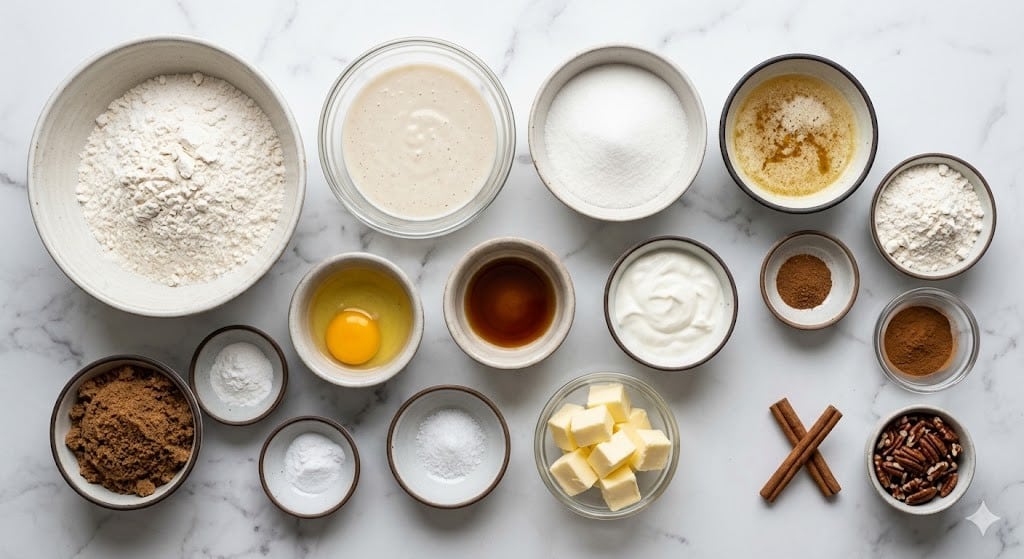
What You’ll Need (Scroll by, laugh at my substitutions)
- 1 cup sourdough starter discard (not fed–mine’s often like pancake batter)
- 1/2 cup unsalted butter, melted (but I’ve been caught using coconut oil—totally works!)
- 3/4 cup granulated sugar (sometimes I swap 1/4 cup for brown, for that caramel flavor)
- 2 large eggs (any size will do in a pinch, but large is what I *try* to use)
- 1 teaspoon vanilla extract (sometimes I forget—it’s still good)
- 1/2 cup milk (I use oat milk if we’re out of regular)
- 2 cups all-purpose flour (but half whole wheat actually isn’t bad)
- 2 teaspoons baking powder (not baking soda—that was, um, a mess)
- 1/2 teaspoon salt (I eyeball this sometimes, don’t @ me)
- 1 teaspoon ground cinnamon
- Optional: 1 cup chopped apples or blueberries, or a handful of walnuts—my grandmother always said “more crunch!”, but yours truly forgets half the time
Directions: Or, How I Actually Make It (With Minor Detours)
- Preheat your oven to 350°F (175°C). I usually do this first so I don’t forget and wonder why nothing’s baking 20 minutes in.
- Grease a 9×9-inch baking pan generously. Or line it if you hate washing pans. If you only have an 8×8, that’ll work—just a bit thicker (add a smidgen of baking time).
- Grab a big mixing bowl. Pour in the melted butter and sugar, and whisk them together. This is where I sneak a little taste. Don’t judge.
- Add eggs and vanilla; whisk until smooth. If you drop a shell in, fish it out with a wet finger—trick form my aunt Sharon.
- Stir in the sourdough discard and milk. It might look a bit…weird? Lumpy? That’s fine. It’ll come together, promise.
- Toss in the flour, baking powder, salt and cinnamon. I fold it all in gently—overmixing makes it tough (learned that the hard way). Stop as soon as the white streaks vanish.
- Gently fold in apples, blueberries, or nuts if you’re adding them. Sometimes I just dump chocolate chips on half and call it “marbled”—nobody’s ever complained yet.
- Pour the batter into your prepared pan. Smooth the top with a spatula, but don’t stress about it.
- For a quick topping: mix 1/4 cup sugar, 1/2 teaspoon cinnamon, a pinch of salt, and 2 tablespoons cold butter (I rub it together with fingers). Sprinkle it over the top. Kids love helping with this bit—and making a mess, but that’s half the fun, right?
- Bake 35–40 minutes, until golden and a toothpick poked in the center comes out mostly clean. Sometimes my oven needs another 5 minutes—just keep an eye (and nose) on it.
- Cool in the pan (as long as you can stand it) before slicing. Or don’t wait, but it’ll be super soft if it’s piping hot. I’m too impatient most mornings.
A Few Notes (Trust Me on These)
- If your discard is really runny, you could try reducing the milk by a splash—honestly though, I only remember half the time, and it’s never a disaster.
- I thought using only brown sugar would make it even better, but it ended up too dense for my taste. If you love that though, go for it!
- I once mixed all the topping into the batter by accident—still ate it. Wouldn’t recommend, but proves mistakes are rarely fatal.
Variations I’ve Messed Around With
- Tried swapping blueberries for chopped banana—tasted fine, but the texture got a bit weird. Maybe needs less milk?
- I sometimes use almond extract instead of vanilla, just a dash. And once, I even tried a chai spice blend instead of just cinnamon. That was a big hit at book club, which shocked me if I’m honest.
- Skip the topping if you want, or use store-bought streusel from a coffee cake mix (it’s not cheating, it’s convenience!).
Stuff You’ll Need—Or Improvise
- 9×9-inch baking pan (8×8 is ok—just thicker cake)
- Mixing bowls—use salad bowls in a pinch
- Whisk or big spoon, honestly
- Oven, obviously (though, funny story, I had a friend make this in a toaster oven—took forever, but it worked)
Storing Your Coffeecake (Good Luck…)
I keep leftovers (when there are any—which, let’s be real, is rare) in an airtight container on the counter for a day, maybe two. It dries out pretty quick in the fridge, so if you must, warm slices in the microwave for 10 seconds. Honestly though, I don’t think we’ve ever managed leftovers past day two…
How We Eat It—& You Should, Too
I always serve it warm, sometimes with a dollop of whipped cream or a drizzle of maple syrup if I’m feeling proper Canadian (I grew up near the border, so that counts, right?). My partner insists on coffee, but my kids love it with a glass of cold milk. I cut huge pieces and don’t apologize.
Pro Tips (Hard-Earned Wisdom—Please Don’t Ignore!)
- Don’t overbake. I once left mine in “just a couple extra minutes” and it turned into a brick. Set a timer, even if you hate timers as much as I do.
- If the top looks pale but the sides are browning, tent it with foil for the last 10 minutes or so.
- Actually, sometimes I skip sifting the flour. No one’s noticed yet. But if you want a lighter cake, knock yourself out.
Actual Questions People Have Sent Me (With Real Answers!)
- Can I use active sourdough starter instead of discard? You can, totally, but it makes the cake a little more tangy. Not a bad thing, just, you know, don’t be surprised.
- Is it okay to freeze this? Yup! I slice it, wrap in cling film, then foil and freeze. Thaw overnight in the fridge and zap it in the microwave. Not quite as good as fresh, but beats storebought any day.
- What if I don’t have any cinnamon? Try nutmeg or even pumpkin spice. Or nothing! It’s fine. I made it once with just vanilla and it’s still disappeared.
- Mine came out too dry—what happened? You probably baked it a bit too long or maybe your starter was on the thick side. Next time, knock off two or three minutes and check early.
- Can kids help? Oh definitely. Especially with the messy part. Just be prepared to find sugar on your floors for a week, ha!
So there’s my not-so-secret, ultra-cozy, honestly-easy sourdough discard coffeecake. If you try it (and put your own spin on it—I know you will) let me know what worked or didn’t. Happy baking, mate!
Ingredients
- 1 cup sourdough starter discard (not fed–mine’s often like pancake batter)
- 1/2 cup unsalted butter, melted (but I’ve been caught using coconut oil—totally works!)
- 3/4 cup granulated sugar (sometimes I swap 1/4 cup for brown, for that caramel flavor)
- 2 large eggs (any size will do in a pinch, but large is what I *try* to use)
- 1 teaspoon vanilla extract (sometimes I forget—it’s still good)
- 1/2 cup milk (I use oat milk if we’re out of regular)
- 2 cups all-purpose flour (but half whole wheat actually isn’t bad)
- 2 teaspoons baking powder (not baking soda—that was, um, a mess)
- 1/2 teaspoon salt (I eyeball this sometimes, don’t @ me)
- 1 teaspoon ground cinnamon
- Optional: 1 cup chopped apples or blueberries, or a handful of walnuts—my grandmother always said “more crunch!”, but yours truly forgets half the time
Instructions
-
1Preheat your oven to 350°F (175°C). I usually do this first so I don’t forget and wonder why nothing’s baking 20 minutes in.
-
2Grease a 9×9-inch baking pan generously. Or line it if you hate washing pans. If you only have an 8×8, that’ll work—just a bit thicker (add a smidgen of baking time).
-
3Grab a big mixing bowl. Pour in the melted butter and sugar, and whisk them together. This is where I sneak a little taste. Don’t judge.
-
4Add eggs and vanilla; whisk until smooth. If you drop a shell in, fish it out with a wet finger—trick form my aunt Sharon.
-
5Stir in the sourdough discard and milk. It might look a bit…weird? Lumpy? That’s fine. It’ll come together, promise.
-
6Toss in the flour, baking powder, salt and cinnamon. I fold it all in gently—overmixing makes it tough (learned that the hard way). Stop as soon as the white streaks vanish.
-
7Gently fold in apples, blueberries, or nuts if you’re adding them. Sometimes I just dump chocolate chips on half and call it “marbled”—nobody’s ever complained yet.
-
8Pour the batter into your prepared pan. Smooth the top with a spatula, but don’t stress about it.
-
9For a quick topping: mix 1/4 cup sugar, 1/2 teaspoon cinnamon, a pinch of salt, and 2 tablespoons cold butter (I rub it together with fingers). Sprinkle it over the top. Kids love helping with this bit—and making a mess, but that’s half the fun, right?
-
10Bake 35–40 minutes, until golden and a toothpick poked in the center comes out mostly clean. Sometimes my oven needs another 5 minutes—just keep an eye (and nose) on it.
-
11Cool in the pan (as long as you can stand it) before slicing. Or don’t wait, but it’ll be super soft if it’s piping hot. I’m too impatient most mornings.
Approximate Information for One Serving
Nutrition Disclaimers
Number of total servings shown is approximate. Actual number of servings will depend on your preferred portion sizes.
Nutritional values shown are general guidelines and reflect information for 1 serving using the ingredients listed, not including any optional ingredients. Actual macros may vary slightly depending on specific brands and types of ingredients used.
To determine the weight of one serving, prepare the recipe as instructed. Weigh the finished recipe, then divide the weight of the finished recipe (not including the weight of the container the food is in) by the desired number of servings. Result will be the weight of one serving.
Did you make this recipe?
Please consider Pinning it!




