If You’ve Got Ripe Bananas, You’re Halfway There
You ever wake up with, like, three bananas on the counter — spotty, slouching, making their slow slide into compost stardom — and think: is there honestly a better destiny than cinnamon swirled banana bread? Because this recipe, goodness me, it’s been rescuing past-their-prime bananas in my house since my college days (back when my roommate called it “banana magic cake”). The first time I made this loaf, I was so nervous I’d mess up the swirl, but honestly it’s basically impossible to fail… unless you forget it in the oven while chatting with your neighbor, which I may have done once. Or, uh, twice.

Not to get too sappy, but nothing seems to bring everyone into the kitchen faster than the smell of cinnamon and bread baking — even the cat sort of loiters. And ok, this sounds dramatic, but I swear it’s the single coziest thing you can do with bananas and a free afternoon.
Why I Keep Coming Back to This Banana Bread
I bake this cinnamon swirled banana bread when I want to use up those lurking bananas, yeah, but also when I want something that feels warm and a little special without much effort. My family goes absolutely bonkers for the cinnamon swirly bit (my youngest calls it “the best surprise” — she’s not wrong) and it’s a hit even with the picky eaters who usually cry mutiny over anything that’s not chocolate. Plus, if I’m feeling lazy, you can totally make it as muffins… which actually bake faster but, warning, they sort of disappear faster too. (The only thing that ever annoys me is peeling bananas when they’re extra mushy. But, small price for magic bread.)
Here’s What You’ll Need (Substitutions Welcome!)
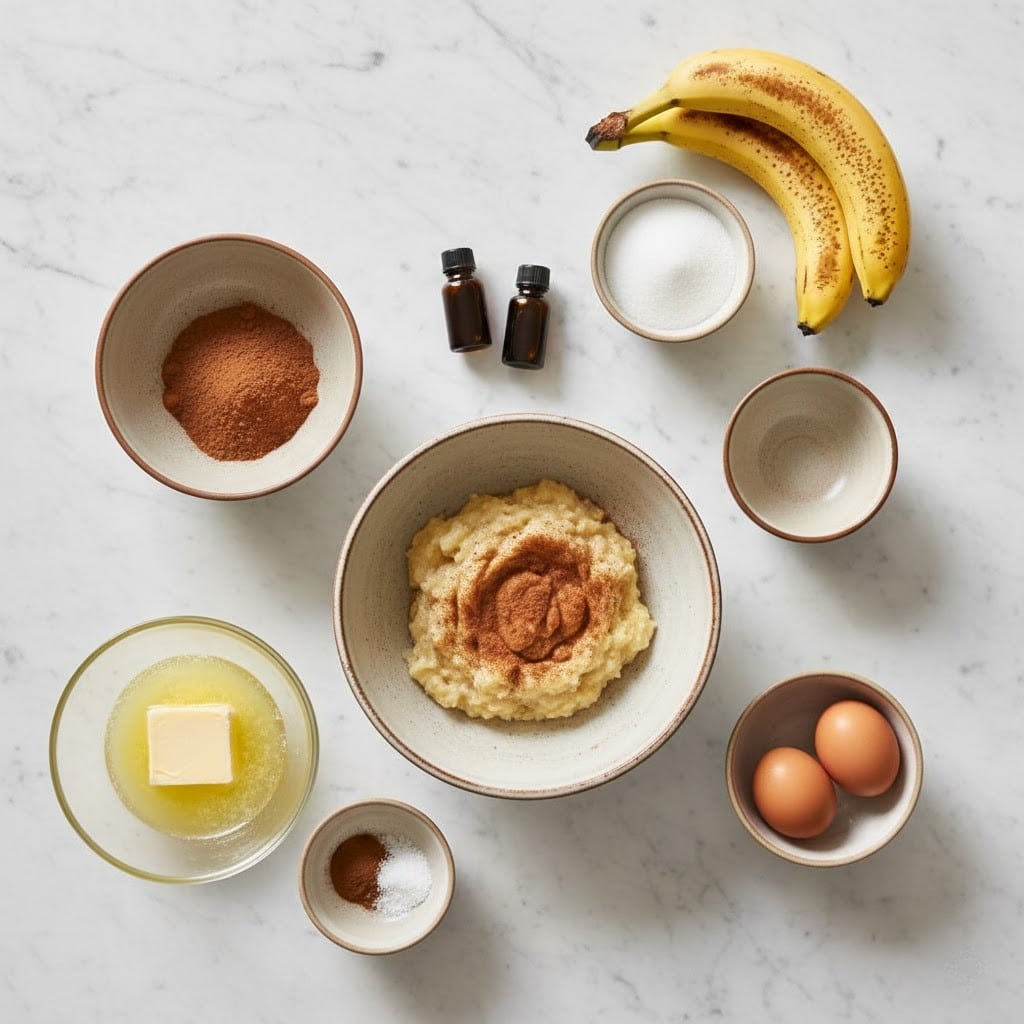
- 3 very ripe bananas (Honestly, the spottier, the better. My grandmother insisted on Chiquita, but whatever’s in your fruit bowl totally flies.)
- 1/2 cup melted butter (I’ve swapped in coconut oil in a pinch. Tastes beachy.)
- 3/4 cup sugar (Granulated works, but I’ve done half brown sugar and whoa. Deeper flavor.)
- 1 egg (sometimes I use a flax egg if I’m out — not quite as fluffy, but nobody notices)
- 1 teaspoon vanilla extract (I tend to eyeball this, shh)
- 1 and 1/2 cups all-purpose flour (I’ve used half whole wheat… gives it sort of a nutty vibe)
- 1 teaspoon baking soda
- 1/4 teaspoon salt (or a generous pinch, which is more my style)
- For the cinnamon swirl:
- 2 tablespoons sugar
- 1 tablespoon cinnamon (honestly, dumpy tablespoons are fine)
- Optional: handful of chopped nuts or chocolate chips (My partner thinks this is banana bread heresy. I think it’s genius.)
Let’s Bake! Directions, Plus My Usual Tangents
- Preheat your oven to 350°F (that’s 175°C, for my friends across the pond). Grease a loaf pan with butter or line it with parchment. Or both, if you’re paranoid like me.
- Mash the bananas in a big bowl. I just use a fork, but a potato masher is close to magical here. (Don’t worry about lumps. They vanish later.)
- Stir in the melted butter. This is usually where I sneak a taste (the mixture looks weird — kinda like baby food, but it gets better, I promise). Add sugar, egg, and vanilla. Stir until it’s mostly smooth.
- Sprinkle the flour, baking soda, and salt right on top. No fancy sifting needed unless you’re feeling posh.
- Mix gently until just combined. Overmixing is the banana bread’s mortal enemy. If you’re adding nuts or chips, in they go! Don’t fuss too much about perfect distribution — rustic is in.
- Pour half the batter into your loaf pan. Now, in a cup, mix together the 2 tbsp sugar and 1 tbsp cinnamon. Sprinkle most of this over the batter like you’re making fairy dust.
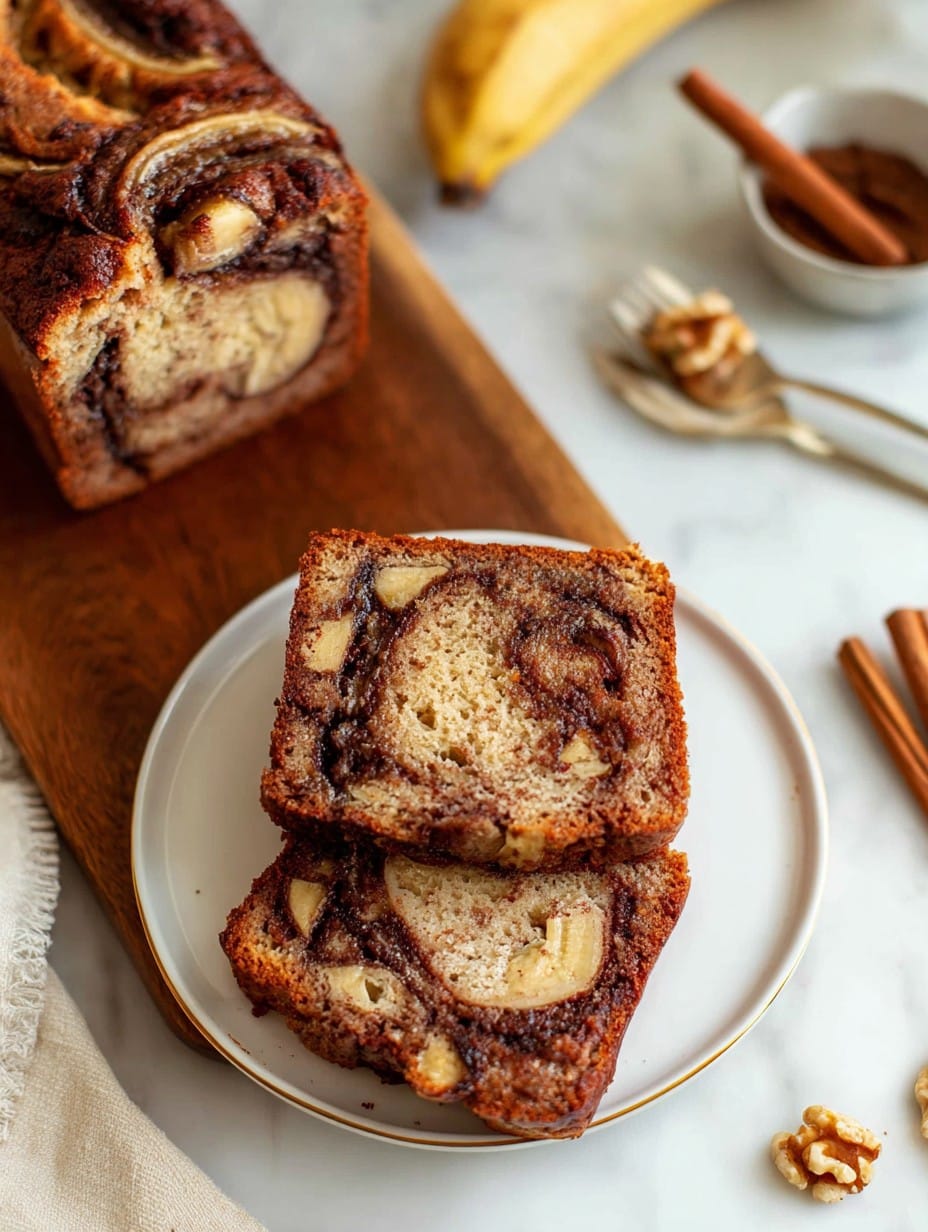
- Pour in the rest of the batter. Swirl the top with a butter knife or a chopstick if you’re feeling whimsical. Sprinkle the last bit of cinnamon sugar on top. Sometimes I try to make a swirl that turns out like a treasure map, but always ends up more abstract. Still, tasty.
- Bake for 45-55 minutes — check at 45, poke it with a skewer or a toothpick (or, honestly, a dry spaghetti noodle works in a pinch). It’s done when it comes out mostly clean. (If the edges look a little darker, that’s ok — the crust is the best part in my opinion!)
- Let it cool for at least 10 minutes in the pan (or as long as you can stand the wait). Then turn out onto a rack. Actually, it slices neater when fully cool, but… good luck with that.
Lessons I’ve Picked Up (The Hard Way)
- If your bananas aren’t quite ripe enough, pop them in a 300°F oven (skins on!) for 15 minutes. They look sad when they’re done but, wow, does it do the trick.
- Forgot to melt butter? I’ve straight-up used olive oil once. Kind of Italian, kind of delicious. Who’d have guessed?
- I used to really stress about big lumps in the batter. Don’t. They melt. Or maybe they’re little flavor surprises, who can say?
Variations I’ve Tried — And One Flop
- Walnuts or pecans, chopped up and tossed in; welcome to textural heaven.
- Choc chips. Mainly for breakfast dessert, which, let’s be honest, is a true thing.
- Once tried swirling in a line of peanut butter. Felt fancy, but the texture was weirdly gummy. Wouldn’t repeat, but maybe you’ll disagree.
- You can double the cinnamon swirl if you’re a spice freak (like me on a rainy weekend).
No Fancy Gear? No Worries
I usually bake in a standard loaf pan (8 by 4 inches). If you’ve only got a square cake tin or even a muffin pan, that totally works. Muffin versions bake in about 25 minutes. And honestly, parchment is more a suggestion than a law — a good greasing gets you there. I once used an old Pyrex because that’s all I could find, and hey, it worked. (Just don’t use a skillet. Or, you know what, maybe DO. Tell me how it goes!)
How I Store It (When There’s Any Left)
This banana bread keeps pretty well in an airtight container — usually two to three days at room temperature, though honestly, in my house, it never lasts more than a day! Once, I tried to freeze leftovers for “future emergency snacking” but ended up eating them semi-frozen, and honestly that’s not a bad move in summer. If you do freeze, slice first for grab-and-go situations.
My Favorite Way to Serve (And a Weird Tradition)
Still a bit warm, with a slather of salted butter — please don’t skip the butter, it’s criminal — and a mug of tea. My younger sibling dunks every slice in coffee (calls it “breakfast biscotti,” which is… creative). Sometimes, we even do a dollop of vanilla ice cream on top for dessert-y vibes.
Stray Wisdom (A.K.A. My Banana Bread Pro Tips)
- Let the loaf cool at least 20 minutes before slicing if you want tidy slices. I once tried cutting it straight out of the oven, and it was a crumb-y mess, very tasty but impossible to photograph for Instagram.
- Don’t rush the swirl! One time I tried to marble it with a spoon and ended up with, uh, “bananda camouflage.” Knife or chopstick, always better.
- If the bread seems dry, you probably overbaked just a smidge. Next time, check five minutes earlier — ovens love to play tricks on us.
- Actually, it tastes even better the next day. Something about the flavor settling. If you have the willpower, let it rest overnight!
Questions I’ve Actually Been Asked
- “Can I leave out the cinnamon?”
- You can, but then it’s just… banana bread. Still good, just not as jazzy.
- “What happens if my bananas aren’t ripe?”
- Bake ’em with skins on for ten minutes at 300°F — or, set them by a sunny window till they’re squishy.
- “Is it actually okay to use gluten-free flour?”
- I’ve swapped in a 1-for-1 gluten-free blend and, honestly, works just fine. Texture’s hardly different. Just don’t use pure coconut flour — learned that the crumbly way.
- “Can I double the recipe?”
- Yes, but watch the bake time — might take over an hour, and use two pans if you’ve got ’em.
- “Why does my bread sink in the middle?”
- Probably too much banana, or it wasn’t baked all the way. Or maybe it’s just showing off. Either way, still tastes grand.
Oh — once, someone asked me if they could make this in a rice cooker. I haven’t tried (yet), but if you do, let me know if it works! Wouldn’t that be a twist?
Ingredients
- 3 ripe bananas, mashed
- 1/3 cup unsalted butter, melted
- 3/4 cup granulated sugar
- 1 large egg, beaten
- 1 teaspoon vanilla extract
- 1 1/2 cups all-purpose flour
- 1 teaspoon baking soda
- 1/2 teaspoon salt
- 1/3 cup brown sugar
- 1 tablespoon ground cinnamon
Instructions
-
1Preheat your oven to 350°F (175°C) and grease a 9×5 inch loaf pan.
-
2In a large bowl, combine mashed bananas with melted butter, granulated sugar, beaten egg, and vanilla extract.
-
3In a separate bowl, whisk together flour, baking soda, and salt. Gradually add to the banana mixture, stirring until just combined.
-
4In a small bowl, mix together brown sugar and cinnamon to make the swirl.
-
5Pour half of the batter into the prepared loaf pan. Sprinkle with half of the cinnamon-sugar mixture. Add the remaining batter and top with the rest of the cinnamon-sugar. Swirl with a knife.
-
6Bake for 55-60 minutes, or until a toothpick inserted in the center comes out clean. Cool in pan for 10 minutes, then transfer to a wire rack to cool completely.
Approximate Information for One Serving
Nutrition Disclaimers
Number of total servings shown is approximate. Actual number of servings will depend on your preferred portion sizes.
Nutritional values shown are general guidelines and reflect information for 1 serving using the ingredients listed, not including any optional ingredients. Actual macros may vary slightly depending on specific brands and types of ingredients used.
To determine the weight of one serving, prepare the recipe as instructed. Weigh the finished recipe, then divide the weight of the finished recipe (not including the weight of the container the food is in) by the desired number of servings. Result will be the weight of one serving.
Did you make this recipe?
Please consider Pinning it!!




