Gathering Together Over Sliders (and a Little Chaos)
If you’ve ever hosted a party—big or small—you know how having the right snacks can mean the difference between “What a lovely evening!” and “Oh geez, we ran out of chips again.” For me, sliders have been the unsung hero of many a gathering, mostly because they’re easy, cheesy (literally) and always gone within minutes. I still remember one New Year’s Eve: my cousin tried to sneak a fourth slider onto her plate (not so slyly, might I add), and my nephew actually traded his dessert for an extra one. That’s the power of a good ham and cheese slider! These days, I like to give my classic recipe a bit of a bold kick—just something to keep everyone guessing.

And yes, I once forgot to preheat the oven and served them lukewarm. Still decent, just… not peak slider, if you know what I mean.
Why Everyone I Know Asks for These
I make this batch whenever I need something fuss-free but impressive. My family goes a bit wild for these mainly because they’re melty, salty, and have that extra little zing (thanks to my secret sauce). Plus, if you’re also the kind of person who endures a love/hate relationship with cleaning up after guests—these are so self-contained, you’ll basically just need napkins. I’ve definitely had batches where the cheese oozed out (I still ate them, obviously), so trust me: even my messy versions rarely last more than one night.
What You’ll Need (Substitutions Welcome)
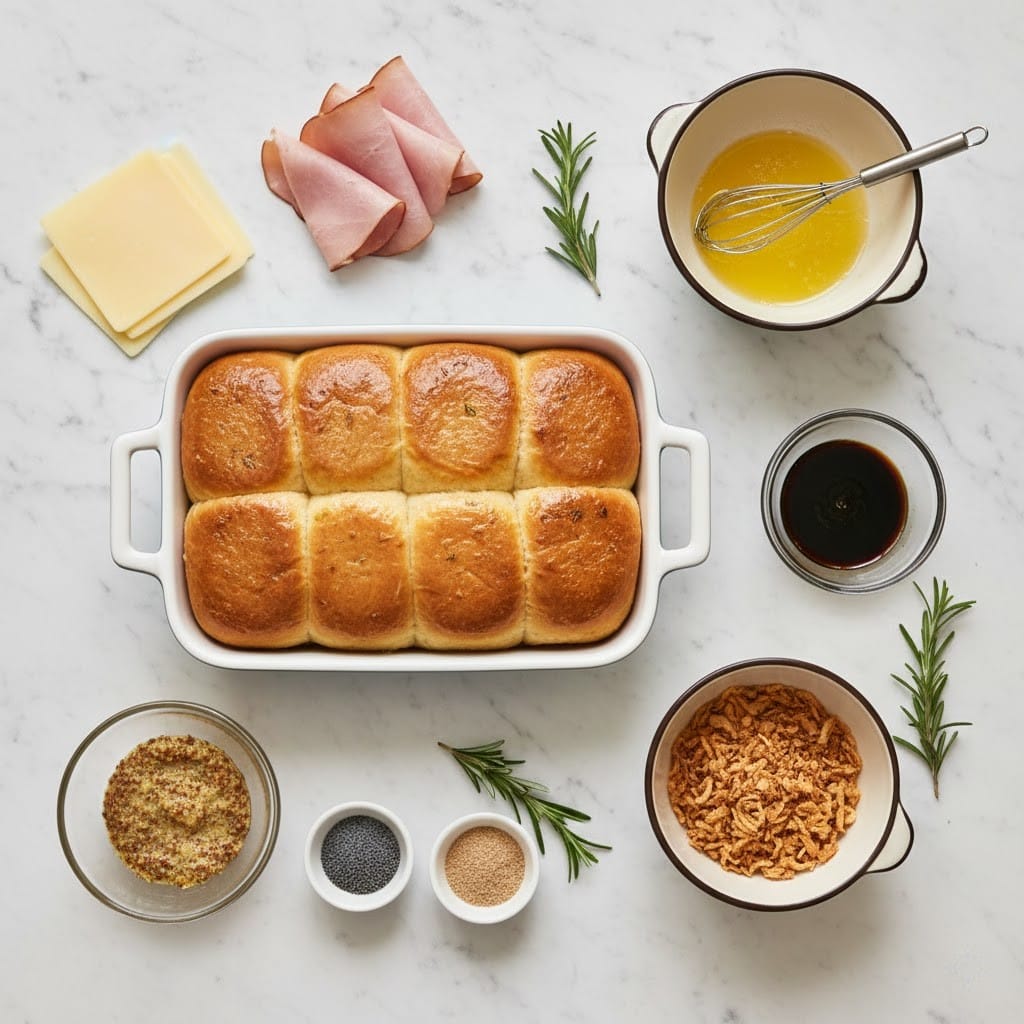
- 12 slider rolls (Hawaiian rolls make these sweet-salty, but I sometimes grab whatever dinner rolls are on sale)
- 250g sliced deli ham (my grandmother swore by Black Forest, though honey ham works fine)
- 6 slices Swiss cheese, halved (cheddar or provolone slide in nicely too)
- 3 tablespoons unsalted butter, melted (if you only have salted just skip the pinch of salt later—learned the hard way one time)
- 1 tablespoon Dijon mustard (sometimes, if it’s missing, yellow mustard sort of does the job)
- 1 teaspoon Worcestershire sauce
- 1 teaspoon horseradish sauce (the bolder part—leave out if you fear the zing)
- 1 tablespoon poppy seeds (or sesame—though my youngest hates picking sesame out of her teeth)
- 1/2 teaspoon garlic powder
- Pinch of salt and black pepper
Slapping These Together (My Way)
- Preheat your oven to 350°F (about 180°C). If you forget, just tack on a few minutes bake time later—it’ll all work out.
- Without separating the rolls, slice them in half horizontally so you have one big slab of tops and one slab of bottoms. Place the bottoms in a baking dish (a 9×13 works, but I’ve jammed them in round cake pans in a pinch).
- Layer the ham evenly. I often fold each slice because, well, it makes things look fancy (ish).
- Now lay the cheese on top of the ham. Overlap a bit—more cheese never ruined anything.
- Pop the tops of the rolls back on. This is where I sometimes squish things too much, but it recovers in the oven.
- In a small bowl, mix up the melted butter, mustard, Worcestershire, horseradish sauce, poppy seeds, garlic powder, salt, and pepper. It’s a mish-mash, but it really works.
- Pour or brush that buttery mixture all over the tops. If it drips down the sides, all the better—those edges get deliciously crispy.
- Loosely cover the dish with foil (or an upside-down baking sheet, if all your foil is mysteriously missing—true story). Bake for 15 minutes.
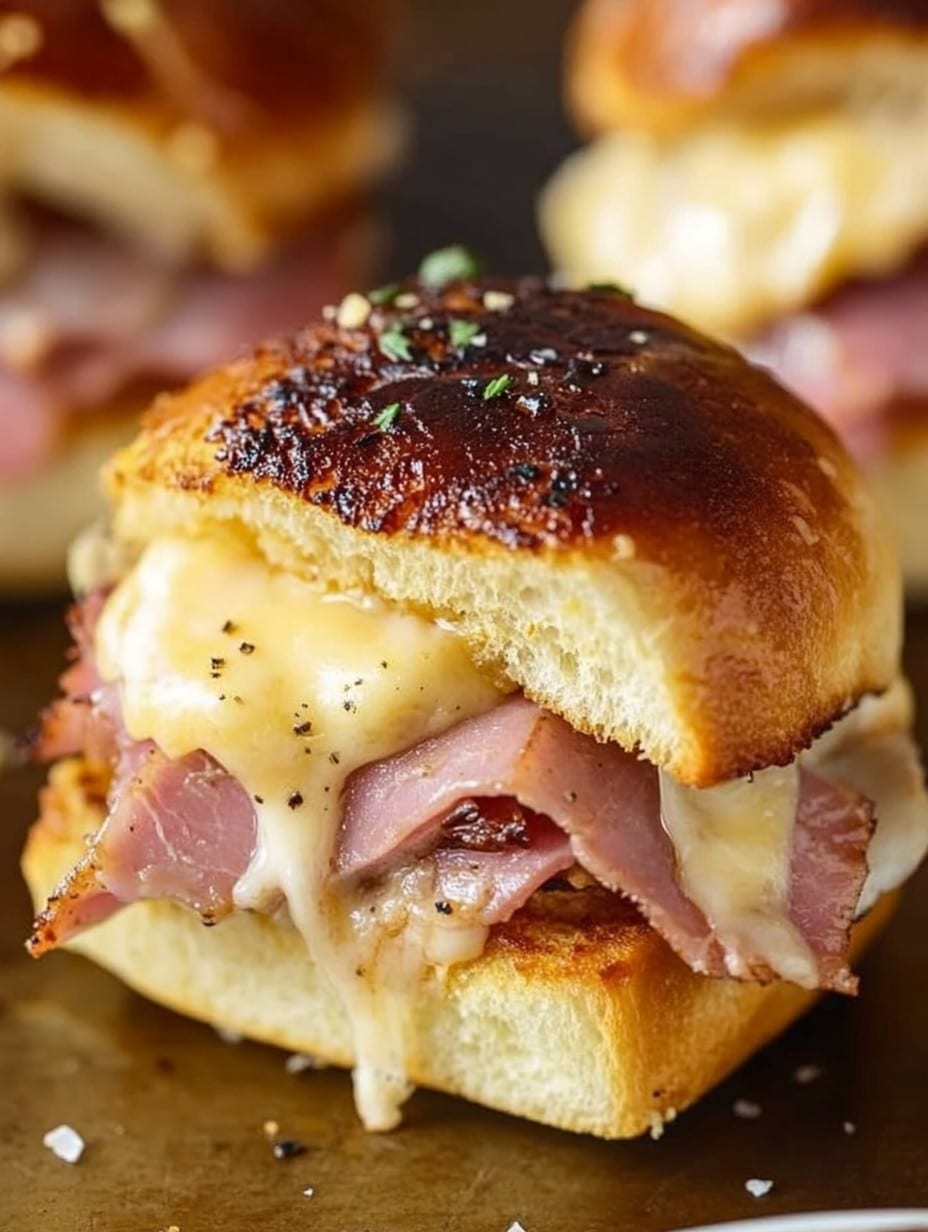
- Remove the foil and bake another 7–10 minutes, or until the tops are a little golden and there’s some bubbling around the edge. This is the point where I’m usually tempted to dive in, but let them rest a few minutes—molten cheese is nobody’s friend.
Notes I Learned the Hard Way
- If you skip the resting, sliders will slip-slide everywhere. I know this because I did it last Thanksgiving.
- You don’t have to smear sauce under the ham—keeps the buns from going soggy. Actually, on second thought, a little mustard under the ham’s kinda nice if you’re into that.
- Plastic wrap is fine for storing leftovers but if you really want to avoid fridge-funk, tuck them into an airtight box. Of course, they rarely last long enough for that to matter in my house.
Things I’ve Tried (for Better or Worse)
- Using turkey instead of ham—honestly, a bit bland, but my aunt loves it.
- Adding thinly sliced pickles—now that’s a party trick for tang lovers.
- I once used a spicy chipotle mayo as the ‘sauce’ base. It was… a lot. Wouldn’t repeat unless you’re all-in on smoky heat.
- Vegetarian version? Swap in layers of roasted veggies with sharp cheddar. Not quite the same, but nobody turned one down.
Do You Really Need Special Gear?
I do prefer using a proper 9×13 pan, but when we had only a big pizza pan, I just set the rolls on parchment and half-tented them with foil. Awkward, but it worked (sorta wonky-shaped sliders, though).
How Long Do These Keep Around?
Technically, the leftovers will keep in the fridge (covered) for up to three days. Honestly, they’re never around more than 24 hours in my place—so you’ll have to let me know if yours last longer. And yeah, they’re surprisingly good cold, if you like that sort of thing.
Serving: Traditions and Odd Habits
I usually pile these on a big platter with some extra napkins, and pair them with a crisp salad or chips. At Christmas, we serve them with homemade relish, which only half the family appreciates. Oh, and my brother always sneaks a few to reheat in the toaster oven for midnight snacks—true story.
Lessons Learned the Fun (and Not-So-Fun) Way
- Don’t be tempted to microwave to “speed up” the cheese melting—the texture goes a bit chewy, and not in a good way.
- I once forgot to cut between the sliders before serving. Major chaos. I now slice through before calling everyone to eat.
- Letting the butter topping sit for five minutes before baking gives a richer flavor—but you won’t ruin things if you hustle this part. Sometimes you’re just hungry, you know?
Questions Folks Actually Ask Me
- Can I make these ahead of time?
- Yep, assemble (don’t bake), cover, refrigerate overnight. Bake fresh. If you bake, then chill—reheat gently or rolls dry out.
- What’s the best way to reheat sliders?
- I like 10 minutes in a 325°F oven. Microwave will work, too, but makes the buns a touch rubbery.
- Do I have to use poppy seeds?
- Nope! Sesame works. Or just ditch ‘em if you’re not into seeds.
- What if I don’t love horseradish?
- Just leave it out. Maybe add a tiny splash of hot sauce or a smidge more mustard if you like.
Now, moment of honesty: these aren’t health food. But sometimes you just want something fun, fast, and as easy to disappear as socks in the laundry. And isn’t that what gatherings are really for?
Ingredients
- 12 slider rolls (Hawaiian rolls make these sweet-salty, but I sometimes grab whatever dinner rolls are on sale)
- 250g sliced deli ham (my grandmother swore by Black Forest, though honey ham works fine)
- 6 slices Swiss cheese, halved (cheddar or provolone slide in nicely too)
- 3 tablespoons unsalted butter, melted (if you only have salted just skip the pinch of salt later—learned the hard way one time)
- 1 tablespoon Dijon mustard (sometimes, if it’s missing, yellow mustard sort of does the job)
- 1 teaspoon Worcestershire sauce
- 1 teaspoon horseradish sauce (the bolder part—leave out if you fear the zing)
- 1 tablespoon poppy seeds (or sesame—though my youngest hates picking sesame out of her teeth)
- 1/2 teaspoon garlic powder
- Pinch of salt and black pepper
Instructions
-
1Preheat your oven to 350°F (about 180°C). If you forget, just tack on a few minutes bake time later—it’ll all work out.
-
2Without separating the rolls, slice them in half horizontally so you have one big slab of tops and one slab of bottoms. Place the bottoms in a baking dish (a 9×13 works, but I’ve jammed them in round cake pans in a pinch).
-
3Layer the ham evenly. I often fold each slice because, well, it makes things look fancy (ish).
-
4Now lay the cheese on top of the ham. Overlap a bit—more cheese never ruined anything.
-
5Pop the tops of the rolls back on. This is where I sometimes squish things too much, but it recovers in the oven.
-
6In a small bowl, mix up the melted butter, mustard, Worcestershire, horseradish sauce, poppy seeds, garlic powder, salt, and pepper. It’s a mish-mash, but it really works.
-
7Pour or brush that buttery mixture all over the tops. If it drips down the sides, all the better—those edges get deliciously crispy.
-
8Loosely cover the dish with foil (or an upside-down baking sheet, if all your foil is mysteriously missing—true story). Bake for 15 minutes.
-
9Remove the foil and bake another 7–10 minutes, or until the tops are a little golden and there’s some bubbling around the edge. This is the point where I’m usually tempted to dive in, but let them rest a few minutes—molten cheese is nobody’s friend.
Approximate Information for One Serving
Nutrition Disclaimers
Number of total servings shown is approximate. Actual number of servings will depend on your preferred portion sizes.
Nutritional values shown are general guidelines and reflect information for 1 serving using the ingredients listed, not including any optional ingredients. Actual macros may vary slightly depending on specific brands and types of ingredients used.
To determine the weight of one serving, prepare the recipe as instructed. Weigh the finished recipe, then divide the weight of the finished recipe (not including the weight of the container the food is in) by the desired number of servings. Result will be the weight of one serving.
Did you make this recipe?
Please consider Pinning it!