So, Let Me Tell You About This Coffee Cake Banana Bread
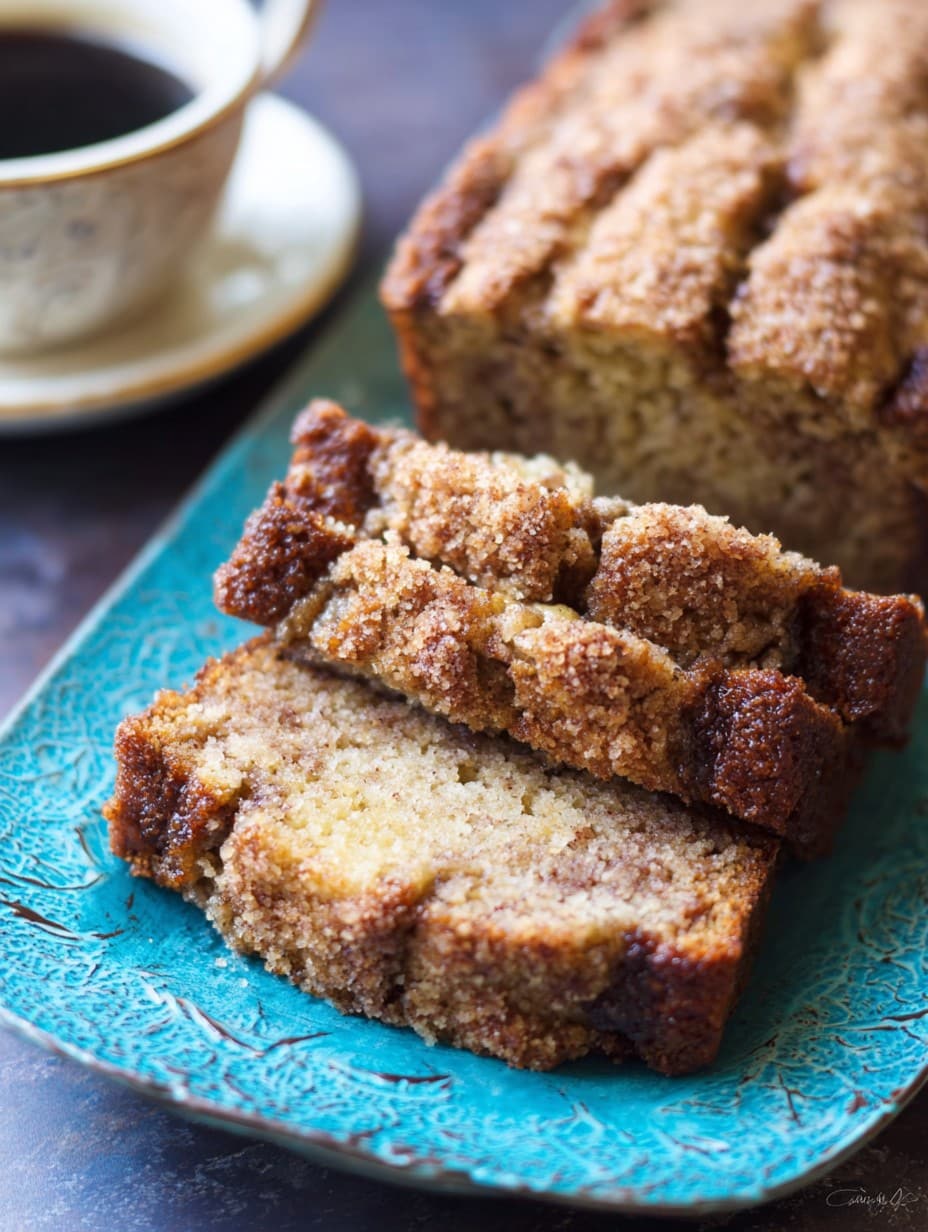
Alright friends, pull up a chair, because I need to gush about this Coffee cake Banana Bread for a second. I first made it one rainy Saturday, chasing the idea of something warm and a bit decadent for brunch, and honestly—maybe I just wanted an excuse to procrastinate folding the literal mountain of laundry. Anyway, the smell alone had my kid asking if the neighbors were coming over (they weren’t). I once swapped in walnuts for pecans by accident and, weirdly, didn’t hate it. Anyway, if you can mash bananas and stir, you’ve basically got this in the bag.
Why You’ll Just Keep Making This
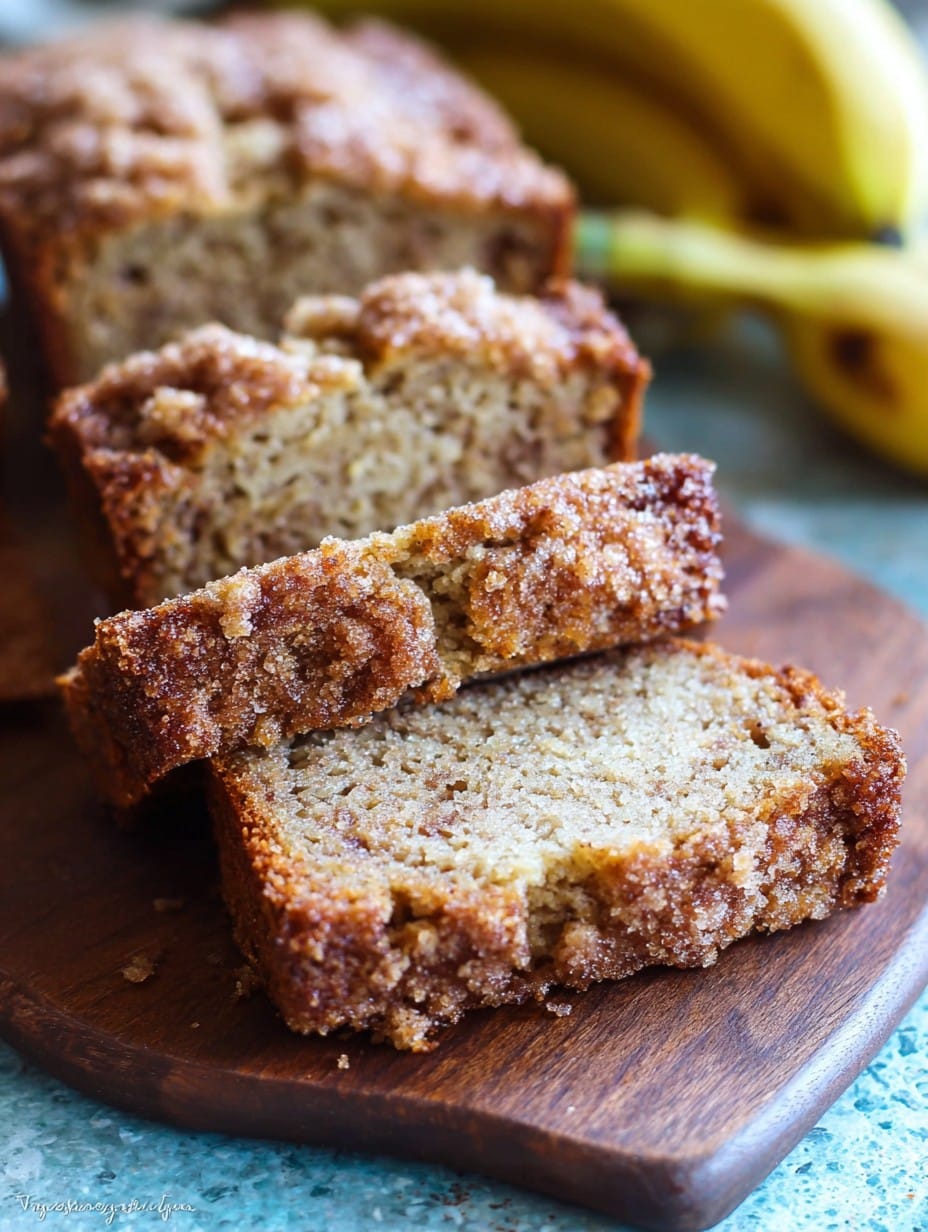
I bake this any time we end up with bananas that have gone soft and spotty (which is… always?). My family goes absolutely nuts for the cinnamon crumb topping—it’s a bit of extra work, but nobody ever said no to more crumbly bits. Actually, the first time I tried combining coffee cake stuff with classic banana bread, my mixer made that funky “are you sure about this” noise, but I just kept going (and yes, it worked). And yes, sometimes it looks a little wonky in the middle before it’s done, but don’t stress—it sets up nicely. Also: perfect for coffee breaks that turn into full-on breaks.
The Ingredient Lowdown
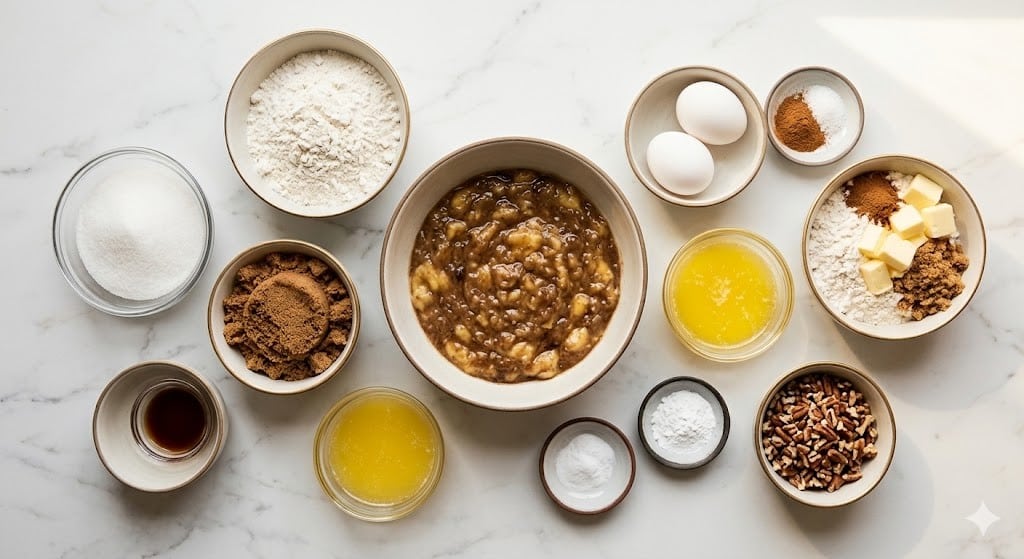
- 3 very ripe bananas (if yours are still yellow, I’ve microwaved them for like 15 seconds—no shame)
- 1/3 cup unsalted butter, melted (I’ve used coconut oil in a pinch; it’s good, but butter wins)
- 1/2 cup brown sugar (light or dark, honestly both work—my grandma insisted on dark but I’m not always that organized)
- 1 large egg (room temp, or stick it in a mug of warm-ish water for a few min if it’s straight form the fridge)
- 1 teaspoon vanilla extract (I once tripled this and nobody minded)
- 1 teaspoon baking soda
- 1/4 teaspoon salt (I just use a small pinch if I forget to measure)
- 1 1/2 cups all-purpose flour (have used whole wheat, but it gets denser—maybe that’s your thing?)
- 1/2 cup sour cream or thick plain yogurt (Greek or otherwise)
- For the crumb topping:
- 1/3 cup brown sugar (again, light or dark—don’t sweat it)
- 1 tablespoon flour
- 1/2 teaspoon cinnamon
- 2 tablespoons cold unsalted butter (cubed, but if you forget to chill it, just stick it in the freezer for 2 min)
- 1/2 cup chopped pecans or walnuts (skipped it a few times—still tasty)
What You Actually Do (Step-by-Step…ish)
- Preheat your oven to 350°F (175°C). Grease a loaf pan—the standard one, or the slightly awkward wide one you inherited; either works if you check the bake time.
- Mash up those bananas in a big bowl—I go for almost smooth, with a few chunky bits. Stir in the melted butter until it looks like some weird smoothie (gross, but necessary).
- Add brown sugar, egg, vanilla, and sour cream. Mix until those streaks are gone—no one wants sugar pockets (unless you do…?).
- Dump in flour, baking soda, and salt. I fold it gently with a rubber spatula until just barely combined. Don’t overdo it—this bread isn’t trying to win a tight crumb award.
- Pour half the batter into the pan. Set the other half aside for a sec.
- Now, make your crumb topping: In a small bowl, combine brown sugar, flour, cinnamon, and cold butter. Pinch together with your fingers (or use a fork if you’re fancy) until it clumps like wet sand. Stir in those nuts, unless you’re currently out.
- Scatter about half the crumb topping over the batter in the pan. (Yes, just half—trust the process.)
- Pour the rest of the banana batter over the crumbs and smooth it out. Top with remaining crumb mixture. If it all melds together, don’t stress—it bakes up just fine.
- Bake for 50 to 60 minutes, or until a skewer comes out mostly clean. (Every oven is just a shade different. If in doubt, give it a few extra minutes—dry edges are way better than a gooey collapse in the center, ask me how I know.)
- Cool in the pan for about 15 minutes (this is usually when I sneak a nibble). Then turn out onto a rack if you have one. If not—eh, just let it cool in the pan.
Things I Wish I’d Known (Notes)
- If your bananas aren’t super ripe, give ’em a quick zap in the microwave. Just keep an eye so you don’t end up with banana soup.
- Sour cream makes it really tender, but yogurt works if that’s what you’ve got in the fridge. (Honestly, I’ve even scrapped the topping once when I was in a rush and the loaf was still worth the hype.)
- Letting it cool fully is great—but it’s nearly impossible because of the smell. I say, eat it warm!
I’ve Tried These Tweaks (and One Fail…)
- Chocolate chips stirred into the batter? Yes, yes, a thousand times—although it stops being “coffee cake” and becomes dessert. Nobody complains though.
- Blueberries instead of nuts in the crumb? It was…fine, but got a little soggy for my taste. Maybe needs a tweak I haven’t figured out yet.
- Left the topping off completely once, and regretted it. The crunch is kind of the whole thing. I don’t recommend skipping this unless you’re really out of options.
Do You Honestly Need Special Equipment?
I use my ancient loaf pan (not even nonstick, just greased with butter). If you don’t have one, use a brownie pan; just shorten the bake time, and check it earlier. No mixer required, just a fork and a decent arm…(And if you’re feeling really wild, muffin tins make adorable grab-and-go versions.)
How to Keep It Fresh (As If…)
Wrap leftovers up tight in foil or an airtight container—it’ll stay good at room temp for two days, or pop it in the fridge if you’re dragging it out. But honestly, ours never lasts more than a day, so take that storage tip with a grain of salt.
How I Like to Serve This
Warm, thick slices with salted butter. My daughter likes hers with a drizzle of honey. Sometimes I make us all sit down for “fancy” coffee and a slice, just because—though more often we’re grabbing it on the run.
What I Learned From My Goofs (Pro Tips)
- I once tried baking this at a higher temp to “save time” and, yeah, don’t do that—it got dark on top and was raw in the middle. Slow and steady wins the bake-off.
- Mixing the crumb topping right over the bowl? Makes less mess, but it doesn’t get as crumbly. I just go for a separate bowl now (yes, it’s one extra dish…)
- Don’t panic if the middle drops a bit while cooling—just call it rustic, and nobody cares.
FAQ—Real Questions I’ve Actually Heard
- “Can I use frozen bananas?” Yep, just thaw and drain a bit before mashing. They’re even sweeter, actually.
- “What’s the best way to make it dairy-free?” Go for coconut oil and non-dairy yogurt. It turns out differently, but still yum.
- “Why do I need both baking soda and sour cream?” It’s a science-y thing (acid and base magic), but basically, it makes it fluffier. Don’t skip it.
- “Help, my topping sunk!” Happens to the best of us; maybe pour less on the first layer next time, or just embrace the gooey surprise.
- “Can I double this and freeze one?” Absolutely. Wrap well and freeze for up to a month—if you can, that is.
Somehow this loaf is both a fancy weekend treat and just-right for Monday lunch. Next time you’ve got sad bananas and a craving for something homey, I say go for it. First slice’s on me!
Ingredients
- 3 very ripe bananas (if yours are still yellow, I’ve microwaved them for like 15 seconds—no shame)
- 1/3 cup unsalted butter, melted (I’ve used coconut oil in a pinch; it’s good, but butter wins)
- 1/2 cup brown sugar (light or dark, honestly both work—my grandma insisted on dark but I’m not always that organized)
- 1 large egg (room temp, or stick it in a mug of warm-ish water for a few min if it’s straight form the fridge)
- 1 teaspoon vanilla extract (I once tripled this and nobody minded)
- 1 teaspoon baking soda
- 1/4 teaspoon salt (I just use a small pinch if I forget to measure)
- 1 1/2 cups all-purpose flour (have used whole wheat, but it gets denser—maybe that’s your thing?)
- 1/2 cup sour cream or thick plain yogurt (Greek or otherwise)
- For the crumb topping:
- 1/3 cup brown sugar (again, light or dark—don’t sweat it)
- 1 tablespoon flour
- 1/2 teaspoon cinnamon
- 2 tablespoons cold unsalted butter (cubed, but if you forget to chill it, just stick it in the freezer for 2 min)
- 1/2 cup chopped pecans or walnuts (skipped it a few times—still tasty)
Instructions
-
1Preheat your oven to 350°F (175°C). Grease a loaf pan—the standard one, or the slightly awkward wide one you inherited; either works if you check the bake time.
-
2Mash up those bananas in a big bowl—I go for almost smooth, with a few chunky bits. Stir in the melted butter until it looks like some weird smoothie (gross, but necessary).
-
3Add brown sugar, egg, vanilla, and sour cream. Mix until those streaks are gone—no one wants sugar pockets (unless you do…?).
-
4Dump in flour, baking soda, and salt. I fold it gently with a rubber spatula until just barely combined. Don’t overdo it—this bread isn’t trying to win a tight crumb award.
-
5Pour half the batter into the pan. Set the other half aside for a sec.
-
6Now, make your crumb topping: In a small bowl, combine brown sugar, flour, cinnamon, and cold butter. Pinch together with your fingers (or use a fork if you’re fancy) until it clumps like wet sand. Stir in those nuts, unless you’re currently out.
-
7Scatter about half the crumb topping over the batter in the pan. (Yes, just half—trust the process.)
-
8Pour the rest of the banana batter over the crumbs and smooth it out. Top with remaining crumb mixture. If it all melds together, don’t stress—it bakes up just fine.
-
9Bake for 50 to 60 minutes, or until a skewer comes out mostly clean. (Every oven is just a shade different. If in doubt, give it a few extra minutes—dry edges are way better than a gooey collapse in the center, ask me how I know.)
-
10Cool in the pan for about 15 minutes (this is usually when I sneak a nibble). Then turn out onto a rack if you have one. If not—eh, just let it cool in the pan.
Approximate Information for One Serving
Nutrition Disclaimers
Number of total servings shown is approximate. Actual number of servings will depend on your preferred portion sizes.
Nutritional values shown are general guidelines and reflect information for 1 serving using the ingredients listed, not including any optional ingredients. Actual macros may vary slightly depending on specific brands and types of ingredients used.
To determine the weight of one serving, prepare the recipe as instructed. Weigh the finished recipe, then divide the weight of the finished recipe (not including the weight of the container the food is in) by the desired number of servings. Result will be the weight of one serving.
Did you make this recipe?
Please consider Pinning it!




