So, About This Banana Cake…
Honestly, I started making this easy banana cake years ago after a catastrophic attempt at banana bread (let’s not talk about the time it came out looking like a doorstop). This cake, though? It’s my redemption arc. Plus, it’s so forgiving I could probably drop the bowl and still end up with something yummy—which is, honestly, a relief with the chaos in my kitchen most days. Sometimes, the smell of bananas baking brings me right back to my nan’s house, where nobody measured anything and it turned out just fine. And hey, if you don’t like chit chat, scroll on down, but you’ll miss out on how to avoid burning your walnuts (it’s always the nibblers on the edge, isn’t it?).

Why I Keep Coming Back to This Banana Cake
I make this when I’ve got bananas on their last legs (you know, those gross ones that look like they’ve lived a rough life). My family actually cheers when they see me mashing bananas because everyone knows what’s coming. And if I’m honest, I like making it just to feel smug for using up the fruit before it’s more mush than banana. Honestly, I used to fuss over cakes, but now, even if I forget to cream the butter properly, it’s still moist and good—which, after a few kitchen misadventures, I appreciate. Pro tip: my kids actually prefer it a bit overcooked on the edges; kids are weird.
What You’ll Need (But, Feel Free to Swap Things!)
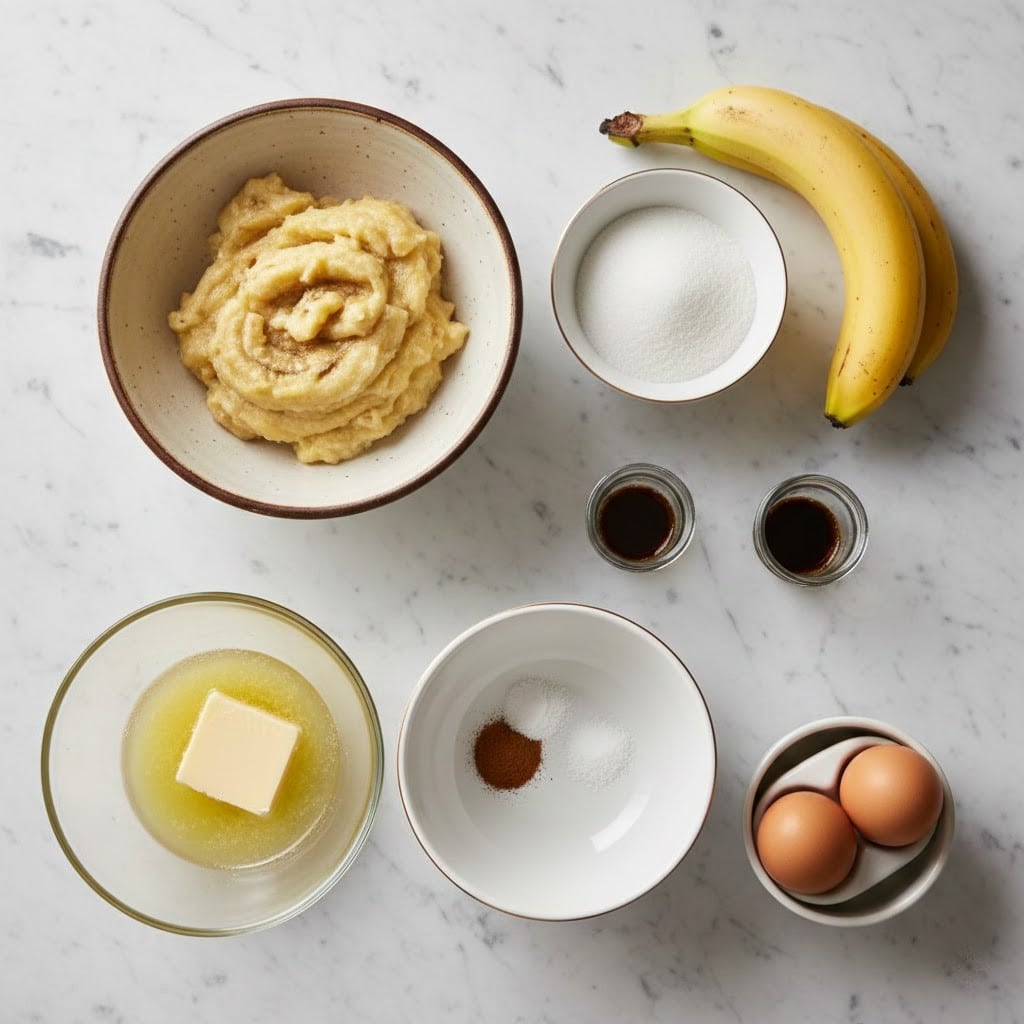
- 3 medium overripe bananas (I sometimes sneak in 4 if they’re really small—nobody noticed)
- 2 eggs (or 1 egg and a “flax egg” if you’re running low—yup, that worked in a pinch!)
- 120g (about 1/2 cup) unsalted butter, melted—or use margarine. Nan swore by it, and, well, it’s not a dealbreaker
- 200g (a scant cup) white sugar—brown sugar works, makes it a bit caramelly
- 210g (1 3/4 cups) plain flour (all-purpose)—I’ve subbed half with wholemeal before for a bit of a health kick
- 1 tsp baking soda (bicarb for UK folks)
- 1/4 tsp salt (sea salt flakes make it feel fancy, but table salt’s fine too)
- 60ml (about a quarter cup) sour cream or plain yogurt—milk works OK in a pinch, just don’t tell the cake purists
- 1 tsp vanilla extract (or a glug, if you’re not one for teaspoons)
- Optional: A handful of chopped walnuts or choc chips—I skip nuts when feeding nut-intolerant mates, obviously
How I Throw This Together (Trust Me, It’s Easy!)
- Preheat your oven—180C (350F) should do it. I usually use a 9×9 inch tin, but honestly, I once used a loaf pan and just baked it longer. Grease that thing or line with parchment, unless you like prying cake out in chunks (I’ve done that, too).
- Mash the bananas in a big bowl. I mean, really squash ’em. You want goo, not lumps… unless you like lumps. Sometimes I just use a fork; occasionally a potato masher.
- Whisk eggs and sugar together till a bit creamy—don’t overthink it, just get it going. Then chuck in the melted butter, sour cream (or yogurt!), and vanilla. Give it a whirl. Add in those bananas and stir till it’s a happy mess.
- Sift (or dump—who has time to sift?) the flour, baking soda, and salt over the mix. Fold gently—this is where I usually sneak a taste because how else do you know it’s going to be sweet enough?
- If you’re feeling fancy or just have bags of nuts or chips, toss those in now. Again, gentle folding, like you’re tucking a baby in, not pummeling laundry. But if you overmix, don’t sweat it, still comes out edible.
- Pour/scrape/plop your batter into the pan. Try to smooth it out, but if it looks uneven, it somehow sorts itself out while baking.
- Bake middle shelf—it takes around 35-40 mins, sometimes a bit longer. When a toothpick comes out nearly clean (a few moist crumbs are fine), it’s done. Don’t freak if the top is a tad brown; that’s caramelization, my friend.
- Let it cool… I never do this step properly. But, if you can wait, it slices neater. If not, grab a spoon. Live your best life.
Some Notes I Wish I’d Had
- This cake freezes well, except when I tried freezing it with that glass dish (cracked it—don’t do that).
- Bananas: go darker than you think, they pack more punch. Just chop any gnarly bits out.
- If your cake’s a bit dense, you probably mixed it like you were mad at someone. Next time, go gentler.
- That slightly sticky patch at the bottom? Happens. Don’t panic. I sometimes flip it over to hide.
Random Variations I’ve Stumbled Upon
- I swapped half the bananas for grated zucchini once—don’t recommend, tasted oddly like grass. Lesson learned!
- Add cocoa for a choco-banana vibe; two-ish tablespoons makes it fudgy
- Walnuts, pistachios, or pecans all welcome. My uncle’s allergic, so sometimes I just throw in extra chocolate instead.
- Tried a cinnamon-sugar swirl once; messy, but tasty.
What If I Don’t Have Fancy Gadgets?
You can 100% do this with just a bowl and a fork. I love my stand mixer, but half the time, it’s too heavy to drag out of the cupboard. Oh, and I once used a coffee mug to mash bananas (worked a treat, but made a mess).
Storing This Cake (If You Have Any Leftover, Ha!)
Wrap it in cling film or a tin for a couple of days. Actually, I find it tastes better the next day. But honestly, in my house it never lasts more than a day—unless I hide some in the microwave (pro tip, just don’t zap the icing if you add any).
How We Eat It (Not That You Asked!)
Great plain, but my lot like it with a generous smear of butter. Sometimes I go rogue and toss a slab in the toaster then add honey—probably not strictly how it’s meant to be, but who’s judging? Perfect with a big mug of builder’s tea too, if you ask me.
Things I Learned the Hard Way
- Don’t skip greasing the tin. I did once; ended up eating “cake crumble.” Delicious, but not really photogenic.
- If you use cold butter, the batter turns a bit lumpy. Just melt it—saves your arm and your mood.
- I once tried to speed-cool by putting the cake in the fridge hot—bad idea, went all gummy.
FAQ—Because Folks Keep Asking…
Can I make this with gluten-free flour? Absolutely, though I usually add a splash more yogurt so it’s not dry. Texture’s a bit different but still good.
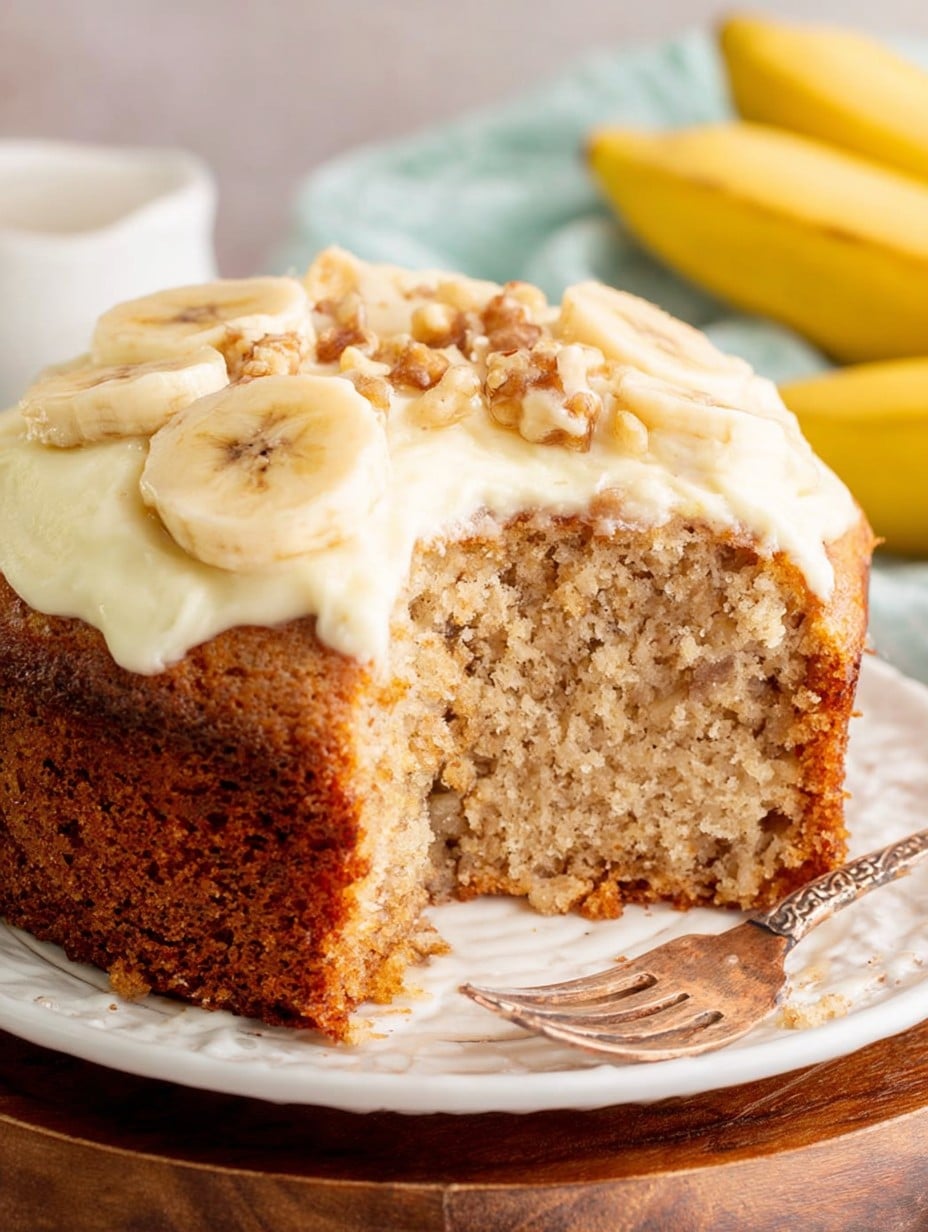
Does it need frosting? Not really. Sometimes I put a quick cream cheese icing on top, but that’s just to impress guests (or when I want people to think I’m extra clever).
Can I freeze it? Yep—wrap slices up tight. Though, on second thought, it rarely survives to see the freezer in my house.
Why is my cake sinking? Most likely you needed a smidgen more flour or just let it sit too long before baking (I learned this after leaving the batter while wrangling the dog outside!)
How ripe is too ripe for bananas? If they’re pure black on the outside, maybe pass. But mostly, the sadder the banana, the better it bakes.
Anything else I can use instead of sour cream? Oh, definitely. Yogurt, buttermilk, even a splash of milk mixed with a dash of lemon juice in emergencies. Done it loads of times!
Alright, now I’m off to make a cuppa—writing about cake always makes me peckish. Let me know if you end up with any weird combos; I never say no to a new experiment (unless it involves zucchini in banana cake ever again…)
Ingredients
- 3 ripe bananas, mashed
- 1 1/2 cups all-purpose flour
- 3/4 cup granulated sugar
- 1/3 cup unsalted butter, melted
- 2 large eggs
- 1 teaspoon vanilla extract
- 1 teaspoon baking soda
- 1/4 teaspoon salt
Instructions
-
1Preheat the oven to 350°F (175°C) and grease a 9-inch round cake pan.
-
2In a large bowl, mash the ripe bananas with a fork until smooth.
-
3Stir in the melted butter, sugar, and eggs. Mix until well combined.
-
4Add the vanilla extract, baking soda, salt, and flour. Mix gently until just incorporated—do not overmix.
-
5Pour the batter into the prepared cake pan and smooth the top.
-
6Bake for 35 minutes or until a toothpick inserted in the center comes out clean. Let cool before serving.
Approximate Information for One Serving
Nutrition Disclaimers
Number of total servings shown is approximate. Actual number of servings will depend on your preferred portion sizes.
Nutritional values shown are general guidelines and reflect information for 1 serving using the ingredients listed, not including any optional ingredients. Actual macros may vary slightly depending on specific brands and types of ingredients used.
To determine the weight of one serving, prepare the recipe as instructed. Weigh the finished recipe, then divide the weight of the finished recipe (not including the weight of the container the food is in) by the desired number of servings. Result will be the weight of one serving.
Did you make this recipe?
Please consider Pinning it!!




