Let Me Tell You About This Sourdough Pie Crust—My Not-So-Secret Culinary Weakness
Some people obsess over chocolate chip cookies. Me? Flaky pie crust, but with a sourdough twist. I don’t want to oversell it, but if you could bottle that smell of pie baking with this crust, you’d probably make a million bucks. I first tried a similar recipe when I forgot to feed my starter, and the discard was staring at me with judgmental eyes from the back of the fridge. What else could I do but toss it into a crust? (Okay, okay, I also considered pancakes, but pie won out. No regrets.)
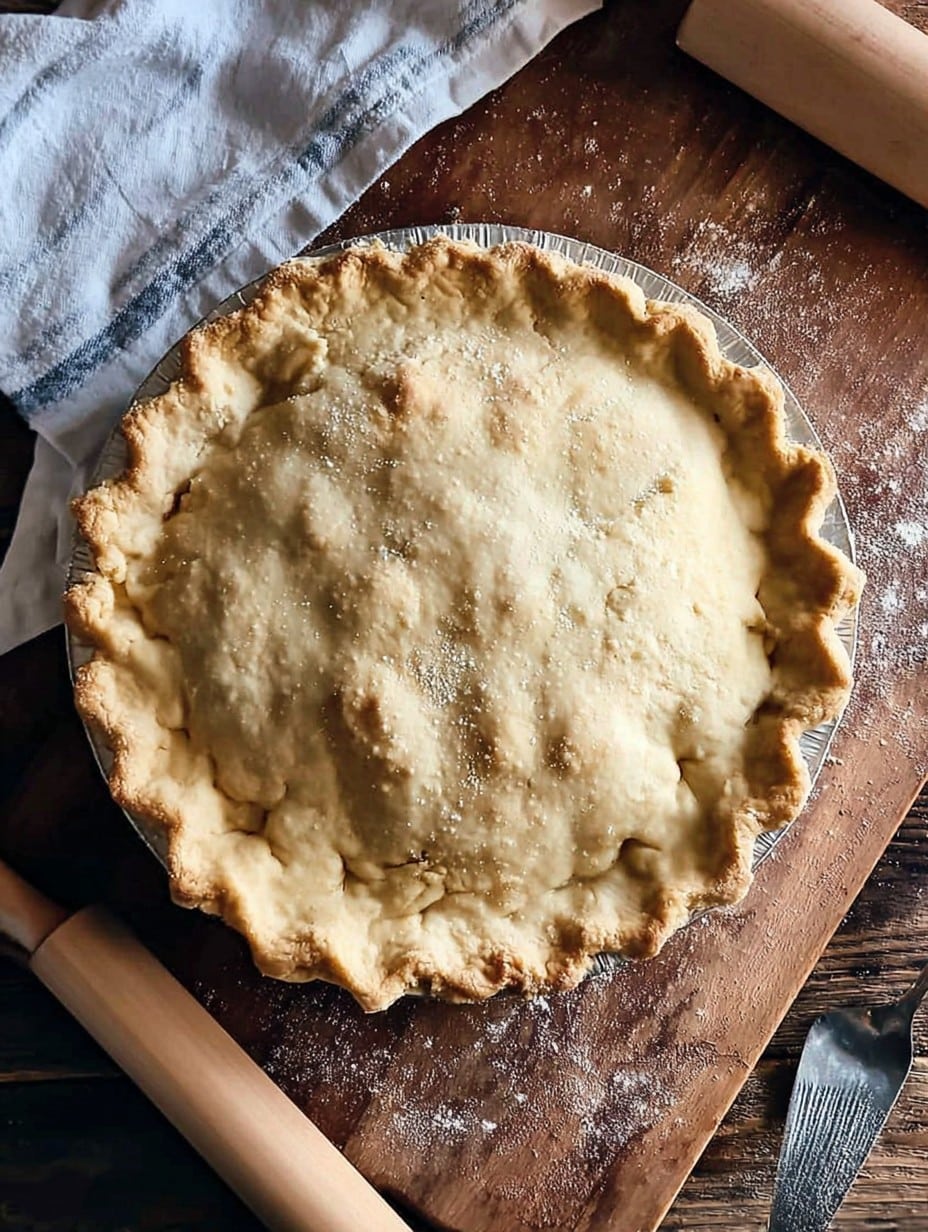
And let me tell you, the layers! The tangled mess of flour and butter and that slightly tangy aroma. Honestly, I’ve made a lot of pies and, more than once, the crust outshone the filling (which is a little awkward at the table, but what can you do?).
Why You’ll Love This (Or At Least, Why I Do)
I make this crust whenever I have some sourdough discard that just can’t go to waste. My family goes a bit wild for it—especially my youngest, who claims the edge bits are better than dessert. If I’m in a hurry, I’ll skip the lattice but, deep down, this crust is all about that snap when you cut it. Oh, and if you’ve ever wrangled with sticky dough, I feel your pain. There’s a learning curve—not Everest or anything, but more like, I dunno, a moderate hill? But stick with it! (I promise it’s worth it.)
What You Actually Need to Make This—Ingredients (Substitutions and All)
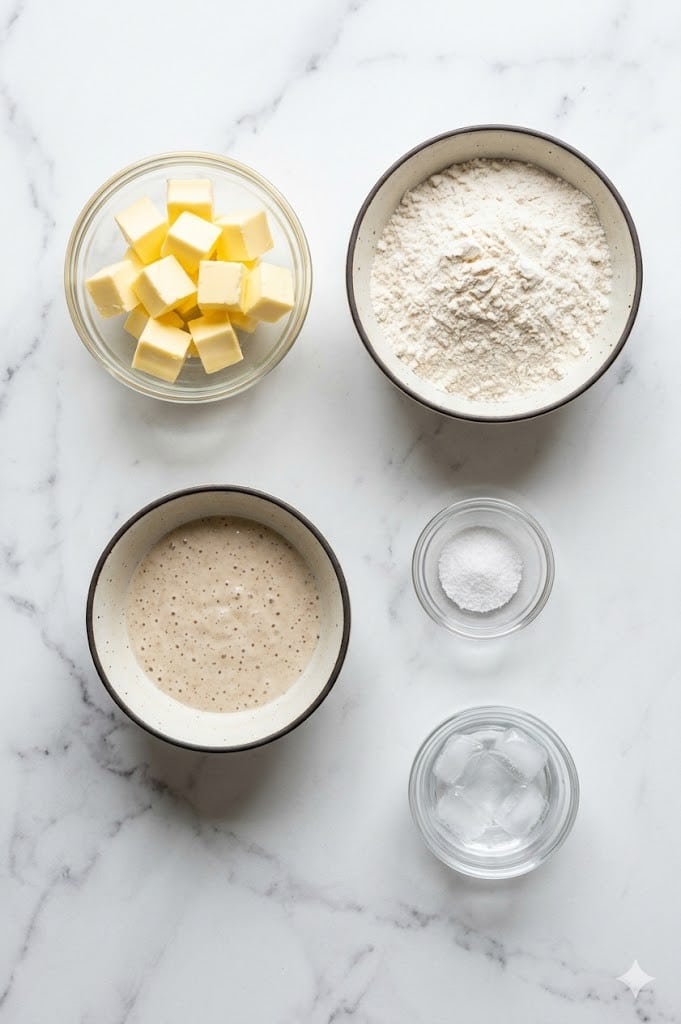
- 2 1/2 cups (about 310g) all-purpose flour (you can sneak in some whole wheat—1/2 cup—but be warned, it’s more rustic)
- 1 tablespoon sugar (sometimes I skip this for savory pies, or go with brown sugar if it’s all I have)
- 1 teaspoon fine sea salt (my grandmother swore by kosher salt, but regular table salt gets the job done too)
- 1 cup (225g) unsalted butter, cold and cubed (no shame in using salted butter—just back off on the salt above a pinch)
- 1/2 cup (120g) sourdough discard, cold (if yours is a little bubbly, it still works—honestly, I’ve used it straight form the fridge)
- 1/4 cup (60ml) ice water (sometimes takes a smidge more—those humid days!)
- 1 tablespoon apple cider vinegar (white vinegar or lemon juice in a pinch, but cider is tastier in my humble opinion)
Let’s Get Going: The Not-So-Perfect Directions
- Mix the flour, sugar, and salt in a big bowl. Try not to fling flour everywhere (or do, if you’re feeling wild).
- Add in your cold, cubed butter. I use my fingers (just barely)—pinching and smooshing till it’s pea-sized bits. Sometimes I use a pastry cutter… when I can find it!
- Pour in the sourdough discard, give it a quick stir, then drizzle in the vinegar and half your ice water. Toss with a fork, then your hands, adding more water as needed until the dough sort of holds together in a shaggy ball. Don’t stress about a few dry spots.
- Tip it onto a floured counter and bring it together gently—no kneading!—until it just sticks together. Divide in two, form into disks (I flatten mine to about an inch thick), wrap in clingfilm, and chill at least an hour. (I sometimes forget it overnight. It still works!)
- When ready to roll, let the dough soften at room temp for five, maybe ten minutes—unless your kitchen’s as warm as a bakery in July, then just go for it right away.
- Dust your surface and roll out to about 1/8-inch thick. This is where I usually sneak a taste—not recommended, but who’s watching?
- Layer into your pie plate, trim and crimp the edges. If you want a top crust, repeat with the other disk. Chill your lined pie plate while you deal with the filling—honestly, cold dough is happy dough.
- Bake as directed for your pie recipe, or if blind-baking, dock the base, line with parchment, add baking beans, and bake at 400°F (205°C) for 15 minutes, then remove beans and bake another 10 or so. Don’t worry if the edges get a little too brown—more pie for the over-done crowd!
My Less-Than-Perfect Notes
- If you overwork the dough, it’ll get tough—just stop once it barely hangs together. I learned the hard way. Multiple times, honestly.
- Sourdough flavor will be mild if you use discard, more tangy if you’re feeling wild and use active starter. Both work. Neither makes you a bad baker.
- If a bit sticky, just chill a little extra or toss on more flour. Better too cold than too warm, in my experience.
Some Variations I’ve Dared (and Maybe Regretted)
- I swapped in cream cheese for 1/4 cup butter once. Rich, but didn’t get as flaky. Not my finest hour.
- Added a sprinkle of dried herbs for a savory tart—major win with tomato pies.
- Once tried shortening instead of all butter. Texture = good; flavor = not my jam. But maybe yours?
Tools (But Eh, Don’t Panic If You’re Missing One)
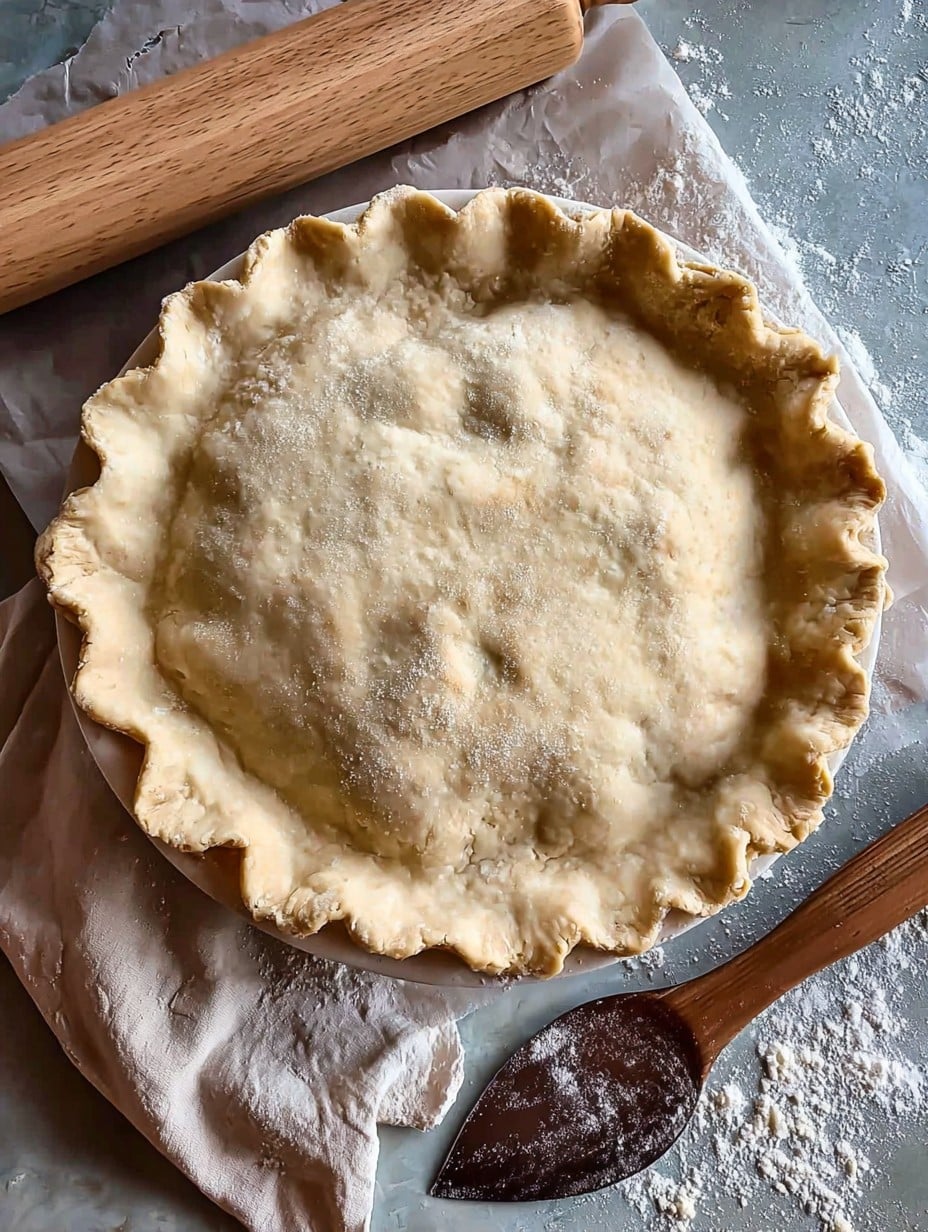
- Mixing bowl (a salad bowl works in a pinch)
- Pastry cutter or just your hands (I regularly forget to wash mine cold, though. Whoops.)
- Rolling pin—wine bottle absolutely works for this. Ask me how I know.
- Parchment paper for rolling/lining
- Baking beans or just dried rice for blind-baking
Storage (In Theory…)
Keeps in the fridge 3 days, wrapped tight or in a zippy bag. You can freeze it up to a month—thaw overnight in the fridge before rolling. Though honestly, in my house it never lasts more than a day! The aroma lures everyone in.
How We Eat It (Or Gossip About It) at My Place
I’m not above snagging a warm piece straight from the pan, but if we’re being fancy: I like it with tart cherry filling and a splash of heavy cream. After Thanksgiving? Cold, for breakfast, with coffee—that’s basically law here. My neighbor’s kid dunks theirs in yogurt (which is… interesting).
Lessons I Learned The Hard Way (Pro Tips)
- Don’t microwave to soften; it’ll melt the butter and kill all hopes of flake. I tried this… once (never again).
- I once tried to roll the dough straight from the fridge and cracked it to bits! Let it rest a few; trust me, your arms will thank you.
- If the dough looks patchy, you’re probably doing it right. Perfection is overrated.
FAQ—From the Real World Kitchen Table
- Can I use active sourdough starter instead of discard? Yep! It’ll be tangier and might be a bit stickier, so add a pinch more flour. I’ve done both—no pie police here.
- What if I forget the vinegar? No drama. The crust might be a touch less tender, but honestly, I’ve eaten it both ways.
- All my dough is sticking—what gives? Try chilling it longer. Or use more flour for rolling. Sometimes, you just get a clingy batch.
- Does this work for galettes or mini pies? Oh, totally! Good excuse to have more crust per bite, actually.
Okay so, if you made it this far, I’m guessing you get that making pie can be a bit of a beautiful mess. And, really, isn’t that the fun of it?
Ingredients
- 2 1/2 cups (about 310g) all-purpose flour (you can sneak in some whole wheat—1/2 cup—but be warned, it’s more rustic)
- 1 tablespoon sugar (sometimes I skip this for savory pies, or go with brown sugar if it’s all I have)
- 1 teaspoon fine sea salt (my grandmother swore by kosher salt, but regular table salt gets the job done too)
- 1 cup (225g) unsalted butter, cold and cubed (no shame in using salted butter—just back off on the salt above a pinch)
- 1/2 cup (120g) sourdough discard, cold (if yours is a little bubbly, it still works—honestly, I’ve used it straight form the fridge)
- 1/4 cup (60ml) ice water (sometimes takes a smidge more—those humid days!)
- 1 tablespoon apple cider vinegar (white vinegar or lemon juice in a pinch, but cider is tastier in my humble opinion)
Instructions
-
1Mix the flour, sugar, and salt in a big bowl. Try not to fling flour everywhere (or do, if you’re feeling wild).
-
2Add in your cold, cubed butter. I use my fingers (just barely)—pinching and smooshing till it’s pea-sized bits. Sometimes I use a pastry cutter… when I can find it!
-
3Pour in the sourdough discard, give it a quick stir, then drizzle in the vinegar and half your ice water. Toss with a fork, then your hands, adding more water as needed until the dough sort of holds together in a shaggy ball. Don’t stress about a few dry spots.
-
4Tip it onto a floured counter and bring it together gently—no kneading!—until it just sticks together. Divide in two, form into disks (I flatten mine to about an inch thick), wrap in clingfilm, and chill at least an hour. (I sometimes forget it overnight. It still works!)
-
5When ready to roll, let the dough soften at room temp for five, maybe ten minutes—unless your kitchen’s as warm as a bakery in July, then just go for it right away.
-
6Dust your surface and roll out to about 1/8-inch thick. This is where I usually sneak a taste—not recommended, but who’s watching?
-
7Layer into your pie plate, trim and crimp the edges. If you want a top crust, repeat with the other disk. Chill your lined pie plate while you deal with the filling—honestly, cold dough is happy dough.
-
8Bake as directed for your pie recipe, or if blind-baking, dock the base, line with parchment, add baking beans, and bake at 400°F (205°C) for 15 minutes, then remove beans and bake another 10 or so. Don’t worry if the edges get a little too brown—more pie for the over-done crowd!
Approximate Information for One Serving
Nutrition Disclaimers
Number of total servings shown is approximate. Actual number of servings will depend on your preferred portion sizes.
Nutritional values shown are general guidelines and reflect information for 1 serving using the ingredients listed, not including any optional ingredients. Actual macros may vary slightly depending on specific brands and types of ingredients used.
To determine the weight of one serving, prepare the recipe as instructed. Weigh the finished recipe, then divide the weight of the finished recipe (not including the weight of the container the food is in) by the desired number of servings. Result will be the weight of one serving.
Did you make this recipe?
Please consider Pinning it!




