Alright, friend, let’s talk garlic bread rolls. I still remember the first time I made these—my kitchen looked like a flour bomb had exploded and I was wearing more garlic butter than I’d used in the recipe itself. But you know what? My kids devoured them and even the dog tried to sneak a piece off the counter (he failed, but nice try, buddy!). Now, whenever I need to impress someone or just want to smell garlicky for the rest of the evening, these are my go-to. They’re a bit like hugs in bread form—something about warm, buttery dough and the waft of garlic just feels like love. And honestly…making them is weirdly soothing after a rough day, even if I have to sweep the floor twice.
Why You’ll Absolutely Love Making These
I make these when I’ve got leftover soup hanging around—let’s face it, bread’s real job is just being the soup’s best mate, right? My family goes a little bonkers for them, especially on movie nights (which occasionally turn into a “who can eat the most rolls” contest—don’t ask). And, confession time: I tried to cheat with store-bought dough once, thinking I’d be slick—nope, they knew. Real dough just makes a difference (but if you’re rushing, you do you!).
You’re Gonna Need These Ingredients (but Feel Free to Improvise)
- 2 ½ cups all-purpose flour (but whole wheat if you’re feeling virtuous—sometimes I blend the two and nobody notices)
- 1 tablespoon sugar (my grandmother, bless her, always said “Domino’s or nothing”—eh, I just use whatever’s on sale)
- 2 teaspoons instant yeast (regular dry yeast works if you let it sit a little longer)
- 1 teaspoon salt
- ¾ cup warm milk (I’ve subbed oat milk in a pinch—can barely taste the difference)
- 2 tablespoons butter, melted (olive oil if you like a peppery thing)
- 1 large egg—for fluffiness, but once I forgot it entirely and they still turned out fine
- For the garlic butter:
- 4 tablespoons (about half a stick) salted butter, softened (unsalted + an extra pinch of salt works too)
- 3–4 cloves garlic, finely minced (sometimes I go overboard—no regrets!)
- 1 tablespoon chopped parsley (dried works, honestly, but fresh is fun if you’re feeling fancy)
- Bit more salt and pepper to taste
Psst—you could add a sprinkle of grated cheese (parmesan or mozzarella) if that’s your jam. I do sometimes, just for the sheer joy.
Here’s What You Do (Just Go With It)
- In a big bowl, toss together your flour, sugar, yeast, and salt. Give it a quick mix. Pour in the warm milk and melted butter, then crack in the egg. Stir until it starts forming a sticky mess (it should look like questionable wallpaper paste—trust me, that’s right).
- Once it sorta comes together, dump it onto a lightly floured surface and get kneading for about 8 minutes (or until your arms feel like you’ve been arm-wrestling a bear). If it’s too sticky, sprinkle in a little extra flour. If too dry, add a splash more milk—but go slow, it’s easy to overdo it.
- Pop the dough in a lightly greased bowl, cover with a tea towel (or plastic wrap if you’re out of clean towels), and let it rest somewhere warm. I usually stick it in an oven that’s turned off but has the light on. In about an hour, it should double in size (but sometimes it’s stubborn and takes longer—no big deal).
- Punch that dough down (most satisfying part if you’ve had a rough day), and tear off bits about the size of a golf ball. Roll them smooth, then plonk them onto a baking tray that’s either greased or lined with parchment. Space them out, but not too much—they like to cozy up while baking.
- Cover and let rise another 30–40 minutes, until they puff up again. This is where I wander off to check emails and inevitably forget the time.
- While that’s happening, mix up your garlic butter in a small bowl—mash together the butter, garlic, parsley, and extra salt&pepper. Steal a taste. Try not to eat it all; that’s for the rolls.
- Preheat your oven to about 375F (190C for my fellow metrics-inclined folks). Brush some garlic butter over the dough balls—save the rest for later!
- Bake for about 18–22 minutes, or until they’re golden brown and your house smells like an Italian café. As soon as they’re out, slather on the rest of your garlic butter so it soaks right in.
Let them cool slightly if you can resist (I can’t, usually burn my tongue every time).
Some Things I’ve Messed Up (So You Don’t Have To)
- Once I forgot to let the dough rest after shaping, and they came out dense as hockey pucks. Seriously, let them rise again.
- If your garlic butter seizes up a bit, microwave it for a few seconds—no drama.
- I sometimes coat the finished rolls with a sprinkle of flaky sea salt—total game changer, just saying.
If You Want to Mix It Up (My Hits and Misses)
- I tried using roasted garlic once; wow, the sweetness is incredible (but it’s more effort, to be honest).
- Add a pinch of chili flakes if you like a kick. My cousin went wild with cayenne one time and…we don’t talk about that batch anymore.
- I made a batch with chopped olives in the dough. Oddly divisive, but I liked the tanginess.
Do You Really Need That Fancy Dough Hook?
Look, stand mixers are great—saves your biceps—but I’ve done this just mashing with a wooden spoon and it works (albeit stickier). Worst case, plastic spatula and lots of patience. Or convince a friend to help with the kneading; that’s what kids are for, right?
How Long Will These Last? (In Theory)
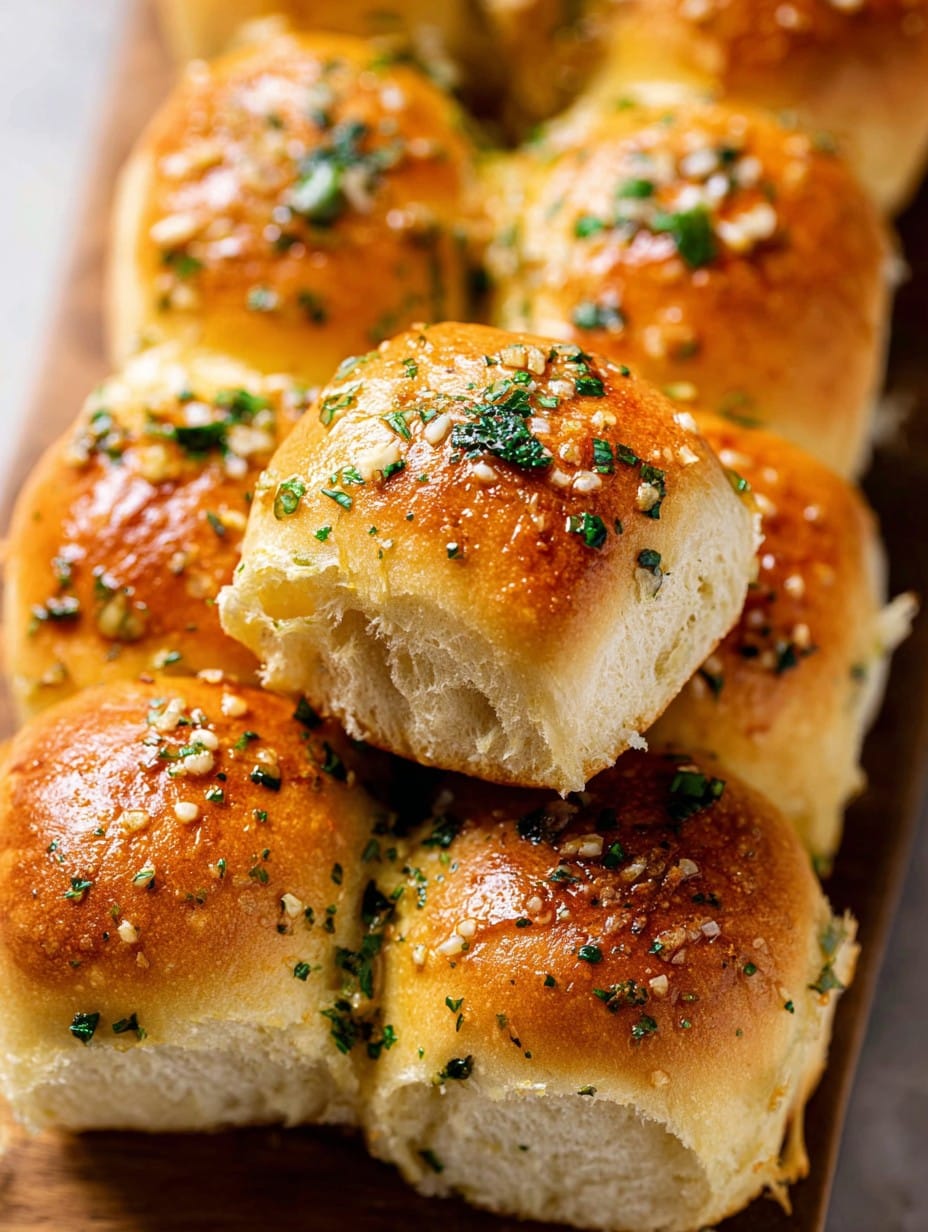
Should keep in an airtight container for 2–3 days, but honestly, in my house, they never last past the first evening. They reheat nicely in the oven if you somehow have leftovers (can’t relate, but I’ve heard rumors).
How I Love to Serve Garlic Bread Rolls
We do ours alongside a big pot of tomato soup (I like this one from Smitten Kitchen) or pop them in the basket at family BBQs. Occasionally I’ll turn them into tiny sandwiches with ham and cheese and, well, nobody’s ever complained. On chilly nights, I just eat ’em with a dab of extra butter, standing right by the oven. Who needs dinner, anyway?
Let Me Tell You What NOT To Do
- I once cranked the oven too high thinking I’d get them “extra crispy”—they just got crunchy outside and raw in the middle. Now, I go low and slow. Don’t get impatient here.
- Oh, and don’t skip the second rise. The difference is night and day, trust me.
Real Questions People Have Asked Me (And My Actual Answers)
- Can I make these ahead? Sure thing! I sometimes prep the dough a day early and just let it rise in the fridge overnight—makes the rolls even more tender, actually, or at least I think so.
- Can you freeze them? You bet. I pop any leftovers (on the rare chance there are some) into a zip bag and freeze; reheat in the oven straight from frozen—honestly, they taste almost fresh-baked.
- What if I hate parsley? Just skip it or throw in some basil or chives instead. No baking police will show up, I promise.
- Help, the dough’s too sticky! Add flour a little at a time till it behaves. Or just embrace the mess and call it “artisan”—that’s what the fancy bakeries do, right?
- Can I use vegan butter? Tried it last month as an experiment—it works fine, the flavor is a bit lighter but still garlicky and addictive.
If you want more bread adventures, King Arthur’s garlic herb bread recipe is an awesome rabbit hole to fall down, just warning you.
So, that’s my rambling, slightly chaotic, but absolutely heart-felt garlic bread roll recipe. Hope your kitchen smells like a cozy bistro and your rolls vanish before you even sit down. Let me know how it goes—or if you come up with a wild twist I need to try!
Ingredients
- 2 cups all-purpose flour
- 2 teaspoons active dry yeast
- 1 teaspoon sugar
- 3/4 cup warm water
- 1/2 teaspoon salt
- 3 tablespoons unsalted butter, softened
- 3 cloves garlic, minced
- 2 tablespoons chopped fresh parsley
- 2 tablespoons grated Parmesan cheese
Instructions
-
1In a large bowl, combine warm water, sugar, and yeast. Let stand for 5 minutes until frothy.
-
2Stir in flour and salt, then knead until a smooth dough forms. Cover and let rise for 1 hour or until doubled in size.
-
3In a small bowl, mix butter, minced garlic, parsley, and Parmesan to make the garlic butter.
-
4Punch down the dough, divide into 8 pieces, flatten each piece, and fill with a teaspoon of garlic butter. Shape into rolls.
-
5Arrange rolls on a baking tray lined with parchment paper. Cover and let rise for 15 minutes.
-
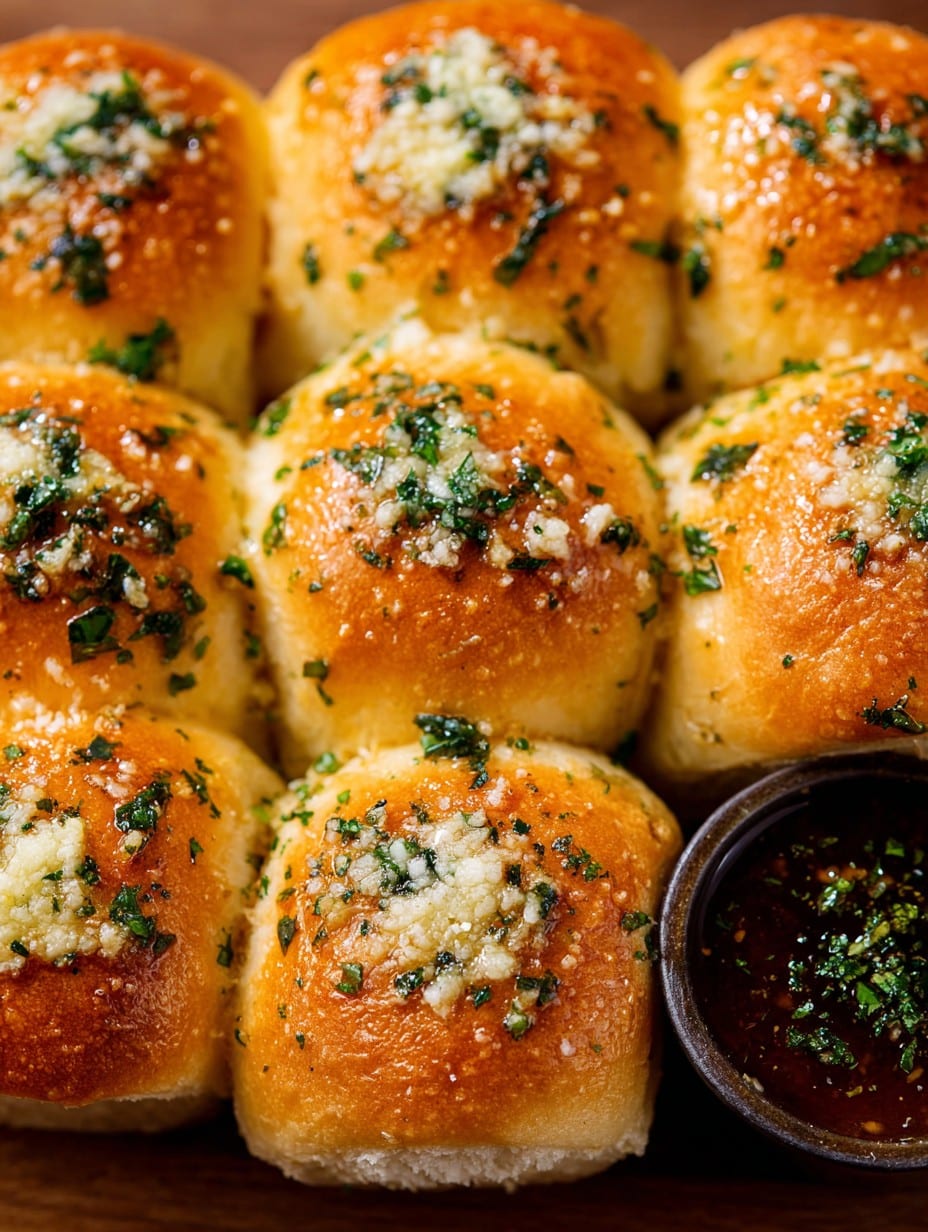
6Bake in a preheated oven at 375°F (190°C) for 18-20 minutes, or until golden brown. Brush with remaining garlic butter before serving.
Approximate Information for One Serving
Nutrition Disclaimers
Number of total servings shown is approximate. Actual number of servings will depend on your preferred portion sizes.
Nutritional values shown are general guidelines and reflect information for 1 serving using the ingredients listed, not including any optional ingredients. Actual macros may vary slightly depending on specific brands and types of ingredients used.
To determine the weight of one serving, prepare the recipe as instructed. Weigh the finished recipe, then divide the weight of the finished recipe (not including the weight of the container the food is in) by the desired number of servings. Result will be the weight of one serving.
Did you make this recipe?
Please consider Pinning it!!




