Let Me Tell You About These Pumpkin Bars (And That One Thanksgiving…)
So, every year when the leaves start doing their thing—like, all fiery orange and crunchy—I get the urge to bust out my old hand mixer (the one that sort of makes a wheezing sound now) and whip up a batch of these gluten free pumpkin bars. Seriously, I’ve made them for everything from Friendsgiving potlucks to that one family dinner where my cousin accidentally salted the pie instead of sugaring it—these were the only dessert left standing. Not that I’m complaining. Actually, I think I look forward to the smell of cinnamon and pumpkin floating through the house more than the actual eating part. Well, maybe not more, but you get what I mean.
Why You’ll Want to Try These (Even if You’re Not a Pumpkin Person)
I make this recipe when I need to impress but also can’t be bothered with something fussy. My family goes wild for it because it tastes like the holidays—warm spices, sweet pumpkin, and that cream cheese frosting (I mean, who says no to cream cheese frosting?). Plus, you can eat them with your hands, so there’s less washing up later. I used to stress about getting the texture just right, but honestly, these bars are forgiving. Even if you forget them in the oven for a couple extra minutes (been there, done that), they’re still moist because of the pumpkin. And if you’re skeptical about gluten free stuff being dry or crumbly—just trust me on this one.
Here’s What You’ll Need (Plus a Few Cheats)
- 1 cup pumpkin puree (sometimes I use canned, sometimes I roast my own—depends how ambitious I’m feeling. Libby’s is grand, but store brand is fine too)
- 2 large eggs
- 3/4 cup brown sugar (light or dark—no one’s counting)
- 1/2 cup neutral oil (canola or sunflower; I’ve even used melted coconut oil in a pinch. Olive oil has too much flavor, learned that the hard way!)
- 1 tsp vanilla extract (real is ideal, but I won’t judge if it’s the fake stuff)
- 1 cup gluten free all-purpose flour blend (Bob’s Red Mill is my usual, though King Arthur does the job)
- 1/2 tsp baking powder
- 1/2 tsp baking soda
- 1/2 tsp salt
- 1 tsp ground cinnamon
- 1/2 tsp ground ginger or pumpkin pie spice (if you’ve got it, use it!)
- 1/4 tsp nutmeg (or just skip, if you’re not a nutmeg fan)
- For the frosting: 4 oz cream cheese, 2 Tbsp unsalted butter, 1 cup powdered sugar, splash of vanilla (honestly, just mix to taste)
How I Throw This Together (Mostly in One Bowl)
- Preheat the oven to 350°F (about 180°C). Grease an 8×8 inch pan. Or use parchment if you hate scrubbing pans as much as I do.
- Dump the pumpkin puree, eggs, brown sugar, oil, and vanilla in a big mixing bowl. Stir until it’s kinda smooth—don’t stress about lumps. This is usually where I steal a little taste and hope no one notices.
- Sprinkle in the flour, baking powder, baking soda, salt, and all those cozy spices. Stir it up until it’s combined. If it looks thicker than cake batter but thinner than cookie dough, you’re golden. If it looks weird at this stage, don’t panic—it’ll bake up fine.
- Pour (or scoop) the batter into your pan. Smooth it out with a spatula or, if you’re like me, give the pan a little shake to even it out.
- Bake for around 23-28 minutes. Start checking at 23. A toothpick should come out with just a crumb or two. If it’s gooey, pop it back in for a few minutes—it’s not an exact science.
- Let it cool completely before frosting (I’ve rushed this and gotten runny frosting; don’t be like me!).
- For the frosting: blend everything together with a hand mixer (or a whisk and some elbow grease). Slather it on the cooled bars. Slice and, well, try to share.
Things I’ve Learned the Hard Way (Notes)
- Resist the urge to over-mix. I once got a batch so tough I could’ve used it as a doorstop.
- If your cream cheese is too cold, the frosting will be lumpy. I used to microwave it but that just makes it weirdly runny. Let it sit out a bit instead.
- I think these taste better the next day—if you can wait!
Weird and Wonderful Variations I’ve Tried
- Swapped in mashed sweet potato instead of pumpkin—worked surprisingly well, though it was a bit sweeter (and the color is wild)
- Added chocolate chips once (kids loved it, adults were split—you decide)
- Tried a dairy-free cream cheese frosting with coconut oil. On second thought, stick to the real deal unless you’re dairy-free for a reason
Stuff You’ll Need (And What to Do if You Don’t Have It)
- An 8×8 baking pan (though honestly, I’ve used a loaf pan before—it just comes out thicker, needs longer in the oven)
- Mixing bowls (if you only have one, just rinse between wet and dry. Or wing it. I’ve done both.)
- Hand mixer or good old whisk—the frosting will be a workout without a mixer, but it’s doable
How I Store These (But They Disappear Fast!)
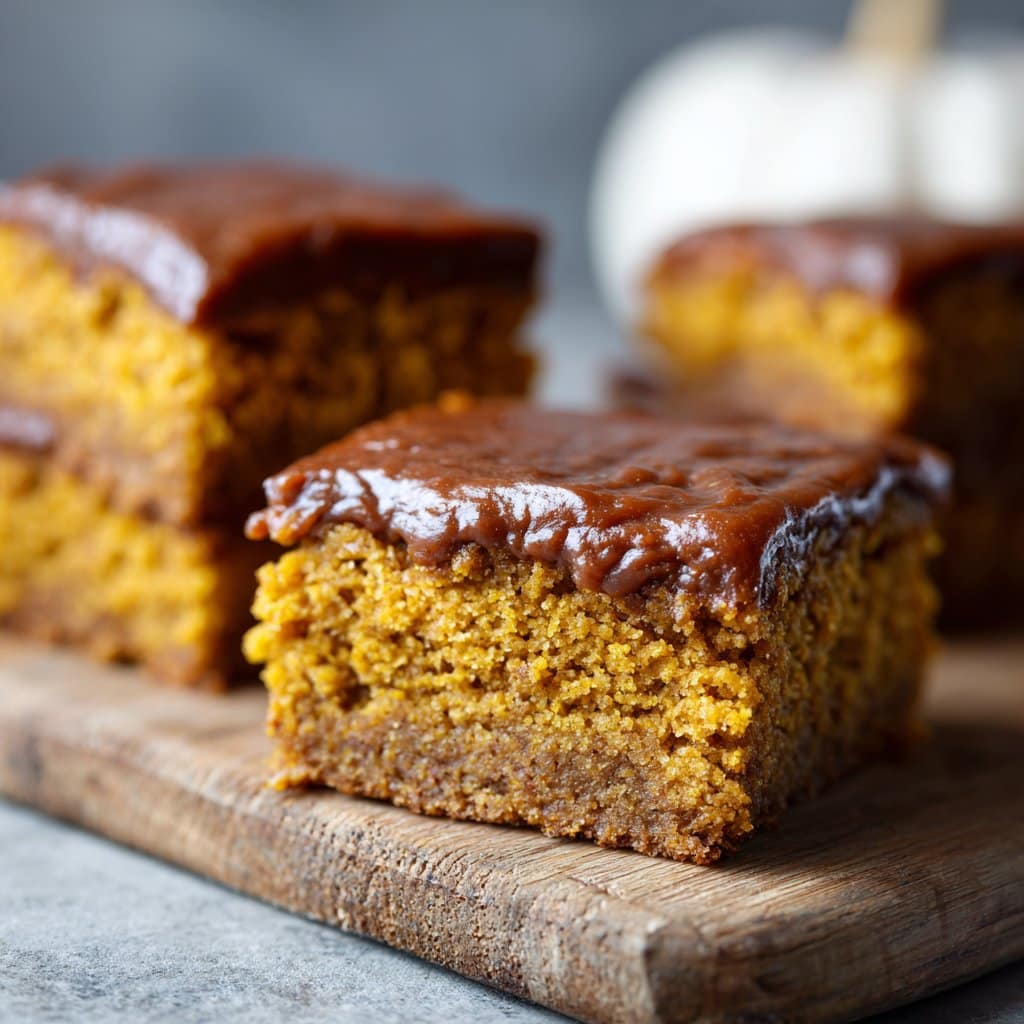
Stick ‘em in an airtight container in the fridge; they’ll be good for about 3-4 days, though honestly, in my house it never lasts more than a day! If you want to freeze them, go for it—just freeze before frosting for best results.
How We Serve Them Up (Our Not-So-Secret Family Tradition)
I like to cut them into smallish squares, pile them on a plate, and dust with a little extra cinnamon. If I’m feeling fancy, a dollop of whipped cream goes on top. Sometimes we eat them by the fireplace with mugs of hot cocoa (I always spill some—don’t tell my partner). If you want more pumpkin dessert inspo, I actually got my start with this pumpkin bread, which is also brilliant.
Lessons (Usually Learned the Hard Way)
- I once tried microwaving the bars to cool them faster so I could frost sooner. All I got was a sad, soggy mess.
- Don’t double the cinnamon unless you want it to taste like a Yankee Candle (not in a good way)
- If you use coconut oil, stir it well or you’ll get weird little oil pockets—I learned that form experience.
Real Questions I’ve Actually Gotten (And My Honest Answers)
- Can I make these egg free? Probably! I’ve had friends use flax eggs (1 Tbsp ground flax + 2.5 Tbsp water per egg). Texture’s a bit chewier but still yum.
- What flour blend do you use? Usually Bob’s Red Mill 1:1. I read good things about King Arthur too. Just make sure it’s got xanthan gum or things get crumbly.
- Can I bake this in a 9×13 pan? You can, but the bars will be thinner. Check sooner—they’ll bake faster. Or double the recipe and live your best life.
- Why’s my frosting runny? Usually the bars were too warm when you frosted them, or your butter was too soft. Stick it in the fridge a bit and it’ll firm up.
- How do you keep the bars from sticking? Parchment paper is your new best friend. Or loads of nonstick spray, but parchment’s easier for lifting them out.
If you want more gluten free holiday ideas, Nicole’s site is my go-to for inspiration.
Hope you enjoy these as much as we do. And if you end up licking the frosting bowl, well, who am I to judge?
Ingredients
- 1 cup pumpkin puree
- 2 large eggs
- 3/4 cup granulated sugar
- 1/2 cup vegetable oil
- 1 teaspoon vanilla extract
- 1 cup gluten free all-purpose flour blend
- 1 teaspoon baking powder
- 1/2 teaspoon baking soda
- 1 teaspoon ground cinnamon
- 1/4 teaspoon ground nutmeg
- 1/4 teaspoon salt
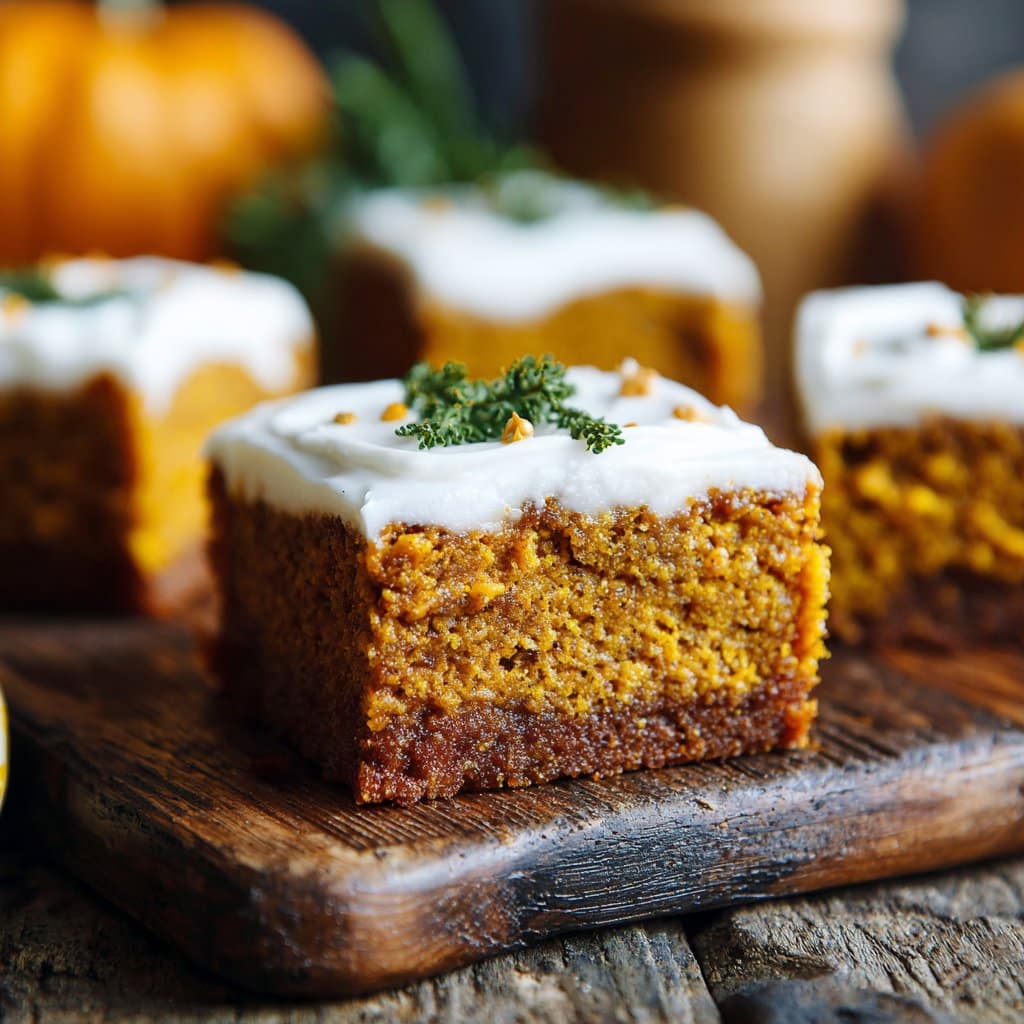
- 1/2 cup cream cheese frosting (optional, for topping)
Instructions
-
1Preheat the oven to 350°F (175°C). Grease or line a 9×13-inch baking pan with parchment paper.
-
2In a large bowl, whisk together the pumpkin puree, eggs, sugar, vegetable oil, and vanilla extract until smooth.
-
3In a separate bowl, combine the gluten free flour, baking powder, baking soda, cinnamon, nutmeg, and salt.
-
4Gradually add the dry ingredients to the wet ingredients, stirring until just combined.
-
5Pour the batter into the prepared pan and spread evenly. Bake for 28-32 minutes, or until a toothpick inserted in the center comes out clean.
-
6Allow the bars to cool completely in the pan. Spread cream cheese frosting on top if desired, then cut into squares and serve.
Approximate Information for One Serving
Nutrition Disclaimers
Number of total servings shown is approximate. Actual number of servings will depend on your preferred portion sizes.
Nutritional values shown are general guidelines and reflect information for 1 serving using the ingredients listed, not including any optional ingredients. Actual macros may vary slightly depending on specific brands and types of ingredients used.
To determine the weight of one serving, prepare the recipe as instructed. Weigh the finished recipe, then divide the weight of the finished recipe (not including the weight of the container the food is in) by the desired number of servings. Result will be the weight of one serving.
Did you make this recipe?
Please consider Pinning it!!




