The Ground Beef Philly Cheesesteak Story
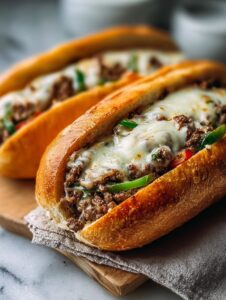
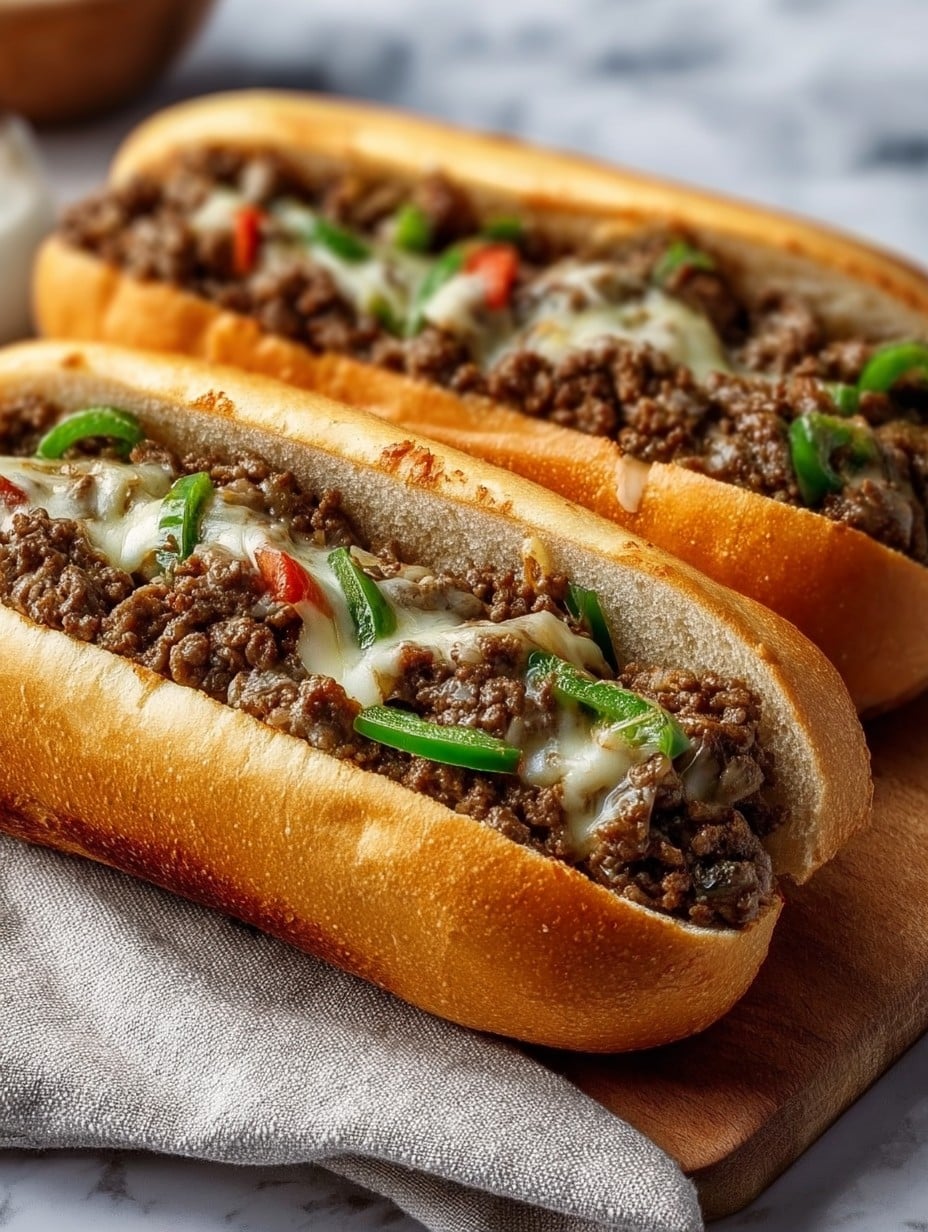
Alright, so let me tell you how this glorious sandwich wound up in heavy rotation at our place. It all started a few years ago, after a disastrous attempt at homemade cheesesteaks with ribeye—honestly, too much slicing and I nearly lost a finger. One evening, running behind (again), I looked at a pound of ground beef and a bag of Swiss cheese I forgot to put away, and just figured… why not? Turns out, Ground Beef Philly Cheesesteaks are basically the fast-lane version of this classic: juicy, messy, loaded with flavor, and without all the wrestling with a scary sharp knife. My kids ask for it whenever it gets chilly out, or after a long soccer practice, or honestly just when they remember how melty the cheese gets. And if you spill a few peppers along the way, well, that’s part of the fun!

Why You’ll Absolutely Love This One
I make these when the day’s been just a bit too much (you know those Tuesday evenings when the clock sprints and you’re left in the dust?). My family goes a bit bonkers for them because you can eat with your hands—which is apparently the main food group for kids. Plus, all the toppings are customizable (read: folks can moan about onions or not, I don’t have to stress). The only real catch? Browning the beef right takes a few more minutes than you think, so don’t try and cheat that bit like I used to. Learned that the greasy way.
What You’ll Need to Make These (Swaps Encouraged!)
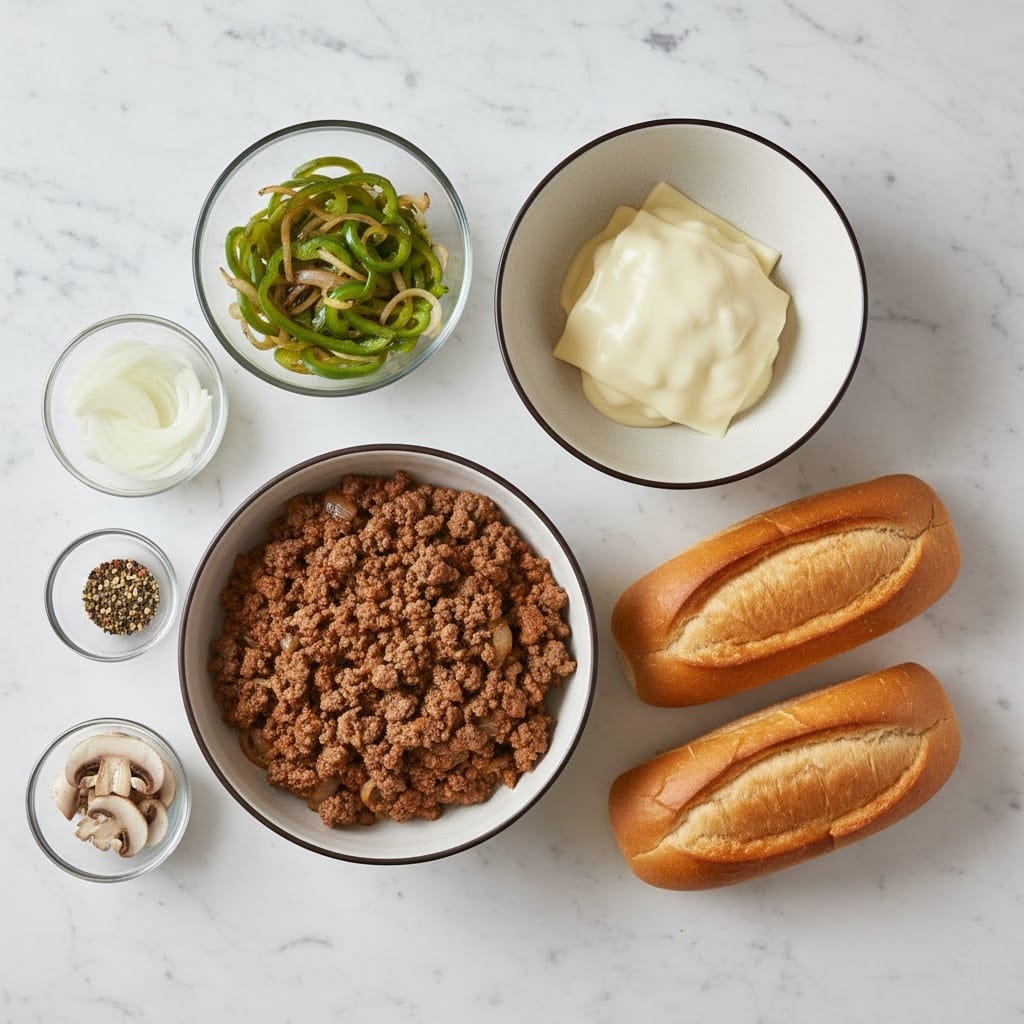
- 1 pound ground beef (I use 80/20, but honestly, whatever you grab works. Turkey in a pinch isn’t half bad either!)
- 1 tablespoon olive oil (forgotten it once, didn’t die—but tasted better with)
- 1 green bell pepper, thinly sliced (or red, or yellow, or whatever’s rolling around in your veggie drawer)
- 1 medium yellow onion, sliced (my sister swears by sweet onions—me, not fussy)
- 1 teaspoon garlic powder (real garlic’s great but more dishes, so…)
- Salt and pepper, to taste
- 1 tablespoon Worcestershire sauce (optional, but honestly, it’s the not-so-secret ingredient)
- 1 cup shredded provolone or Swiss cheese (I used to be a Cheez Whiz purist—now I’m less dramatic, cheese is cheese here)
- 4 hoagie rolls or sub rolls, split (hot dog buns in a pinch, though it gets kinda hilarious)
- Butter for toasting the rolls (optional—but so good, like, buttery toast in sandwich form even better than it sounds)
The (Loosely Organized) Step-by-Step
- Heat the olive oil in a big skillet (mine’s nonstick, but my mom’s cast iron does the job too—go wild) over medium-high heat.
- Add sliced onions and bell pepper. Sauté till soft and a little caramelized, about 5-6 minutes. Stir now and then—if you forget, they get those little charred bits which I secretly like.
- Push veggies to one side, plop the ground beef in the other. Brown the beef, breaking it into bits as you go. Season with garlic powder, salt, and pepper. This is the moment I always sneak a bite (chef’s rights!).
- Once most of the pink is gone, mix everything together and splash in the Worcestershire. Cook another minute or two, until it’s all nice and cozy.
- Lower the heat. Sprinkle cheese across the top. Just let it melt—don’t stir. Covering the skillet for a minute helps if you’re getting impatient (which, yeah, I usually am at this stage).
- While the cheese melts, butter the inside of the hoagie rolls and toast them under your broiler for a minute (or in a dry skillet, or, honestly, skip it if you’re out of time—the world won’t end). Watch them! Burned buns are no one’s friend.
- Scoop the beefy, cheesy mess onto your toasted rolls. It drips everywhere, that’s the charm. Grab extra napkins or just roll with it.
Things I Wish I’d Known (Notes from My Kitchen Catastrophes)
- If your beef’s too greasy, tilt the pan and blot with a paper towel (don’t pour straight down the sink unless you want a call from the plumber, trust me—learned that lesson twice!)
- More cheese isn’t always better—except, sometimes, it really is. Depends how accident-prone you’re feeling with the scoops.
- I tried using pre-chopped frozen onions once and, well, they just kind of disappeared in a soggy way—maybe fresh is worth it here.
Variations I’ve Goofed Around With
- Ground turkey with pepper jack cheese: surprisingly zippy!
- Sautéed mushrooms added in: nobody complained, which is the real test.
- Skipping the cheese: once, and, not to be dramatic, but never again. It’s just not the same hug-in-a-bun.
What If I Don’t Have a Big Skillet?
No biggie! I’ve used a medium pot in a pinch—just takes more stirring, and the onions might climb out if you get too enthusiastic. Or borrow next door; my neighbor swears borrowing is half the fun of cooking. If it’s all going pear-shaped, use two pans and combine at the end—it’ll sort itself out, promise.
Keeping Leftovers (If There’s Such a Thing)
Honestly, this only lasts in my house if I hide a serving in the back of the fridge; otherwise, it vanishes. But if you have leftovers, store the meat and veggies in an airtight container for up to 3 days. Reheat gently in a skillet or even in the microwave if you’re short on time—it won’t be as melty, but still good. Assemble fresh sandwiches when ready to eat, because soggy buns are, well, no one’s favorite.
How We Like to Serve ‘Em
Chips on the side is a classic, or sometimes I do oven fries when I’m feeling patient (so, like, once a year?). I used to serve with a salad to feel virtuous, but that didn’t really catch on. Occasionally, a big jar of pickles comes out. On game night, it’s all about extra napkins and soda cans on the table, no plates needed. My brother dunks his in barbecue sauce, but that’s a little wild even for me.
Things I’ve Learned (aka My “Pro” Tips… Sort Of)
- Don’t rush the veggie sauté; I did once, and it was like biting into raw sadness. Give it a minute.
- If the cheese isn’t melting fast enough, pop a lid or some foil over your pan. Or, you know, yell at it a bit—I find that helps.
Ground Beef Philly Cheesesteak FAQs
- Can I make these ahead? Sure, just keep the filling separate from the bread until you’re ready, otherwise it gets soggy and… ehh, not great.
- Do I have to toast the rolls? Nope! Sometimes I’m lazy (or out of butter), and it still tastes like a day-brightener.
- Is there a non-dairy way? I’ve had readers say they use vegan cheese shreds and it, surprisingly, worked out! I haven’t nailed it yet myself—probably because I keep sneakily adding real cheese.
- Why ground beef over steak? It cooks fast, it’s usually cheaper, and you won’t need to sharpen your knife. Plus, my kids can actually chew it!
- Can I freeze the filling? You can! Just cool, freeze in a bag, and thaw before reheating. But, on second thought, it sometimes gets a bit dry—add a splash of broth when reheating.
And, totally unrelated, my neighbor’s cat actually tried to nab a roll off the counter last time — so keep an eye out if your house has any sneaky sandwich-lovers roaming about. Enjoy, and let me know if you discover any weird but tasty tweaks. There’s always room for improvising in this one!
Ingredients
- 1 pound ground beef (I use 80/20, but honestly, whatever you grab works. Turkey in a pinch isn’t half bad either!)
- 1 tablespoon olive oil (forgotten it once, didn’t die—but tasted better with)
- 1 green bell pepper, thinly sliced (or red, or yellow, or whatever’s rolling around in your veggie drawer)
- 1 medium yellow onion, sliced (my sister swears by sweet onions—me, not fussy)
- 1 teaspoon garlic powder (real garlic’s great but more dishes, so…)
- Salt and pepper, to taste
- 1 tablespoon Worcestershire sauce (optional, but honestly, it’s the not-so-secret ingredient)
- 1 cup shredded provolone or Swiss cheese (I used to be a Cheez Whiz purist—now I’m less dramatic, cheese is cheese here)
- 4 hoagie rolls or sub rolls, split (hot dog buns in a pinch, though it gets kinda hilarious)
- Butter for toasting the rolls (optional—but so good, like, buttery toast in sandwich form even better than it sounds)
Instructions
-
1Heat the olive oil in a big skillet (mine’s nonstick, but my mom’s cast iron does the job too—go wild) over medium-high heat.
-
2Add sliced onions and bell pepper. Sauté till soft and a little caramelized, about 5-6 minutes. Stir now and then—if you forget, they get those little charred bits which I secretly like.
-
3Push veggies to one side, plop the ground beef in the other. Brown the beef, breaking it into bits as you go. Season with garlic powder, salt, and pepper. This is the moment I always sneak a bite (chef’s rights!).
-
4Once most of the pink is gone, mix everything together and splash in the Worcestershire. Cook another minute or two, until it’s all nice and cozy.
-
5Lower the heat. Sprinkle cheese across the top. Just let it melt—don’t stir. Covering the skillet for a minute helps if you’re getting impatient (which, yeah, I usually am at this stage).
-
6While the cheese melts, butter the inside of the hoagie rolls and toast them under your broiler for a minute (or in a dry skillet, or, honestly, skip it if you’re out of time—the world won’t end). Watch them! Burned buns are no one’s friend.
-
7Scoop the beefy, cheesy mess onto your toasted rolls. It drips everywhere, that’s the charm. Grab extra napkins or just roll with it.
Approximate Information for One Serving
Nutrition Disclaimers
Number of total servings shown is approximate. Actual number of servings will depend on your preferred portion sizes.
Nutritional values shown are general guidelines and reflect information for 1 serving using the ingredients listed, not including any optional ingredients. Actual macros may vary slightly depending on specific brands and types of ingredients used.
To determine the weight of one serving, prepare the recipe as instructed. Weigh the finished recipe, then divide the weight of the finished recipe (not including the weight of the container the food is in) by the desired number of servings. Result will be the weight of one serving.
Did you make this recipe?
Please consider Pinning it!