Let Me Tell You About My Ramen Obsession (And That Time I Nearly Burned My Noodles)
You know those days when you’re craving something warm, a bit messy, and not at all fussy? That’s when I dig out my battered soup pot and go full mad scientist with homemade ramen. One cold autumn day, after a string of letdowns with salty packet stuff, I said, “Right, we’re doing it form scratch.” I’m not saying I nailed it that first try (I once managed to char the garlic to kingdom come—smelled…intense). But oh, when you get it right, it’s like a bear hug in a bowl. And don’t even get me started on how slurping is basically required.
Why You’ll Probably End Up Making This Way More Than Once
I make this ramen when it’s raining or I’m low-key avoiding laundry. (Stalling, but with flavor.) My family kinda loses their minds when I put out toppings and let everyone choose their own—potluck dinner but so much easier. Sometimes the chicken broth doesn’t quite cut it and I’ll, um, toss in a sneaky splash of soy just to cheat some depth. And don’t judge me, but I usually end up eating it straight from the pot when no one’s looking. It’s that good.
Here’s My Not-at-All-Strict Ingredients List
- 1 liter (about 4 cups) chicken or veggie broth (I grab whatever’s in the cupboard; my granny swears by the boxed stuff, but honestly, homemade or store-bought both do fine)
- 2–3 instant ramen noodle packs (or fresh egg noodles if there’s a sale—for real, don’t stress)
- 4 cloves garlic, minced (or just whack two giant cloves, who’s counting?)
- 1 thumb-sized piece of ginger, grated or chopped (ginger paste works when you can’t be bothered)
- 2–3 tablespoons soy sauce (I sometimes reach for tamari for a gluten-free moment)
- 1–2 tablespoons miso paste (red, white, doesn’t really matter; sometimes I skip it if I’m out, shhh)
- 1 tablespoon sesame oil
- 1–2 teaspoons chili oil or Sriracha, for heat (or skip, if drama isn’t your thing)
- Toppings: sliced green onions, a handful mushrooms, leftover chicken, half a jammy egg, corn, spinach, nori—whatever you’ve got knocking about.
Trust me, if you swap, improvise, or run out of half the list, it’ll still taste like a hug.
Here’s What I Do (With a Few Side Tangents!)
- Sauté the Aromatics: Heat sesame oil in a big-enough pot (mine’s slightly chipped but I reckon it adds character). Add garlic and ginger—listen for that sizzle. Stir for maybe 30 seconds, but don’t walk away or you’ll end up like me, scraping burnt bits off later.
- Broth Party: Pour in your stock—slowly, so it doesn’t splash—then add soy sauce and miso paste. Stir till the paste dissolves (sometimes I smoosh it against the pot with a wooden spoon, works a treat).
- Get Things Bubbling: Crank up the heat and let it bubble gently for five-ish minutes. This is my favorite bit—the kitchen fills with this dreamy, savory smell. This is also when I start sampling straight from the ladle, because, why not?
- Noodle Time: Drop in noodles. If they’re instant, two to three minutes does it; if you’re using something fancy from the international market, follow the packet, but honestly, I just taste until I like the texture. (Don’t worry if it looks a bit weird now—ramen always comes together at the end.)
- Add-ins and Toppings: Throw in mushrooms or spinach about a minute before the noodles are ready. I usually chuck in already cooked chicken or tofu right at the end, just to warm through.
- Assemble: Ladle noodles and soup into bowls, then go wild with toppings. Green onions, soft eggs, nori, or extra chili oil (because I’m a fiend for heat).
- Slurp, Sigh, Repeat: Tasting is basically required. (Don’t even try to resist. If you dribble down your chin, you did it right.)
Little Notes From My Messy Kitchen
- Miso paste can clump—so whisk or use the back of a spoon against the side of the pot; it’s oddly fun.
- Once, I forgot the eggs entirely. No one even noticed, so don’t panic—ramen is forgiving!
- Using leftover roast chicken basically doubles the flavor, but rotisserie works too. (Or skip meat altogether; totally solid vegan ramen when you want it.)
Stuff I’ve Experimented With (Some Wins, Some, Umm, Not)
- Added a teaspoon of peanut butter once—surprisingly nice for creaminess!
- Cooked udon instead of ramen noodles. Texture’s completely different (chunkier), but still got gobbled up.
- Tried shredded cheese as a topping. Wouldn’t recommend. Turns kinda gloopy.
- Oh, and kimchi on top? Next-level flavor (learned that one here—plus that site’s soft eggs tip is gold).
Kit You’ll Need (But Don’t Stress If You Don’t Have Everything)
- A medium to large saucepan or pot (don’t need a wok unless you fancy being authentic—honestly, any big enough pot is fine)
- A ladle or big spoon. If you only have mugs, that works too. I’ve done it.
- Optional: a fine whisk for the miso, but a fork works, or even a chopstick in a pinch.
If your pot’s a bit small, just watch for soup sloshing over; ask me how I know.
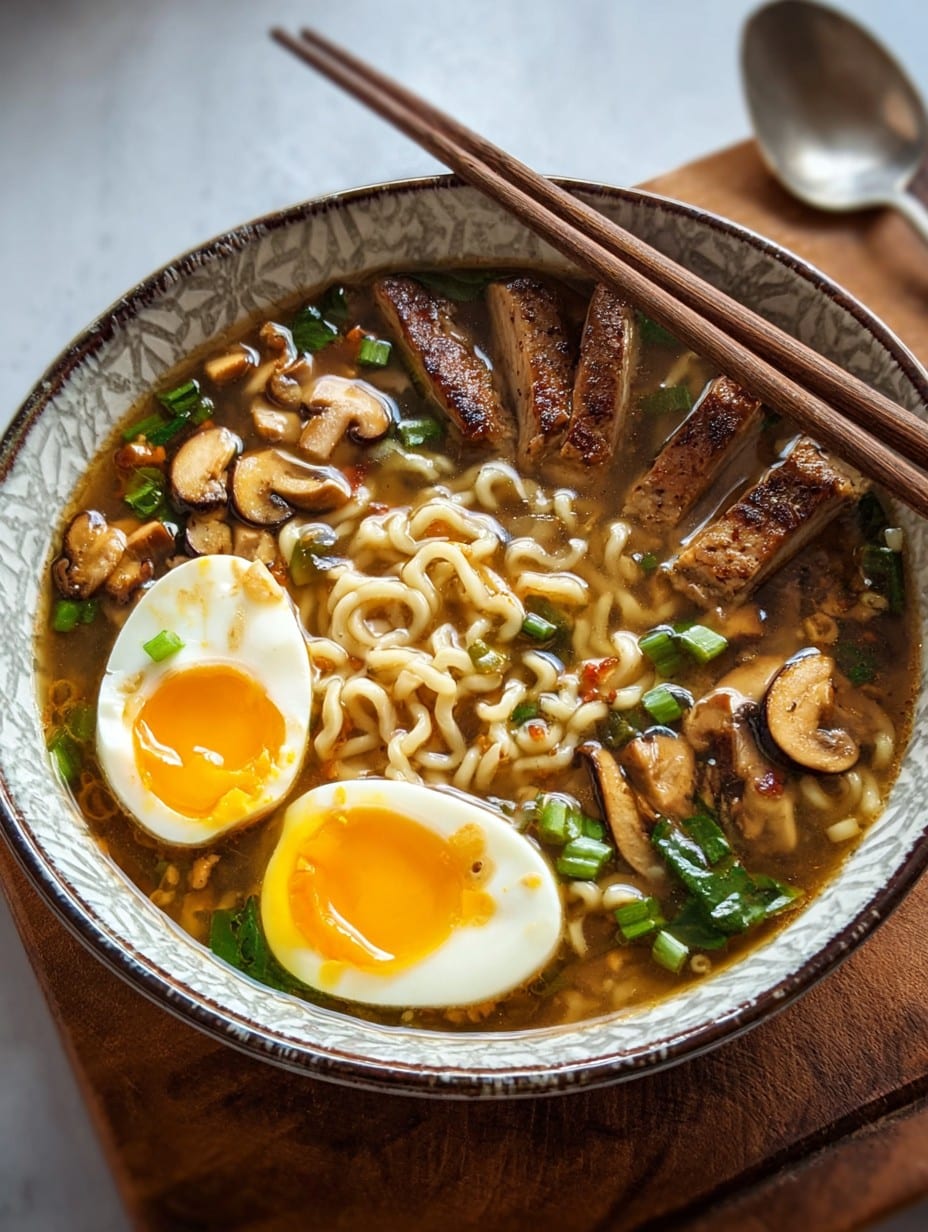
How Long Does It Keep? (Spoiler: It Won’t Need To)
If you have leftovers, pop them in the fridge for a day or two, but the noodles will soften up a lot. Maybe not as pretty, but honestly still tasty. I think this soup tastes better next day, especially after the flavors mingle. Though in my house, it never lasts past midnight, if I’m honest!
How I Like To Serve It (And That Odd Family Tradition)
Get everyone to top their own bowl. I’m a sucker for piles of scallions and a soft egg (here’s a good egg boiling guide if you want to go deluxe). My partner always dumps in a ton of spinach, calls it “health food” and laughs. We even tried eating ramen on the porch once in the pouring rain — 10/10 would recommend, if only for the drama.
If I Knew Then What I Know Now (Pro Tips I Actually Use)
- I once tried skipping the sauté step. Guys, just don’t do it. The flavor’s just not there.
- Add the miso off the heat (or lower the heat)—it can get bitter if it boils. Learned that the hard way!
- Taste and adjust your broth as you go. It’s not cheating; it’s how to make it yours.
Questions People (Actually) Ask Me About Homemade Ramen
- Can I make this gluten-free? Totally! Use rice noodles or those ace sweet potato noodles. And check your soy sauce (swap for tamari).
- Do I really need miso paste? Nah. It’s not a dealbreaker—it adds that umami buzz, but soy alone is fine in a pinch.
- What veggies work best? Whatever’s haunting your fridge. Spinach, bean sprouts, carrots—once I used half a bell pepper and no one cared. Snow peas are nice, too.
- Is it okay to just use instant noodles? Yep; I do! If you feel fancy, maybe try fresh noodles once, but wallet-friendly packs work.
- Help, my broth is bland? Add a splash more soy, squirt of chili oil, or some extra ginger. Or—this is odd, but a pinch of sugar sometimes saves it!
- How spicy should I go? Up to you. I like mine with a bit of a kick, but the kids get a plain version (until they realize it’s better spicy, lol).
And that’s pretty much my slightly chaotic, always-tasty homemade ramen routine. Actually, now I’m hungry. Stay cozy, and if you fling a soft egg across the kitchen, just, you know, call it “texture exploration.”
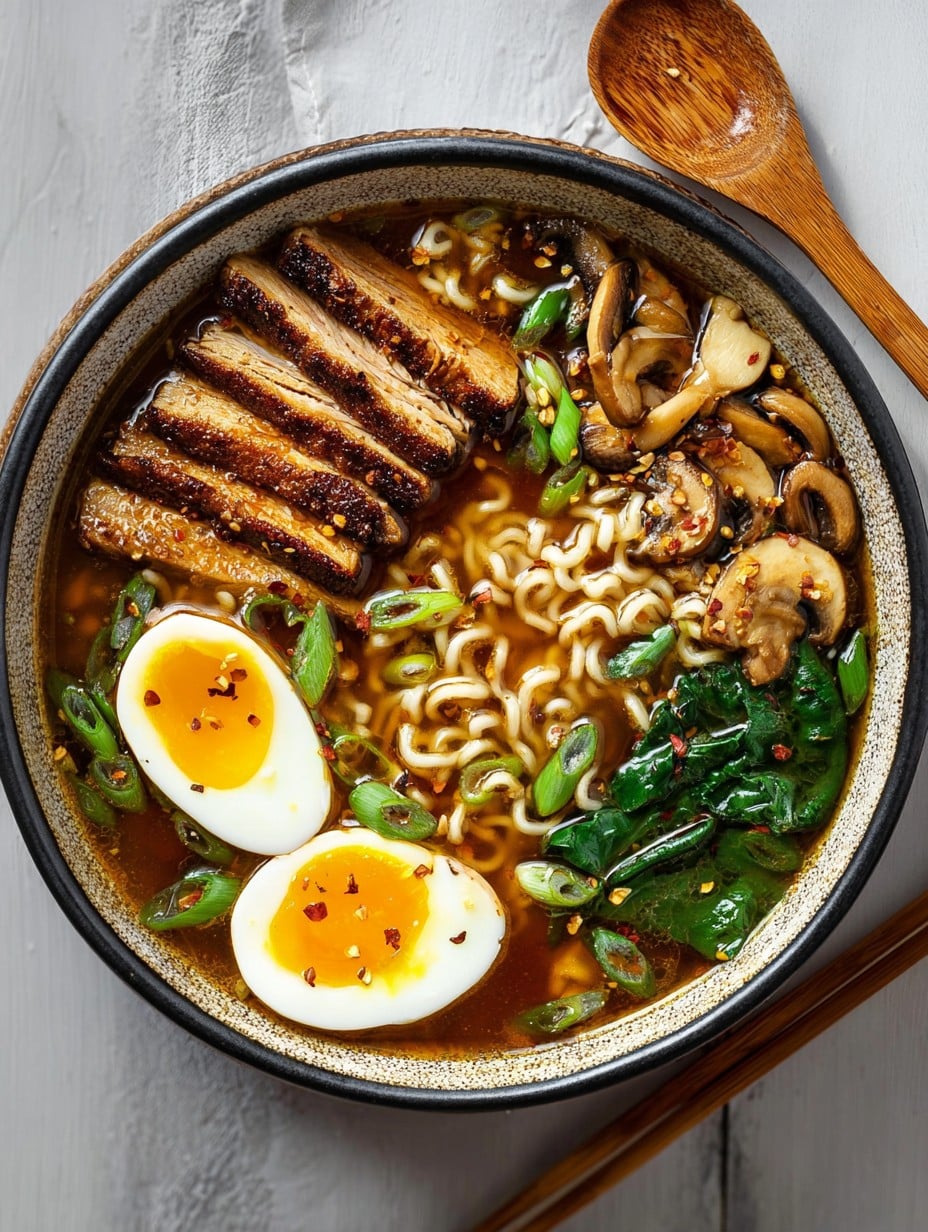
Ingredients
- 4 cups chicken broth
- 2 cups water
- 2 tablespoons soy sauce
- 1 tablespoon miso paste
- 2 packs ramen noodles (fresh or dried)
- 2 large eggs
- 1 cup sliced shiitake mushrooms
- 1 cup baby spinach
- 2 green onions, sliced
- 1 tablespoon sesame oil
- 1 clove garlic, minced
- Salt and pepper to taste
Instructions
-
1In a large pot, heat sesame oil over medium heat. Add minced garlic and sliced mushrooms, sauté for 2-3 minutes until fragrant.
-
2Pour in chicken broth and water. Stir in soy sauce and miso paste. Bring to a gentle boil, then reduce heat and let simmer for 20 minutes.
-
3Meanwhile, bring a separate pot of water to a boil. Add eggs and cook for 7 minutes for soft-boiled. Transfer eggs to ice water, peel, and halve.
-
4Cook ramen noodles according to package instructions. Drain and set aside.
-
5To assemble, divide noodles between bowls. Pour hot broth over noodles. Top with spinach, green onions, soft-boiled eggs, and extra mushrooms if desired. Season with salt and pepper to taste.
Approximate Information for One Serving
Nutrition Disclaimers
Number of total servings shown is approximate. Actual number of servings will depend on your preferred portion sizes.
Nutritional values shown are general guidelines and reflect information for 1 serving using the ingredients listed, not including any optional ingredients. Actual macros may vary slightly depending on specific brands and types of ingredients used.
To determine the weight of one serving, prepare the recipe as instructed. Weigh the finished recipe, then divide the weight of the finished recipe (not including the weight of the container the food is in) by the desired number of servings. Result will be the weight of one serving.
Did you make this recipe?
Please consider Pinning it!!




