Let’s Make Something Dangerously Snackable
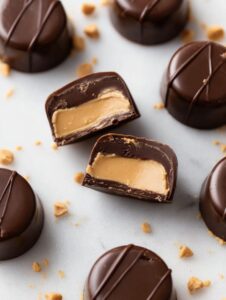
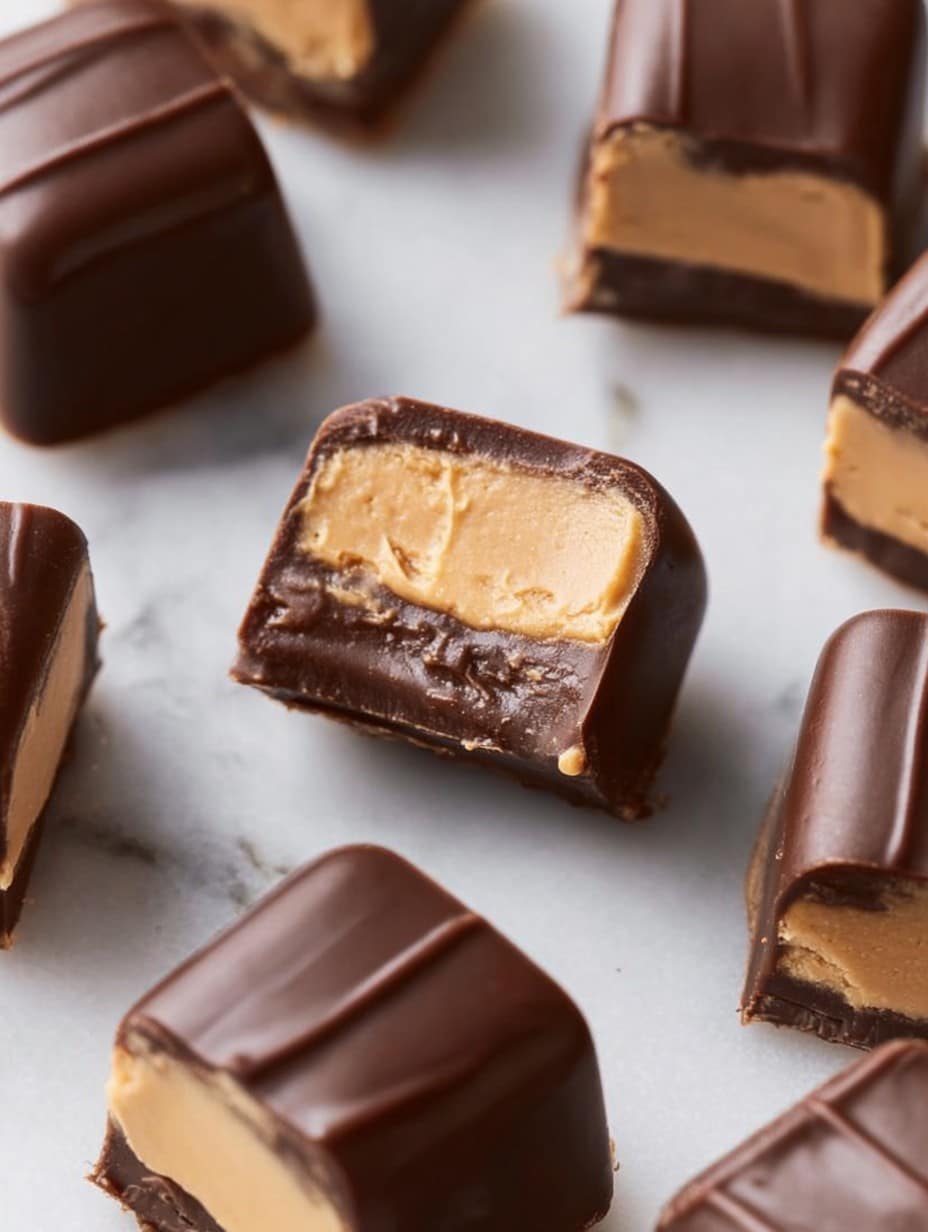
Okay so, the first time I made keto peanut butter chocolate fat bombs, I genuinely thought I’d botched the whole batch. I spilled cocoa powder everywhere (my socks never recovered), and managed to get peanut butter on the light switch. But—despite the comedy of errors, I ended up with the tastiest little snack bites that vanished in about 30 minutes. Now, they’re my go-to when I’ve got a sweet tooth but don’t want to blow my carb count out the window. I swear, if you walk into my kitchen and don’t see these in the freezer, something has gone terribly wrong.

Why You’ll Love These (Or at Least, Why I Do)
I make this when I’m craving a Reese’s cup but also slightly panicking about summer beach plans. My family goes bananas for these, especially my brother, who asks for the recipe every two months and never actually makes them. If I’m rushing or just can’t be bothered with dessert fuss, fat bombs save the day (and my mood). Actually, the one time I forgot the sweetener, we all pretended it was on purpose—so at least they’re forgiving.
What You’ll Need (And What You Can Sub In)
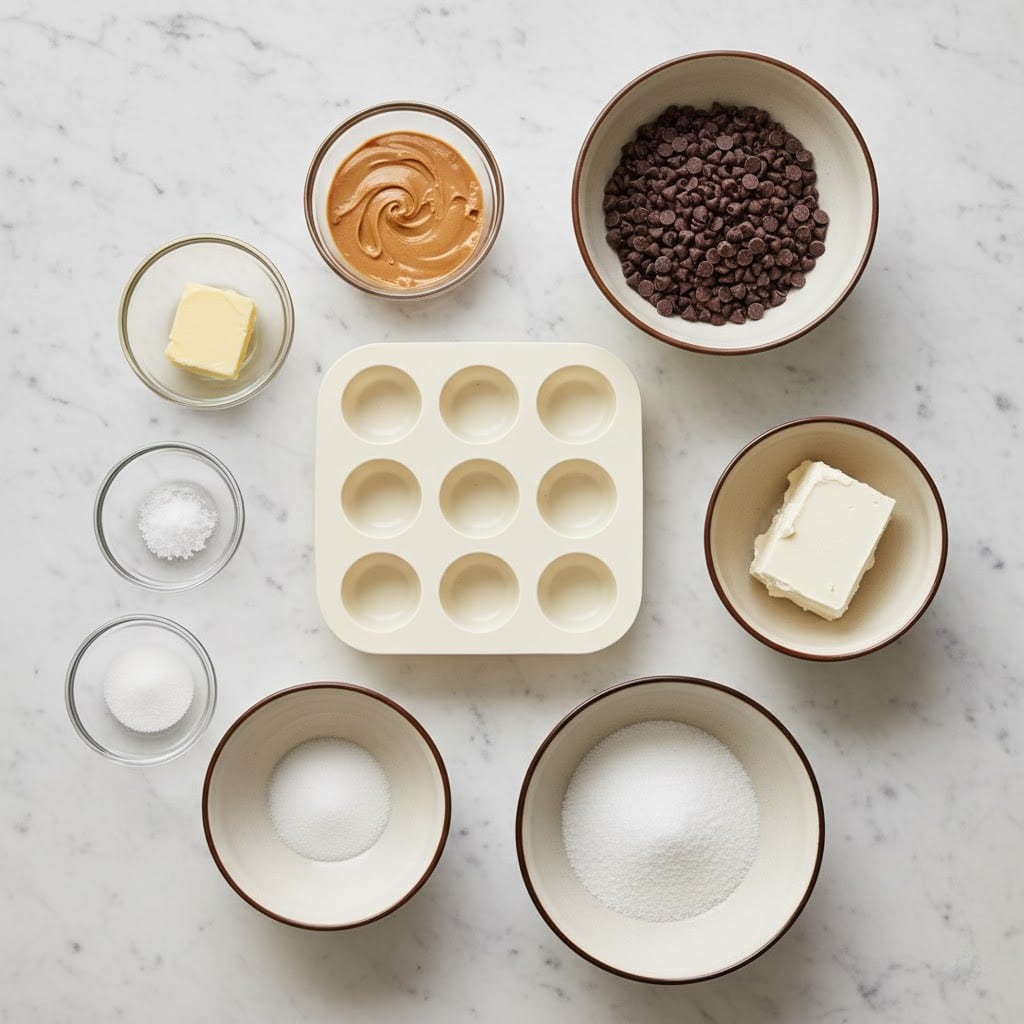
- 1/2 cup natural peanut butter (I use crunchy sometimes, for the texture. My mom swears by creamy Jif, but honestly… any version’s fine.)
- 1/4 cup coconut oil (Refined if you hate coconut flavor, unrefined if you’re a fan. Or butter, if you’re in a pinch.)
- 2 tablespoons unsweetened cocoa powder (Dutch process tastes richer, but the supermarket stuff works.)
- 2 tablespoons powdered erythritol (Or stevia blend—sometimes I wing it with monk fruit, but that’s hit or miss.)
- Pinch of sea salt (optional, but I’m a salt-over-sweet sort, so I always add it.)
- 1/2 teaspoon vanilla extract (Not vital. I’ve forgotten it, didn’t notice much difference, honestly.)
- Handful mini sugar-free chocolate chips (optional, but my niece claims it’s “mandatory”.)
How to Make Keto Fat Bombs (With Some Wiggle Room)
- Line a mini muffin tin with paper liners, or just use a plate covered in parchment if you, like me, never have the right size handy.
- Melt the peanut butter and coconut oil together in a small saucepan over low heat. Stir a lot—it can separate if you wander off. Or, microwave together in 20-second bursts; just don’t melt your bowl. (Ask me how I know.)
- Remove from heat and whisk in cocoa powder, powdered erythritol, vanilla, and salt. It looks a bit like chocolate soup at this point—don’t stress.
- Pour or spoon the mixture into your liners (or make blobs on the parchment, rustic-style). My aim is terrible, so messy blobs are my norm.
- If using, sprinkle mini chocolate chips on top—sometimes they sink, sometimes they don’t. Life’s a gamble.
- Freeze for at least 40 minutes, or until firm enough to peel out and not collapse in your fingers. This is where I usually sneak a taste—don’t tell.
Just a Few Notes (Learned the Odd Way)
- They melt fast at room temp—it’s not you, it’s the coconut oil. Keep them cold.
- Once I swapped all coconut oil for butter. Delicious, but softer—okay for a quick fix, though.
- You actually can skip the paper liners if you’re feeling reckless. Just expect to scrape some off—I mean, why waste even a smudge?
Mix It Up (Or Don’t, Your Call)
- I tried almond butter instead of peanut—less rich, but not bad. Cashew was weirdly bland for me.
- Add a bit of instant espresso powder if you’re a coffee fiend, but ONLY a pinch or it takes over everything, ask me how I know.
- Chopped salted peanuts on top—better than sprinkles, argue with me if you must.
- One time I tried swirling in unsweetened shredded coconut. Looked great, fell apart. Wouldn’t recommend unless you like chasing crumbs.
What If You Don’t Have… (Equipment Corner)
- Mini muffin tin: Use an ice cube tray! Or honestly, just pour onto parchment in a big slab and break it apart later.
- Whisk: A fork gets the job done. Or use a spoon—I won’t snitch.
Stashing (Or: How Long Will They Last, Realistically?)
Store in an airtight container in the freezer. I say up to 2 weeks, but honestly, in my house, they’re gone after a day. If you forget them in the fridge, they’ll be fudgy but squish in the summer. Good luck with that.
Serving Ideas (And a Tangent)
We eat them straight from the freezer mostly, but sometimes, if feeling fancy, I’ll chop one up and toss it onto keto pancakes. Or eat with a cup of strong coffee—best lazy weekend treat. My cousin dips hers in extra peanut butter, which is honestly a power move.
Real Talk: Things I’ve Learned
- Let them firm up. I once tried to rush this, and all I got was a thin puddle of regret. Patience is a virtue, especially when there’s chocolate involved.
- Don’t double the sweetener thinking you’ll get them “extra dessert-like.” Turns out it actually makes the texture grainy. Whoops.
- Cocoa powder flying everywhere is just part of the journey. Wear an apron. Or don’t; just own the mess.
People Actually Asked Me… (FAQ)
- Q: Can I use regular peanut butter? Sure! It’ll be a bit higher in carbs, but for the odd treat, go wild—just make sure it’s not loaded with added sugar (trust me the sweetener is enough, unless you’re after a full-blown sugar bomb).
- Q: Can I make these dairy-free? Yep! Use coconut oil instead of butter and skip chips with dairy. Or vice versa. Easy peasy.
- Q: Do I need to keep these frozen? Honestly? Yeah. Take it out for a few minutes before eating if you don’t want to chip a tooth (I’ve done it. Only once!).
- Q: Can kids eat these? Totally! My nephew has eaten more of these than vegetables, but don’t tell his mom I said that.
- Q: Are these really keto? As long as you keep the ingredients sugar free, yes. If you swap in something with more carbs, they’re still pretty low-carb, but not what keto purists would call gold standard. Still delicious though.
And hey—if anyone actually manages to keep a batch longer than 48 hours, I want to know your secret. Until then, happy snacking!
Ingredients
- 1/2 cup natural peanut butter (I use crunchy sometimes, for the texture. My mom swears by creamy Jif, but honestly… any version’s fine.)
- 1/4 cup coconut oil (Refined if you hate coconut flavor, unrefined if you’re a fan. Or butter, if you’re in a pinch.)
- 2 tablespoons unsweetened cocoa powder (Dutch process tastes richer, but the supermarket stuff works.)
- 2 tablespoons powdered erythritol (Or stevia blend—sometimes I wing it with monk fruit, but that’s hit or miss.)
- Pinch of sea salt (optional, but I’m a salt-over-sweet sort, so I always add it.)
- 1/2 teaspoon vanilla extract (Not vital. I’ve forgotten it, didn’t notice much difference, honestly.)
- Handful mini sugar-free chocolate chips (optional, but my niece claims it’s “mandatory”.)
Instructions
-
1Line a mini muffin tin with paper liners, or just use a plate covered in parchment if you, like me, never have the right size handy.
-
2Melt the peanut butter and coconut oil together in a small saucepan over low heat. Stir a lot—it can separate if you wander off. Or, microwave together in 20-second bursts; just don’t melt your bowl. (Ask me how I know.)
-
3Remove from heat and whisk in cocoa powder, powdered erythritol, vanilla, and salt. It looks a bit like chocolate soup at this point—don’t stress.
-
4Pour or spoon the mixture into your liners (or make blobs on the parchment, rustic-style). My aim is terrible, so messy blobs are my norm.
-
5If using, sprinkle mini chocolate chips on top—sometimes they sink, sometimes they don’t. Life’s a gamble.
-
6Freeze for at least 40 minutes, or until firm enough to peel out and not collapse in your fingers. This is where I usually sneak a taste—don’t tell.
Approximate Information for One Serving
Nutrition Disclaimers
Number of total servings shown is approximate. Actual number of servings will depend on your preferred portion sizes.
Nutritional values shown are general guidelines and reflect information for 1 serving using the ingredients listed, not including any optional ingredients. Actual macros may vary slightly depending on specific brands and types of ingredients used.
To determine the weight of one serving, prepare the recipe as instructed. Weigh the finished recipe, then divide the weight of the finished recipe (not including the weight of the container the food is in) by the desired number of servings. Result will be the weight of one serving.
Did you make this recipe?
Please consider Pinning it!