Well, Here’s the Story Behind These Burritos
If you’ve ever stumbled into your kitchen on a weekday morning, half-awake and half-sure you can still hear your alarm snoozing, you’ll appreciate my absolute need for easy make-ahead breakfast burritos. Actually, my love affair with these started when I was a grad student (read: broke and grumpy in the AM), and I needed something quick, cozy, and not another bowl of soggy cereal. The very first time, I dropped an entire egg on the floor. Clean-up probably took longer than making the burrito, but hey, we live, we learn!

Why I Keep Making These (And You Will Too)
I make these whenever I’ve got even a smidge of extra time on Sunday—my family goes wild for them because they’re the ultimate grab-and-go (or microwave-and-go?) meal when everyone’s running in a million directions. Honestly, no one’s ever complained about “leftovers” here—except maybe that one time I tried going easy on the cheese (never again). Plus, reheating means the house smells like breakfast again. And, if you have picky eaters (I do; hi, kids!), you can sneak in random veggies and they hardly notice.
Your Shopping List (Tweaks Welcome)
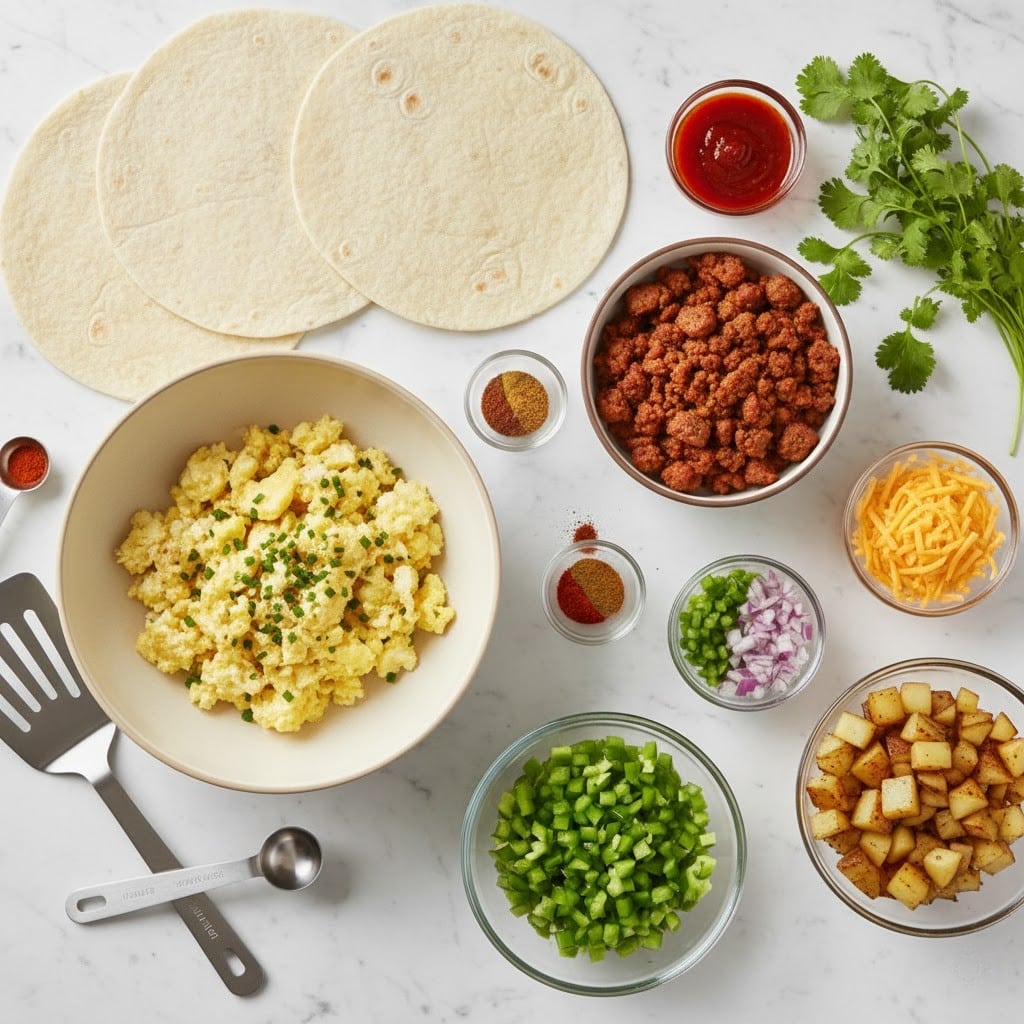
- 8 large flour tortillas (the big, burrito-sized ones — my aunt swears by the store brand and I’ve found they fold just fine)
- 10 eggs (I’ve been known to do a 50-50 mix of eggs and egg whites when pretending to be healthy)
- 1 cup shredded cheddar cheese (“whatever is left in the fridge” cheese works too, honestly)
- 1/2 pound breakfast sausage (or crumbled bacon, or skip for veggie — actually, black beans are nice in a pinch)
- 1 bell pepper, any color, diced (because I like some color, but it’s optional — swap for mushrooms or leftover roasted veggies if you like)
- 1/2 medium onion, diced (yellow, white… sometimes I just use scallions because that’s what’s here)
- 1/2 cup milk (add cream if you’re feeling posh, or skip if you forget — I’ve done both)
- 1 tsp olive oil or butter for the pan
- 1 tsp salt
- 1/2 tsp black pepper
- Optional: hot sauce, salsa, fresh cilantro, or avocado for serving… or whatever you like piling on top
Let’s Make Some Burritos!
- Cook your sausage. Heat a nonstick pan over medium. Toss in the breakfast sausage, breaking it up with a spoon. Cook till browned and crumbly. (If you’re using bacon, crumble it after cooking, but don’t toss the fat — use it to sauté your veggies. For veggie/bean version, skip this step and proceed!)
- Sauté veggies. Toss your diced onion and bell pepper (or whatever you picked) into the same pan with a little olive oil (or bacon fat, yum). Cook until soft and just a bit golden. This is where I usually sneak a taste. Too hot? Wait, it cools off fast.
- Scramble eggs. Whisk the eggs, milk, salt, and pepper in a bowl. Pour into the pan with the veggies (I move the veg to the edges, pour egg in, then stir everything together — there’s no perfect way). Cook gently, stirring, till just set and fluffy. Don’t let them get rubbery. Trust me, I’ve gone there before — edible but not my best work. Remove from heat.
- Mix everything together. Add cooked sausage (or bacon, or beans) to the eggs and veggies. Give it a gentle stir. Off heat, sprinkle in the cheese so it melts a bit. Or don’t, if your people prefer cheese just on top. I have mixed feelings about this some days.
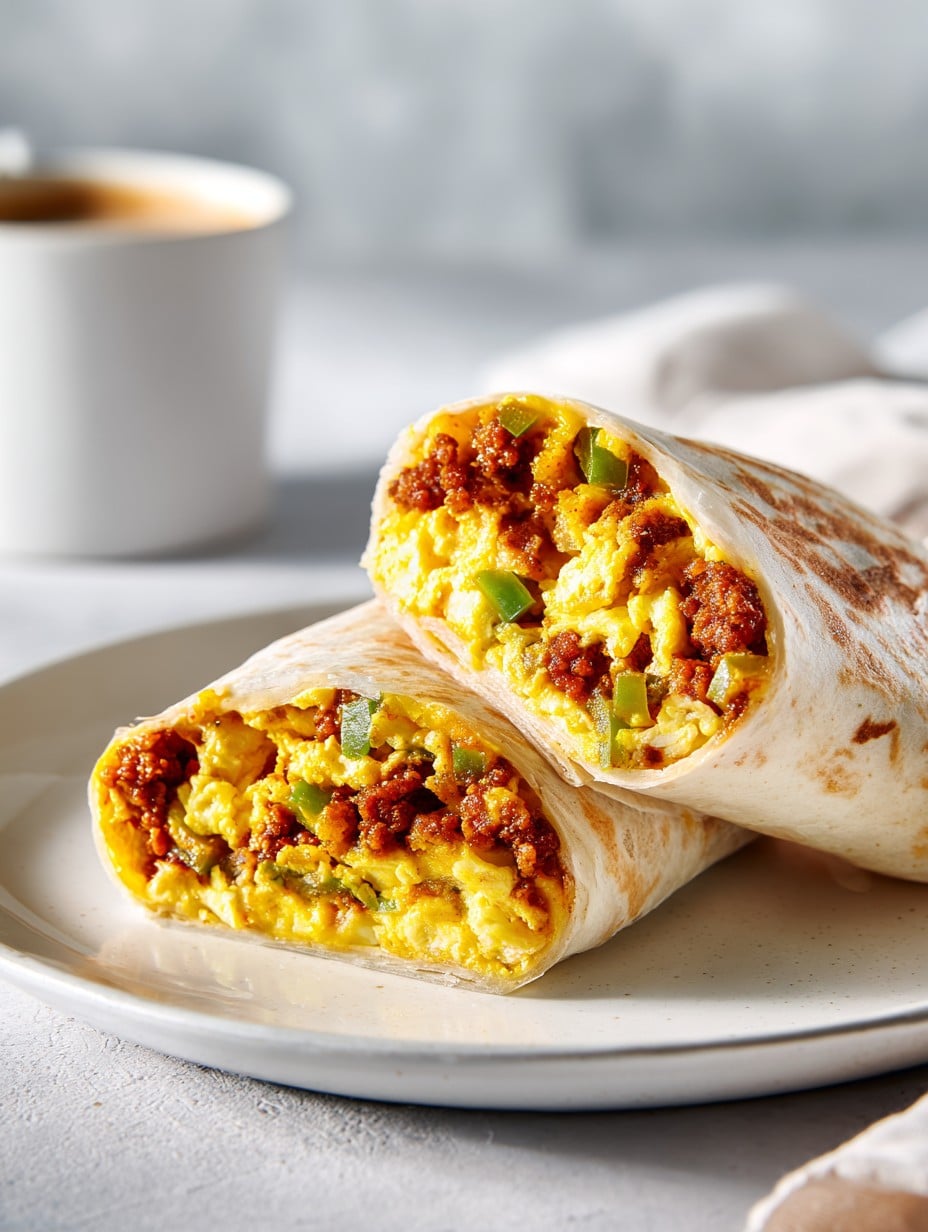
- Prep your assembly line. Lay out your tortillas on a clean counter (on paper towels if you don’t feel like cleaning later). Scoop a hearty handful (about 3/4 cup) of filling into the lower third of each tortilla, not too close to the edge — burrito overfill is real and messy.
- Roll ’em up. Fold in the sides, then roll up nice and tight. If it rips, don’t panic (patch with a little extra tortilla, or just keep rolling and call it rustic). Place each finished burrito seam-side down.
- Wrap and freeze. Wrap each burrito in foil or parchment, then stick them in a big freezer bag. Squeeze out most of the air so you don’t end up with those weird freezer ice crystals. Label the bag with the date or a funny note (trust me, your future self will appreciate it).
Notes From (Sometimes Chaotic) Experience
- Don’t overstuff your burritos unless you like chasing filling around your plate. Less is weirdly more.
- If you suddenly run out of tortillas, this makes a mean breakfast scramble. Not the plan, but still tasty.
- I think they taste even better reheated the next day than fresh — must be magic, who knows?
Variations I’ve Tried (Some Winners, One Dud)
- Add cooked potatoes for a heartier, “this-will-fill-you-till-lunch” feel.
- Swap sausage for chorizo — it’s spicy but good if you’re into that sort of drama.
- For a Tex-Mex twist, stir in some black beans and corn at the end.
- I once tried shredded chicken instead of sausage — honestly, too dry; maybe more cheese was needed?
Gear You (Maybe) Need
- Nonstick skillet (if you only have stainless, use more oil and a bit of patience)
- Medium mixing bowl
- Foil or parchment + freezer bags
- Whisk or fork (I’ve used a chopstick in a pinch. Improvisation is the spice of life!)
How to Store (Or… Just Eat Right Away)
Wrap each cooled burrito tightly and stash in a freezer bag, then freeze. They’re best within 2 months, but honestly, in my house, they never last more than a week (90% of them disappear after “just one more”). You can thaw overnight or nuke straight from frozen.
How We Eat ‘Em (And You Might Too)
I warm mine in the microwave (around 2 minutes, flipping halfway), then crisp in a skillet for a minute or two if I’m feeling fancy. My kids like to dunk them in salsa. Sometimes, if it’s Sunday, I throw on extra avocado and a little sprinkle of cilantro — breakfast of champions. Or at least breakfast of moderately-dressed lounge pants.
What I Wish I’d Known (Pro-ish Tips)
- Let everything cool before wrapping, or otherwise you’ll get soggy tortillas — I once tried skipping this and regretted it. Live and learn.
- Use more cheese if you want things to actually stick together inside.
- Label your burritos — nothing like biting into one expecting chorizo and getting plain egg (still tasty but surprising).
FAQ (Because People Ask…)
- Can I use corn tortillas? Eh, you can, but truthfully they tend to crack when you freeze and heat ’em. Sturdy flour tortillas hold up better for freezing.
- Do I have to use meat? Definitely not. My vegetarian friend (hi, Sam!) swears by beans or even tofu crumbles.
- How long do they keep in the freezer? I say 2 months max for best taste, but I once found one after three and it was still edible (if a little more “freezery”).
- Best way to reheat? Unwrap and microwave 1-2 min from frozen, then crisp in a pan if you care about texture. Or, just eat microwaved, it’s still good.
- If I don’t have foil or parchment? Just wrap in plastic wrap or pop into reusable containers. No need to be fancy!
And if you have a dog: don’t drop your burrito. You’ll never see it again. Consider that my bonus tip!
Ingredients
- 8 large flour tortillas (the big, burrito-sized ones — my aunt swears by the store brand and I’ve found they fold just fine)
- 10 eggs (I’ve been known to do a 50-50 mix of eggs and egg whites when pretending to be healthy)
- 1 cup shredded cheddar cheese (“whatever is left in the fridge” cheese works too, honestly)
- 1/2 pound breakfast sausage (or crumbled bacon, or skip for veggie — actually, black beans are nice in a pinch)
- 1 bell pepper, any color, diced (because I like some color, but it’s optional — swap for mushrooms or leftover roasted veggies if you like)
- 1/2 medium onion, diced (yellow, white… sometimes I just use scallions because that’s what’s here)
- 1/2 cup milk (add cream if you’re feeling posh, or skip if you forget — I’ve done both)
- 1 tsp olive oil or butter for the pan
- 1 tsp salt
- 1/2 tsp black pepper
- Optional: hot sauce, salsa, fresh cilantro, or avocado for serving… or whatever you like piling on top
Instructions
-
1Cook your sausage. Heat a nonstick pan over medium. Toss in the breakfast sausage, breaking it up with a spoon. Cook till browned and crumbly. (If you’re using bacon, crumble it after cooking, but don’t toss the fat — use it to sauté your veggies. For veggie/bean version, skip this step and proceed!)
-
2Sauté veggies. Toss your diced onion and bell pepper (or whatever you picked) into the same pan with a little olive oil (or bacon fat, yum). Cook until soft and just a bit golden. This is where I usually sneak a taste. Too hot? Wait, it cools off fast.
-
3Scramble eggs. Whisk the eggs, milk, salt, and pepper in a bowl. Pour into the pan with the veggies (I move the veg to the edges, pour egg in, then stir everything together — there’s no perfect way). Cook gently, stirring, till just set and fluffy. Don’t let them get rubbery. Trust me, I’ve gone there before — edible but not my best work. Remove from heat.
-
4Mix everything together. Add cooked sausage (or bacon, or beans) to the eggs and veggies. Give it a gentle stir. Off heat, sprinkle in the cheese so it melts a bit. Or don’t, if your people prefer cheese just on top. I have mixed feelings about this some days.
-
5Prep your assembly line. Lay out your tortillas on a clean counter (on paper towels if you don’t feel like cleaning later). Scoop a hearty handful (about 3/4 cup) of filling into the lower third of each tortilla, not too close to the edge — burrito overfill is real and messy.
-
6Roll ’em up. Fold in the sides, then roll up nice and tight. If it rips, don’t panic (patch with a little extra tortilla, or just keep rolling and call it rustic). Place each finished burrito seam-side down.
-
7Wrap and freeze. Wrap each burrito in foil or parchment, then stick them in a big freezer bag. Squeeze out most of the air so you don’t end up with those weird freezer ice crystals. Label the bag with the date or a funny note (trust me, your future self will appreciate it).
Approximate Information for One Serving
Nutrition Disclaimers
Number of total servings shown is approximate. Actual number of servings will depend on your preferred portion sizes.
Nutritional values shown are general guidelines and reflect information for 1 serving using the ingredients listed, not including any optional ingredients. Actual macros may vary slightly depending on specific brands and types of ingredients used.
To determine the weight of one serving, prepare the recipe as instructed. Weigh the finished recipe, then divide the weight of the finished recipe (not including the weight of the container the food is in) by the desired number of servings. Result will be the weight of one serving.
Did you make this recipe?
Please consider Pinning it!