If You Need a Smile, Make These Lucky Charms Treats
You wouldn’t believe how many times I’ve whipped up these Lucky Charms Treats, especially when someone’s having “one of those days” or my nieces come barreling through the door. I remember the first time I tried to get all those marshmallows evenly mixed in—what a mess (worse than glitter)! My youngest thought it was a new art form. Anyway, every time I make these, I end up just as covered in sticky marshmallow as the bowl. But honestly, who minds when it’s this much fun?
Why You’ll Love This One (Or At Least Tolerate It)
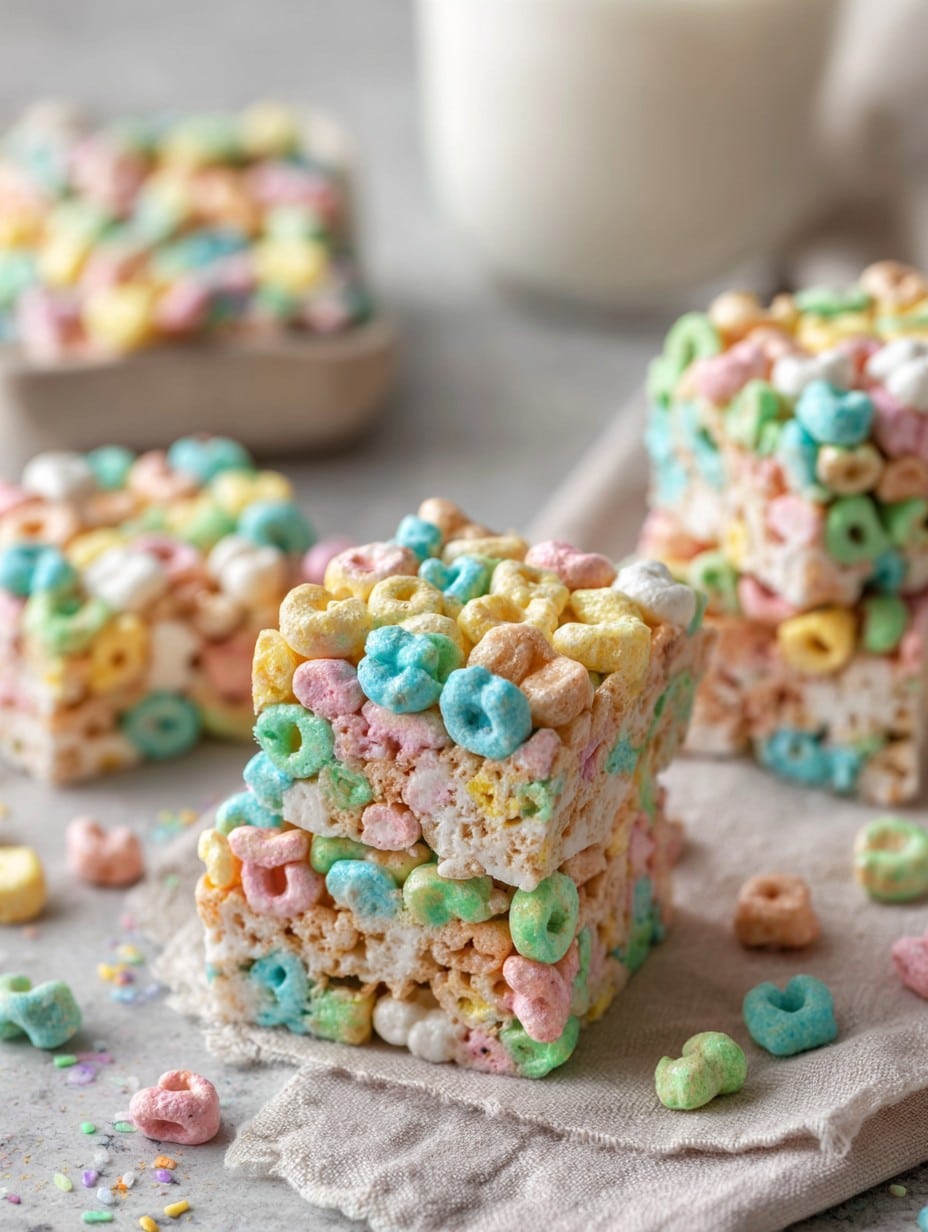
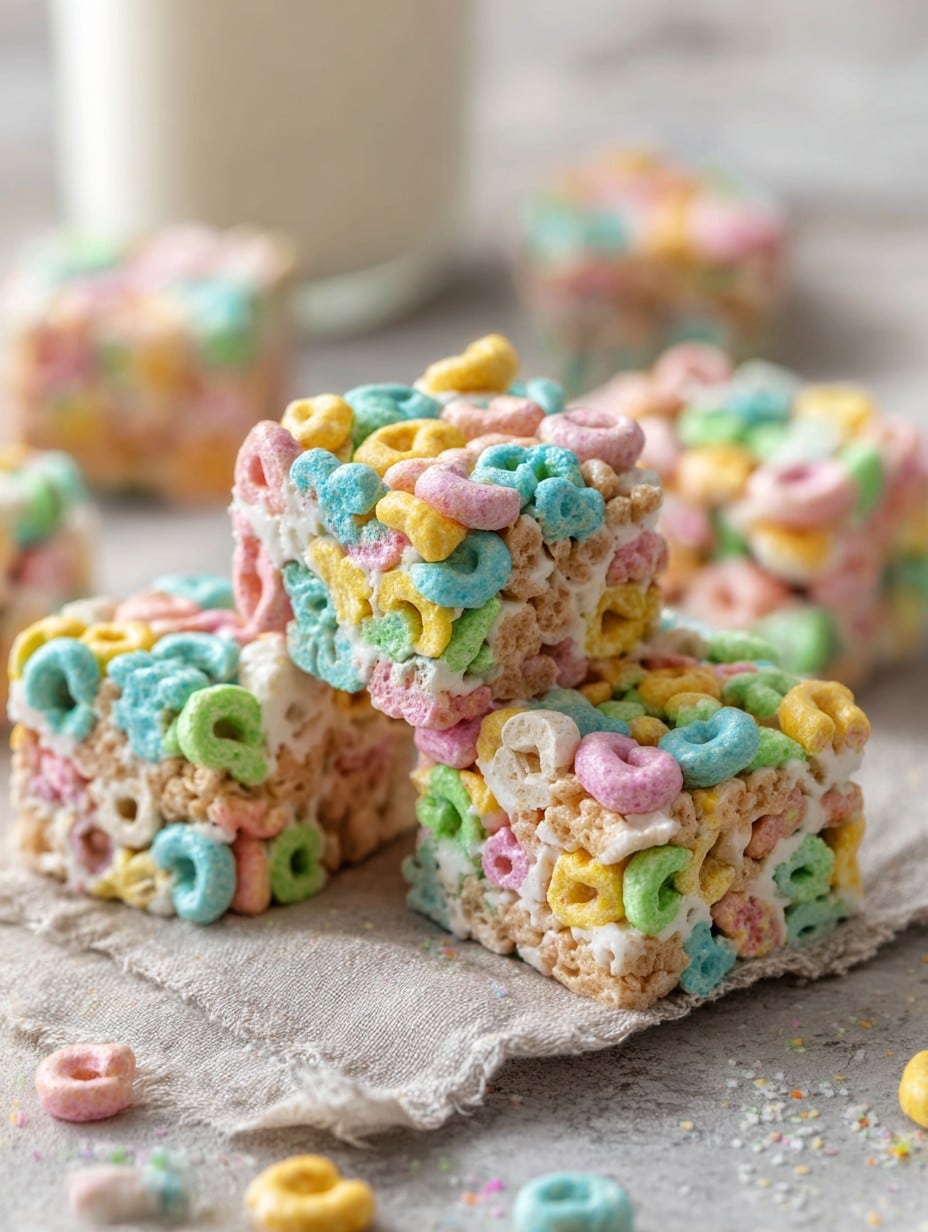
I make this whenever I need something quick but, you know, still want to pretend I’ve put in some effort. My family just goes wild for the ridiculously vibrant little marshmallows; it makes snack time look like a unicorn’s birthday party. Honestly, I’ve tried making similar treats with other cereals and, well, let’s just say nothing hits quite like Lucky Charms. They’re like nostalgia on a plate! Also, and I’m not proud to admit this, but these are dangerously easy to eat straight from the pan (yes, that’s happened more than once).
What You’ll Need (Ingredients + My Occasional Substitutes)
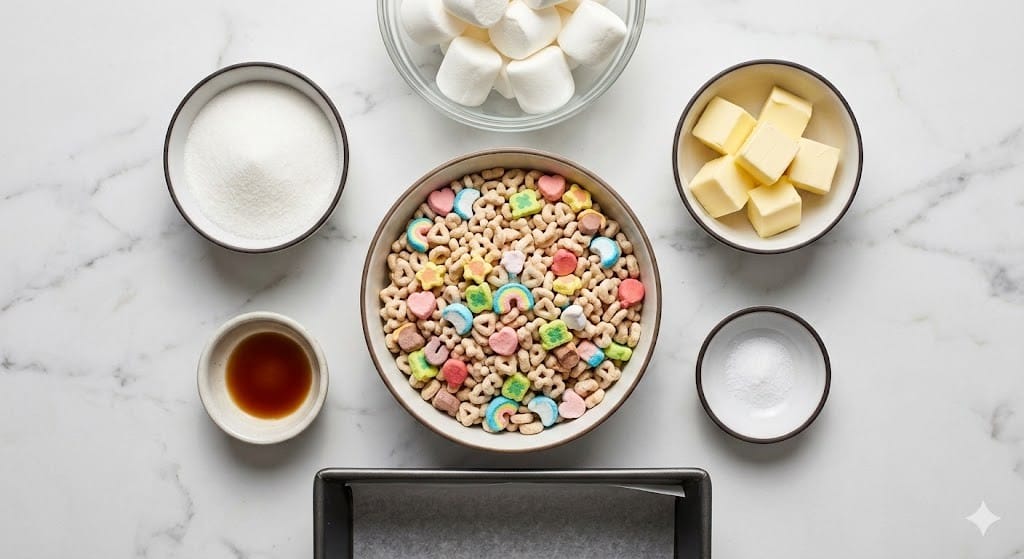
- 4 cups Lucky Charms cereal (or the store-brand stuff—I won’t tell. Sometimes I mix in an extra handful if it’s a Saturday.)
- 3 cups mini marshmallows (Big marshmallows work in a pinch; you just have to chop ’em up. My grandma swore you needed a certain brand, but I’m not that picky.)
- 3 tablespoons unsalted butter (Salted butter works too; I won’t judge. Use whatever’s lurking in your fridge.)
- 1/4 teaspoon vanilla extract (Optional, but I kinda like the extra flavor hit. Sometimes I forget this and it’s still great.)
- Pinch of salt (Totally optional—I go back and forth on this. Maybe I just like having options?)
How To Actually Get These Treats Made
- First, grab a 9×9-inch pan and line it with parchment or wax paper. No parchment? Just grease it up with a little butter. It’ll be fine. Actually, I’ve used foil before—but parchment is less fussy.
- Melt the butter in a large saucepan over low heat. Don’t rush this, or you’ll scorch it (I did that once and the flavor goes a bit… odd). Toss in the marshmallows and, stirring pretty much nonstop, let everything melt together all smooth and glossy. If you’re feeling brave, this is where you add your vanilla and pinch of salt. Take it off the heat right after.
- Now, pour in your 4 cups of Lucky Charms. Get in there with a spatula and fold gently. My trick: don’t over-mix, or the marshmallow gets stringy and the cereal looks tired. And yes, it looks weird at this point—like sticky cereal chaos.
- Quick! Scrape the mixture into your lined pan and press it down (a little butter on your hands keeps things from sticking everywhere). Don’t pack it too hard, unless you want to break teeth.
- Let it cool for at least 30 minutes. Actually, I think it tastes better the next day, but who ever waits that long?
- Cut into squares—any size, really. I sometimes do bite-size pieces for “portion control,” but then end up eating twice as many. No judgment.
A Few Notes No One Ever Told Me
- If the marshmallow cools before you spread the cereal, it’ll set up on you fast. I’ve had to chisel it out once. Maybe have some extra muscle nearby.
- Use fresh marshmallows. Stale ones kinda melt into weird lumps (ask me how I know).
- Wax paper sticks if it gets too warm, so I just use parchment mostly these days.
If You Feel Like Experimenting (Variations I’ve Actually Tried)
- Try mixing half Rice Krispies, half Lucky Charms—unexpectedly good!
- Chocolate chips sounded good in my head but, honestly, they just melted into a mess. Tasted fine though.
- Drizzle with white chocolate if you’re feeling fancy. I never have the patience for this, but it looks nice for parties.
What You’ll Need for Equipment (And If You Don’t Have It…)
- 9×9-inch baking pan (I’ve used an 8×8; just makes them thicker!)
- Large saucepan
- Big spoon or spatula—preferably silicone, but hey, clean hands will do in a pinch
- Parchment or wax paper (or just butter up the pan and live on the edge)
About Storing Them
I keep leftovers in an airtight container on the counter for maybe 2-3 days. Fridge makes them a bit tough, but sometimes that’s nice if you want a chewier bite. Though honestly, in my house these just vanish overnight. Snack fairies, I guess!
Ways We Love to Serve These (Besides Just Eating Them All Myself)
- Stacked on a plate for after-school snack time
- Wrapped up in wax paper for road trips (total winner, except for the seat crumbs)
- I’ve even chopped them up for ice cream toppings. Not traditional, but my brother says it’s genius.
Pro Tips (Or, Lessons Learned The Hard Way)
- I once tried to press the mixture down while it was hot—do not recommend, unless burned fingertips are your thing.
- Resist stirring the cereal too much or those marshmallows lose their lucky shapes. I learned the hard way…twice.
- If you use salted butter, maybe skip the extra salt. Can’t believe I only figured that out recently.
FAQ From Real Life People (Well, Mostly Family)
- Can I use margarine instead of butter?
Sure, it’ll work! But I think the flavor takes a slight dive, if you ask me. - Do these freeze well?
Actually, yes. Just wrap them up tight, otherwise they taste a bit like freezer after a while. I’d say they’re best before a month or so, but who manages to forget them for that long? - Can I double the batch?
Yes, but use a bigger pan or risk a marshmallow eruption. I learned this on a hectic holiday weekend. - Why are my treats so hard?
Probably pressed too firmly or used old marshmallows. Or maybe both. Next time, go gentle! - Can I use all the weird marshmallow bits at the bottom of the box?
I mean, that’s kinda the best part. Go for it—might get a little lopsided but who’s judging?
Also, has anyone else noticed how the last bit of cereal in the box is always mostly marshmallow dust and crumbs? Between us, that’s the part I save for myself (shh).
Ingredients
- 4 cups Lucky Charms cereal (or the store-brand stuff—I won’t tell. Sometimes I mix in an extra handful if it’s a Saturday.)
- 3 cups mini marshmallows (Big marshmallows work in a pinch; you just have to chop ’em up. My grandma swore you needed a certain brand, but I’m not that picky.)
- 3 tablespoons unsalted butter (Salted butter works too; I won’t judge. Use whatever’s lurking in your fridge.)
- 1/4 teaspoon vanilla extract (Optional, but I kinda like the extra flavor hit. Sometimes I forget this and it’s still great.)
- Pinch of salt (Totally optional—I go back and forth on this. Maybe I just like having options?)
Instructions
-
1First, grab a 9×9-inch pan and line it with parchment or wax paper. No parchment? Just grease it up with a little butter. It’ll be fine. Actually, I’ve used foil before—but parchment is less fussy.
-
2Melt the butter in a large saucepan over low heat. Don’t rush this, or you’ll scorch it (I did that once and the flavor goes a bit… odd). Toss in the marshmallows and, stirring pretty much nonstop, let everything melt together all smooth and glossy. If you’re feeling brave, this is where you add your vanilla and pinch of salt. Take it off the heat right after.
-
3Now, pour in your 4 cups of Lucky Charms. Get in there with a spatula and fold gently. My trick: don’t over-mix, or the marshmallow gets stringy and the cereal looks tired. And yes, it looks weird at this point—like sticky cereal chaos.
-
4Quick! Scrape the mixture into your lined pan and press it down (a little butter on your hands keeps things from sticking everywhere). Don’t pack it too hard, unless you want to break teeth.
-
5Let it cool for at least 30 minutes. Actually, I think it tastes better the next day, but who ever waits that long?
-
6Cut into squares—any size, really. I sometimes do bite-size pieces for “portion control,” but then end up eating twice as many. No judgment.
Approximate Information for One Serving
Nutrition Disclaimers
Number of total servings shown is approximate. Actual number of servings will depend on your preferred portion sizes.
Nutritional values shown are general guidelines and reflect information for 1 serving using the ingredients listed, not including any optional ingredients. Actual macros may vary slightly depending on specific brands and types of ingredients used.
To determine the weight of one serving, prepare the recipe as instructed. Weigh the finished recipe, then divide the weight of the finished recipe (not including the weight of the container the food is in) by the desired number of servings. Result will be the weight of one serving.
Did you make this recipe?
Please consider Pinning it!




