Alright, Let’s Bake a Marble Cake (and Have Some Laughs Along the Way)
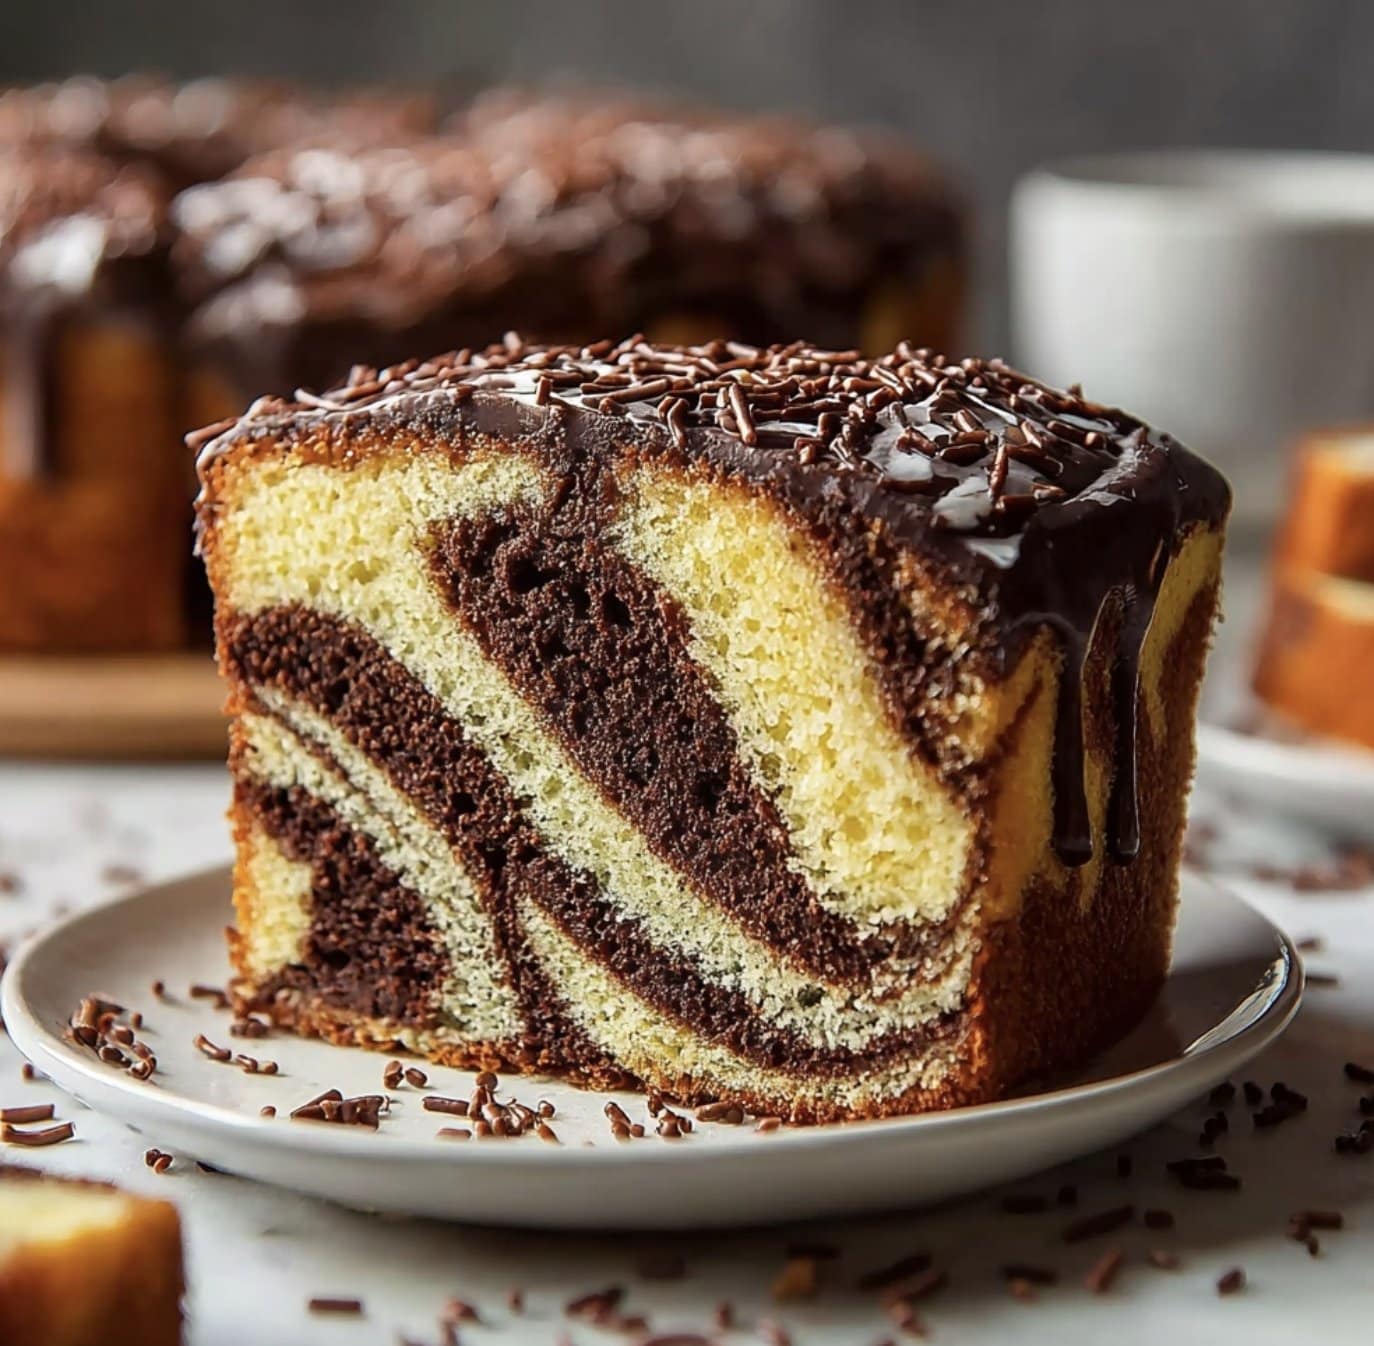
If there’s one cake that reminds me of childhood afternoons in my mum’s kitchen, it’s marble cake. I used to think the swirls were literal magic—no joke, the first time I tried swirling them myself, it looked more like a cow print gone rogue. But that’s sort of the fun, right? Besides, even if the pattern’s a bit wonky, you still end up with this soft, chocolate-vanilla situation that makes the whole house smell like a proper bakery. (Warning: the cat will come running. Or at least mine does.)
Why You’ll Love This (Or Why I Do, Anyway)
I drag out this marble cake recipe when I want something nostalgic, but not so fussy I’ll end up cursing at my oven. My family asks for it when we’re all together—especially if there’s a birthday I forgot about. (Oops!) If you’ve ever had one of those days where everything gets spilled except the batter, this is your cake. It’s forgiving, swirly, and everyone seems to claim the biggest slice “by accident.” I mean, who can blame them?
What You’ll Need – And a Few Swaps I’ve Tried
- 250g (about 2 cups) all-purpose flour (plain flour works too, and honestly sometimes I use self-raising and skip the baking powder—just watch the rise)
- 3/4 cup (170g) unsalted butter, soft (I’ve used salted in a pinch, just skip the extra pinch of salt)
- 1 cup (200g) sugar (granulated is standard, but I’ve mixed in a bit of brown sugar before for some extra depth—good stuff)
- 3 large eggs (room temp if you remember, straight from the fridge if you’re impatient like me)
- 1/2 cup (120ml) milk (I sometimes use almond milk when that’s all I’ve got, works fine)
- 2 tsp vanilla extract (my gran swore by Nielsen-Massey, but supermarket stuff is grand)
- 1/4 cup (25g) cocoa powder (good old Hershey’s or just whatever’s on special)
- 1 1/2 tsp baking powder (unless you went self-raising, then skip)
- A pinch of salt
Let’s Get Baking – Here’s How I Do It
- Preheat your oven to 180°C (350°F). Grease a loaf tin or a bundt pan if you’re feeling fancy. (I always manage to miss a corner, so I line mine with parchment, just in case.)
- Cream the butter and sugar together until it’s pale and fluffy. You can use a mixer or a wooden spoon and some elbow grease. (I sometimes regret the spoon halfway through, but it’s good for the arms, right?)
- Crack the eggs in, one at a time, beating each until it disappears. If it looks a bit curdled, don’t panic! Mine always does at this stage and it sorts itself out later.
- Sift in the flour, baking powder, and salt. Add the milk and vanilla. Mix gently—just until blended. Over-mixing is the enemy of fluffiness (I learned that the hard way; dry cake is the enemy of joy).
- Now, scoop about a third of the batter into a separate bowl. Mix in the cocoa powder (sometimes I throw in an extra splash of milk if it gets too thick). This is where I usually sneak a taste. Quality control and all that.
- Dollop spoonfuls of vanilla and chocolate batter into your pan, alternating as you go. Once it’s all in, take a butter knife and swirl it through the batter a few times. Don’t go overboard or you’ll just get brown cake—learned that the hard way.
- Bake for 45-55 minutes. (Or until a skewer comes out clean. I’ve used a chopstick before. Use what you’ve got!)
- Cool in the pan for about 10 minutes. Then turn it out onto a rack—if you try to rush this bit, it will stick. Ask me how I know.
Stuff I’ve Discovered (Mostly by Accident)
- If you’re out of cocoa, a bit of melted chocolate works… though it makes things richer. Maybe too rich, but I say there’s no such thing.
- The swirl is always messier than you plan, and that’s totally fine. Actually, I think it’s better when it looks a bit wild.
- Don’t stress if the top cracks a little. That’s normal and kind of charming.
Variations I’ve Tried (And a Fail or Two)
- Lemon and blueberry instead of chocolate? Surprisingly good. Use lemon zest in place of cocoa, and scatter a handful of blueberries. (Though, fair warning, the berries do sink sometimes.)
- A coffee swirl—just a spoon of instant coffee dissolved in a splash of hot water mixed into the chocolate part. This is for the grown-ups, obviously.
- I once tried swirling in Nutella. It just sort of sank to the bottom, forming a gooey layer—not quite the look I was hoping for, but not terrible either.
What If I Don’t Have All the Gear?
You really just need a bowl, a spoon, and a loaf tin. But honestly, if you only have a round cake pan or even a square one, just use that. Someone once asked me if you could make this in a muffin tin—absolutely, just check them earlier (like 20 minutes or so). And if you don’t have a mixer, call it an arm workout, then treat yourself to the first warm slice.
Keeping It Fresh (If It Lasts That Long)
This cake stays soft for a couple days in an airtight container at room temp. You can freeze slices for later too—though honestly, in my house, it never lasts more than a day. (My brother once tried to hide a piece in the bread box. Nice try, mate.)
How I Like to Serve It (And How My Family Does)
I’m a “slice while still warm with a cuppa” kind of baker. But for birthdays, we sometimes drizzle a bit of melted chocolate or dust with icing sugar—fancy, right? My niece swears by a scoop of vanilla ice cream, and who am I to argue with a kid?
Little Lessons I’ve Learned (Read, Messed Up)
- If you rush the cooling step, your cake might break apart. I once tried to speed things up with a fan. Didn’t work; just made crumbs everywhere.
- Don’t over-swirl, or your marble pattern will vanish into “mystery brown.”
- Actually, I find it works better if you use just a little less cocoa than you think—too much, and the chocolate bit gets a bit dry.
Real Questions I’ve Been Asked (And My Honest Answers)
- Can I make this gluten-free? I’ve tried it with a 1:1 gluten-free flour, and it worked alright. Bit denser, maybe, but still good for dunking.
- What about making it dairy-free? Sub in plant-based butter and milk. I haven’t noticed much difference, though some non-dairy butters taste a tad salty.
- How do I get a perfect swirl? Oh, if only! I’ve watched this video from Preppy Kitchen a dozen times and still mess it up sometimes. It’s half practice, half luck.
- Can I double the recipe? Sure, but use two tins or a big one—otherwise you’ll be waiting forever for it to bake. Trust me, I’ve done it and ended up with a cake that was raw in the middle… not ideal.
- Which cocoa powder do you use? Usually just what’s in the cupboard, but if you want to get nerdy about it, read this Serious Eats cocoa powder guide. Fascinating stuff!
Last thing—did you ever wonder why cakes always taste better when someone else bakes them? Maybe it’s because you’re not scrubbing the pans after. But honestly, sharing a wobbly-swirled marble cake with friends or family (or just over a good chat) is about as nice as life gets.

Ingredients
- 2 cups all-purpose flour
- 1 1/2 teaspoons baking powder
- 1/2 teaspoon salt
- 1/2 cup unsalted butter, softened
- 1 1/4 cups granulated sugar
- 3 large eggs
- 1 cup whole milk
- 1 teaspoon vanilla extract
- 1/3 cup unsweetened cocoa powder
Instructions
-
1Preheat the oven to 350°F (175°C). Grease and flour a 9-inch loaf pan.
-
2In a medium bowl, whisk together the flour, baking powder, and salt.
-
3In a large bowl, cream the butter and sugar until light and fluffy. Beat in the eggs one at a time, then stir in the vanilla extract.
-
4Alternately add the flour mixture and milk to the butter mixture, beginning and ending with the flour. Mix until just combined.
-
5Divide the batter in half. Stir the cocoa powder into one half until well combined.
-
6Spoon the vanilla and chocolate batters alternately into the prepared pan. Swirl gently with a knife to create a marbled effect. Bake for 45 minutes or until a toothpick inserted into the center comes out clean. Cool before serving.
Approximate Information for One Serving
Nutrition Disclaimers
Number of total servings shown is approximate. Actual number of servings will depend on your preferred portion sizes.
Nutritional values shown are general guidelines and reflect information for 1 serving using the ingredients listed, not including any optional ingredients. Actual macros may vary slightly depending on specific brands and types of ingredients used.
To determine the weight of one serving, prepare the recipe as instructed. Weigh the finished recipe, then divide the weight of the finished recipe (not including the weight of the container the food is in) by the desired number of servings. Result will be the weight of one serving.
Did you make this recipe?
Please consider Pinning it!!




