Alright—Why Am I So Crazy About This Salad?
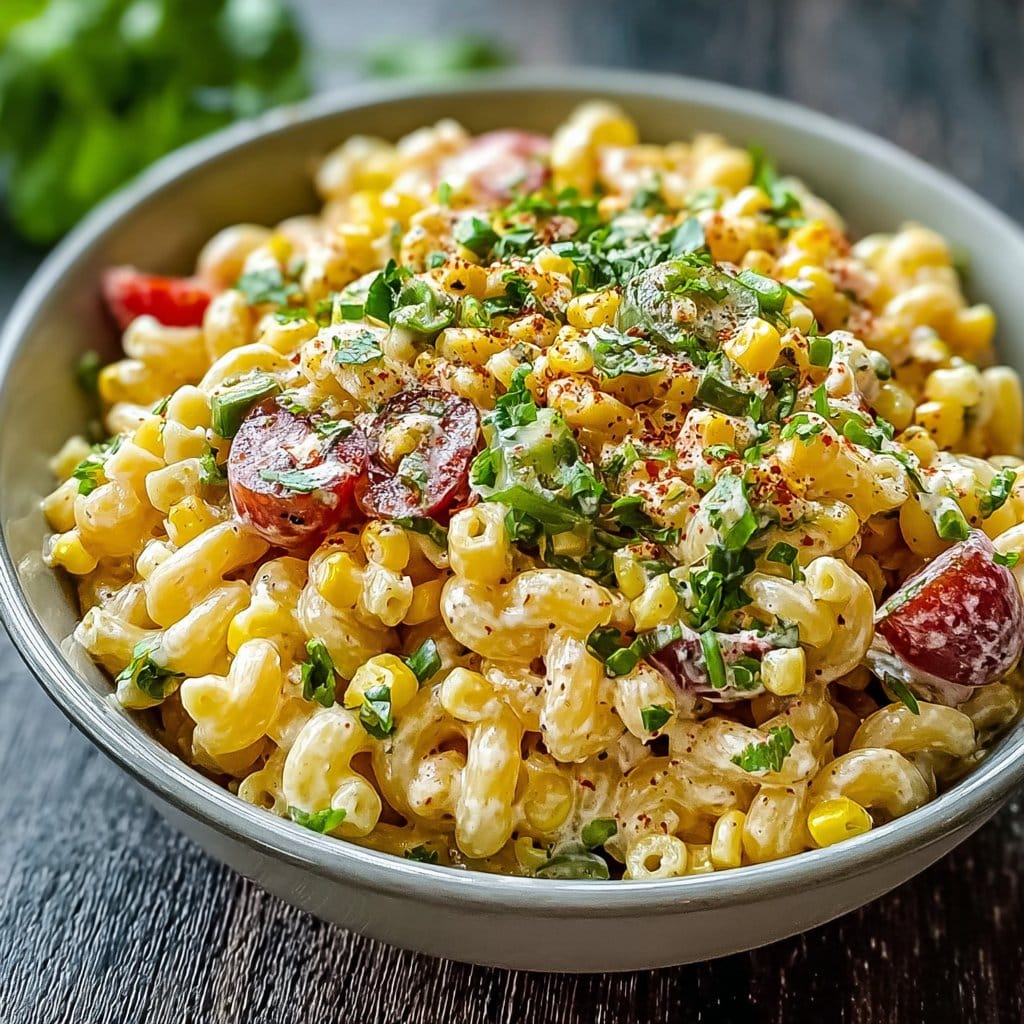
If you’ve ever ended up with too much corn (long story, I’ll tell you over margaritas), you’ll know the struggle of figuring out what on earth to do with it besides just eating it straight out of the pot. And let me tell you, first time I mixed up this Mexican Street Corn Pasta Salad for a potluck, people absolutely lost their minds—one of those moments when you sort of want to keep your recipe a secret, you know? But I’m no gatekeeper, so here we are. Also, full confession: one time I forgot to buy cilantro and used parsley; my mother-in-law didn’t notice, but my cousin slyly raised an eyebrow like I’d ruined the family name. Go figure.
Why You’ll Love This (Or At Least Not Hate It)
I make this when I want to pretend I’m sitting street-side in Mexico City, preferably with a cold drink and no responsibilities. My family goes absolutely nuts for it because, well, it’s creamy, super cheesy, and has that kiss of tangy lime juice (sometimes too much—I may have a heavy pour). And it’s pantry-friendly—honestly, I’ve thrown it together with frozen corn and whatever odd-shaped pasta is hanging out in my cupboard. Oh, if you’re anti-mayo, I get it. I was too, once upon a time, but it really works here.
What You’ll Need (And What You Can Fudge)
- 1 pound pasta shells (or bowties, or leftover rotini—sometimes I just use whatever, it’s not law)
- 4 cups corn kernels (fresh off the cob is glorious, but canned or frozen is fine; my grandmother always insisted on Green Giant, but honestly, buy what’s cheapest)
- 3/4 cup mayo (if you’re feeling weird about mayo, Greek yogurt or sour cream swaps in fine; half and half is good too)
- 1/2 cup Cotija cheese (feta works in a pinch—it’s not a 1-1 flavor, but it gets the job done)
- ¼ cup diced red onion (or chives if you like a bit less bite)
- 1/3 cup fresh cilantro, chopped (parsley will do if cilantro tastes like soap to you; I don’t judge)
- Juice of 2 limes (Actually I like it zingy, so sometimes I’ll add a third lime—personal quirk)
- 1 small jalapeño, seeded and minced (optional, but don’t skip if you want a proper kick)
- 1 tsp smoked paprika (regular will do, but smoked is *chef’s kiss*)
- Salt and pepper, to taste
- Dash hot sauce (Tapatio, Cholula, or honestly, whatever’s living in the fridge)
How I Actually Throw This Together (With a Few Detours)
- Boil the pasta until just barely al dente. Don’t go overboard—mushy noodles are the bane of any salad. Drain and toss ’em with a drizzle of olive oil. Let them cool so you don’t end up with hot mayo soup (been there, oops).
- While that’s happening… Char your corn. You can do this in a hot skillet or even under the broiler. Don’t stress if some pieces get a little too brown—that’s flavor! If you’re using canned, drain well first. (Frozen can go right in the pan, no thawing, I promise.)
- Mix up the dressing: In a big bowl, whisk the mayo, lime juice, smoked paprika, dash of hot sauce, salt, pepper. This is where I usually sneak a taste—and sometimes add a bit more lime or paprika based on mood.
- Toss it all together: Add in the cooled pasta, corn, onion, jalapeño, cilantro, and crumble in the Cotija (or your best attempt). Mix gently—it’s a salad, not a construction site.
- Chill for at least 30 minutes. This is when the flavors do their little mingling dance. Don’t worry if it looks a bit… gloopy? That’s normal. Stir before serving, and you’re golden.
Notes from My Actual Kitchen
- If it seems too thick, a splash of milk or extra lime does wonders.
- Honestly, I think it tastes better the next day, cold from the fridge. But don’t let it sit too long or the cilantro goes limp (and nobody likes limp herbs).
- If the heat’s a worry for kids, just skip the jalapeño and add extra paprika instead.
I’ve Tried These Variations (Some Winners, Some… Not So Much)
- Grilled chicken—chopped small—makes this a serious meal
- Black beans add protein and look pretty, too
- I tried it once with diced avocado—delicious, but only if you eat it straight away. Brown avocado is frankly a bit tragic.
- Okay, I did try subbing in sweet potatoes once, and honestly, it was a strange flavor combo. Wouldn’t recommend unless you’re really out of options!
Do You Actually Need Any Special Gear?
Look, you don’t need fancy things. I use a big mixing bowl, a big pot for pasta, and my trusty cast iron skillet for charring corn—though, once used a cookie sheet under the broiler, worked fine but made a bit of a mess (more than a bit, actually). Don’t stress if you don’t have a zester for the lime, a fork works.
So, How Long Does It Really Keep?
Technically, will last about 3 days covered in the fridge. But honestly, in my house it never lasts more than a day! Leftovers straight-out-of-the-container at midnight? Absolutely yes. Just don’t freeze it—the texture gets weird, and not in a fun way.
How Do I Serve This? (My Family’s Way)
I usually pile it into one of those big plastic tubs, plunk it down with a serving spoon, and let people dig in. It’s great beside grilled chicken or burgers, or as a meal on its own with extra lime wedges. My cousin Tim insists on sprinkling a little extra cheese on top—sometimes I do it just to make him happy. If you want to make it fancier: a few extra cilantro sprigs and an extra dash of smoked paprika look mighty nice.
Lessons Learned (Otherwise Known as Pro Tips)
- I once tried to rush the chill time—don’t! The dressing needs at least 30 minutes to hang out with the pasta, or it ends up a bit too sharp.
- Always taste before serving. One time I forgot the salt—literally, it tasted like sadness. So yeah, a quick taste saves the day.
- If using frozen corn, actually, don’t thaw first; just toast it up straight from the freezer and trust the process.
Questions I Actually Get (And Sometimes Have to Google Myself)
- Can I make this ahead of time? Oh yeah—probably even better! Next day is my favorite (just maybe add a splash more lime or mayo before serving if it seems dry).
- What pasta shape is best? Not a big deal; shells, bowties, or even elbow macaroni—they all work. Penne is fine too but goes a bit weirdly chewy if left overnight.
- Is the cheese essential? Not really, but it makes it feel right. If you have to skip it, maybe add a pinch more salt and a teensy dot of extra mayo.
- Gluten free? Yup, just use gluten free pasta. I’ve had great luck with Barilla’s version (though some other brands go mushy, fair warning…)
- Where do you find Cotija? Most supermarkets with an international section have it—if not, MexGrocer ships it straight to you (not an ad, just a fellow cheese fan). Or try your local Mexican market if you’re lucky enough to have one. For the sciencey side of why Cotija works, Serious Eats has a fun read here!
Okay—done rambling. Hope you love this as much as I do. If you make it, let me know how it goes; send your variation stories, too (I live for those)! And if you drop a noodle or two on the floor, I say that’s good luck. At least that’s what I tell myself. 😉
Ingredients
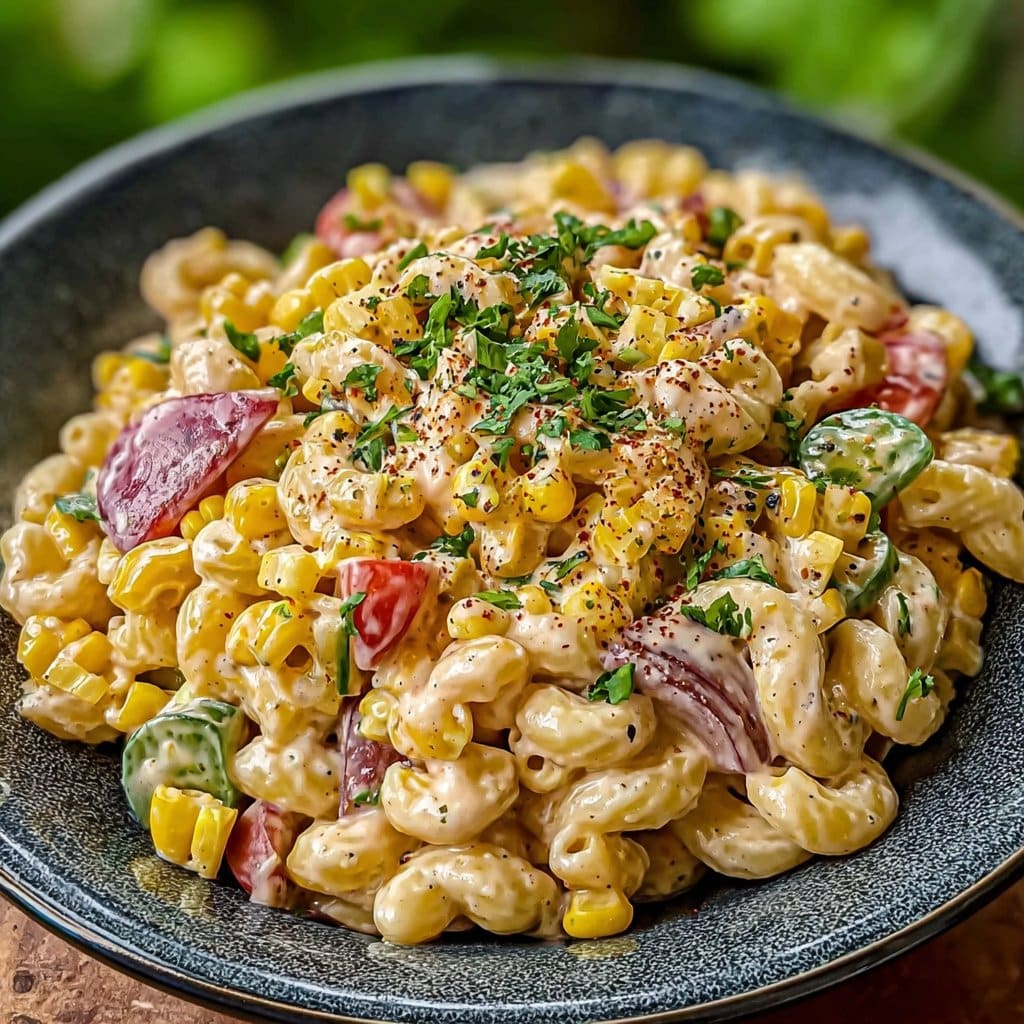
- 12 oz rotini pasta
- 2 cups corn kernels (fresh, grilled, or thawed from frozen)
- 1/2 cup mayonnaise
- 1/4 cup sour cream
- 1/2 cup cotija cheese, crumbled
- 1/4 cup chopped fresh cilantro
- 1/4 cup diced red onion
- 2 tablespoons lime juice
- 1 teaspoon chili powder
- Salt and pepper to taste
Instructions
-
1Cook the pasta according to package instructions until al dente. Drain and rinse under cold water to cool.
-
2If using fresh corn, grill or pan-roast the kernels until slightly charred. Let them cool.
-
3In a large bowl, whisk together mayonnaise, sour cream, lime juice, chili powder, salt, and pepper.
-
4Add the cooked pasta, corn kernels, red onion, cotija cheese, and chopped cilantro to the bowl. Toss to combine and evenly coat with the dressing.
-
5Refrigerate for at least 15 minutes before serving for best flavor. Garnish with extra cotija cheese and cilantro if desired.
Approximate Information for One Serving
Nutrition Disclaimers
Number of total servings shown is approximate. Actual number of servings will depend on your preferred portion sizes.
Nutritional values shown are general guidelines and reflect information for 1 serving using the ingredients listed, not including any optional ingredients. Actual macros may vary slightly depending on specific brands and types of ingredients used.
To determine the weight of one serving, prepare the recipe as instructed. Weigh the finished recipe, then divide the weight of the finished recipe (not including the weight of the container the food is in) by the desired number of servings. Result will be the weight of one serving.
Did you make this recipe?
Please consider Pinning it!!