You know how some recipes just have a little hold on your heart? Well, that’s these Mini Cannoli Cups for me. Seriously, I can’t look at them without thinking of my Aunt Gina’s epic dessert spreads—back when everyone in the family would pile into her cozy kitchen, elbow to elbow, just waiting for that first tray to hit the table. (And nope, I’m not exaggerating; there was real jostling.) So yeah, these little cups might not be quite as chaotic to make as the old-school cannoli with the fried shells, but they’re still loaded with that sweet, creamy filling and crispy bits that I crave whenever nostalgia strikes—or, let’s be honest, whenever I find ricotta on sale.

Why I’m Obsessed With These Little Cannoli Cups
I make these Mini Cannoli Cups pretty much every time I’ve promised dessert and then promptly forgotten about it until the day of. They come together in a flash, but still taste like you put in serious effort (my sister-in-law was convinced I made the shells from scratch—hilarious, right?!). My family goes absolutely bonkers for these, particularly since they’re the perfect grab-and-go—not like a mess of powdered sugar falling everywhere. Trust me, I love a real-deal cannoli, but half the time I end up with more of it on my shirt than in my mouth. Oh, and whenever I bring these to a party, they’re oddly always the first to disappear; maybe because you can eat three in the time it takes for a proper slice of anything else.
What You’ll Need (And What You Can Sub In When the Store’s Out—Again)
- 1 package refrigerated pie crusts (I’ve used phyllo cups too when I’m feeling fancy, but pie crust is way easier; my grandma swore by Pillsbury, but honestly, store brand totally works)
- 1 cup whole milk ricotta cheese (the full-fat stuff is richer; I’ve tried using part-skim and it works, but it isn’t quite as lush—your call!)
- 1/2 cup mascarpone cheese (sometimes I just do all ricotta when I don’t have this on hand)
- 1/2 cup powdered sugar, plus more for dusting (I rarely measure this precisely – a little more or less is fine)
- 1/2 teaspoon vanilla extract (or a bit of orange zest if I’m feeling bold)
- 1/3 cup mini chocolate chips (truth be told, I just chuck in however many seem right)
- Optional: chopped pistachios, sprinkles, or a smidge of cinnamon (pistachios especially if I want to feel extra ‘authentic’)
Alright, Let’s Get Cooking!
- Preheat your oven to 400°F (sorry, I always forget this till halfway through… so if you do too, no worries!).
- Unroll the pie crusts on a lightly floured countertop. Use a biscuit cutter or even a drinking glass (done that more times than I can count) to cut out circles, about 2.5 to 3 inches across.
- Press each circle gently into a mini muffin tin, shaping it so it forms a little cup. Don’t worry if it gets a bit wonky—mine always look more like blobs than cups before baking, but they crisp up and hold their shape just fine.
- Prick the bottoms once or twice with a fork (not too aggressively—learned that the hard way) and bake for 10-12 minutes until they’re golden and crisp. I usually check at 10 min because my oven is a proper drama queen. Let them cool down fully. Trust me. If you rush this, you’ll have a melty mess instead of actual cups.
- Meanwhile, in a medium bowl, mix together ricotta, mascarpone, powdered sugar, and vanilla extract until smooth-ish—I use a hand mixer, but a good old wooden spoon works if you’ve got some elbow grease left.
- This is where I sneak a taste to check sweetness (and maybe another taste just to be sure. Quality control!). Fold in the mini chocolate chips and whatever extras you’re feeling.
- Spoon or pipe the filling into the cooled cups. If you want to get all Instagram-fancy, a piping bag and star tip do wonders—but honestly, a zip-top bag with the corner snipped works just as well. Or use a teaspoon and call it rustic.
- Dust with more powdered sugar, maybe a few more chips, or top with pistachios if you’re going for the gold.
Some Things I Wish I’d Known The First Time I Made This
- The crusts shrink a little in the oven. I used to fret, but now I just cut the circles a bit bigger and embrace the wonky shapes.
- Filling them ahead of time means the crusts get a tad soft—sometimes I don’t mind, but if you want ‘ultra crunchy,’ wait till just before serving to fill.
- If you forget to drain your ricotta for a few hours and it’s runnier, just add a little extra sugar or a quick swirl with paper towels. It’s not the end of the world.
- I once used store-bought cannoli cream and… no. Not worth it. Tasted off somehow—so now I always mix it up myself!
When I Veered Off Script (a.k.a. Variations That Kinda Worked… Or Didn’t)
- I tried adding a splash of espresso to the filling once, and wow, it was a vibe. Sorta like a tiramisu-cannoli baby.
- Orange zest is awesome if you love citrus, but I went wild with lemon and whoops—way overpowering. Stick to a teensy bit.
- If you’re feeling really wild, add crushed toffee or swap out chocolate chips for white chocolate—though, honestly, that one wasn’t my cup of tea (but my cousin loved it, so… it takes all kinds, right?).
What If My Kitchen Is Missing the ‘Right’ Tools?
Okay, so technically you *should* have a mini muffin tin for proper cups, but I’ve made these in a regular muffin tin with larger dough circles and just had jumbo cups. Or, in a pinch, bake the mini crusts on an overturned baking sheet—the shapes go a bit rogue, but they still hold filling. As for piping? Like I said, a zip-top bag with the end snipped is as posh as I get sometimes.
How Do I Store These? (Not That You’ll Need To…)
Honestly, in my house, these rarely last more than a day—sometimes a few hours if the teenagers are lurking. But if you’re more restrained, keep the baked cups and filling separate in airtight containers in the fridge for up to 2 days. Fill just before eating or serving. If you do fill them ahead, they’re still good till the next day, just lose a bit of the crunch. Actually, I think the flavors meld a little better overnight, but that’s just me.
What Should I Serve Them With? (Besides, You Know, Your Other Hand)
We usually put them out as part of a dessert spread alongside fresh berries, or sometimes I dust a few with extra cocoa powder for those cocoa lovers in the family. Once, I even drizzled some with honey and that was a hit. My dad swears they’re best with a strong cup of coffee—he’s probably right.
Things I Learned The Hard Way (So You Don’t Have To!)
- I once tried rushing the cooling step and piped the filling into just-warm cups… big mistake. Hello, runny mess (tasted fine though).
- If you overfill the cups they look pretty but are a pain to eat—you’ll end up with ricotta hands. Elegant, right?
- Stir the filling just until combined—if you go wild mixing, it gets runny (no idea why, it just does, I swear).
Questions I Get Every Time I Make These
- Can I make these ahead of time?
- Yup, sort of! Bake the shells and prep the filling in advance, but don’t assemble till you’re about to serve so the crust stays crisp. Unless you like a softer texture—go for it!
- What if I can’t find mascarpone?
- No worries, I’ve made them with just ricotta. It’s maybe a little less creamy but honestly nobody’s complained yet.
- Do they freeze well?
- The crusts are fine to freeze, but I wouldn’t freeze the filling—ricotta acts weird after freezing (gets grainy or watery). Learned that the hard way, oops.
- Is there a way to make it less sweet?
- Absolutely, just pull back on the sugar a bit, or add a pinch of sea salt to cut through the richness. Actually, that salt tip came from my neighbor—she’s a genius baker.
- How do you keep them from getting soggy?
- Just keep everything in separate containers and fill right before serving if possible. But again, a softer shell isn’t the end of the world—still tastes fab.
And, okay, one last thing before you run off and make a batch: don’t stress if they don’t all look like cute little restaurant desserts. Half their charm is in their homey, perfectly-imperfect look. They’ll taste lovely, trust me. Now go on and make some happy little messes of your own. Or have a cuppa and take a breather—I know I do after (or even during) baking!
Ingredients
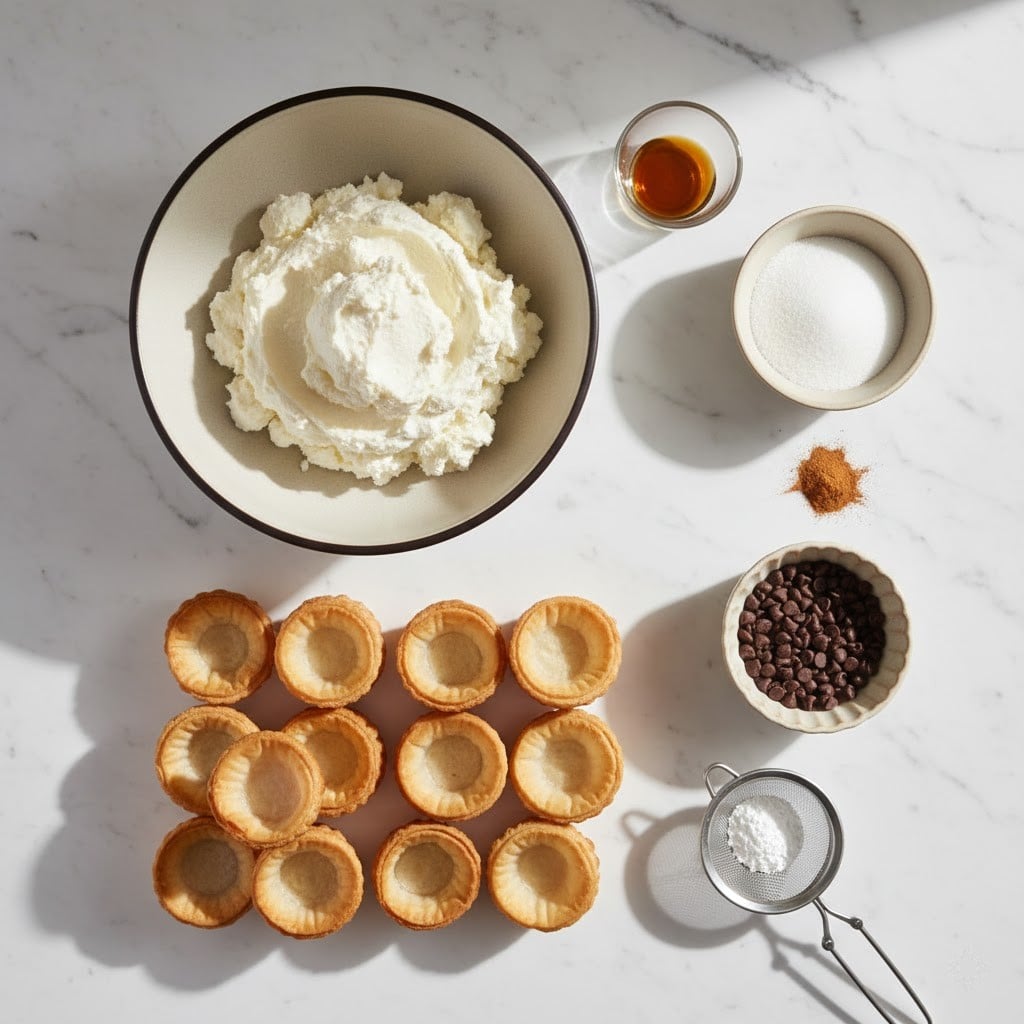
- 1 package (12 oz) refrigerated pie crusts
- 1 cup whole milk ricotta cheese, drained
- 1/2 cup mascarpone cheese
- 1/2 cup powdered sugar
- 1 teaspoon pure vanilla extract
- 1/2 cup mini chocolate chips
- 1/4 teaspoon ground cinnamon
- 1 large egg, beaten (for brushing dough)
- Powdered sugar, for dusting
Instructions
-
1Preheat the oven to 375°F (190°C). Lightly grease a 12-cup mini muffin tin.
-
2Roll out the pie crust and cut out 12 circles using a round cookie cutter (about 3 inches wide). Gently press each circle into the muffin tin cups.
-
3Brush the dough with the beaten egg. Bake the crusts for 12-15 minutes or until golden brown. Let cool completely.
-
4In a medium bowl, mix ricotta cheese, mascarpone, powdered sugar, vanilla extract, and cinnamon until smooth. Fold in mini chocolate chips.
-
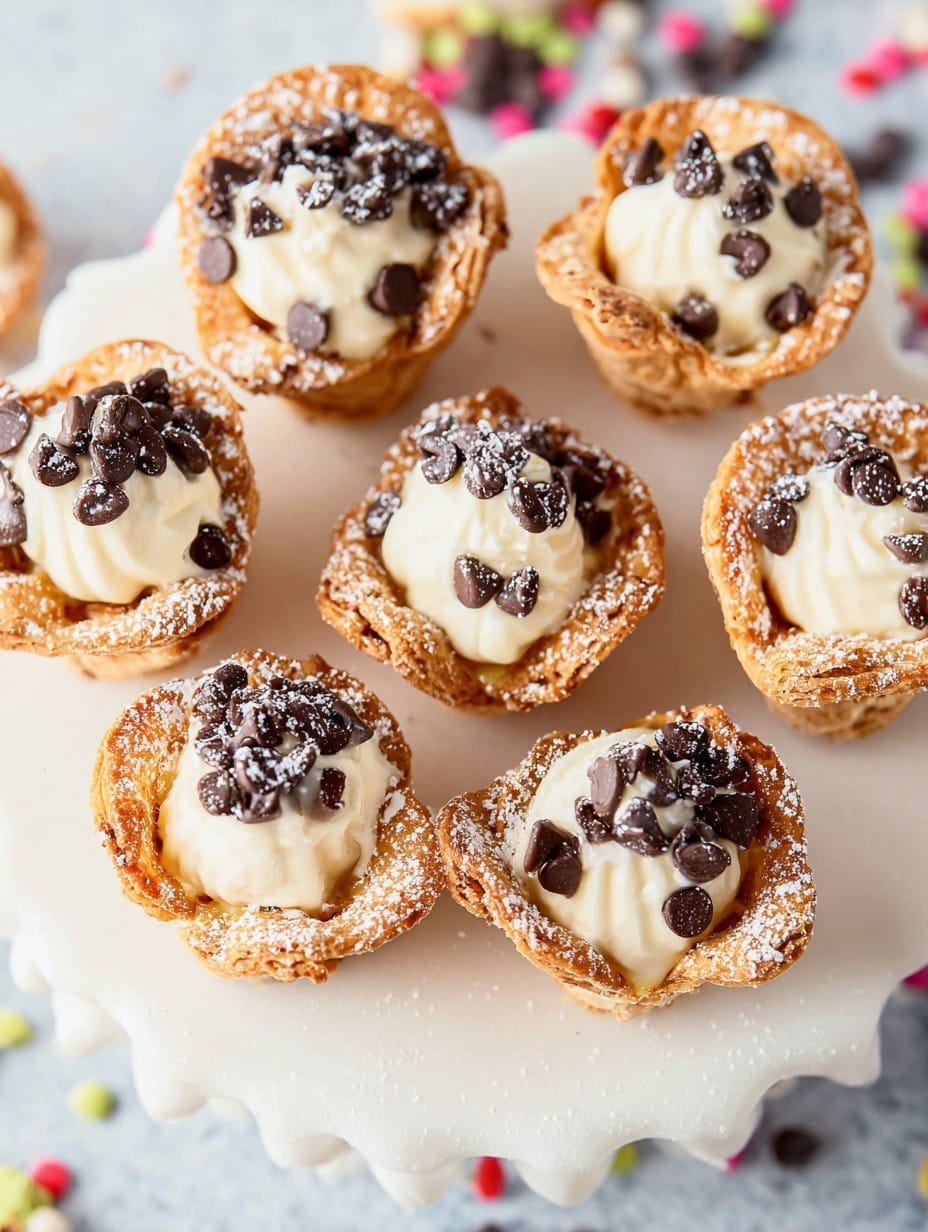
5Pipe or spoon the ricotta filling into the cooled pastry cups. Garnish with extra mini chocolate chips and dust with powdered sugar before serving.
Approximate Information for One Serving
Nutrition Disclaimers
Number of total servings shown is approximate. Actual number of servings will depend on your preferred portion sizes.
Nutritional values shown are general guidelines and reflect information for 1 serving using the ingredients listed, not including any optional ingredients. Actual macros may vary slightly depending on specific brands and types of ingredients used.
To determine the weight of one serving, prepare the recipe as instructed. Weigh the finished recipe, then divide the weight of the finished recipe (not including the weight of the container the food is in) by the desired number of servings. Result will be the weight of one serving.
Did you make this recipe?
Please consider Pinning it!!




