Let Me Tell You How These Mini Cheesecakes Became a Christmas Thing
You know those recipes you sort of stumble into because you forgot to buy eggs? Yeah, that’s how my No Bake Christmas Mini Cheesecakes were born. A few years back, long after midnight (don’t ask), I realized I’d promised to bring dessert to my mum’s Christmas Eve get-together—except, all I had was a basket of random stuff and zero desire to turn on the oven. Lo and behold, a dessert miracle happened (with maybe just a bit of panic-fueled creativity). They’ve since become a bit of a holiday tradition, and honestly, I probably love making them more than eating them. Okay, ALMOST more—because cheesecake, come on. But you know what’s weird? It’s practically impossible to mess these up, though if anyone could, it’s me…
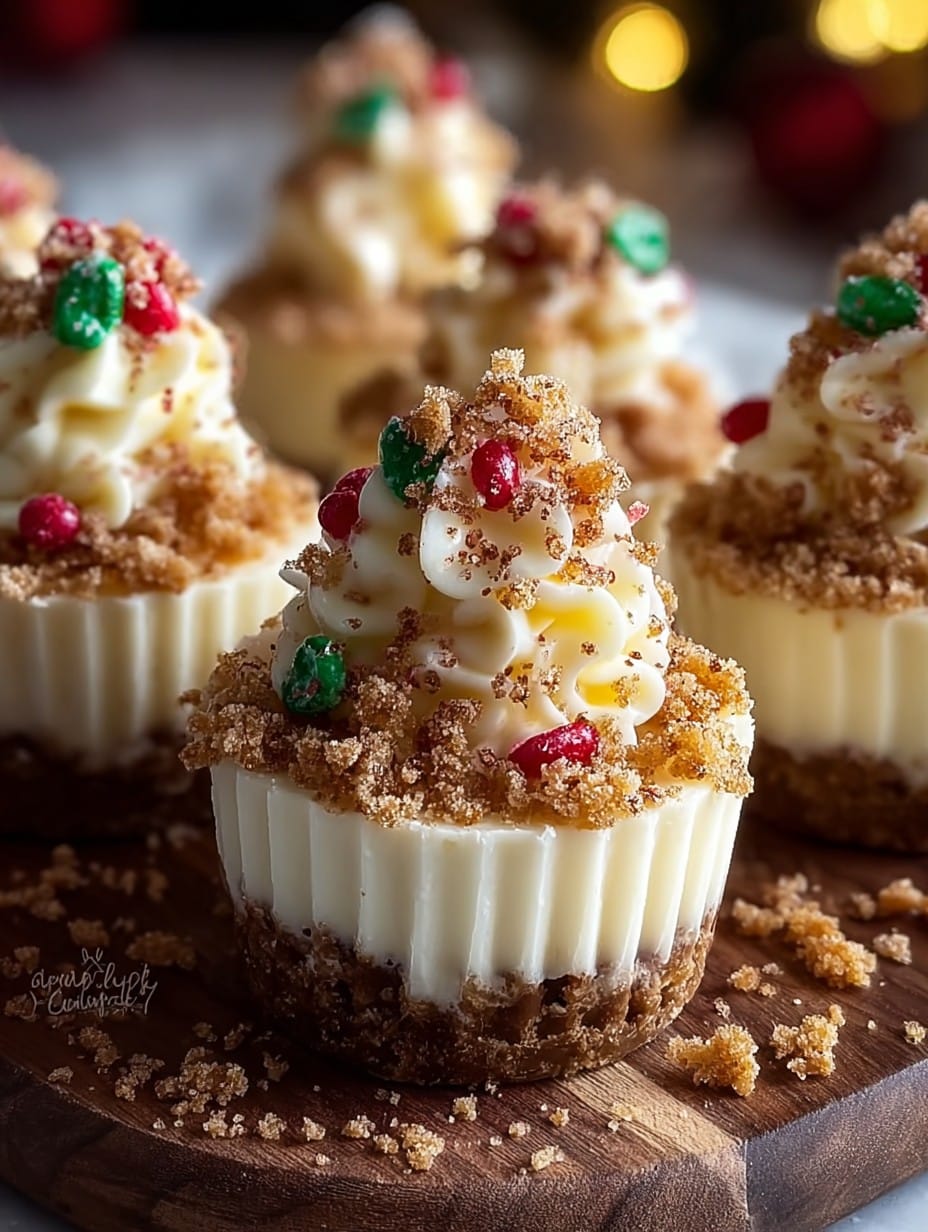
Why I Keep Making These (Besides the Fact That They’re Ridiculously Cute)
I make these when the house is buzzing with relatives and I need something dead simple but still impressive. My family goes wild for them because they’re chilled, creamy little bites that look festive but aren’t fussy. And honestly, I appreciate anything I can make ahead, since Christmas Day gets hectic (I lost my shoes one year, true story). I suppose it’s also nice sneaking one straight form the fridge the next morning, though I’m not admitting anything…
Ingredients (Plus a Few of My Oddball Swaps)
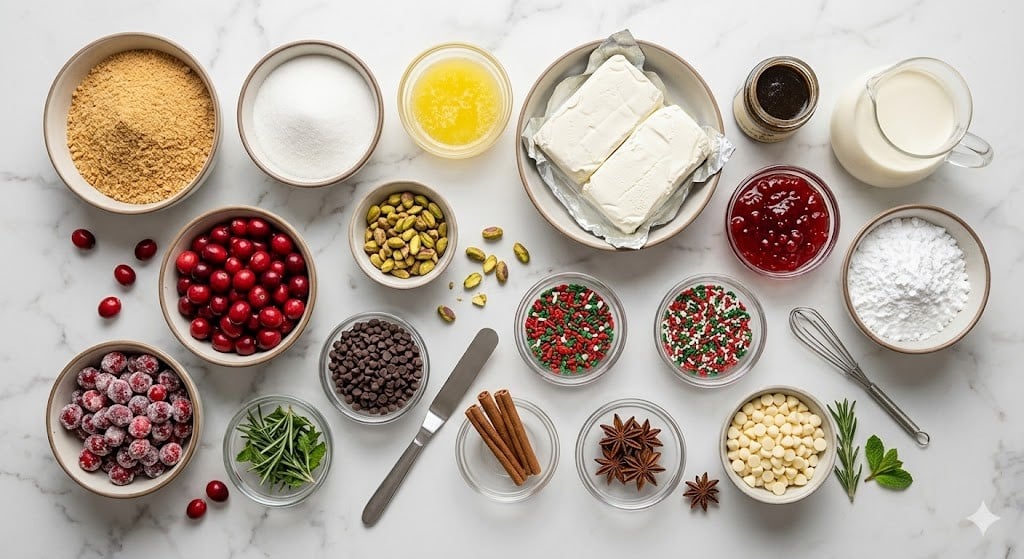
- 1 cup (about 100g) graham cracker crumbs (I’ve also used digestive biscuits when that’s all I had—works fine!)
- 1/4 cup (60g) melted unsalted butter (salted in a pinch, just skip any added pinch of salt)
- 2 tbsp granulated sugar (sometimes I just eyeball it, not gonna lie)
- 1 cup (240ml) heavy whipping cream, cold (double cream if you’re in the UK—my aunt insists it’s better)
- 8 oz (225g) cream cheese, room temp (any full-fat version, but my grandmother always insisted on Philadelphia—honestly, store brands work)
- 1/2 cup (60g) powdered sugar
- 1 tsp vanilla extract (I use the cheap stuff… sometimes you just gotta)
- 1/2 tsp lemon juice (optional, I think it cuts the sweetness, but my partner disagrees)
- Festive sprinkles or crushed peppermint candies (for topping—the more garish, the better, in my opinion)
- Mini cupcake liners & a muffin tin—or just regular cupcake liners if you want slightly bigger ones
How I Actually Throw This Together
- First things first, set out a muffin pan with mini cupcake liners. (If you don’t have a pan, just pop the liners on a tray—they might sag a bit, but so do I after Christmas dinner.)
- Mix up the graham cracker crumbs, melted butter, and sugar in a bowl. Give it a good mash so all the crumbs get buttery. Spoon about a heaping teaspoon into each liner and press it down nice and firm—I use the bottom of a spice jar (expert tool) but fingers are fine. Pop the whole pan in the fridge for 10 minutes or so to set the base.
- Meanwhile, whip the cream in a cold bowl until stiff peaks form. Don’t overdo it! (Once, I walked away to answer the door, came back, and made butter. Whoops.) Set aside for a minute.
- In another bowl (or the same one with a quick wash, who’s judging?), beat the cream cheese until smooth and fluffy. Add the powdered sugar, vanilla, and lemon juice if you’re using it. Mix until it’s all silky—this is where I usually sneak a taste…for quality control purposes only.
- Gently fold the whipped cream into the cream cheese mix. Don’t beat it like mad—just enough so the streaks disappear. If it looks a bit weird at this stage, that’s totally normal. Chill.
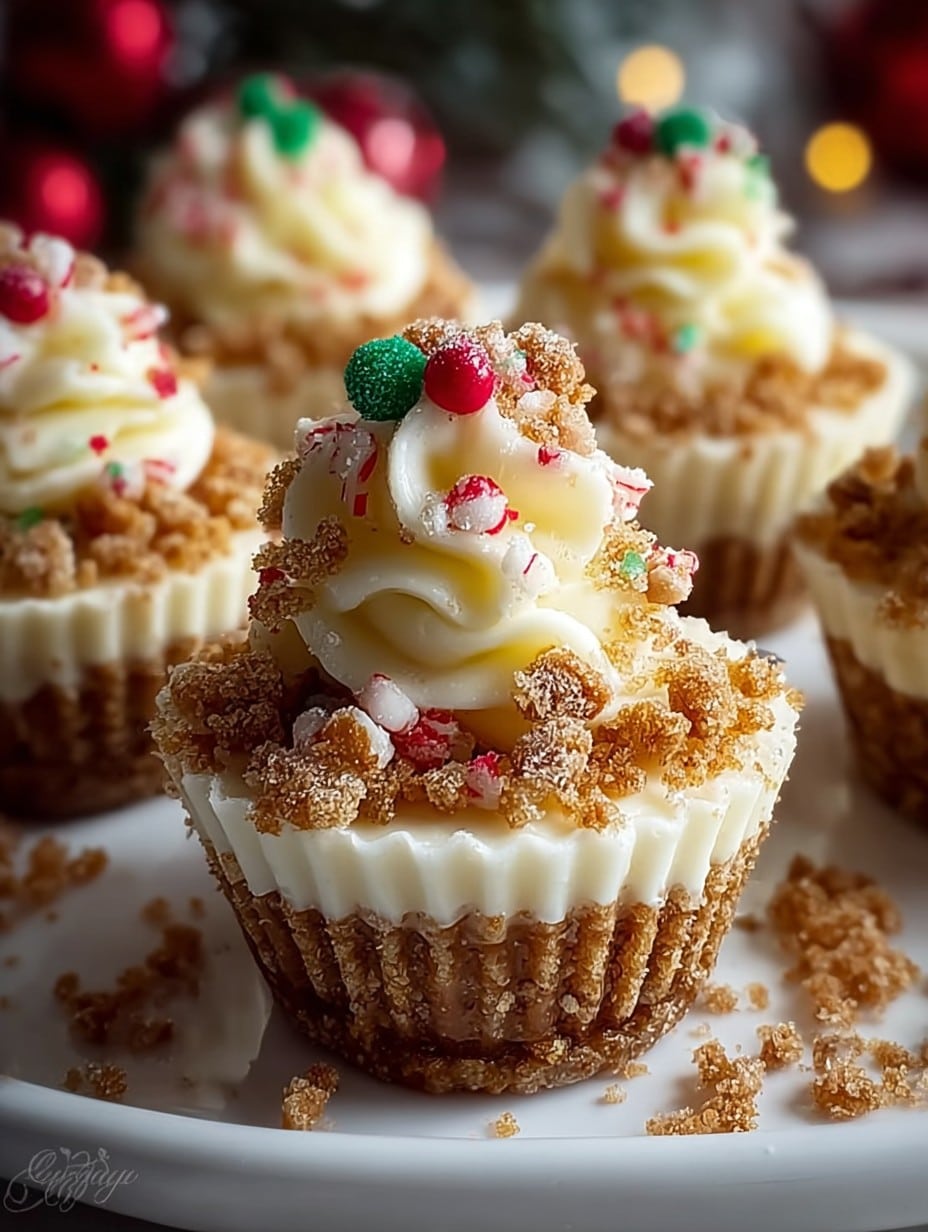
- Spoon the cheesecake mixture onto the chilled crusts. Smooth the tops a bit with a spoon or a knife. Lumpy is fine, trust me. Sprinkle generously with festive sprinkles or peppermint bits.
- Let them chill in the fridge at least 3 hours (overnight’s even better, but good luck waiting that long). They’ll firm up nicely and come out of the liners easy.
- Right before serving, I sometimes add extra sprinkles just to make them look more Christmassy, even if I already went overboard.
Some Honest Notes (Because Who’s Actually Perfect Around The Holidays?)
- I’ve forgotten the sugar in the crust once—it’s…fine, just a little blander
- If your cream cheese isn’t soft enough, you’ll get lumps (I used to be impatient. Lesson learned.)
- You can skip the lemon if you’re all about sweet on sweet—my kids actually prefer that
- Don’t try to use the tub “spreadable” cream cheese, it never firms up right. I learned the hard way, sigh.
Variations I’ve Played Around With (And One Fail!)
- Oreo crusts are incredible if you’re feeling extra.
- Swapped in orange zest for lemon once; it was a surprise hit (to me, anyway)
- Tried piping cherry pie filling on top. Pretty, but honestly a bit mushy by day two—wouldn’t recommend unless serving right away!
- Red and green M&Ms on top = my nephew’s favorite “cheesecake salad”
Tools I Usually Use (But You Don’t Have To)
- Electric mixer for whipping cream and softening cream cheese (good ol’ hand whisk will do, but you might break a sweat)
- Muffin tin for neatness—though once I just lined up paper cups on a tray; they stood up, mostly.
- Small spoon or spice jar for pressing crusts
How Do I Store These & Other Real-Life Observations
Keep them in the fridge, loosely covered, and they’ll taste lovely for 2-3 days—though let’s be honest, in my house, they last one day if we’re lucky. If you have extras, you can freeze them, but the texture gets a bit odd after thawing (still edible though).
How We Like to Serve ‘Em
I’m all for the simple life, so usually just out of the fridge with hot coffee or cocoa. If I’m feeling posh, I’ll add a little swirl of whipped cream and a maraschino cherry. My sister likes hers on a mini dessert platter with tangerine slices, which is apparently “more balanced” (it’s still basically all sugar, sorry Meg).
Things I’ve Figured Out Along the Way
- Don’t rush the chilling time! I once tried serving these after an hour—the middles squished right out. Not cute.
- If you use salted butter, no need for extra salt in the base (believe me, I double-salted once. Oops.)
- Room temp cream cheese = way creamier filling, always.
Some FAQs I’ve Actually Heard (And a Few I Just Made Up)
- Can I double this recipe? Totally! Just make sure you have enough cupcake liners, or you’ll be MacGyvering parchment slings (been there, not fun).
- Do I have to use graham crackers? Nope, biscuits, Oreos, even ginger snaps work. Let your heart be your guide (or just use whatever’s in the cupboard).
- Can I freeze them? You can, but the texture goes a bit grainy after thawing. Tasty in a pinch, but not award-winning.
- What if my cheesecake mix looks runny? Give it more chill time! If it’s still soupy, maybe too much liquid snuck in—but it’s still delicious eaten with a spoon. Ask me how I know.
- Is there a vegan version? I haven’t tried it, but a friend used coconut cream, vegan cream cheese, and a pack of vegan biscuits—she swears it works, so why not?
- How do I make them extra festive? Sprinkles, obviously. Maybe a tiny candy cane on top. Or let small hands do the decorating—chaos, but fun.
Anyway, if you try these No Bake Christmas Mini cheesecakes, let me know what you switch up—half the fun is all the nonsense that happens in someone else’s kitchen. Wishing you less mess, more sprinkles, and a fridge full of mini cheesecakes (even if only for an hour).
Ingredients
- 1 cup (about 100g) graham cracker crumbs (I’ve also used digestive biscuits when that’s all I had—works fine!)
- 1/4 cup (60g) melted unsalted butter (salted in a pinch, just skip any added pinch of salt)
- 2 tbsp granulated sugar (sometimes I just eyeball it, not gonna lie)
- 1 cup (240ml) heavy whipping cream, cold (double cream if you’re in the UK—my aunt insists it’s better)
- 8 oz (225g) cream cheese, room temp (any full-fat version, but my grandmother always insisted on Philadelphia—honestly, store brands work)
- 1/2 cup (60g) powdered sugar
- 1 tsp vanilla extract (I use the cheap stuff… sometimes you just gotta)
- 1/2 tsp lemon juice (optional, I think it cuts the sweetness, but my partner disagrees)
- Festive sprinkles or crushed peppermint candies (for topping—the more garish, the better, in my opinion)
- Mini cupcake liners & a muffin tin—or just regular cupcake liners if you want slightly bigger ones
Instructions
-
1First things first, set out a muffin pan with mini cupcake liners. (If you don’t have a pan, just pop the liners on a tray—they might sag a bit, but so do I after Christmas dinner.)
-
2Mix up the graham cracker crumbs, melted butter, and sugar in a bowl. Give it a good mash so all the crumbs get buttery. Spoon about a heaping teaspoon into each liner and press it down nice and firm—I use the bottom of a spice jar (expert tool) but fingers are fine. Pop the whole pan in the fridge for 10 minutes or so to set the base.
-
3Meanwhile, whip the cream in a cold bowl until stiff peaks form. Don’t overdo it! (Once, I walked away to answer the door, came back, and made butter. Whoops.) Set aside for a minute.
-
4In another bowl (or the same one with a quick wash, who’s judging?), beat the cream cheese until smooth and fluffy. Add the powdered sugar, vanilla, and lemon juice if you’re using it. Mix until it’s all silky—this is where I usually sneak a taste…for quality control purposes only.
-
5Gently fold the whipped cream into the cream cheese mix. Don’t beat it like mad—just enough so the streaks disappear. If it looks a bit weird at this stage, that’s totally normal. Chill.
-
6Spoon the cheesecake mixture onto the chilled crusts. Smooth the tops a bit with a spoon or a knife. Lumpy is fine, trust me. Sprinkle generously with festive sprinkles or peppermint bits.
-
7Let them chill in the fridge at least 3 hours (overnight’s even better, but good luck waiting that long). They’ll firm up nicely and come out of the liners easy.
-
8Right before serving, I sometimes add extra sprinkles just to make them look more Christmassy, even if I already went overboard.
Approximate Information for One Serving
Nutrition Disclaimers
Number of total servings shown is approximate. Actual number of servings will depend on your preferred portion sizes.
Nutritional values shown are general guidelines and reflect information for 1 serving using the ingredients listed, not including any optional ingredients. Actual macros may vary slightly depending on specific brands and types of ingredients used.
To determine the weight of one serving, prepare the recipe as instructed. Weigh the finished recipe, then divide the weight of the finished recipe (not including the weight of the container the food is in) by the desired number of servings. Result will be the weight of one serving.
Did you make this recipe?
Please consider Pinning it!




