No-Bake Christmas Oreo Lasagna always reminds me of that one Christmas when we all tried (and failed spectacularly) to build a gingerbread house. Picture 7 people, 200 pieces of candy, and a roof that caved in harder than my New Year’s resolutions. Since then, I’ve wised up and now bring this wonderful chaos-proof dessert to our holiday gatherings. Because, honestly, sometimes the oven is already full of ham and things, and the idea of something sweet and easy—and cold!—is music to my frazzled December ears. Plus, assembling this is the kind of project that actually brings everyone together instead of making you wish you’d eloped with the dog to Fiji.
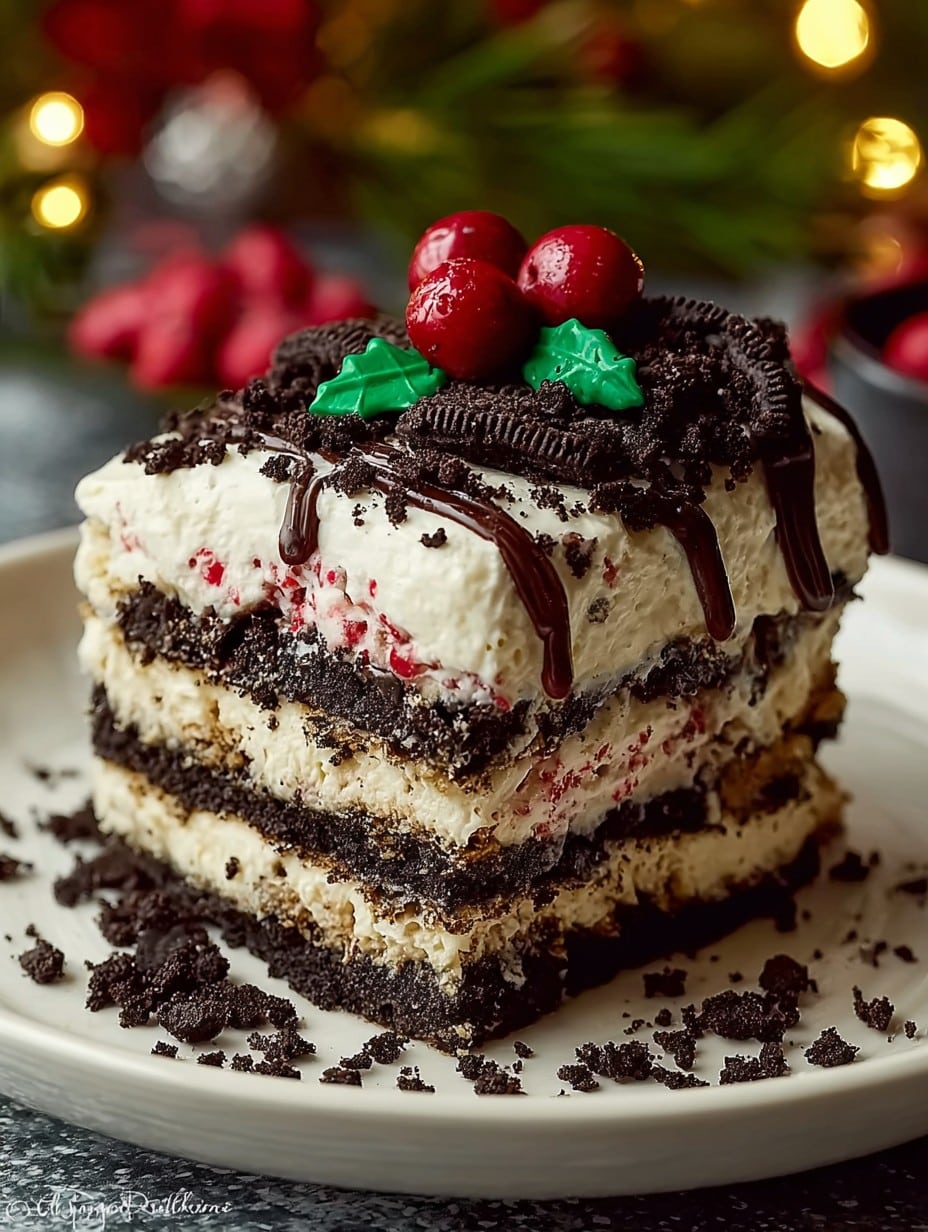
Why I Keep Making This Every Christmas
I whip this up every December (and let’s be honest, sometimes July!) mainly because my family will not stop asking for it. My aunt, bless her heart, demands “the one with the Oreos and that fluffy stuff” at every gathering now. Honestly? It’s not even that much work, especially compared to some of those fussy layered cakes. Sometimes my whipped cream gets a bit lumpy or I forget to chill the cream cheese, but nobody’s ever complained—unless you count my cousin, when I didn’t let him lick the bowl. Plus, no baking means no burnt bottoms or surprise smoke detector serenades. I’ll take that win every time.
Here’s The Lineup (With Swaps If You’re In a Pinch)
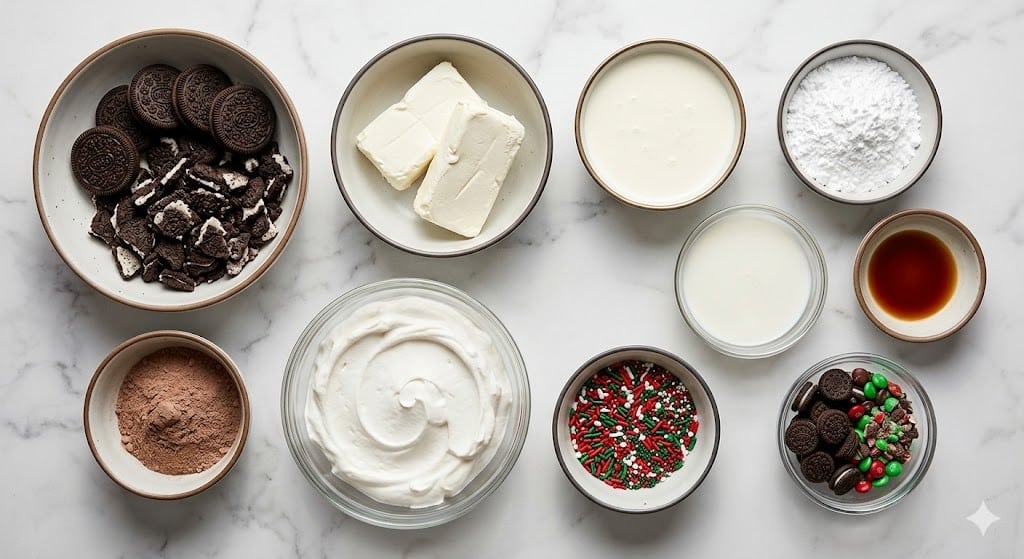
- 1 (14 oz) family-size package of Christmas Oreos (yes, the festive red cream ones, but regular works fine—you just lose a bit of the holiday pop)
- 6 tbsp melted butter (salted or unsalted, honestly…I’ve used both when I forget what I grabbed at the store)
- 1 (8 oz) block of cream cheese, softened (I admit, I’ve used the whipped tub before when I was feeling lazy; it still comes out tasty!)
- 1 cup powdered sugar (sometimes I just eyeball it—don’t tell my mother)
- 2 (8 oz) tubs frozen whipped topping, thawed (Cool Whip, but that cheaper store brand is okay; nobody’s ever noticed the difference at my house)
- 2 (3.9 oz) boxes instant chocolate pudding mix (I tried vanilla once for a Grinch theme, hmm, not my best idea, but chocolate always wins with this crowd)
- 3 cups cold milk (whole or 2 percent, your call)
- Holiday sprinkles, mini M&Ms, and a handful of extra Oreos for topping (more is more here, in my book, but pick your favorite candies)
How I Layer My Oreo Lasagna (Highly Scientific)
- Crush up most of your Oreos (save about 6 for the top) in a big zip-top bag. I whack them with a rolling pin; great stress relief. You want crumbles, not dust!
- Mix your Oreo crumbs and melted butter in a medium bowl. It’ll look like muddy gravel. Press this glorious mess into the bottom of a 9 x 13 inch dish. Sometimes I forget to grease the pan—doesn’t seem to matter for this, so one less thing to worry about.
- In a big bowl, beat the softened cream cheese until smooth (or at least until most of the lumps are gone—I’ve given up on perfection here). Stir in powdered sugar, then fold in one tub of whipped topping. Don’t overthink it; if some streaks of cream cheese stay, it just adds character. Spread this over the crust as evenly as you can. This is where I sneak a little taste. For quality control, obviously.
- Next up, make your pudding: combine both instant chocolate pudding mixes with the cold milk in another bowl; whisk until it’s thick, about 2 minutes. Pour this rich chocolate goodness over the cream cheese layer and spread it around—if it looks a bit weird at this stage, don’t panic, it all comes together in the end.
- Spread the second tub of whipped topping gently over the pudding layer. I use a spatula, but once I just plopped it on with a spoon and it still looked cute when decorated—so, roll with it.
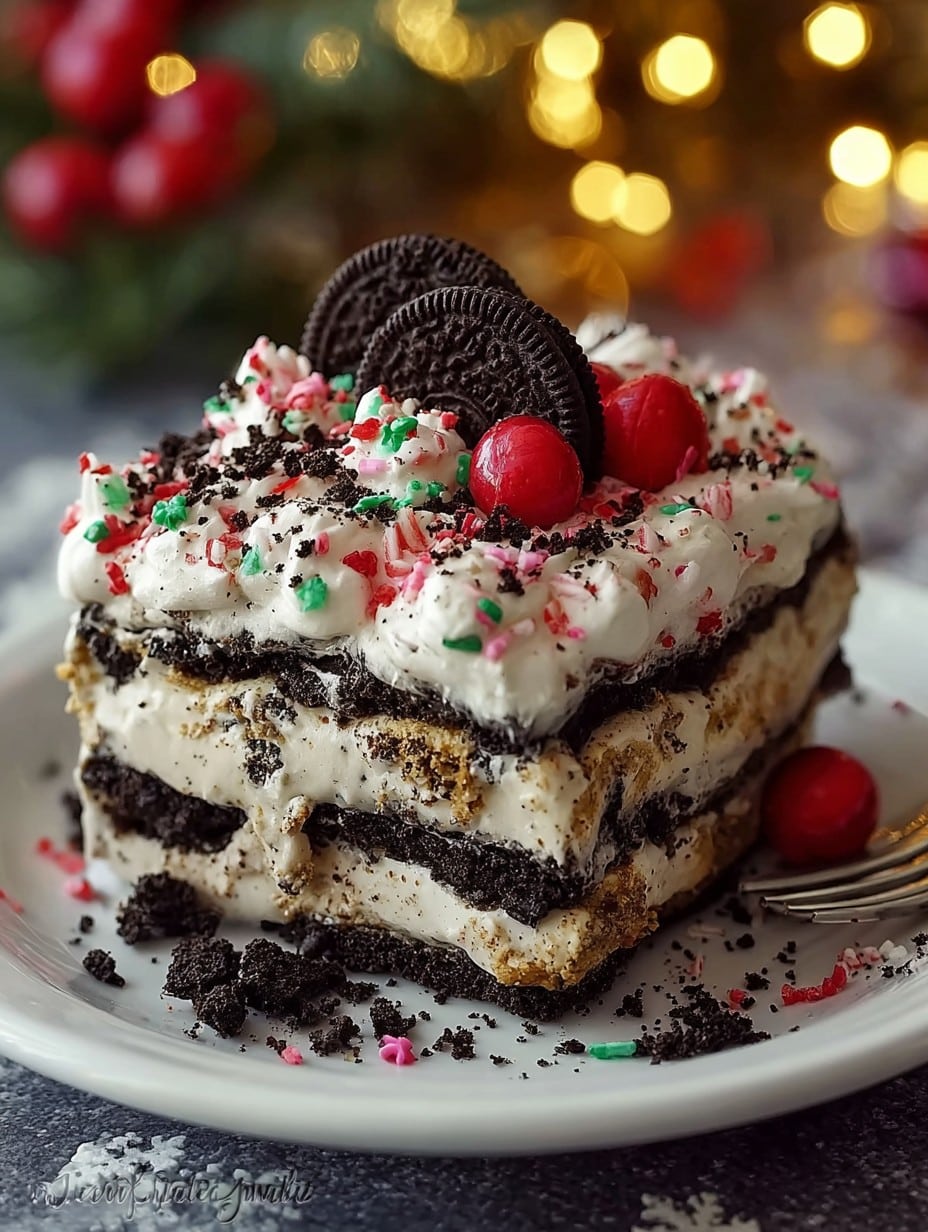
- Crumble your reserved Oreos over the top, add a blizzard of seasonal sprinkles, and toss on any candies you like. There’s no such thing as too much at this point!
- Cover the dish and chill in the fridge for at least 4 hours (overnight’s even better, if you can wait; the flavors get all cozy together).
Some Notes I Wish I’d Known
- The crust will seem a bit loose if you eat it right away, but firms up nicely after chilling. First time, I panicked and thought I ruined it—nope.
- Don’t skimp on chilling! I tried serving too early once, and it was more like Christmas Oreo pudding soup. Still tasted great, but presentation? Not so much.
- If you only have regular Oreos, just throw a dash of red and green sprinkles into the crust for a holiday vibe.
Variations I’ve Played With (Some Work Better Than Others)
- Peppermint twist: Add 1/2 tsp peppermint extract to the cream cheese layer. It gives it that candy cane zing, but go light! Too much and it tastes like toothpaste.
- Peanut butter version: Swap chocolate pudding for peanut butter pudding. My brother thought it was genius. Mixed reviews otherwise.
- One time I tried a gluten-free version using those store-brand chocolate sandwich cookies; decent, but definitely softer. Probably would add an extra tablespoon of butter to the crust next time.
Equipment Stuff (And When You Gotta Wing It)
- 9×13 inch dish (I’ve used a disposable foil pan for potlucks. Looks less fancy, but zero clean up. Not bad!)
- Large mixing bowls, at least two (or do what I do, rinse the first one out in between—less dishes)
- An electric hand mixer makes the cream cheese easier, but frankly, I once used a fork and some muscle. It’ll work, promise.
- Spatula or big spoon for spreading.
How Long This Lasts In My Fridge (Not Long, Actually)
Treat yourself: this keeps covered in the fridge for about 3, maybe 4 days? But honestly, ours rarely survives the second night. The layers stay nice and don’t get soggy if you let it chill properly, though if you sneak bites straight form the pan (as some people do), it gets a little messy—but hey, no judgment.
Serving It Up (Our Way, Anyway)
We always slice it into big squares and serve straight from the dish—preferably with extra candies on the side, because more is more. Sometimes I top each square with a whole mini candy cane for the full seasonal effect (plus, it looks adorable in photos). Once, my niece tried to take just one tiny corner, and we all stared at her like she was from Mars. I say: go all in.
Some Lessons I’ve Learned the Hard Way
- I totally tried to rush the pudding set once—do not recommend. You get soup, not layers. So, patience is a virtue, or at least a good idea here.
- If you forget to thaw the whipped topping, it gets a bit lumpy trying to spread. But actually, I find popping it in the microwave in 20-second bursts saves the day (except once when I left it too long and it got a little runny—so keep an eye on it!).
FAQ (Yes, People Have Really Asked Me These!)
- Can I make this ahead? Oh, absolutely. In fact, I think this tastes even better the next day—if your family hasn’t already demolished it by then.
- Can I use homemade whipped cream? Yep! I’ve done it on a good day, but the store stuff just holds up longer (and I can be a bit lazy).
- Is there a way to make it less sweet? Try using less powdered sugar in the cream cheese layer; sometimes I use only 3/4 cup. Or swap in dark chocolate pudding. No one’s ever said it was too sweet here, though.
- Help! My crust crumbled when I served it. Been there! Most likely it needed more chill time, or another tablespoon of butter. Next time, chill a little longer—or just embrace the mess. It’s all tasty, promise.
- Do I have to use Christmas Oreos? Honestly, regular ones taste almost identical. But those red and green middles make things fun. I once made it with golden Oreos just to shake things up; my uncle said it looked “like summer dressed up for December” (but it was still delicious).
Digression alert: once I tried explaining this dessert to my British friend, who thought the idea of an Oreo “lasagna” sounded both terrifying and brilliant. She’s not wrong. Anyway—enjoy making (and eating) this! Let me know if you, too, end up fending off dessert thieves with a spatula.
Ingredients
- 1 (14 oz) family-size package of Christmas Oreos (yes, the festive red cream ones, but regular works fine—you just lose a bit of the holiday pop)
- 6 tbsp melted butter (salted or unsalted, honestly…I’ve used both when I forget what I grabbed at the store)
- 1 (8 oz) block of cream cheese, softened (I admit, I’ve used the whipped tub before when I was feeling lazy; it still comes out tasty!)
- 1 cup powdered sugar (sometimes I just eyeball it—don’t tell my mother)
- 2 (8 oz) tubs frozen whipped topping, thawed (Cool Whip, but that cheaper store brand is okay; nobody’s ever noticed the difference at my house)
- 2 (3.9 oz) boxes instant chocolate pudding mix (I tried vanilla once for a Grinch theme, hmm, not my best idea, but chocolate always wins with this crowd)
- 3 cups cold milk (whole or 2 percent, your call)
- Holiday sprinkles, mini M&Ms, and a handful of extra Oreos for topping (more is more here, in my book, but pick your favorite candies)
Instructions
-
1Crush up most of your Oreos (save about 6 for the top) in a big zip-top bag. I whack them with a rolling pin; great stress relief. You want crumbles, not dust!
-
2Mix your Oreo crumbs and melted butter in a medium bowl. It’ll look like muddy gravel. Press this glorious mess into the bottom of a 9 x 13 inch dish. Sometimes I forget to grease the pan—doesn’t seem to matter for this, so one less thing to worry about.
-
3In a big bowl, beat the softened cream cheese until smooth (or at least until most of the lumps are gone—I’ve given up on perfection here). Stir in powdered sugar, then fold in one tub of whipped topping. Don’t overthink it; if some streaks of cream cheese stay, it just adds character. Spread this over the crust as evenly as you can. This is where I sneak a little taste. For quality control, obviously.
-
4Next up, make your pudding: combine both instant chocolate pudding mixes with the cold milk in another bowl; whisk until it’s thick, about 2 minutes. Pour this rich chocolate goodness over the cream cheese layer and spread it around—if it looks a bit weird at this stage, don’t panic, it all comes together in the end.
-
5Spread the second tub of whipped topping gently over the pudding layer. I use a spatula, but once I just plopped it on with a spoon and it still looked cute when decorated—so, roll with it.
-
6Crumble your reserved Oreos over the top, add a blizzard of seasonal sprinkles, and toss on any candies you like. There’s no such thing as too much at this point!
-
7Cover the dish and chill in the fridge for at least 4 hours (overnight’s even better, if you can wait; the flavors get all cozy together).
Approximate Information for One Serving
Nutrition Disclaimers
Number of total servings shown is approximate. Actual number of servings will depend on your preferred portion sizes.
Nutritional values shown are general guidelines and reflect information for 1 serving using the ingredients listed, not including any optional ingredients. Actual macros may vary slightly depending on specific brands and types of ingredients used.
To determine the weight of one serving, prepare the recipe as instructed. Weigh the finished recipe, then divide the weight of the finished recipe (not including the weight of the container the food is in) by the desired number of servings. Result will be the weight of one serving.
Did you make this recipe?
Please consider Pinning it!




