Hey, Want a Dessert That Won’t Overheat Your Kitchen?
Alright, confession time: I first made these No-Bake Oreo Cheesecake Cups in a tiny London flat with an oven that moonlighted as a glorified storage cupboard (true story). I wanted cheesecake (I always want cheesecake), but could I be bothered to faff about with water baths and cracking oven doors? Not a chance. Enter the glorious no-bake wonder, sprinkled generously with crushed Oreos—because honestly, when isn’t that a good shout? My nephew once said these taste like “the grown-up version of cookies and cream ice cream,” and look, I’m willing to claim that as a win.

Why You’re Going to Be Utterly Obsessed With This
I make these whenever I’m craving something sweet but not in the mood for drama. My family goes absolutely wild for ’em at Sunday lunch (even Uncle Pete, who claims he doesn’t “do desserts;” liar). They’re fast; they’re not fussy. Plus, zero bake time means I can slap these together during a heatwave or after a mad day. Oh, and if you’ve ever tried to do a water bath for a cheesecake and ended up with soggy crust—well, this skips that agony completely. Phew.
What You’ll Need to Make These Oreo Cheesecake Cups
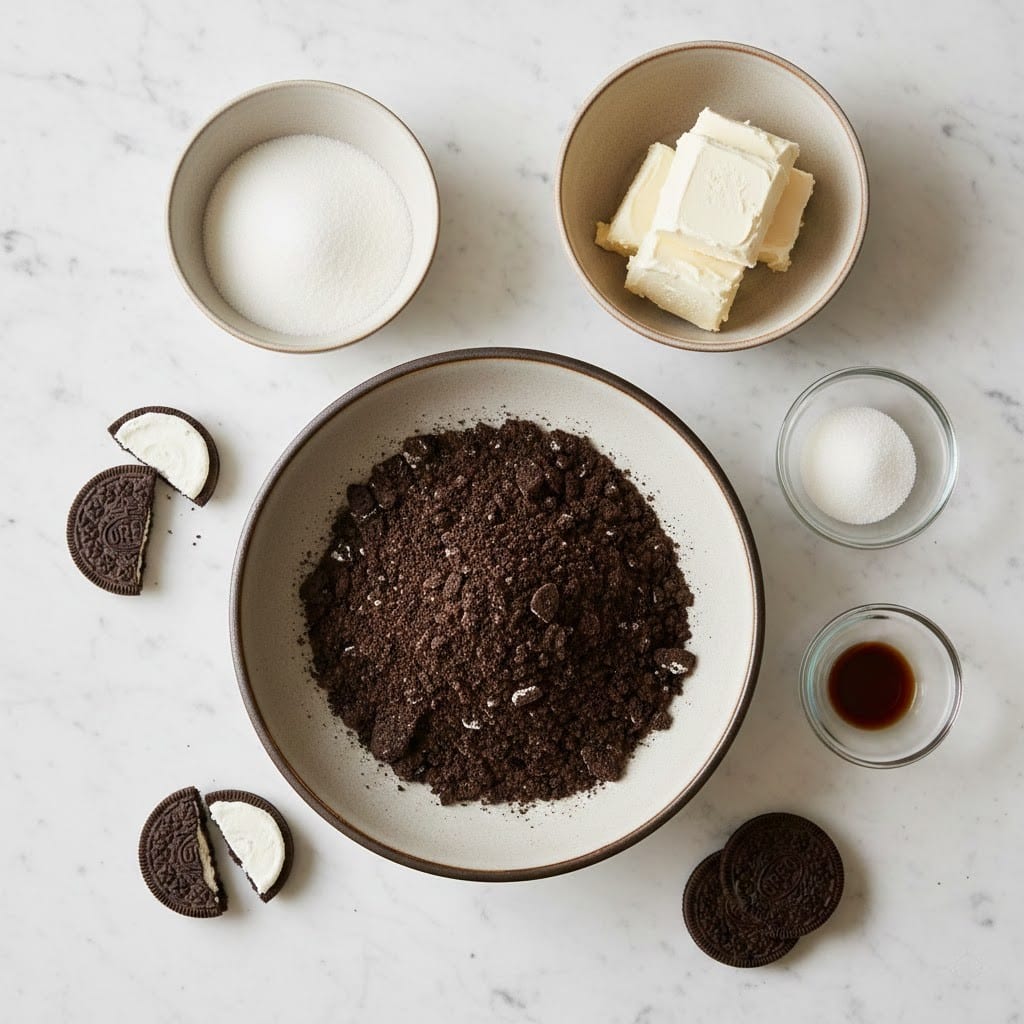
- About 12 Oreo cookies — or any chocolate sandwich cookies really. I sometimes use supermarket own-brand, and they’re grand (my gran swears by the real deal though)
- 1 package (roughly 225g or 8oz) cream cheese, softened. Philadelphia or the store brand if I’m skint
(pro tip: full-fat makes it much creamier, but use what you’ve got) - 1/2 cup (120ml) heavy cream (sometimes I swap in thick Greek yogurt when feeling virtuous; it’s tangier—try it if that’s your jam)
- 1/3 cup (40g-ish) powdered sugar, but honestly, just add to taste
- 1 teaspoon vanilla extract (I ran out once and used almond—wasn’t half bad, actually)
- A small pinch of salt, just trust me on this one
How I Throw It All Together (Even When Distracted)
- Crush the Oreos: Bash those cookies in a zip-top bag with a rolling pin (therapeutic) or blitz in a food processor. Keep a handful aside for later. Don’t worry about perfect crumbs; chunky bits work fine.
- Whip the Cream: In a bowl, whip the heavy cream till it’s holding soft peaks. Sometimes I use my stand mixer, but a hand whisk if I’m feeling ambitious. (I got lazy once and didn’t whip enough—ended up more pudding than cheesecake, but still tasty.)
- Make the Cream Cheese Filling: In a separate bowl, beat the cream cheese till it’s smooth—no lumps unless you like that sort of thing—then add the powdered sugar, vanilla, and salt. Mix till combined. This is where I sneak a taste. For science.
- Fold Together: Gently (don’t squish all the air out, please) fold the whipped cream into the cream cheese mix until you don’t see streaks. If it looks a bit weird now, honestly, it settles after chilling.
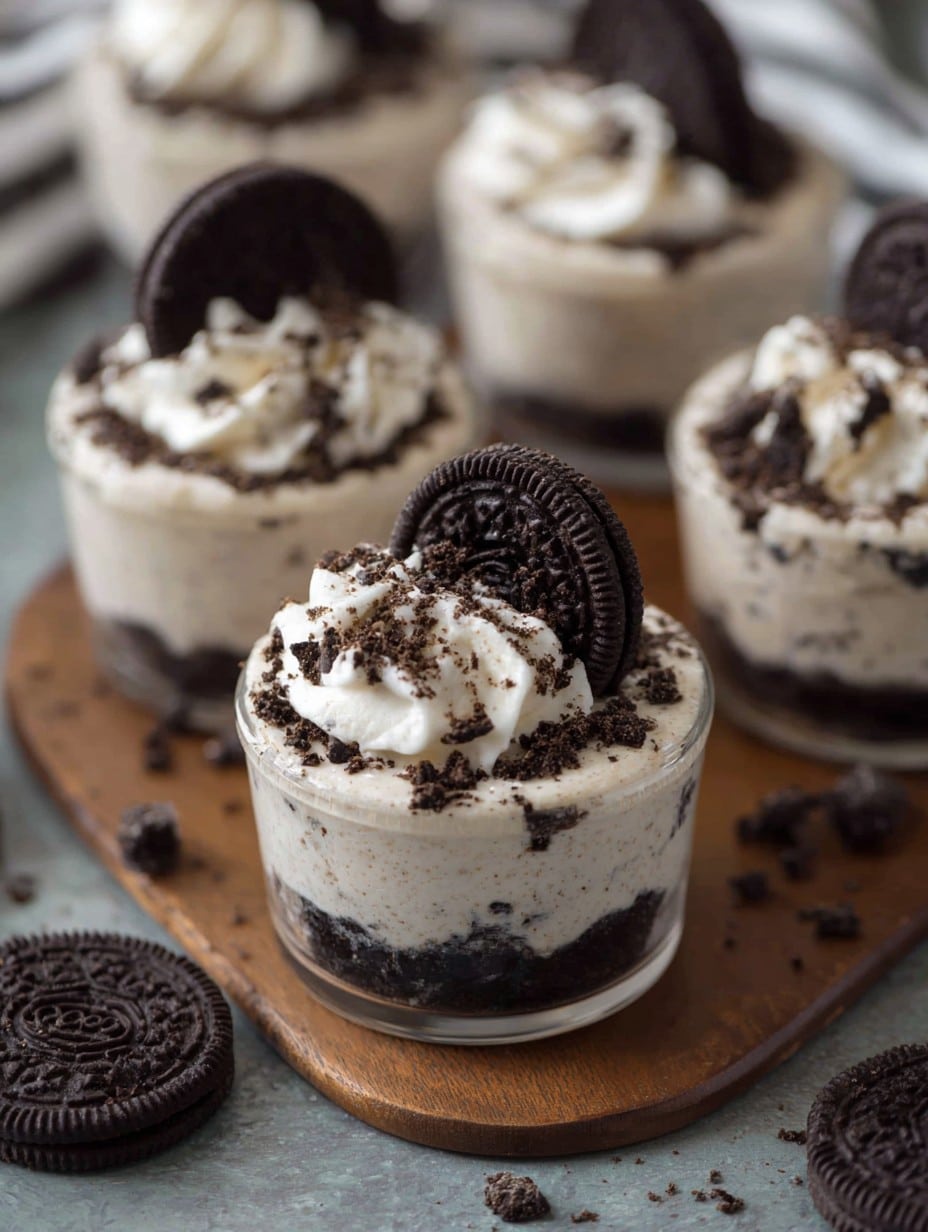
- Layer Up: Spoon a layer of crushed Oreos into serving cups. Then, blob in your cheesecake filling. Repeat. Chuck extra cookie crumbs on top if you fancy. If you want to get artsy—pipe it in, but who’s got the time?
- Chill: Pop in the fridge for at least 2 hours (overnight is ideal, but let’s be real… sometimes I can’t wait).
Notes and Misc. Thoughts
The first time I made these, I didn’t chill them long enough and discovered “cheesecake soup” is only appealing to toddlers. Also, full-fat cream cheese is creamier and less runny, probably obvious, but let me save you the heartache.
If you’re making these ahead for a party, add the crumbs on top right before serving or they can go a bit soft. Unless you like that soggy-cookie vibe (sometimes I do, weirdly).
Variations (aka My Number One Hobby: Tinkering)
- Tried swapping in Biscoff cookies instead of Oreos once—people fought over them.
- Miniature cups for a party? Sure, but once I made them too small and everyone came back for seconds anyway, so it was double the dishes for me.
- Added a swirl of caramel for my caramel-loving friend. Way too sweet (for me at least), but she was chuffed.
You Don’t Need Fancy Gadgets (Mostly)
Honestly, a hand mixer helps, but a whisk and some elbow grease will get the job done. Hate doing dishes? Just wipe out the bowl between steps and carry on. I mean, who’s judging?
Do They Keep? (Not in My House)
Store covered in the fridge for up to 3 days—though honestly, they never survive that long here. I think they actually taste better the next day, sort of like how pizza does (bonus: the flavors really meld). Freezing these? Eh, tried it and the texture got a bit odd for my liking—ice crystals galore.
How I Like to Serve Them
Big fan of topping with extra cookie chunks, maybe a dollop of whipped cream on special occasions. At Christmas, we plop ’em in little glasses and stick in mini-candy canes. Unnecessary, but fun. I’ve been known to just eat one straight from the mixing bowl, not gonna lie.
What I Learned the Hard Way: Pro Tips
- Don’t rush the chilling—it really does matter, turns out. I once tried eating them after 30 minutes. Regretted it. Sludge city.
- Let your cream cheese soften fully, or you’ll chase lumps forever. Ask me how I know…
- If you forget to reserve Oreos for the topping, just crush a couple more, and pretend you meant it.
FAQ—Answering Your (and My Mum’s) Actual Questions
- Can I make these ahead? Oh, absolutely. Overnight is best. Just hide them well, or they’ll be gone by breakfast.
- Is there a vegan version? Yep, use plant-based cream cheese and double-check your cookies—some brands have sneaky dairy. You’ll want coconut cream too if you’re skipping the dairy. Tastes a little different, but still lovely.
- Help, my filling’s runny! What did I do? Most likely didn’t whip the cream long enough, or used half-fat cream cheese. It’s still edible; just call it cheesecake mousse and serve with a wink.
- Do I have to use Oreo brand cookies? Nah, use what you like (or what’s on offer). I’ve made these with chocolate chip cookies in a pinch; bit random, but good.
- Does this work as a big cheesecake? Sort of? You’ll need to freeze the base a bit longer to help it set, but honestly, I think it shines in cup form. Less risky if you’re clumsy like me.
- Paper cups or glass jars? Either, really. If you want to get fancy, glass jars look ace. But paper cups—fewer dishes. Your call.
Last thing—I sometimes make myself a double batch, tell everyone it didn’t turn out, then sneak a few for breakfast. Just putting that out there in case you ever need an excuse!
Ingredients
- 18 Oreo cookies, divided
- 2 tablespoons unsalted butter, melted
- 1 cup heavy whipping cream
- 8 oz cream cheese, softened
- 1/2 cup powdered sugar
- 1 teaspoon vanilla extract
- 4 oz whipped topping (optional)
Instructions
-
1Crush 12 Oreo cookies into fine crumbs using a food processor or by placing them in a ziplock bag and crushing with a rolling pin.
-
2In a small bowl, combine the crushed Oreos with the melted butter. Mix until the crumbs are evenly coated.
-
3Divide the Oreo crust mixture evenly among 6 serving cups, pressing lightly to form the base.
-
4In a mixing bowl, beat the heavy whipping cream until stiff peaks form. Set aside.
-
5In another bowl, beat the cream cheese, powdered sugar, and vanilla extract until smooth. Gently fold in the whipped cream until well combined.
-
6Spoon or pipe the cheesecake filling over the Oreo crust in each cup. Crush the remaining Oreos and sprinkle them on top. Chill for at least 1 hour before serving.
Approximate Information for One Serving
Nutrition Disclaimers
Number of total servings shown is approximate. Actual number of servings will depend on your preferred portion sizes.
Nutritional values shown are general guidelines and reflect information for 1 serving using the ingredients listed, not including any optional ingredients. Actual macros may vary slightly depending on specific brands and types of ingredients used.
To determine the weight of one serving, prepare the recipe as instructed. Weigh the finished recipe, then divide the weight of the finished recipe (not including the weight of the container the food is in) by the desired number of servings. Result will be the weight of one serving.
Did you make this recipe?
Please consider Pinning it!!




