So Here’s the Thing About No Bake Salted Caramel Cookies…
I first started making these No Bake Salted Caramel Cookies on a whim, mostly because the oven was already occupied (thanks, lasagna). Now, they’re kind of my go-to when I want something sweet but can’t be bothered to wait. You know those days when you open your pantry, make a face at the flour, and think, “Eh, I can do better”? That’s how these were born. My friend Lucy claims this recipe should come with a warning label because, and I quote, “they disappear faster than socks after laundry.” She’s not wrong. Oh, and if you’re wondering what my favorite part is—without a doubt, it’s licking the spoon. Don’t at me.

Why You’ll Love Making These—Even If You’re Feeling Lazy
I make these cookies when I’ve got a serious sweet tooth, but zero patience (which, honestly, is most of the time). My family goes crazy for this because, aside from the obvious caramel magic, there’s just that gooey-salty combo that makes you close your eyes on the first bite. It’s so easy—I basically just throw everything in a pot, stir for a bit, and—voilà—cookie bliss. (If there’s one hitch, it’s reigning in children or hungry adults who hover trying to snatch a bite mid-assembly.)
What You’ll Need (But Don’t Stress Over Perfection)
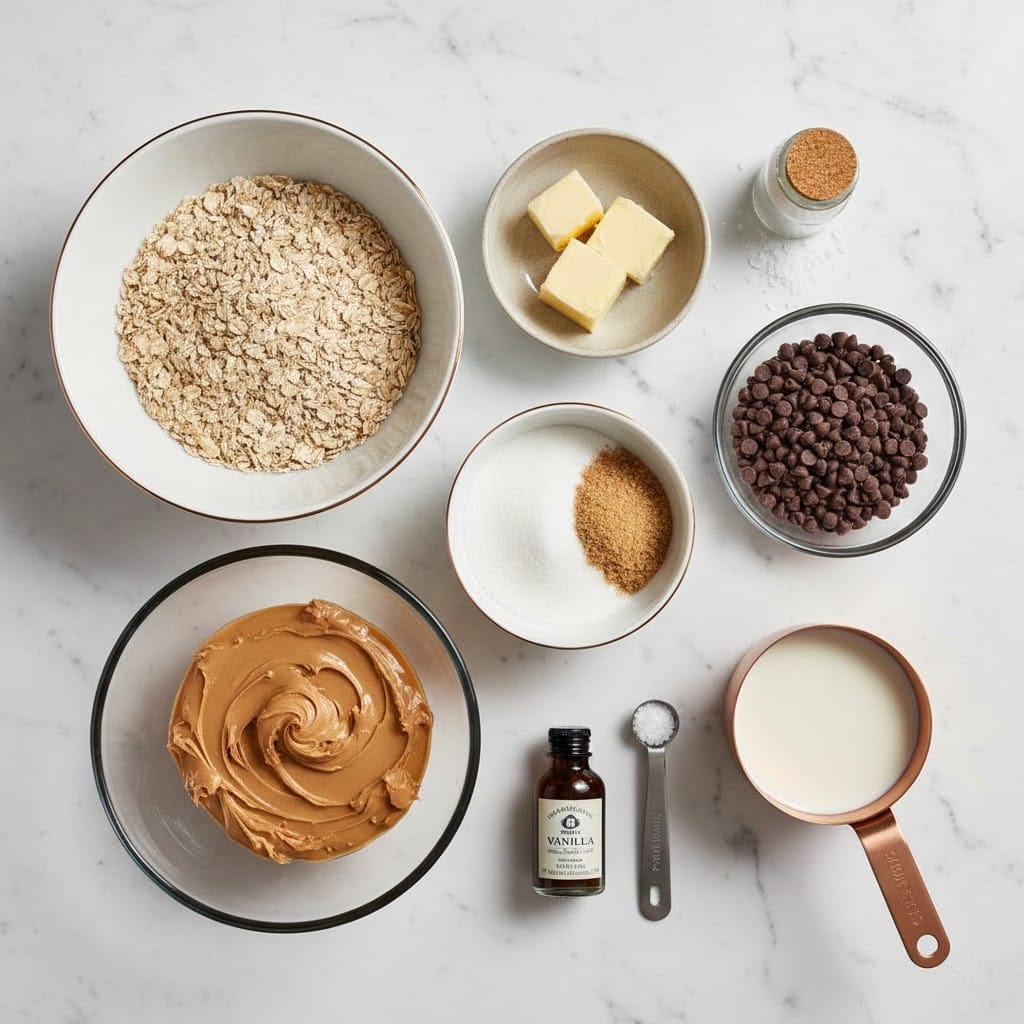
- 1 cup granulated sugar — My gran swore by golden castor sugar, but honestly, use whatever’s lurking in your cupboard.
- 1/2 cup unsalted butter — Salted works too, just pull back on the added salt later.
- 1/4 cup milk — I’ve used oat milk. I’ve used, um, half-and-half. It all comes out fine.
- 1/4 teaspoon sea salt — Or whatever finishing salt you find, even the flakey stuff!
- 2 tablespoons caramel sauce — Homemade, store-bought, doesn’t matter. Once, I subbed in butterscotch sauce and nobody noticed.
- 1 teaspoon vanilla extract — If you’re fancy, try bourbon vanilla. If not, regular will do. Vanilla paste also works, but only if you like seeing little dots.
- 2 cups quick-cooking oats — Old-fashioned oats in a pinch, but the cookies are a bit chewier that way.
- 1/2 cup chopped pretzels (optional, for crunch)
- Extra pinch of flaked sea salt (optional, for topping)
How To Make These No Bake Salted Caramel Cookies (Don’t Blink!)
- Grab a big saucepan, but don’t stress about the size—cooking’s about vibes, not rules. Toss in sugar, butter, and milk. Heat over medium, stirring until everything looks smooth and hello, it’s starting to bubble. Let it boil for, say, one minute (set a timer if your memory is like mine—hopeless).
- Take the pan off the heat—immediately add that caramel sauce, vanilla, and salt. Stir like you mean it. Admittedly, it sometimes looks weird or separated here, but just keep going. It comes together. This is where I usually sneak a taste, allegedly for “quality control.”
- Dump in oats and pretzels if you’re using them. Mix until everything’s all cozy and coated. It’s thick, but it’s meant to be—think porridge on a chilly morning in November.
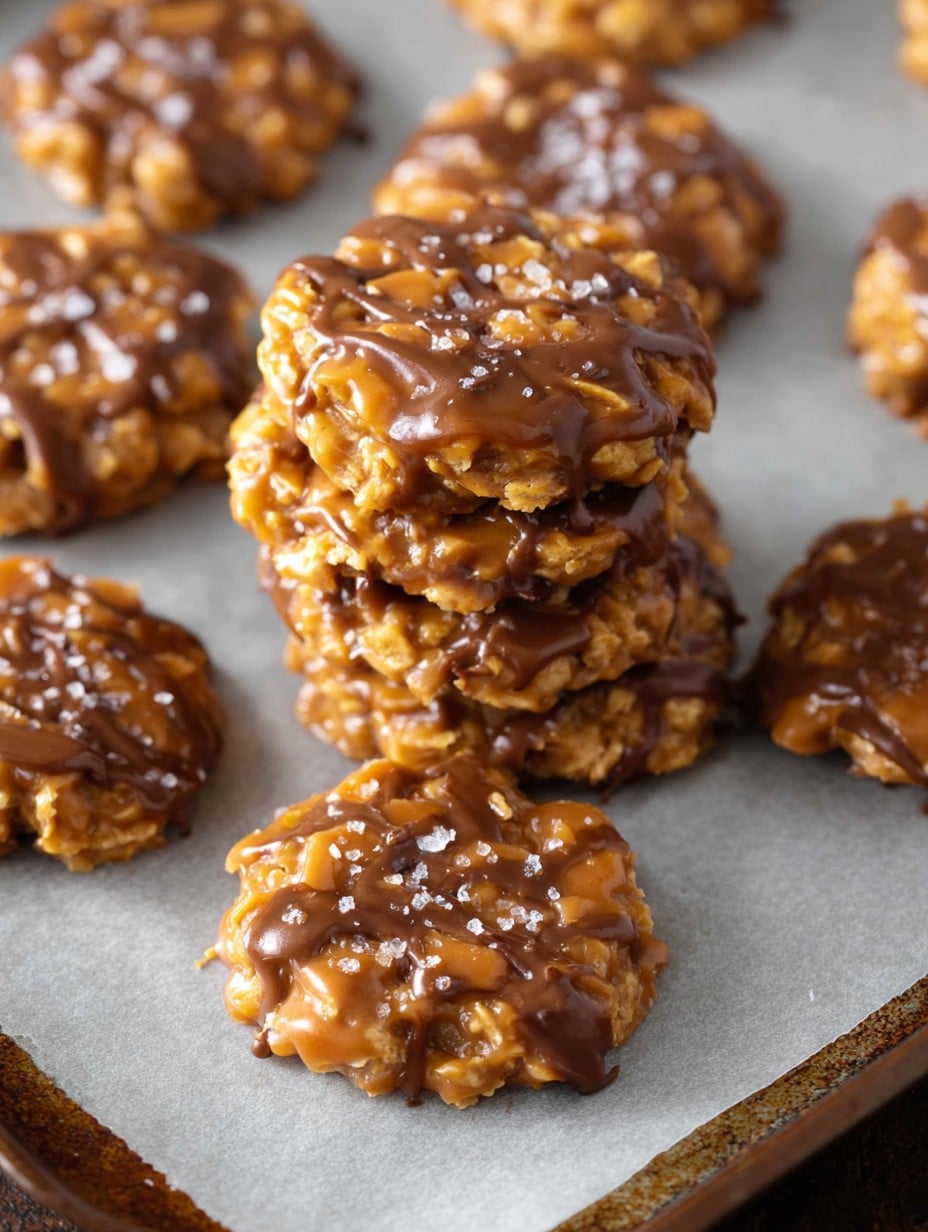
- Spoon blobs (about a generous tablespoon each) onto a parchment-lined tray. Squish them down a bit, unless you fancy rugged cookie mountains. Sprinkle with extra flaked salt if that’s your jam.
- Now comes the hard part: wait. Let them set for at least 20 minutes, or chuck them in the fridge if you’re really impatient. They’ll firm up, promise.
Some Notes I Wish I’d Gotten My First Time
- If you stop beating the caramel mixture too soon, it might look oily. Just keep stirring until it’s all one shade.
- Once, I tried melting everything together on high heat. Big mistake. The sugar burned, smelled like a bonfire, and the pan still haunts me. Medium heat only—trust me.
- If your cookies look a bit loose when you scoop them, no drama. They’ll firm up in the fridge (and if not, a spoon works fine for eating straight from the tray… or so I’ve heard).
Variations I’ve Tried (And the One That Flopped)
- Add chocolate chips—let the dough cool for a few before folding in, or they melt into a caramelly mess (actually, that’s not entirely bad… just messy).
- Swap oats for crushed cornflakes—a little retro, kinda fun, but almost too crunchy for my taste.
- Coconut flakes—delicious! But my cousin said it tasted like “tropical oatmeal.” Not sure what she meant, but I liked it.
- Failed experiment: I once got fancy and tried dried cherries. Didn’t love it; the tartness fought with the caramel, so… would not recommend.
What If You Don’t Have a Saucepan?
No worries. Once, while visiting friends without a proper pot, I made this in a deep frying pan. Worked fine—just more shallow. Or, use any big microwave-safe bowl; heat the first ingredients in 30-second bursts, stirring in between (watch like a hawk, though; sugar boils over fast!).
How Long Will These Actually Last?
Technically, they’ll keep in an airtight tin for up to a week. Fridge is even better if it’s warm out. But, here’s the honest truth: they’ve never made it past the first 24 hours in my house. People just sneak them. I once labelled the container as “leftover broccoli” for camouflage. Didn’t help. Still gone.
Ways We Love to Serve ‘Em
I like these best with coffee—one in each hand, if I’m being honest. My uncle dunks his in cold milk (he claims it’s the only proper way). For parties, I pile ‘em up on a big platter, add a little bowl of extra salt on the side for the real salt fiends. If you’re feeling extra, drizzle with a teensy more caramel just before serving. Makes ‘em look fancy, even if you made them in sweatpants at 10pm.
What I’ve Learned (The Hard Way)
- Don’t rush the boiling time. I once went rogue, pulled it off early, and ended up with soft, sad puddles. Wait till it bubbles for 60 real seconds.
- If you line your tray with wax paper instead of parchment—well, good luck getting them off. Parchment’s worth it (or silicone mats, if you have ‘em).
- Don’t overdo the added salt on top, unless you want a mouthful of beach. Just a sprinkle!
I Get These Questions All the Time!
“Help! My cookies are too gooey to pick up.”
Don’t stress. Just fridge ‘em longer—or eat with a spoon? (Not judging.)
“Can I make these gluten free?”
Absolutely—use certified gluten-free oats. No problem.
“Can I double the recipe?”
Of course, but use a bigger pan, or you’ll be juggling hot caramel like a circus act. (Guess how I know.)
“Can I leave out the caramel sauce?”
Eh, I mean, you could, but then it’s just sugar-oat cookies. The caramel is kinda the whole point!
“Why do mine taste different each time?”
Honestly, a lot changes depending on oats brand, butter, whether you measured with a scoop or by eyeball… but that’s part of the fun, right?
Oh, before I forget—if you have a dog, keep these well out of reach. Last Christmas, my border collie snuck three (no harm done, thankfully, but it was a wakeup call). She’s never looked guiltier! Anyway, however you make these, I hope you get a minute to actually sit down and enjoy a few. Or, you know, stand and eat one straight off the tray as you’re cleaning up—I won’t tell.
Ingredients
- 1/2 cup unsalted butter
- 1 cup brown sugar, packed
- 1/3 cup whole milk
- 1/2 cup caramel sauce
- 2 teaspoons vanilla extract
- 1/2 teaspoon sea salt, plus more for topping
- 2 1/2 cups quick-cooking oats
- 1/2 cup white chocolate chips
Instructions
-
1Line a baking sheet with parchment paper and set aside.
-
2In a medium saucepan over medium heat, melt the butter. Add the brown sugar and milk, stirring constantly, and bring the mixture to a boil.
-
3Reduce the heat to low, add the caramel sauce, vanilla extract, and sea salt. Stir until smooth and well combined.
-
4Remove saucepan from heat. Stir in the oats and white chocolate chips until the mixture is fully incorporated.
-
5Drop spoonfuls of the cookie mixture onto the prepared baking sheet. Sprinkle a pinch of extra sea salt on top of each cookie.
-
6Allow cookies to cool and set at room temperature for about 30 minutes before serving.
Approximate Information for One Serving
Nutrition Disclaimers
Number of total servings shown is approximate. Actual number of servings will depend on your preferred portion sizes.
Nutritional values shown are general guidelines and reflect information for 1 serving using the ingredients listed, not including any optional ingredients. Actual macros may vary slightly depending on specific brands and types of ingredients used.
To determine the weight of one serving, prepare the recipe as instructed. Weigh the finished recipe, then divide the weight of the finished recipe (not including the weight of the container the food is in) by the desired number of servings. Result will be the weight of one serving.
Did you make this recipe?
Please consider Pinning it!!




