Let’s Talk About These Cookies (and My Not-So-Secret Love for Them)
Alright, so here’s the thing: when I was a kid, every Sunday meant a batch of peanut butter cookies cooling on the counter, the kind that made the whole house smell like you’d just walked into a bakery. Actually, I remember sneaking one right as they came out (burned my tongue, but totally worth it). Now, I make these old-fashioned peanut butter cookies every chance I get, especially when the week’s been a bit much. They’re soft, they’re chewy, and, just between us, I sometimes eat them for breakfast. Who’s judging?
Why I Keep Coming Back to This Recipe
I make this when I want comfort food that won’t require me to get fancy. My family goes a little bonkers for these, especially my cousin who swears he hates peanut butter—until these show up. (He’s not fooling anyone.) Sometimes, if I’m feeling impatient, I’ll skip chilling the dough, but honestly, it’s better if you don’t. Also, I love how they don’t turn into those dry, chalky pucks. Oh, quick note: if you’re expecting a crispy, snappy cookie, this one’s not it, friend.
What You’ll Need (And What You Don’t Really Need)
- 1 cup peanut butter (smooth or chunky, both are winners—I’ll grab whatever’s on sale, but my gran always insisted on Skippy. I think any brand is fine though)
- 1/2 cup unsalted butter, softened (I sometimes use salted if that’s all I’ve got, just skip the extra salt in that case)
- 1 cup packed brown sugar (dark brown gives a richer flavor, but I use light brown if it’s what I have)
- 1/2 cup white sugar
- 1 large egg (room temp, unless you forget, which I do all the time—it still works)
- 2 teaspoons vanilla extract (the real deal if you can swing it, but the imitation stuff is fine in a pinch)
- 1 and 1/2 cups all-purpose flour
- 3/4 teaspoon baking soda
- 1/4 teaspoon salt (skip if you’re using salted butter)
Optional: Toss in a handful of chopped chocolate or peanuts if you’re feeling wild. Or, I once tried cinnamon—didn’t love it, but maybe your tastebuds are bolder than mine.
How I Actually Make These Cookies (And What I Ignore)
- Preheat your oven to 350°F (that’s about 175°C). Or just crank it to “medium” if your oven’s temperature dial’s faded, like mine was for ages.
- Grab a mixing bowl—big one. Cream together the peanut butter, butter, brown sugar, and white sugar. I use a hand mixer, but you can totally use a wooden spoon and some elbow grease. This is where I usually sneak a taste. (Don’t worry, nobody’s judging.)
- Beat in the egg and vanilla. It might look a bit curdled—don’t panic, it always comes together in the end.
- In another bowl, whisk together the flour, baking soda, and salt. Or just toss it on top of your wet stuff and mix carefully—I’ve done both.
- Stir the dry ingredients into the wet. Don’t overmix; just until it looks like dough and there aren’t any floury streaks left.
- Now, the chill step. I say chill for 30 minutes, but sometimes I can’t wait that long and bake straight away. They spread more, but still taste ace.
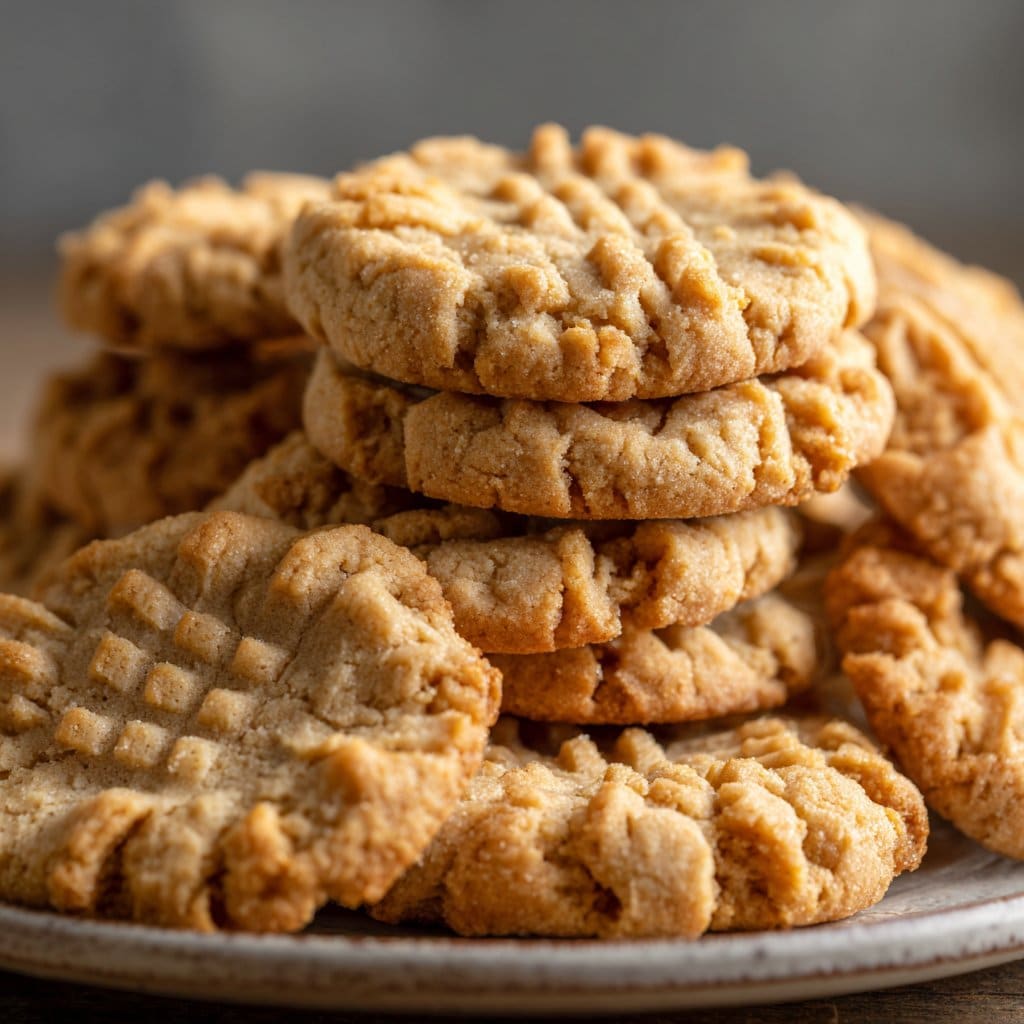
- Scoop out rough tablespoon-sized balls and plop them onto a parchment-lined baking sheet. I use a small ice cream scoop, but two spoons work fine. Flatten each cookie gently with a fork, crisscross-style (classic move, but sometimes I just press them with my hand if I’m in a hurry).
- Bake 9–11 minutes. They should look just set in the middle and a little golden around the edges. Don’t overbake, or you’ll lose the chewiness.
- Cool on the sheet for 5 minutes, then move to a wire rack. Or, if you’re me, eat one warm and claim it was for science.
Some Notes That Might Save You a Headache
- If your dough is super sticky, a quick 10-minute chill makes it less of a mess.
- These taste even better the next day, at least I think so (if you can make them last that long).
- I used to press the fork way too hard and ended up with paper-thin cookies. Easy does it!
What I’ve Tried (And What I’ll Never Try Again!)
- Swapped flour for oat flour: Actually, not bad—bit nuttier, a little denser.
- Almond butter instead of peanut: Good, but not quite as nostalgic. Maybe that’s just me.
- Added raisins: Would not recommend. My family still brings that one up.
Do You Really Need Fancy Equipment?
I love my hand mixer, but if you don’t have one, a good old wooden spoon and some patience gets the job done. And if you don’t own a baking sheet, just flip over a roasting pan (I’ve done this at a mate’s house in a pinch—works fine, just check the cookies sooner).
How to Store (If You Even Need To)
These cookies keep in an airtight tin for about 3 days, but honestly, in my house it never lasts more than a day! You can freeze the dough balls if you want to bake fresh cookies later—just add a minute or two extra baking time. I sometimes forget about them in the freezer, and then it’s like finding buried treasure.
How I Serve ‘Em (and Occasionally Hide Them)
Serve with a cold glass of milk—that’s the classic. Or, if you’re feeling a bit posh, a scoop of vanilla ice cream on top. My uncle likes to microwave his cookie for 10 seconds first (says it’s “like it just came fresh form the oven”). Sometimes I even give a plate to the neighbors, which is probably why they keep lending me their tools.
Things I Learned the Hard Way (So You Don’t Have To)
- Don’t skip creaming the butter and sugars. I once tried to shortcut this and the cookies were oddly flat and sad.
- Letting them cool on the baking sheet helps them set up—you might be tempted to move ’em early, but they’ll fall apart. Guess how I know that?
Wait, I’ve Actually Been Asked This Stuff
- Can I use natural peanut butter?
- Yep, but the cookies turn out a bit more crumbly. Give it a go! You might prefer it. Just make sure to stir it up really well so the oil’s not all separated.
- Do I need to chill the dough?
- You don’t have to, but I think it helps make them thicker and chewier. If you’re in a rush (or just hungry), no one’s ever complained when I skipped it.
- How do I make them gluten-free?
- Swap the flour for a 1:1 gluten-free blend. I’ve done it with King Arthur’s and it worked a treat (here’s their gluten-free peanut butter cookie recipe for comparison).
- What if I don’t have brown sugar?
- Just use all white sugar, or add a teaspoon of molasses if you’ve got it. No biggie.
- Can I double the recipe?
- Absolutely. Just use a bigger bowl—or, do what I did once and make two batches because my mixer couldn’t handle it. Oops.
Oh, before I forget, if you want to see some really wild peanut butter cookie variations (some look questionable, but fun to try), check out Sally’s Baking Addiction—I’ve borrowed ideas from there more than once, not ashamed to admit it. And for all the baking nerds among us, Serious Eats always has some deep dives worth getting lost in!
Anyway, that’s pretty much it—unless you want my grandma’s story about the time she left out the peanut butter and invented “sugar pucks” (remind me next time!). Happy baking!
Ingredients
- 1 cup creamy peanut butter
- 1/2 cup unsalted butter, softened
- 1 cup packed brown sugar
- 1/2 cup granulated sugar
- 2 large eggs
- 1 1/2 cups all-purpose flour
- 1 teaspoon baking soda
- 1/4 teaspoon salt
- 1 teaspoon vanilla extract
Instructions
-
1Preheat the oven to 350°F (175°C) and line two baking sheets with parchment paper.
-
2In a large bowl, cream together the peanut butter, unsalted butter, brown sugar, and granulated sugar until light and fluffy.
-
3Beat in the eggs one at a time, then mix in the vanilla extract.
-
4In a separate bowl, whisk together the flour, baking soda, and salt. Gradually add the dry ingredients to the wet mixture and mix until just combined.
-
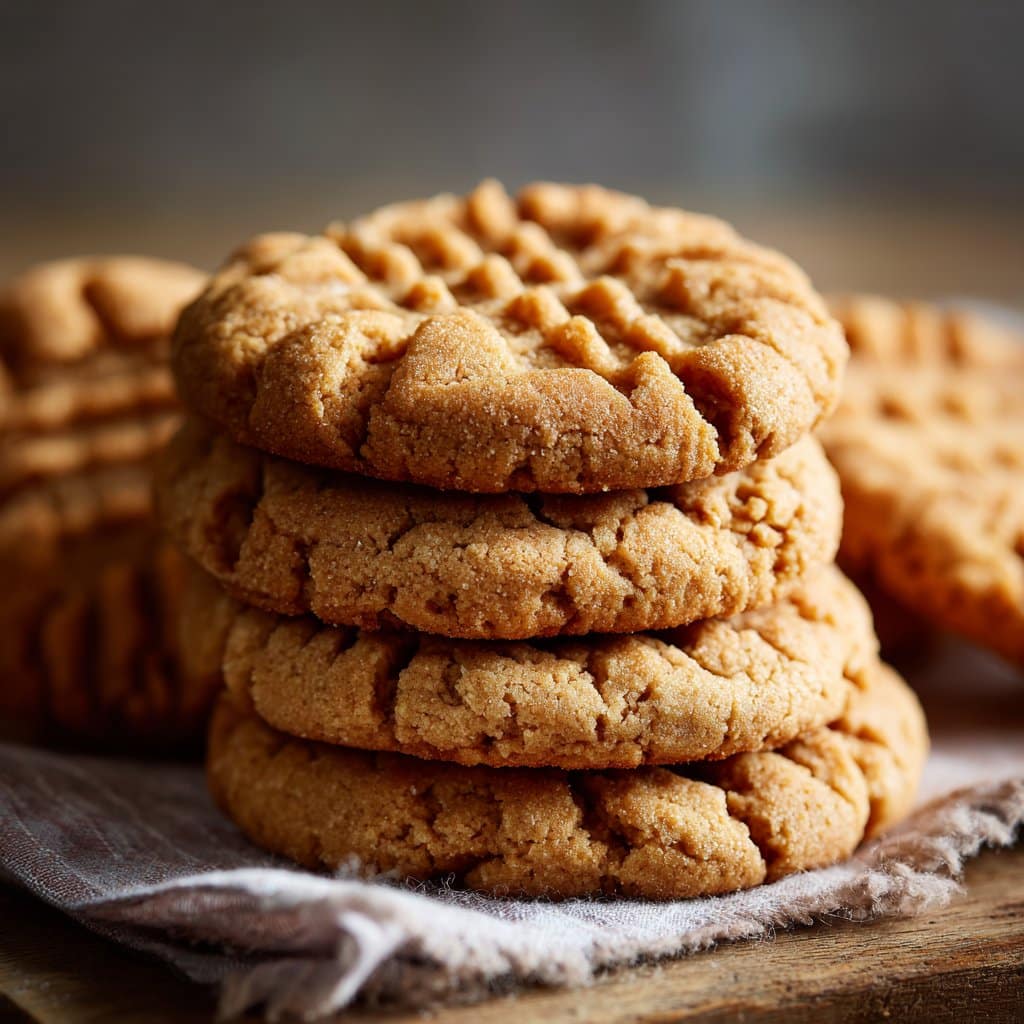
5Scoop tablespoon-sized balls of dough onto the prepared baking sheets. Gently press each ball with a fork to create a crisscross pattern.
-
6Bake for 9-11 minutes, or until the edges are set but the centers are still soft. Allow cookies to cool on the baking sheet for 5 minutes before transferring to a wire rack.
Approximate Information for One Serving
Nutrition Disclaimers
Number of total servings shown is approximate. Actual number of servings will depend on your preferred portion sizes.
Nutritional values shown are general guidelines and reflect information for 1 serving using the ingredients listed, not including any optional ingredients. Actual macros may vary slightly depending on specific brands and types of ingredients used.
To determine the weight of one serving, prepare the recipe as instructed. Weigh the finished recipe, then divide the weight of the finished recipe (not including the weight of the container the food is in) by the desired number of servings. Result will be the weight of one serving.
Did you make this recipe?
Please consider Pinning it!!




