If You Need a Dessert Hug, This Oreo Cake Is It
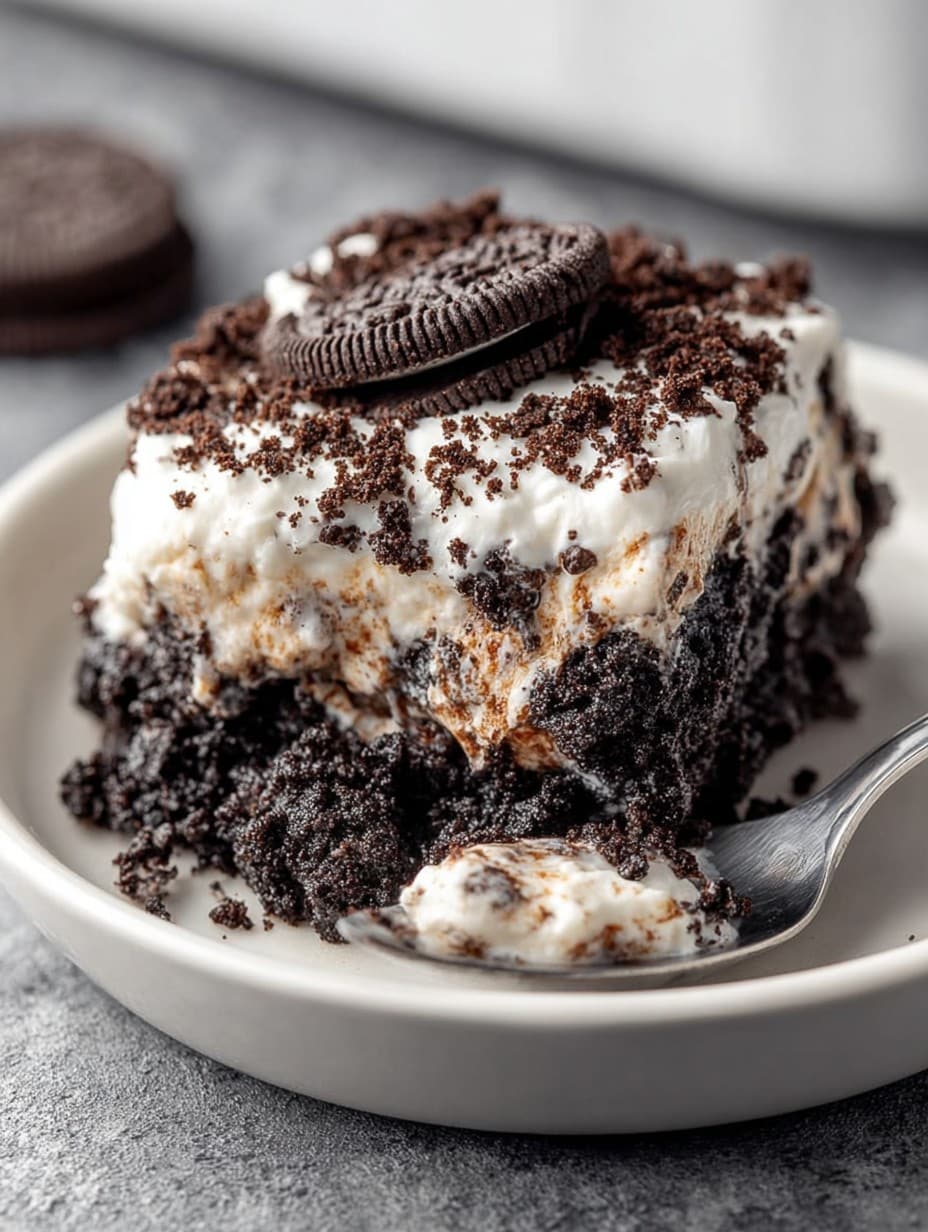
Alright, so I’m just going to say it: sometimes you just want something really chocolatey, slightly ridiculous, and almost embarrassingly easy to throw together—like, pajamas and wild hair easy. Enter my favorite guilty secret, the Oreo dump cake, which practically makes itself. I actually first whipped this up during a rainy Saturday when an old friend dropped by unannounced and, wouldn’t you know it, all I had was a box of cake mix, a bag of Oreos, and… well, you’ll see. We ended up eating straight out of the pan, spoons clinking and all, and it’s been a go-to ever since.
Why I Find Myself Making This Over (and Over!)
I bake this Oreo dump cake when the family is getting hangry and patience is basically out the window. My husband, who usually claims he “doesn’t like sweets” (sure), ends up scraping the last chocolaty bits from the corners. Even my neighbor, who isn’t much for desserts, once said it was “dangerously eatable.” (I think that counts as a compliment?) It’s perfect for those nights when you promised dessert but ended up reading Reddit threads instead. Oh, also—there’s no room for fancy here, so if you mess up a bit, it’s basically tradition.
What You’ll Need—But Don’t Panic, Substitutes Work
- 1 pack (a generous handful, about 20–24) Oreos – I’ve swapped in store-brand cookies after a late-night panic, didn’t hear any complaints.
- 1 box chocolate cake mix – Grandma would only use Duncan Hines, but I can barely tell the difference with Betty Crocker or whatever’s on sale.
- 1 stick (1/2 cup) butter, melted – In a pinch, I’ve used margarine. Still edible, just less decadent.
- 1 1/2 cups milk – Any milk. I’ve actually used oat milk (the fancy barista kind!), and you’d never know.
- 1 cup semisweet chocolate chips – White chocolate chips work fine too, or skip them if your sweet tooth’s in check.
How To Throw This Together—Messiness Welcome
- Preheat your oven to a vague 350°F (175°C); don’t stress if you’re a few degrees off, it’s very forgiving.
- Grab a 9×13 inch baking dish. Don’t have one? I’ve literally used an oven-safe skillet when all else failed. Grease or butter it up, because sticky cake is a pain.
- Break up the Oreos, pretty roughly. I sometimes just bash the bag on the counter (probably not the textbook method), then scatter them across the bottom.
- Pour the dry cake mix right over the cookie rubble. Don’t mix. It looks weird—trust me, that’s the magic.
- Drizzle melted butter evenly as you can. I’m never perfect at this, it kind of pools in places but it sorts itself out.
- Follow it up with the milk, pouring slowly to moisten all that dusty cake mix. It may look like a mess; I usually poke a few dry bits gently just to help it along.
- Top with chocolate chips. I always scatter a few extra because, well, I have a heavy hand with chocolate.
- Pop in the oven for 35–40 minutes, till bubbly around the edges and the top is less wet. (This is usually when the smell convinces the household to migrate to the kitchen.)
- Let it cool just a bit if you can stand it. Or don’t. I usually can’t.
Notes From My Sometimes Disastrous Early Bakes
- I once tried using only half the butter—don’t do it; it gets dusty. Live a little!
- If the top looks too dry, a splash more milk fixes it. Mixing has never improved matters.
- I’m convinced it tastes better the next day, but it rarely survives that long in my place.
Variations I’ve Tried—Some Brilliant, Some… Not
- Using Golden Oreos—surprisingly fun, especially with white chocolate chips.
- Tried peanut butter chips once and, honestly, it was a bit too much for me (but maybe you’re bolder).
- Adding chopped walnuts was a hit with my uncle; everyone else sort of just picked them out. Eh.
- Once tried sprinkling on mini marshmallows. They kinda vanished into goo (not a disaster, but not my favorite texture-wise).
Equipment I Use (or Sometimes Improvise)
- 9×13 baking dish—a must, but if you only have a round cake pan, just don’t fill it too deep.
- A microwave-safe bowl for melting butter. If all you’ve got is a small saucepan, that’s honestly fine.
- Measuring cup, but once, in a minor act of chaos, I just eyeballed the milk. Worked out, but I wouldn’t brag about it.
Can You Store This? How Long, Realistically?
Tightly covered, it’ll technically keep a few days in the fridge (plus, I found a tip here about reheating dump cakes well), but honestly, in my house, it never lasts more than a day—sometimes not even till breakfast. And that’s including the time I hid some behind the mixing bowls.
Serving: My Absolute Favorite Ways
I like it warm and slightly gooey with a scoop of vanilla ice cream, or, if I’m feeling extra, a glug of hot fudge. Sometimes we’ll just eat it cold out of the fridge (next day with coffee is something else). You honestly can’t go wrong. My cousin swears it’s a cure for Monday blues.
Stuff I’ve Learned from Minor Mishaps (My ‘Pro’ Tips)
- I once skipped the butter/time step and regretted it—the cake was drier than a week-old scone. Don’t cut corners with the butter.
- If you overbake, the edges get crisp (not bad, but the center’s the prize).
- Let it rest 10 minutes out of the oven or you’ll risk molten chocolate lava everywhere (not always a ‘bad’ problem, come to think of it).
FAQ—Stuff Folks Actually Ask Me
- Can I use a different flavor of cake mix?
- Absolutely, knock yourself out. I’ve done red velvet and it’s hilariously over-the-top. Just don’t expect it to taste ‘light’.
- Is it really okay not to mix the layers?
- Weird, right? But yes, just let gravity and the oven do their thing. Looks a mess going in, but it works out, promise.
- Can I make a smaller batch?
- Sure, just halve everything and bake in a square pan. Actually, I find it works better if you do the full batch and share it with your neighbors. Or not. Totally up to you.
- Can I make this gluten-free?
- Yup, just grab a gluten-free cake mix and, if you can, appropriate cookies. There’s a good list of gluten-free Oreos here if you need ideas.
- What if I’m out of milk?
- Water in a pinch, yes, or try coffee for a deeper flavor. (Little secret: I actually did this once and it’s wild with mocha ice cream.)
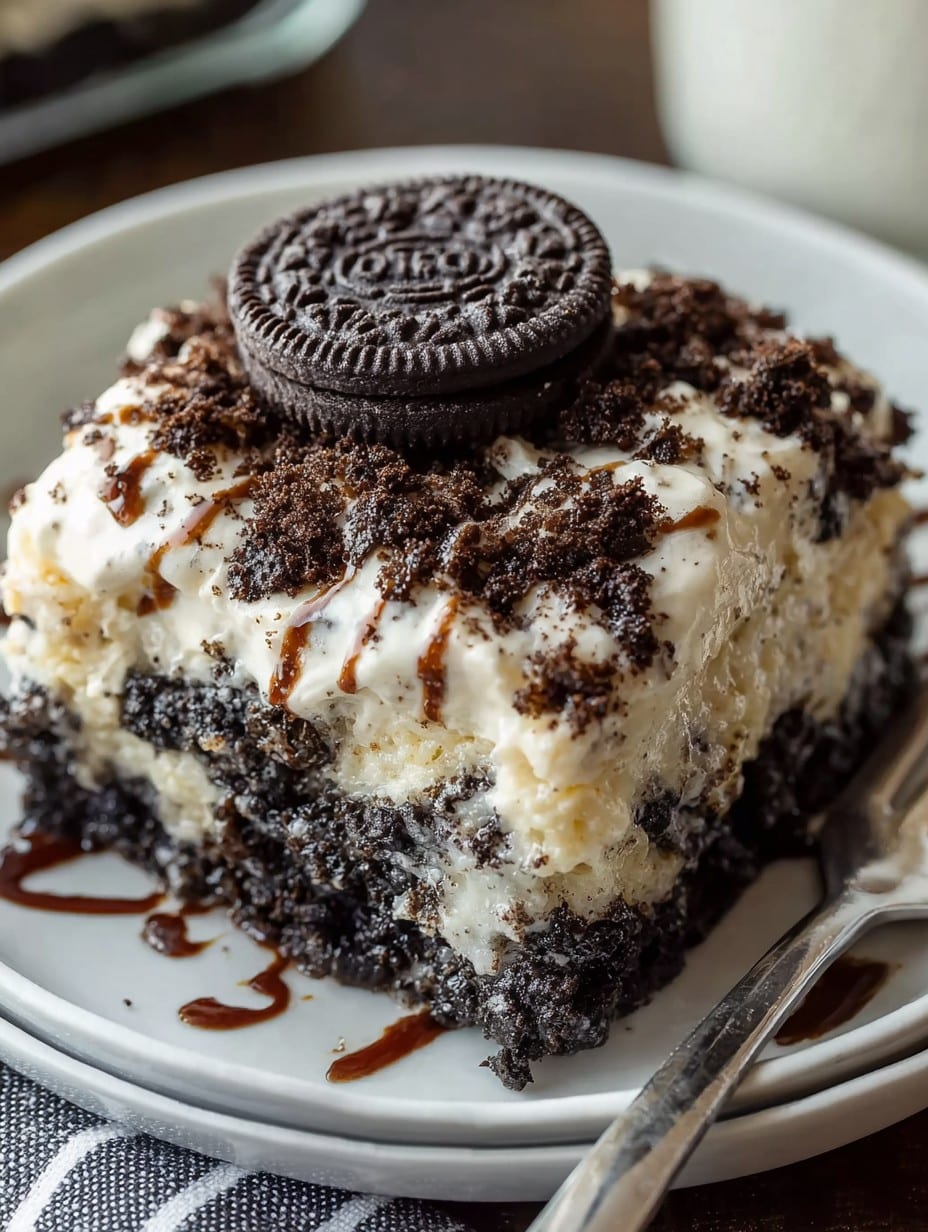
Honestly, I keep coming back to this recipe for the pure, childlike joy of it. Plus, you don’t get bonus points for fancy plating—just big smiles and scraped pans. If you want to stress less while baking (and eat like a sugar-happy raccoon), dump cakes really are the bee’s knees. If you want to see how other folks twist their dump cakes, check out this dump cake roundup—warning: you’ll probably want to bake again real soon.
Ingredients
- 24 Oreo cookies, roughly crushed
- 1 box (about 15.25 oz) chocolate cake mix
- 2 cups whole milk
- 1 cup semi-sweet chocolate chips
- 1/2 cup unsalted butter, melted
Instructions
-
1Preheat your oven to 350°F (175°C). Lightly grease a 9×13 inch baking dish.
-
2Spread the crushed Oreo cookies evenly over the bottom of the prepared baking dish.
-
3Sprinkle the chocolate cake mix evenly over the layer of Oreos.
-
4Pour the milk evenly over the cake mix, then drizzle the melted butter on top.
-
5Scatter chocolate chips over the entire surface of the cake.
-
6Bake for 35 minutes, or until the top is set and the edges are bubbly. Let cool slightly before serving. Enjoy warm.
Approximate Information for One Serving
Nutrition Disclaimers
Number of total servings shown is approximate. Actual number of servings will depend on your preferred portion sizes.
Nutritional values shown are general guidelines and reflect information for 1 serving using the ingredients listed, not including any optional ingredients. Actual macros may vary slightly depending on specific brands and types of ingredients used.
To determine the weight of one serving, prepare the recipe as instructed. Weigh the finished recipe, then divide the weight of the finished recipe (not including the weight of the container the food is in) by the desired number of servings. Result will be the weight of one serving.
Did you make this recipe?
Please consider Pinning it!!




