So, About This Oreo Dump Cake – My Accidental Crowd-Pleaser
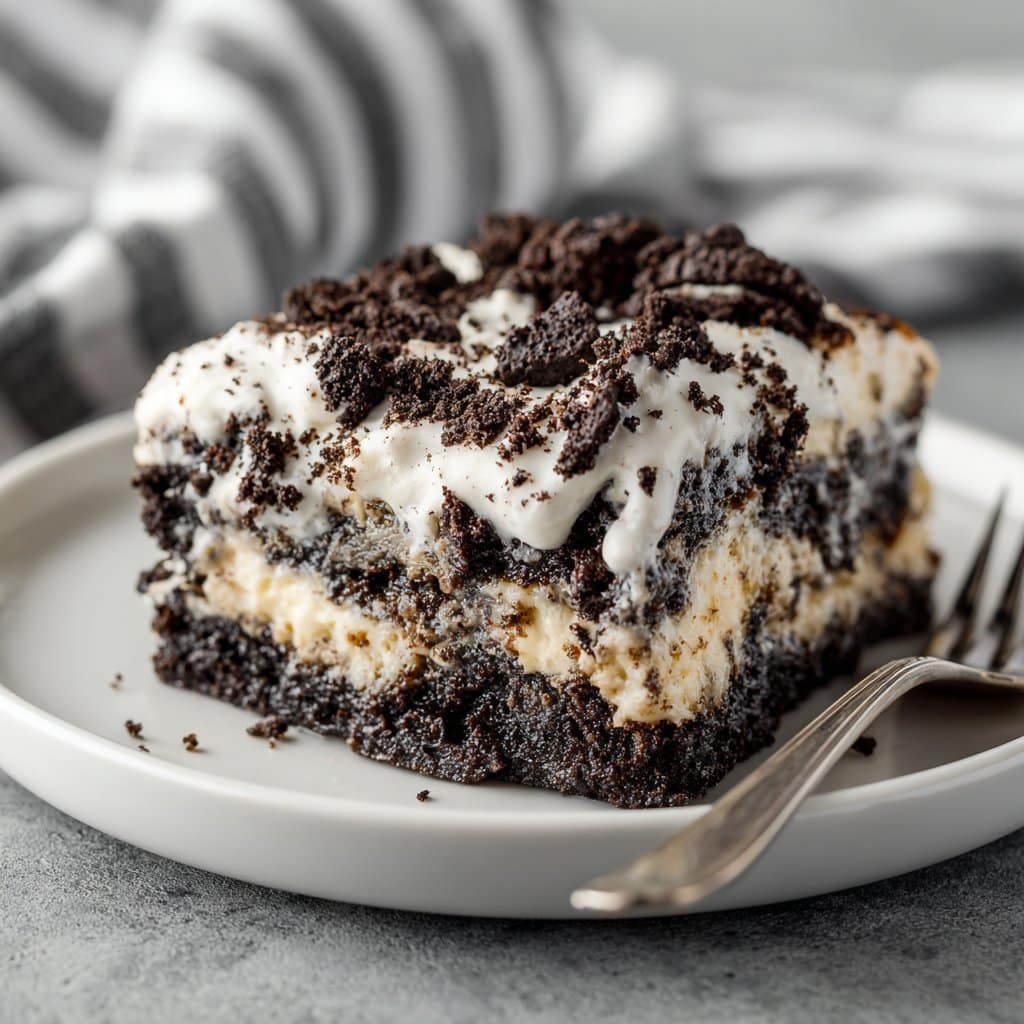
You know those days when you just can’t? Like, you’ve already microwaved your coffee three times and still forgot it in the kitchen? That’s exactly the kind of day when I first made this Oreo dump cake. Honestly, I was aiming for something fancier (think layered, frosted masterpiece) but then, well, real life happened. Five ingredients and giant spoonfuls later, everyone was raving. My brother-in-law asked for thirds — and he’s notoriously picky, so that’s saying something. Sometimes, you just need a dessert that forgives you for being a bit scattered. This is that recipe (and, as a bonus, you get to smash some cookies, which is therapeutic in its own way).
Why I Keep Making This (And Probably Will Forever)
I make this Oreo dump cake when I’m short on time, patience, or both. My family goes bananas for it — even the ones who usually act like they’re too sophisticated for Oreos. If you’ve ever wrestled with a complicated cake recipe, you know what a relief it is to just toss stuff into a pan and call it a day. Plus, there’s basically zero cleanup (unless you count the rogue cookie crumbs that seem to appear everywhere, but that’s half the fun). And, to be honest, I used to burn the edges — but now I sorta like them that way. Adds some character, right?
What You’ll Need (And What You Can Get Away With)
- 1 package of Oreo cookies (about 36, I think? But I’ve used the store-brand and no one noticed. Double Stuf works, too, if you’re feeling wild)
- 1 can (14 oz) sweetened condensed milk (sometimes I use the fat free version if that’s what’s lurking in my cupboard — it’s fine)
- 1 box chocolate cake mix (my grandma swore by Duncan Hines, honestly I grab whatever’s on sale)
- 1 stick (1/2 cup) of butter, melted (salted or unsalted, I’ve tried both; no disasters yet)
- 2 cups milk (whole milk is lush, but I’ve done it with almond milk and, well, it works in a pinch)
(Optional: a handful of chocolate chips or a sprinkle of sea salt if you’re feeling fancy. Sometimes I throw in a glug of vanilla extract, but only if I remember — which is not always.)
How To Make Oreo Dump Cake (A.K.A. Controlled Chaos)
- First up, preheat your oven to 350°F (or about 180°C if you’re somewhere sensible). Grease a 9×13 baking dish. Or don’t — I’ve forgotten before and just had to soak it for a bit longer. No big deal.
- Roughly chop or smash up your Oreos. (Pro tip: put them in a zip-top bag and whack them with a rolling pin. Great stress relief. Just don’t go too wild — you want chunks, not dust.) Spread about 2/3 of them over the bottom of the dish.
- Pour the sweetened condensed milk over the cookie layer. It won’t look like enough — trust me, it is.
- Now, sprinkle the dry cake mix evenly on top. Don’t press it down too much; a few lumps are normal. Actually, I find it works better if you leave it a bit uneven — more gooey pockets that way.
- Drizzle the melted butter all over. Try to cover as much as you can. (If it looks spotty, don’t worry; it sorts itself out in the oven. And don’t go back and try to patch every dry spot — learned that the hard way.)
- Pour the milk gently over everything. This part always feels wrong, but it’s what makes it delicious.
- Scatter the remaining Oreos (and chocolate chips if you want) on top. Sometimes I sneak a taste here. Who’s gonna know?
- Bake for 35-40 minutes. It’ll look bubbly and maybe a little wonky — that’s perfect. If you’re into crispy bits, let it go for a few extra minutes. If not, start checking early.
- Let it cool for at least 10 minutes before digging in — or don’t, but be ready for molten cake lava. (I speak form experience.)
Stuff I’ve Learned Along the Way (A.K.A. Notes)
- Don’t stress if the top looks patchy. It’s meant to be rustic. Who cares about perfection when it tastes like this?
- If you forget to buy milk (yep, been there) you can sub in half-and-half or even coffee. Makes it a bit richer, though — just a heads-up.
- This tastes even better the next day, if you can wait. Sometimes I don’t, and that’s fine, too.
Variations I’ve Tried (Some Worked, Some… Not So Much)
- Peanut butter Oreos instead of regular — surprisingly good, though maybe a bit much if you’re not a PB fan.
- Red velvet cake mix — my aunt loved it, I thought it was a bit too sweet. But hey, you do you.
- Once I tried adding caramel sauce on top before baking. It mostly just sunk to the bottom. Still tasty, but not very caramel-y on top.
What If You Don’t Have the Right Pan?
I always use my old 9×13 Pyrex, but I’ve done this in a big casserole dish and once in two loaf pans (don’t ask, it was a weird day). Just check for doneness earlier if your pan is smaller — or go for a bit longer if it’s deeper. No fancy tools are really needed; I’ve even mixed the layers with my hands before. (You’ll get messy. It’s fine.)
How Long Does This Last? (Spoiler: Not Long)
Technically, you can cover and keep this in the fridge for up to 4 days. Just microwave to rewarm. But honestly, in my house, it never survives past breakfast the next day. Sometimes not even that long if my teens are home. For more storage ideas, I like this guide from BHG.
How I Serve It (Ice Cream Is Not Optional)
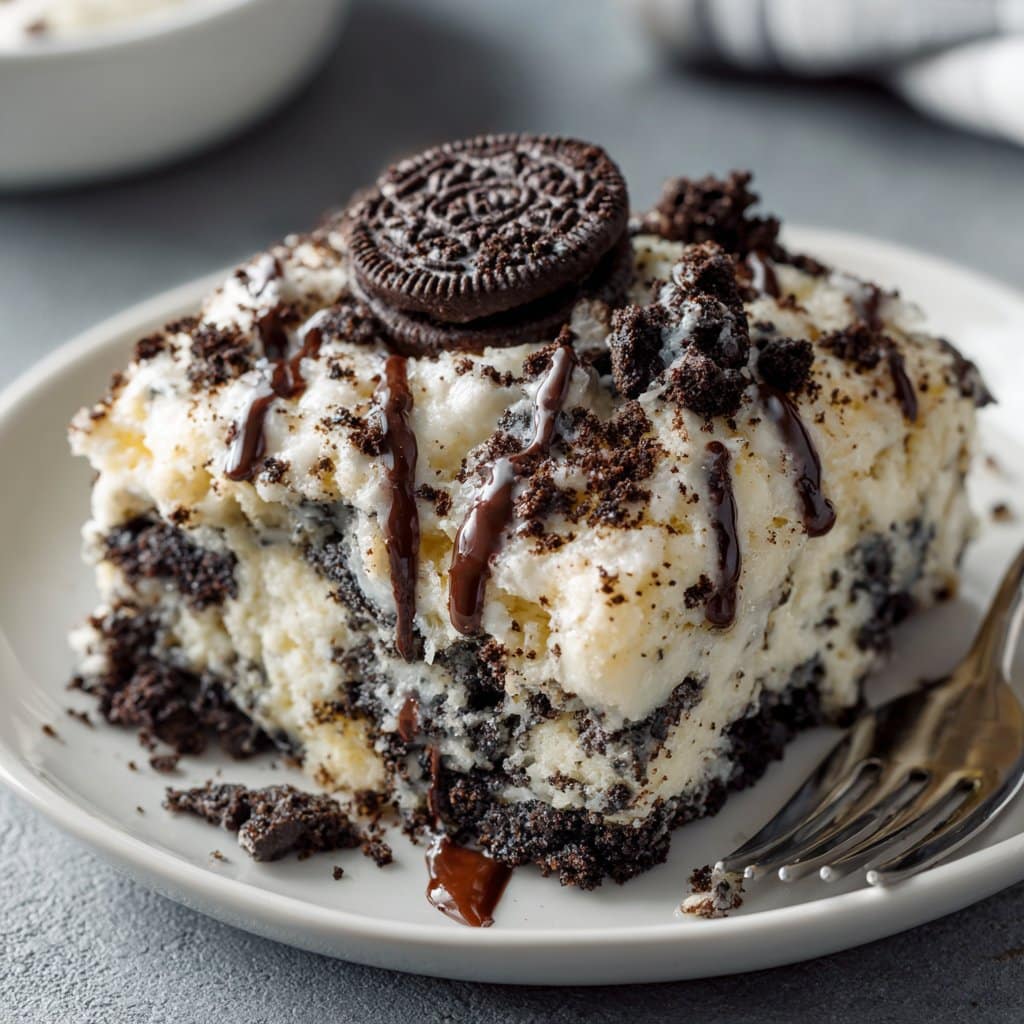
I love it warm with a big scoop of vanilla ice cream and a drizzle of chocolate syrup. My cousin insists on whipped cream and sprinkles. I once even tried it with a splash of Irish cream on top — not for the kids, but wow. Oh, and if it’s a birthday, we stick a candle in it and call it cake (because why not?).
What I Wish I’d Known (a.k.a. Pro Tips)
- I once tried to use cold butter instead of melted and it just sat there, looking sad. Don’t do it — melt the butter!
- Don’t skip the resting time after baking. I got impatient once and just ended up with a puddle of half-baked goo (still tasty but you know, not what I was going for).
- Actually, I find it works better if you don’t overmix the cake mix layer. Just sprinkle and walk away.
FAQ (Stuff Folks Have Actually Asked Me)
- Can I use gluten-free cake mix? Yep — I’ve tried it with the Betty Crocker GF mix and it works, though it’s a smidge denser.
- Do I have to use Oreos? Nah! Any sandwich cookie will do — I’ve used the chocolate mint ones and, mate, they’re dangerously good.
- Can I double the recipe? You can, but use two pans or it might not bake through. Trust me, I found out the hard way!
- Is this super sweet? Oh, for sure. But that’s why you add ice cream, right?
- Is it okay to use less butter? Probably, but honestly, I’d just go for it. Or, if you want more tips on baking with less butter, Sally’s guide is great.
- Can I make this ahead? Absolutely, just reheat in the oven or zap it in the microwave. Tastes a bit gooier the next day — which, I tend to think, is even better.
Random aside: I once tried to make this while binge-watching Bake Off and accidentally used coffee instead of milk. Turns out, happy accidents are a thing — the flavor was actually pretty awesome. So if you’re feeling adventurous, go for it. (But maybe don’t do it if you’re making it for picky eaters.)
Oh, and if you ever want to read more about dump cakes in general — I found this Taste of Home roundup really fun for ideas. But, honestly, this Oreo one? It’s always my go-to when I want the kitchen to smell like pure nostalgia and I don’t want to fuss about measuring everything to the gram. Enjoy!
Ingredients
- 24 Oreo cookies, roughly chopped
- 1 box (3.9 oz) instant chocolate pudding mix
- 2 cups cold milk
- 1 box (15.25 oz) chocolate cake mix
- 1/2 cup unsalted butter, melted
- 1 cup whipped topping (such as Cool Whip)
- 1/2 cup mini chocolate chips (optional)
- Extra Oreo cookies for garnish (optional)
Instructions
-
1Preheat your oven to 350°F (175°C). Lightly grease a 9×13-inch baking dish.
-
2Spread the chopped Oreo cookies evenly over the bottom of the prepared baking dish.
-
3In a medium bowl, whisk together the instant chocolate pudding mix and cold milk until thickened, about 2 minutes. Pour the pudding evenly over the Oreos.
-
4Sprinkle the dry chocolate cake mix evenly over the pudding layer. Drizzle the melted butter over the cake mix, making sure to cover as much of the surface as possible.
-
5Bake in the preheated oven for 35 minutes, or until the top is set and slightly crisp. Remove from oven and let cool for 10 minutes.
-
6Top with whipped topping, mini chocolate chips, and extra Oreo cookies if desired. Serve warm or at room temperature.
Approximate Information for One Serving
Nutrition Disclaimers
Number of total servings shown is approximate. Actual number of servings will depend on your preferred portion sizes.
Nutritional values shown are general guidelines and reflect information for 1 serving using the ingredients listed, not including any optional ingredients. Actual macros may vary slightly depending on specific brands and types of ingredients used.
To determine the weight of one serving, prepare the recipe as instructed. Weigh the finished recipe, then divide the weight of the finished recipe (not including the weight of the container the food is in) by the desired number of servings. Result will be the weight of one serving.
Did you make this recipe?
Please consider Pinning it!!




