So Here’s The Story (And Why I Keep Making These Bars)
If you’ve never made Oreo Peanut Butter Bars, you’re in for quite a treat—no kidding. The first time I whipped these up, it was one of those days: fridge looking suspiciously empty, sweet tooth screaming louder than the kids (which, by the way, is saying something), and just enough energy left to crush some cookies. My best mate Liz stopped by unexpectedly, and we demolished three-quarters of the pan while standing at the counter just chatting about—well, the sort of things I probably shouldn’t put online.
Honestly, these bars are part treat, part therapy for me. And warning: they’re a bit messy to cut, but that’s half the fun (plus, nobody trusts a perfectly tidy traybake, right?).
Why I Keep Coming Back to This Recipe
I make these when I need a dessert that gets a proper reaction. My family goes bonkers for them (my little one once tried to sneak two in his lunch, cheeky devil). If I forget to bring them to a potluck, I don’t hear the end of it for weeks. The peanut butter mixed with Oreos just makes people happy, and – well – they’re ridiculously quick. (Though, I’ll admit: cleaning the food processor after crushing the Oreos is my least favourite bit. I used to use double the peanut butter and it was just too much, actually.)
What Goes Into These Madly Good Bars?
- 24 Oreo Cookies – I mostly grab the classic kind, but once tried the golden Oreos and, um, the verdict’s still out. If you’re lazy, just eyeball “about two rows” – it works.
- 1 cup peanut butter – Smooth or crunchy, it’s up to you. My grandmother would use the fancy all-natural stuff. I? I’m happy with whatever’s on sale.
- 1/2 cup unsalted butter – Melted. If you only have salted, go for it (just skip the pinch of salt below).
- 1 cup powdered sugar – I’ve run out before and blitzed some regular sugar in a blender. Not perfect, but it works in a pinch.
- 1/4 teaspoon salt – I sometimes forget this step. Does it make a massive difference? Not really, but my sister insists it does.
- 6 ounces semi-sweet chocolate chips – Or milk, or dark (look, once I even used chocolate buttons; nobody cared).
- Optional: Splash of vanilla, handful of broken pretzels for topping, flaky sea salt
How I Like to Make These (Not Always the Same Way!)
- Line an 8×8-inch pan with parchment. Or just butter it, if you don’t mind prying these bars out with a spatula later (I don’t).
- Crumble Oreos into tiny bits. I usually throw them into a food processor, but if yours is buried somewhere in the garage (like mine was for a month), just bash ‘em in a zip-top bag with a rolling pin. It’s also a bit therapeutic.
- Stir together the peanut butter, melted butter, powdered sugar, and salt in a bowl. I occasionally chuck in a half teaspoon vanilla for kicks.
- Add the crushed Oreos to the peanut butter mixture. Stir it up—honestly, it looks a bit messy, but stick with it. This is where I usually sneak a taste (strictly for quality control).
- Press everything into your prepared pan. Get your hands involved if a spatula isn’t cutting it—it gets a bit sticky, but that’s half the magic.
- Melt chocolate chips in the microwave (30 seconds at a time) or using a makeshift double boiler if you’re fancy. Pour over the base and tilt the pan to spread—or just give up and smooth it with a spoon.
- Sprinkle with a handful of broken pretzels or flaky salt if you want that extra oomph. Totally skippable, but it looks impressive.
- Chill for at least an hour, until the chocolate sets. Or don’t, if you like gooey fingers. Cut into bars—don’t worry if the first one comes out mangled; that’s the chef’s piece. (I always eat that one, just saying.)
My Notes (Mostly Learned the Hard Way)
- If you don’t chill the bars long enough, slicing them is like wrangling a bag of cats—tricky but not impossible. Actually, I think they’re even better the next day, but that’s if you can wait.
- I once tried to make these with almond butter—didn’t love it. But hey, you do you.
- The chocolate: If you melt it with a little coconut oil, it’s glossier, but sometimes I can’t be bothered.
Some Things I’ve Tried (And One I Swore Off)
- Chucking in mini marshmallows. Tasted fine but made a mess (wouldn’t do it again).
- Swapping peanut butter for Biscoff spread. Heads up: dangerously delicious.
- Added a layer of raspberry jam once. That was surprisingly good—bit like a PB&J bar on steroids.
Equipment (Or What I Make Do With…)
- Food processor or a big zip-top bag and rolling pin (side note: my old wooden rolling pin likes to roll itself off the counter now and then, so be warned!)
- Bowl and spoon (some people use fancy stand mixers, but my arms work just fine for this)
- 8×8 pan (I’ve used a loaf tin in desperation, bars were just taller)
How to Keep ‘Em (Though Good Luck With That)
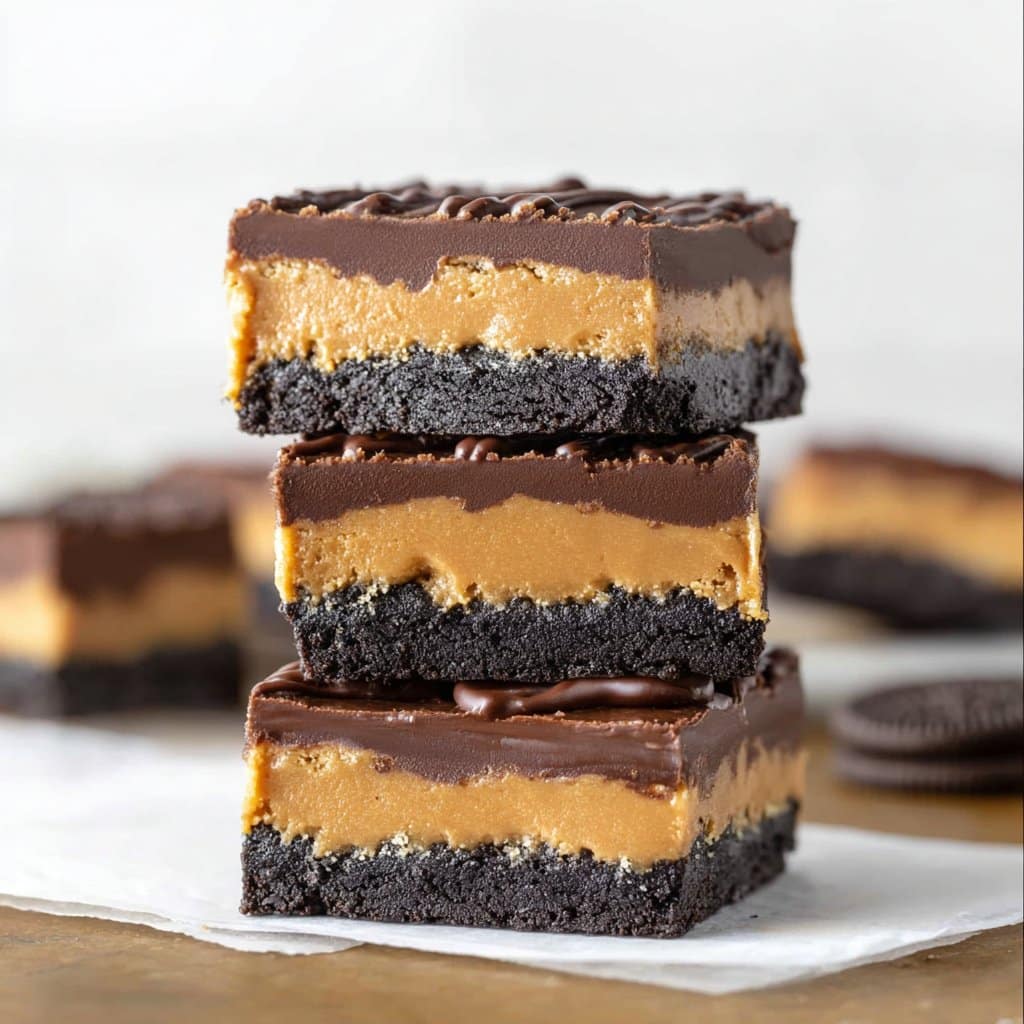
Fridge, airtight container, will technically keep for up to a week—though honestly, in my house it never lasts more than a day!
Serving: How I Dish These Up
I think these are best with a big mug of tea, but my husband swears by milk. Sometimes I’ll warm a bar for a few seconds in the microwave and pop a scoop of ice cream next to it—proper treat when pals are round. If it’s summer, they’re nice straight out of the fridge (so the chocolate doesn’t melt everywhere, frankly).
Things I’ve Learned (The Hard Way, Usually)
- If you try to speed up the chocolate melting—like, full blast in the microwave—it’ll seize. (Yep, learned that one the hard way.) Low and slow is the way.
- Press the mixture down evenly. If you half-hearted it, your bars will be a funny shape, which is only slightly embarrassing if you’re trying to impress someone.
Your Questions, Answered (Well, I’ll Try!)
- Can I make these without peanut butter?
- Yep! Sunflower butter or Biscoff spread swap in just fine. Almond butter was, for me, just a bit too different (I’d skip that next time).
- Are these gluten-free?
- If you use gluten-free Oreos (they exist now—Nicole has a good recipe) and check your peanut butter, you’re set.
- What if I don’t have a food processor?
- No problem. Just use a rolling pin or, heck, even the bottom of a heavy mug. (I once used a wine bottle in a pinch!)
- My bars are crumbly. What gives?
- Probably too much Oreo or not enough melted butter. Or maybe you were a bit stingy pressing them into the pan (no judgement!).
- More recipe ideas?
- I get a ton of inspiration from Sally’s Baking Addiction, so if you liked these, check her stuff out!
Alright, if you actually manage to have leftovers, colour me impressed. Final random tip: save those Oreo crumbs from the bottom of the package for sprinkling on ice cream (or, if you’re me, just eat ‘em with a spoon). Oh, and if you ever figure out a way to cut these bars perfectly straight, let me know. Still working on that.
Ingredients
- 24 Oreo cookies
- 2 tablespoons unsalted butter, melted
- 1 cup creamy peanut butter
- 1/2 cup unsalted butter, softened
- 1 1/2 cups powdered sugar
- 1 teaspoon vanilla extract
- 1 1/2 cups semisweet chocolate chips
- 2 tablespoons peanut butter (for topping)
Instructions
-
1Line an 8×8-inch baking dish with parchment paper.
-
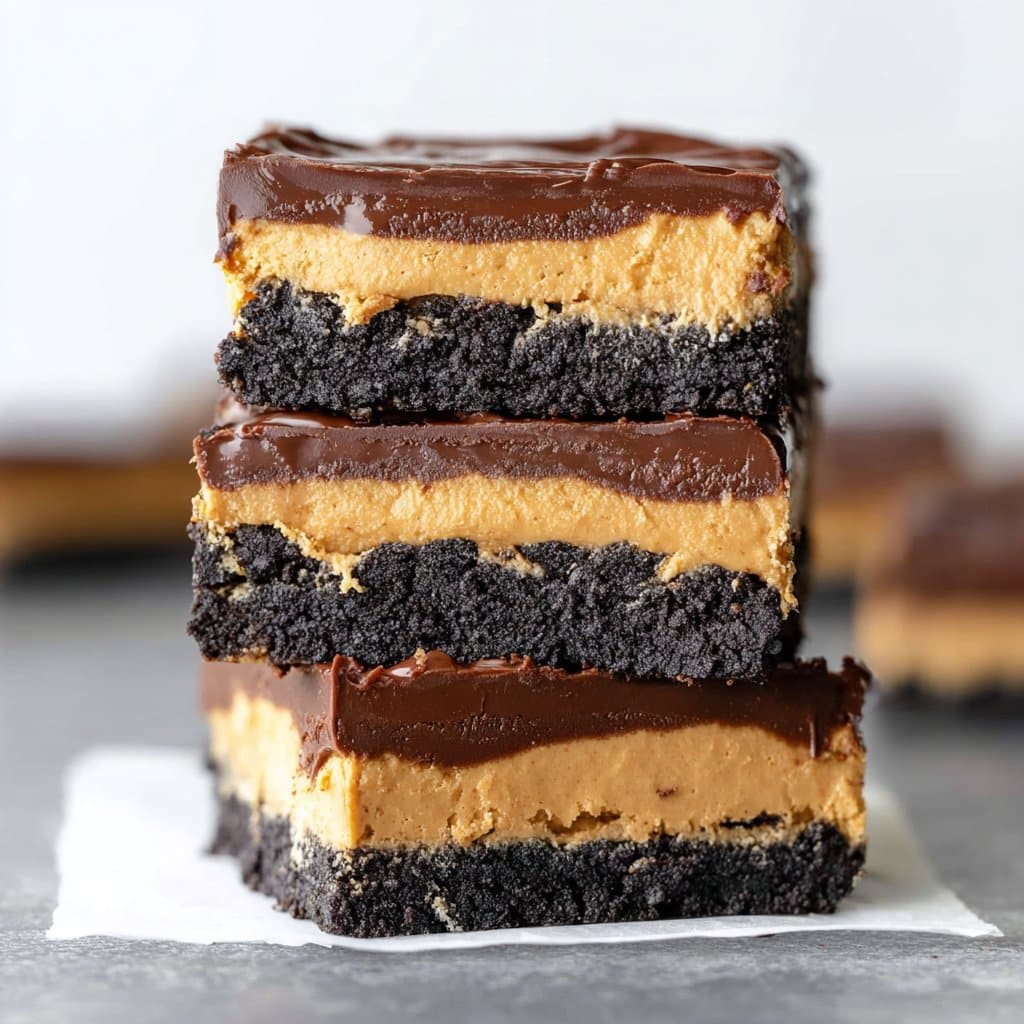
2Crush the Oreo cookies into fine crumbs using a food processor. Mix crumbs with 2 tablespoons melted butter until fully combined, then press this mixture firmly into the bottom of the prepared pan to form the crust.
-
3In a medium bowl, beat together 1 cup creamy peanut butter, 1/2 cup softened butter, powdered sugar, and vanilla extract until smooth and creamy. Spread the peanut butter mixture evenly over the Oreo crust.
-
4In a microwave-safe bowl, melt the chocolate chips with 2 tablespoons peanut butter in 30-second intervals, stirring until smooth. Pour the melted chocolate over the peanut butter layer and spread evenly.
-
5Chill in the refrigerator for at least 2 hours, or until set. Remove from the pan, cut into bars, and serve.
Approximate Information for One Serving
Nutrition Disclaimers
Number of total servings shown is approximate. Actual number of servings will depend on your preferred portion sizes.
Nutritional values shown are general guidelines and reflect information for 1 serving using the ingredients listed, not including any optional ingredients. Actual macros may vary slightly depending on specific brands and types of ingredients used.
To determine the weight of one serving, prepare the recipe as instructed. Weigh the finished recipe, then divide the weight of the finished recipe (not including the weight of the container the food is in) by the desired number of servings. Result will be the weight of one serving.
Did you make this recipe?
Please consider Pinning it!!