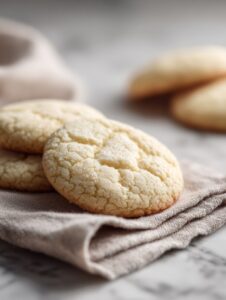
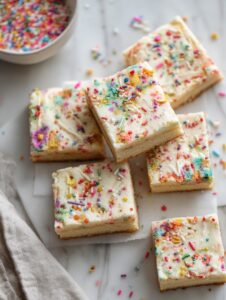
Let me tell you about baking pastel sugar cookies…
So, I’ve got this oddly specific memory: arms elbow-deep in flour, my youngest jamming a plastic bunny into what could only be described as dough with questionable ambition, and, of course, the kitchen looking more like a paintball arena than anything out of a glossy magazine (definitely blame the colored royal icing for that). Spring means one thing in this house—pastel chaos, sugar everywhere, and a new excuse to eat cookies for breakfast ‘cause they look so darn cheerful. You know, there’s something about the smell of butter, vanilla, and sugar mixing together that just zaps me right back to my nan’s galley kitchen. Hers were always the prettiest, though I’m fairly sure she spiked her icing with a whisper of magic—it’s still up for debate.

Why you’ll probably fall in love with these
I make these when my friend group’s due for a catch-up, or maybe when I just need something pretty on the counter (plus, they completely distract from the perpetually full sink—handy, right?). My family all but dives into the box as soon as that last cookie’s set. These cookies are soft but hold their shape, so if you’ve ever had the heartbreak of a cookie warping into some sort of abstract art when baking—these save you that tragedy. I’ll say: decorating is one of those things that used to intimidate me, but honestly, once you’ve flung pastel icing around with a toddler, perfection just seems a bit silly. Also, if the weather’s dreadful, this is the perfect way to sneak a bit of spring indoors.
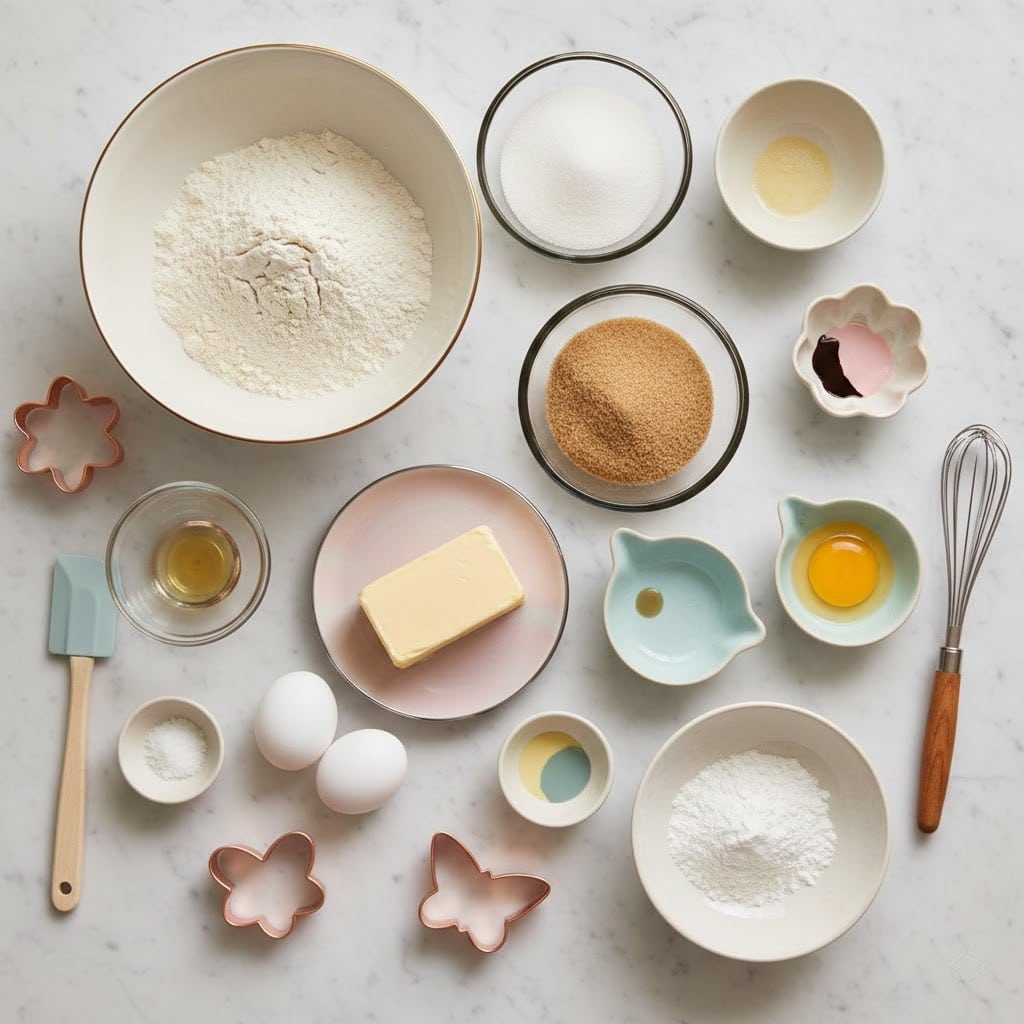
What you’ll need (plus a few swaps I’ve tested)
- 2 3/4 cups all-purpose flour (but sometimes I swap 1/4 cup for almond flour just for the fun of it, and it’s quite nice!)
- 1 teaspoon baking powder
- 1/2 teaspoon fine salt (NaN always said Morton, but use what you’ve got)
- 1 cup unsalted butter, room temp (or salted, but I skip the extra salt if so—easy enough)
- 1 1/4 cups sugar (brown sugar works in a pinch, gives a nutty twist)
- 1 large egg
- 2 teaspoons vanilla extract (I’ve used almond extract instead when I’m feeling fancy)
- 1-2 tablespoons milk, as needed
- For the icing: 2 cups powdered sugar, 1-2 tablespoons milk, 1/2 teaspoon vanilla extract, food coloring in various pastel shades
- Sprinkles or decorative candies (not essential, but my kids insist)
How I pull these together (don’t stress, it’s chill)
- Mix the flour, baking powder, and salt together in a big bowl. Sometimes I do this with a whisk, but a fork works—whatever is clean.
- In a separate bowl, get your butter and sugar together and beat them until pale and fluffy. I use my old hand mixer, but a wooden spoon plus some elbow grease does the trick if you’re feeling committed.
- Crack in the egg, splash in the vanilla, beat again—don’t worry if it gets a bit lumpy, it smooths out later. (This is where I usually sneak a taste, as it’s basically cake batter at this point.)
- Tip in the dry ingredients in two goes, mixing gently. If it looks dry and raggy, just dribble in a tablespoon of milk—no need for precision here.
- Once you’ve got a soft dough, divide it in half, pat into rough discs, wrap in clingfilm, and chill for at least an hour. Oddly, it rolls better if it’s a little bit soft, so don’t overdo the fridge bit. Actually, I’ve left it overnight and it didn’t mind at all.
- When you’re ready, preheat the oven to 350°F (175°C). Sprinkle some flour over the counter, roll the dough to about a quarter-inch thick. (If you roll thinner, they crisp up more. That’s not a bad thing though?)
- Cut cookies with your favorite springtime cutters—eggs, bunnies, flowers (I’ve also used a glass for circles, it works fine, not quite the same spirit but, still tasty).
- Set on a parchment-lined tray, an inch or so apart. Bake for 8-10 minutes. You’re looking for set edges, not much color—if they’re golden, you might be a minute over (totally edible, just a tad crunchy).
- Let cool on trays for a couple of minutes before shifting to a rack. I’ll admit, I’ve eaten more than one while still warm—best moment, hands down.
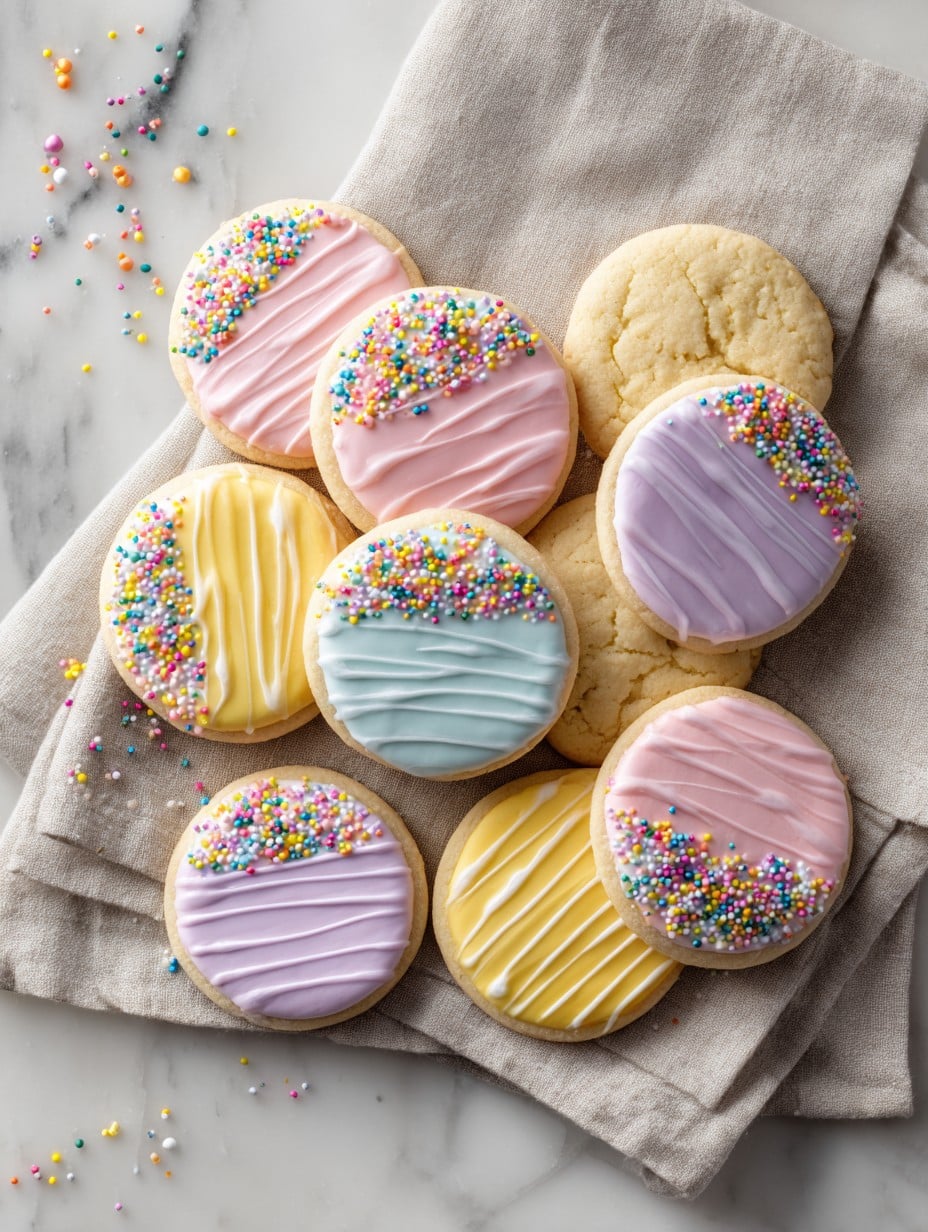
- Mix up your icing: sift powdered sugar, splash in milk and vanilla, whisk till smooth. Tint with food coloring—pastel tones are the vibe. If it’s runny, add more sugar; too thick, add milk, one teeny bit at a time. (I once dumped milk straight from the jug, bad move. Half my icing ran looser than soup and I learned my lesson.)
- Decorate! Pipe, swirl, splatter—there’s honestly no wrong way. If you don’t have piping bags, just snip a corner off a zip-top bag. And if your cookies look more ‘modern art’ than Martha Stewart, that just makes them memorable.
- Let icing set (about 30 minutes, unless you’re somewhere humid—then maybe double that).
What I’ve (sometimes painfully) learned—notes!
- The dough gets tough if you re-roll too many times, so I try to cut as many shapes as possible each go and just munch on the scraps instead of re-rolling obsessively.
- If you decorate while slightly warm, icing melts right off—found that out the interesting way.
- Use gel food coloring if you can; the colors are much brighter and don’t water down your icing. Though, regular liquid color works in a pinch—it tastes the same.
A few variations (good, odd, and whoops)
- Tried swapping some flour for whole wheat—didn’t love it (they got weirdly dense), but maybe it’s your thing?
- Lemon zest in the dough is honestly fabulous. It smells like sunshine.
- Chocolate chips turn these into something else—totally valid, just not quite pastel spring vibes.
Equipment (but don’t panic if you’re missing stuff)
- Mixing bowls (Don’t have a big one? Use a soup pot, I won’t tell.)
- Hand or stand mixer (Or a wooden spoon and a hearty attitude.)
- Rolling pin (Wine bottle wrapped in clingfilm also works. Ask me how I know.)
- Baking sheets, parchment paper (Foil in a pinch—just grease it.)
- Cookie cutters or a drinking glass
- Wire rack for cooling (Or just line cookies up along a chopping board—they’ll be fine.)
Storing these beauties—if you ever have leftovers
Keep cookies in an air-tight container for up to a week. Layer with baking paper if you went wild with the icing. But honestly, in my house, they never last more than a day. I once hid a tin on the top shelf and forgot, rediscovered weeks later—still edible, surprisingly (just a bit stale).
Serving vibes—what I really like
These look so cute piled on a cake stand or scattered along the brunch table. We always set a plate out for neighbors, and I swear it helps with getting packages signed for (everyone loves a cookie bribe).
Things I learned the silly way (pro tips?)
- I once tried speeding through, baking right away—instead of chilling the dough—and… ended up with scary blobby cookies. Chilling is worth it.
- Rushed the icing once, tried stacking them before it set. Ended up with mosaic cookies. Tasty, but… weird looking. Let them set properly!
Frequently asked stuff—real talk
- Can I freeze the cookie dough? Yep, wrap it up tight! Just thaw in the fridge overnight before rolling out, or in a real hurry, on the counter with a watchful eye so it doesn’t get too soft.
- My cookies don’t hold shape, what gives? Don’t skip chilling the dough! That’s the ticket. Also, measure your flour—too little and you’ll get spreaders.
- Help, my icing’s too thin! Just keep adding powdered sugar, a spoonful at a time. Don’t panic, it’s fixable.
- Can I make these gluten free? I’ve used a cup-for-cup gluten free blend, and actually, it worked better than I expected. A bit more crumbly though.
- Do I really need fancy cutters? Nope! I used a jam jar once. Anything vaguely round works, and no one’s calling the cookie police.
That’s honestly everything rattling round my brain on these pastel spring cookies. If you find stray icing in your hair later, know you’ve done it right. Happy baking, mate!
Ingredients
- 2 3/4 cups all-purpose flour (but sometimes I swap 1/4 cup for almond flour just for the fun of it, and it’s quite nice!)
- 1 teaspoon baking powder
- 1/2 teaspoon fine salt (NaN always said Morton, but use what you’ve got)
- 1 cup unsalted butter, room temp (or salted, but I skip the extra salt if so—easy enough)
- 1 1/4 cups sugar (brown sugar works in a pinch, gives a nutty twist)
- 1 large egg
- 2 teaspoons vanilla extract (I’ve used almond extract instead when I’m feeling fancy)
- 1-2 tablespoons milk, as needed
- For the icing: 2 cups powdered sugar, 1-2 tablespoons milk, 1/2 teaspoon vanilla extract, food coloring in various pastel shades
- Sprinkles or decorative candies (not essential, but my kids insist)
Instructions
-
1Mix the flour, baking powder, and salt together in a big bowl. Sometimes I do this with a whisk, but a fork works—whatever is clean.
-
2In a separate bowl, get your butter and sugar together and beat them until pale and fluffy. I use my old hand mixer, but a wooden spoon plus some elbow grease does the trick if you’re feeling committed.
-
3Crack in the egg, splash in the vanilla, beat again—don’t worry if it gets a bit lumpy, it smooths out later. (This is where I usually sneak a taste, as it’s basically cake batter at this point.)
-
4Tip in the dry ingredients in two goes, mixing gently. If it looks dry and raggy, just dribble in a tablespoon of milk—no need for precision here.
-
5Once you’ve got a soft dough, divide it in half, pat into rough discs, wrap in clingfilm, and chill for at least an hour. Oddly, it rolls better if it’s a little bit soft, so don’t overdo the fridge bit. Actually, I’ve left it overnight and it didn’t mind at all.
-
6When you’re ready, preheat the oven to 350°F (175°C). Sprinkle some flour over the counter, roll the dough to about a quarter-inch thick. (If you roll thinner, they crisp up more. That’s not a bad thing though?)
-
7Cut cookies with your favorite springtime cutters—eggs, bunnies, flowers (I’ve also used a glass for circles, it works fine, not quite the same spirit but, still tasty).
-
8Set on a parchment-lined tray, an inch or so apart. Bake for 8-10 minutes. You’re looking for set edges, not much color—if they’re golden, you might be a minute over (totally edible, just a tad crunchy).
-
9Let cool on trays for a couple of minutes before shifting to a rack. I’ll admit, I’ve eaten more than one while still warm—best moment, hands down.
-
10Mix up your icing: sift powdered sugar, splash in milk and vanilla, whisk till smooth. Tint with food coloring—pastel tones are the vibe. If it’s runny, add more sugar; too thick, add milk, one teeny bit at a time. (I once dumped milk straight from the jug, bad move. Half my icing ran looser than soup and I learned my lesson.)
-
11Decorate! Pipe, swirl, splatter—there’s honestly no wrong way. If you don’t have piping bags, just snip a corner off a zip-top bag. And if your cookies look more ‘modern art’ than Martha Stewart, that just makes them memorable.
-
12Let icing set (about 30 minutes, unless you’re somewhere humid—then maybe double that).
Approximate Information for One Serving
Nutrition Disclaimers
Number of total servings shown is approximate. Actual number of servings will depend on your preferred portion sizes.
Nutritional values shown are general guidelines and reflect information for 1 serving using the ingredients listed, not including any optional ingredients. Actual macros may vary slightly depending on specific brands and types of ingredients used.
To determine the weight of one serving, prepare the recipe as instructed. Weigh the finished recipe, then divide the weight of the finished recipe (not including the weight of the container the food is in) by the desired number of servings. Result will be the weight of one serving.
Did you make this recipe?
Please consider Pinning it!