Let’s Make These Festive Berries (Or: How I Once Turned My Hands Red, White & Blue)
If there’s one thing that spells out summer for me, it’s a big ol’ platter of chocolate covered strawberries showing up at a cookout table, winking at me (okay, not literally, but you get me). The 4th of July is practically made for these—red berries, white chocolate, then a little blue, easy as pie, only you’re not sweating over a pie crust. I first tried these at Aunt Jean’s backyard shindig when my cousin grabbed the whole tray and hid out under the trampoline. Can’t really blame her—they’re almost too fun to eat. Now I make them every year, and honestly, the only rule is: no guilt about melted chocolate on your shirt—it’s a badge of honor!
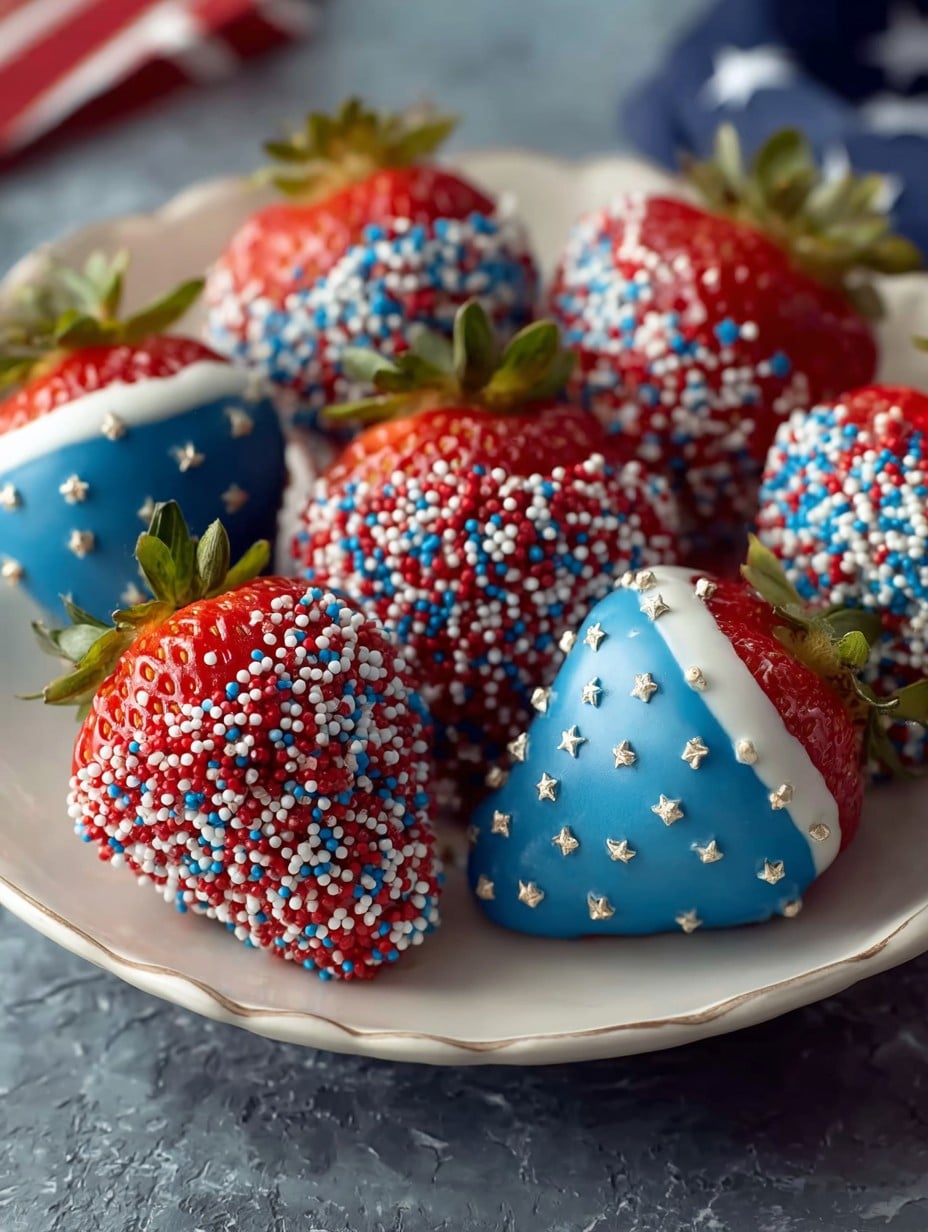
Why You’ll Love This Recipe (Or Maybe Just Laugh at My Chocolate Mishaps)
I make these patriotic strawberries when I want something quick that still looks like I tried, you know? My family goes crazy for these because they’re bite-sized, sweet, and look like you spent hours (spoiler: you really didn’t). They’re also a lifesaver because, on hot days, they chill up fast. Plus, if you’ve ever fought with making frosting behave for cupcakes (been there, got frosting in my kitchen fan), you’ll appreciate just dunking fruit in melted chocolate instead. I should mention: I’ve tried cutting corners with pre-melted grocery store dip—my teenager says it ‘tastes of sadness.’ Stick with the real stuff. Trust me.
The Ingredients (Some Optional, Some Grandma-Approved)
- 1 pound fresh strawberries (leave the green tops! Makes dipping easier, plus they look cute)
- 1 cup white chocolate chips or white candy melts (my grandmother swore by Ghirardelli, but honestly, Aldi’s works in a pinch)
- 1 teaspoon coconut oil or vegetable shortening, optional (makes the chocolate a bit glossier—sometimes I skip it and regret it later, up to you)
- 1/4 cup blue candy melts (Wilton’s are easiest to find, but if you’re in a jam, blue white chocolate bark works—just tastes a bit more…blue?)
- Red, white, and blue sprinkles (or just blue if you’re feeling minimalist or the store ran out of red, which happens every July in my town)
How to Actually Make These (With a Few Real-Life Sidesteps)
- Wash and dry the strawberries. Seriously, let them dry completely—it’s weird, but water makes chocolate slide right off like a kid on a slip-n-slide.
- Line a baking tray with parchment or wax paper. Foil works too if you’re out, but it can get a bit crinkly. Not the end of the world.
- Melt your white chocolate chips (and optional coconut oil) in a microwave-safe bowl, zapping in 25 second bursts and stirring after each one. Don’t rush this—burned chocolate smells like heartbreak. Alternatively, a double boiler on the stove works, but I never want to dirty another pot, so microwave it is for me.
- Now for the fun part: grab a strawberry by the green leafy cap and dip it about two-thirds of the way into the melted chocolate. Twirl it a little as you lift to keep dripping at bay (or don’t, and just eat the messiest one yourself, as is tradition).
- Set each dipped berry onto the lined tray. Here’s where I usually sneak a taste—hey, cook’s privilege!
- Pop the tray in the fridge for 10–15 minutes so the white chocolate firms up. Patience, grasshopper.
- Next, melt your blue candy melts the same way as before (short bursts, lots of stirring—if it’s too thick, a dab of oil helps loosen it).
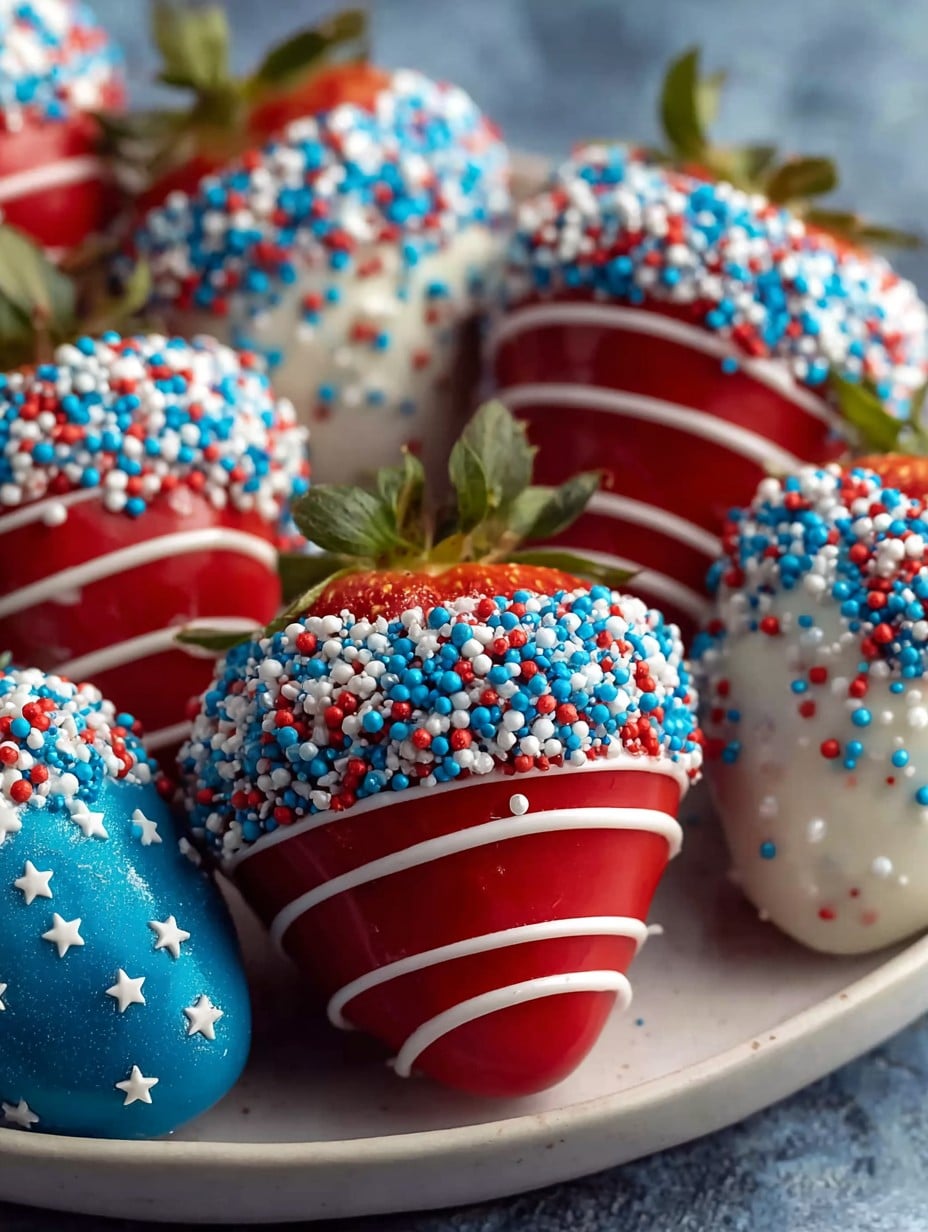
- Once the white chocolate is set, gently dip the strawberries’ tips into the melted blue candy—like you’re giving them a fancy blue shoe. Or, if you’re impatient, just spoon the blue over the tip and call it modern art.
- Before the blue sets, shower on your red, white, and blue sprinkles. Don’t overthink the pattern. Chaos looks festive, I swear.
- Return the tray to the fridge for another 10, maybe 20 minutes, until everything’s set. Or until you remember them, whichever comes first.
A Few Notes from Trial and, Uh, Error
- If you forget to dry the berries fully (guilty), the chocolate can stick patchily—doesn’t matter for taste, just aesthetics.
- Sometimes the blue melts stay stubbornly thick—mixing in the tiniest bit of vegetable oil works wonders, but too much and you’ll have a runny, sad puddle.
- I once left them out in the Texas heat—don’t do this unless you like abstract art on your plate.
Variations I’ve Played With (and One That Flopped)
- Try milk chocolate instead of white for dipping, though the blue won’t pop as much against it. Still tastes great.
- Dip only half the berry in white chocolate, then the other half in blue; looks funky but makes for good conversation (“Was this on purpose?”, my brother asked).
- One year I tried with yogurt chips, but the coating stayed weirdly tacky. Wouldn’t recommend unless you like things sticking to your teeth.
- Sometimes I swap sprinkles for edible glitter—highly recommended for sparkle-loving kids (or adults, I’m not judging).
The Stuff You’ll (Probably) Need—But Here’s a Hack if You Don’t
- A microwave-safe bowl (or a glass measuring cup, which is what I usually grab)
- Parchment or wax paper
- A baking tray (though actually, a big plate works in a pinch—I’ve definitely used pizza boxes too, don’t tell anyone)
- Spoons for stirring and drizzling
Where Do You Store These? (Not That They Last Long)
In my house, these berries are gone the same afternoon, but theoretically, you can keep them in a single layer in a sealed container in the fridge for a day or two. After that, the berries start weeping a bit and the chocolate loses its snap, as my aunt likes to say—but hey, they still taste fine if you snack them straight out of the fridge late at night.
Serving Them Up: My Family’s Take
I put these on a platter, surround them with blueberries and mini marshmallows for maximum red, white, and blue vibes. Sometimes my son arranges them into the shape of a flag, and I let him think it was his original idea (even though I saw it on TV first).
Lessons Learned (Or: If Only I’d Listened to My Own Advice)
- I once tried to skip the chilling step between the white chocolate and blue layer—not worth it, trust me. The colors bled together and looked like a smurf disaster.
- If you use cheap chocolate chips, sometimes they won’t melt smoothly—add a bit of coconut oil and keep the faith.
- Don’t do this outside in July, unless you want chocolatey polka-dots everywhere—I learned that one the hard way.
FAQ (Your Real Questions, With My Real Answers)
- Can I make these ahead of time? Yeah, a day ahead works; just don’t make them two days before—they’ll get mushy. They’re best day-of, honestly.
- Do I have to use candy melts? Not really. White chocolate chips work, and if you can’t find blue melts, just skip the blue or tint a bit of white chocolate with gel food coloring (but go easy, or it’ll seize up—happened to me once, and I had to eat the evidence).
- Help! My chocolate is all lumpy? Oof, that’s usually overheating. Try stirring in a little coconut oil and being patient; don’t microwave too long at once, or the chocolate throws a tantrum.
- Can I use frozen strawberries? I wouldn’t. They get too juicy and drip everywhere as they thaw, and the chocolate slides off faster than you can say “nah, not worth it.” Fresh is better.
Oh, and if you’re wondering—yes, it is totally acceptable to eat three or four right after making them. You earned it. Happy 4th!
Ingredients
- 1 pound fresh strawberries (leave the green tops! Makes dipping easier, plus they look cute)
- 1 cup white chocolate chips or white candy melts (my grandmother swore by Ghirardelli, but honestly, Aldi’s works in a pinch)
- 1 teaspoon coconut oil or vegetable shortening, optional (makes the chocolate a bit glossier—sometimes I skip it and regret it later, up to you)
- 1/4 cup blue candy melts (Wilton’s are easiest to find, but if you’re in a jam, blue white chocolate bark works—just tastes a bit more…blue?)
- Red, white, and blue sprinkles (or just blue if you’re feeling minimalist or the store ran out of red, which happens every July in my town)
Instructions
-
1Wash and dry the strawberries. Seriously, let them dry completely—it’s weird, but water makes chocolate slide right off like a kid on a slip-n-slide.
-
2Line a baking tray with parchment or wax paper. Foil works too if you’re out, but it can get a bit crinkly. Not the end of the world.
-
3Melt your white chocolate chips (and optional coconut oil) in a microwave-safe bowl, zapping in 25 second bursts and stirring after each one. Don’t rush this—burned chocolate smells like heartbreak. Alternatively, a double boiler on the stove works, but I never want to dirty another pot, so microwave it is for me.
-
4Now for the fun part: grab a strawberry by the green leafy cap and dip it about two-thirds of the way into the melted chocolate. Twirl it a little as you lift to keep dripping at bay (or don’t, and just eat the messiest one yourself, as is tradition).
-
5Set each dipped berry onto the lined tray. Here’s where I usually sneak a taste—hey, cook’s privilege!
-
6Pop the tray in the fridge for 10–15 minutes so the white chocolate firms up. Patience, grasshopper.
-
7Next, melt your blue candy melts the same way as before (short bursts, lots of stirring—if it’s too thick, a dab of oil helps loosen it).
-
8Once the white chocolate is set, gently dip the strawberries’ tips into the melted blue candy—like you’re giving them a fancy blue shoe. Or, if you’re impatient, just spoon the blue over the tip and call it modern art.
-
9Before the blue sets, shower on your red, white, and blue sprinkles. Don’t overthink the pattern. Chaos looks festive, I swear.
-
10Return the tray to the fridge for another 10, maybe 20 minutes, until everything’s set. Or until you remember them, whichever comes first.
Approximate Information for One Serving
Nutrition Disclaimers
Number of total servings shown is approximate. Actual number of servings will depend on your preferred portion sizes.
Nutritional values shown are general guidelines and reflect information for 1 serving using the ingredients listed, not including any optional ingredients. Actual macros may vary slightly depending on specific brands and types of ingredients used.
To determine the weight of one serving, prepare the recipe as instructed. Weigh the finished recipe, then divide the weight of the finished recipe (not including the weight of the container the food is in) by the desired number of servings. Result will be the weight of one serving.
Did you make this recipe?
Please consider Pinning it!




