Wait Until You Try This: My Weird Love for Peanut Butter Cup Dump Cake
Alright, so, here’s the thing—this Peanut Butter Cup Dump Cake is my little slice of dessert heaven, and honestly, it’s saved my bacon more times than I can count. I made it once because I forgot I’d promised dessert for a church potluck. People went absolutely bananas (not literal bananas, that’s another story). And yet, it’s embarrassingly simple—I’m talking throw-everything-in-the-pan-and-hope-for-the-best easy. I guess sometimes the best stuff is what you just sorta wing, eh?
Why You’ll Love This (Trust Me, You Will!)
I whip this up when I want a dessert that’ll hit everyone’s sweet spot—especially when I’m too tired to fuss with fancy stuff (who has time to sift flour at 8pm?). My family goes absolutely wild for anything with peanut butter, so it’s a win even when I use whatever candy we’ve got stashed after Halloween. The best part? There’s almost zero prep, and cleanup’s a breeze (for real, I can usually convince my kids to do the dishes if they get first dibs). Oh, and if you’re the type who can’t bake to save your life, relax. You can’t really mess this up… well unless you completely forget it in the oven, which I may have done, once. Maybe twice.
Ingredients (a Bit of This, a Bit of That)
- 1 box of chocolate cake mix (the cheap store-brand works fine, but my Grandma swore by Duncan Hines)
- 1 can (14 oz) sweetened condensed milk
- 1 cup creamy peanut butter (chunky’s ok too, but it gets a little weirdly textured—although I kinda dig it now and then)
- 2 cups mini peanut butter cups, chopped up (or just use a big bag of Reese’s if you’re in the US, which I do more than I’d admit)
- 1/2 cup melted butter (salted or unsalted, I honestly can’t tell the difference in this cake…)
- Optional: a small handful chocolate chips, caramel bits, or crushed pretzels for some crunch—depends what’s lurking in your pantry
If you’re really in a pinch, I’ve used brownie mix instead of cake mix before; it ends up gooier, but my kids loved the mess.
How I Throw It Together (a.k.a. The Directions)
- First, preheat your oven to 350°F (about 180°C). Or 355°F—my dodgy oven runs hot and no one’s ever complained. Grease a 9x13in baking dish, or just line it with parchment—honestly, easier cleanup that way.
- Spread half of the cake mix into the dish. Don’t stress if it’s not even—it’s called dump cake for a reason!
- Drizzle the sweetened condensed milk evenly over cake mix. This is when I usually sneak a little taste. It’s traditional at this point… right?
- Drop dollops of peanut butter all over. I never heat it up first, but if it’s super stiff, whack it in the microwave for 30 seconds.
- Scatter your chopped peanut butter cups (and any extras) all over. Seriously, don’t be shy. I once threw in a rogue Snickers. No regrets.
- Spoon the rest of the cake mix over everything—this layer is supposed to look a bit patchy. Don’t try to flatten it out. Embrace the chaos.
- Pour the melted butter everywhere. Kinda hard to do this ‘evenly’ but just do your best! (If it looks weird at this stage, you’re doing it correctly.)
- Bake for about 35-40 minutes, or until the top is puffy and set, but the middle still jiggles a bit when you give the pan a shake. Don’t overbake or you lose the gooey magic. I learned that the hard way.
- Now the worst part: let it cool at least 20 minutes before digging in. Or, you know, dive in early—just don’t burn your mouth like I have. Twice. Okay, three times.
Some Notes I’ve Learned the Hard Way
- If your peanut butter is rock solid, it’ll never swirl. Soften it up. Trust me. I tried to force it once and ended up flinging peanut butter across the kitchen (don’t ask).
- This cake tastes way better the next day. Which is a surprise, since mine rarely lasts that long! But, I actually think it does.
- If you find it too sweet (is that possible?), try swapping in dark chocolate mix and darker peanut butter cups. Or just, like, eat a smaller piece.
If You Wanna Mix It Up—My Experiments!
- One time I used Nutella instead of peanut butter. It was delicious, but, a little on the runny side. Probably wouldn’t do it again without mixing in something to thicken it first.
- Butterscotch chips are amazing in this; white chocolate chips, less so (they get kinda lost and weirdly waxy—I dunno why).
- I tried a sugar-free cake mix once. Nope. Tasted like cardboard with candy on top. If you find a good one, shoot me a message.
What You’ll Need (and a Few Cheeky Workarounds)
- 9×13″ baking dish (but I once used a pair of pie tins—messy but it sorta worked)
- Mixing bowls (or just your biggest salad bowl—no one’s looking)
- Sharp knife for chopping PB cups (or just break them up with your hands—it feels rebellious)
- Microwave for melting butter and softening PB (or do it stove-top like my Aunt Mary still does, mostly ‘cause she refuses to own a microwave)
Storing Leftovers (Ha, Like That’s Gonna Happen)
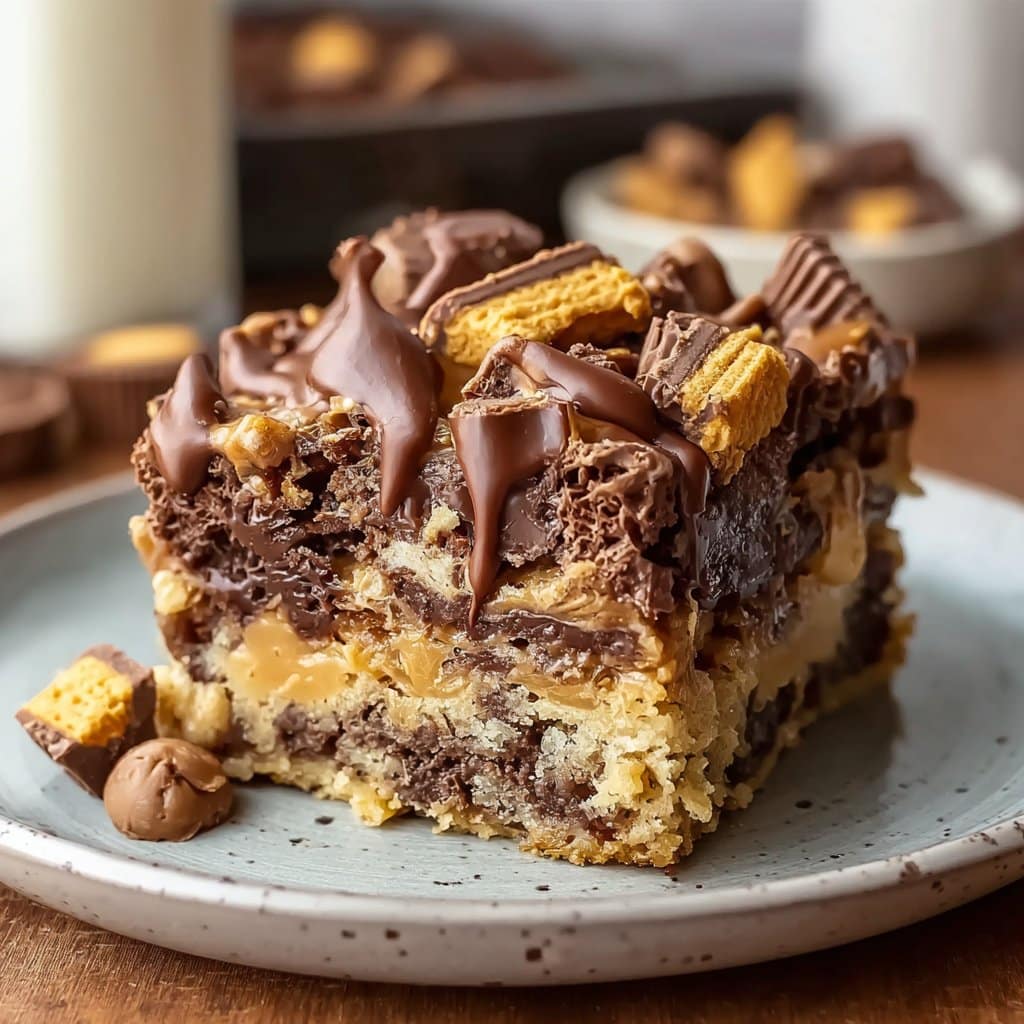
Store any leftovers—if you even have any—in a covered container at room temp. Good for 2-3 days, probably longer in the fridge (but who are we kidding, it’s usually wiped out before breakfast the next day). Oh, it’s not bad cold, either, which I discovered accidentally grabbing a slice before my coffee. Here’s a great rundown on keeping cake fresh if you want the science behind it.
How to Serve It Up (Our Lazy Family Style)
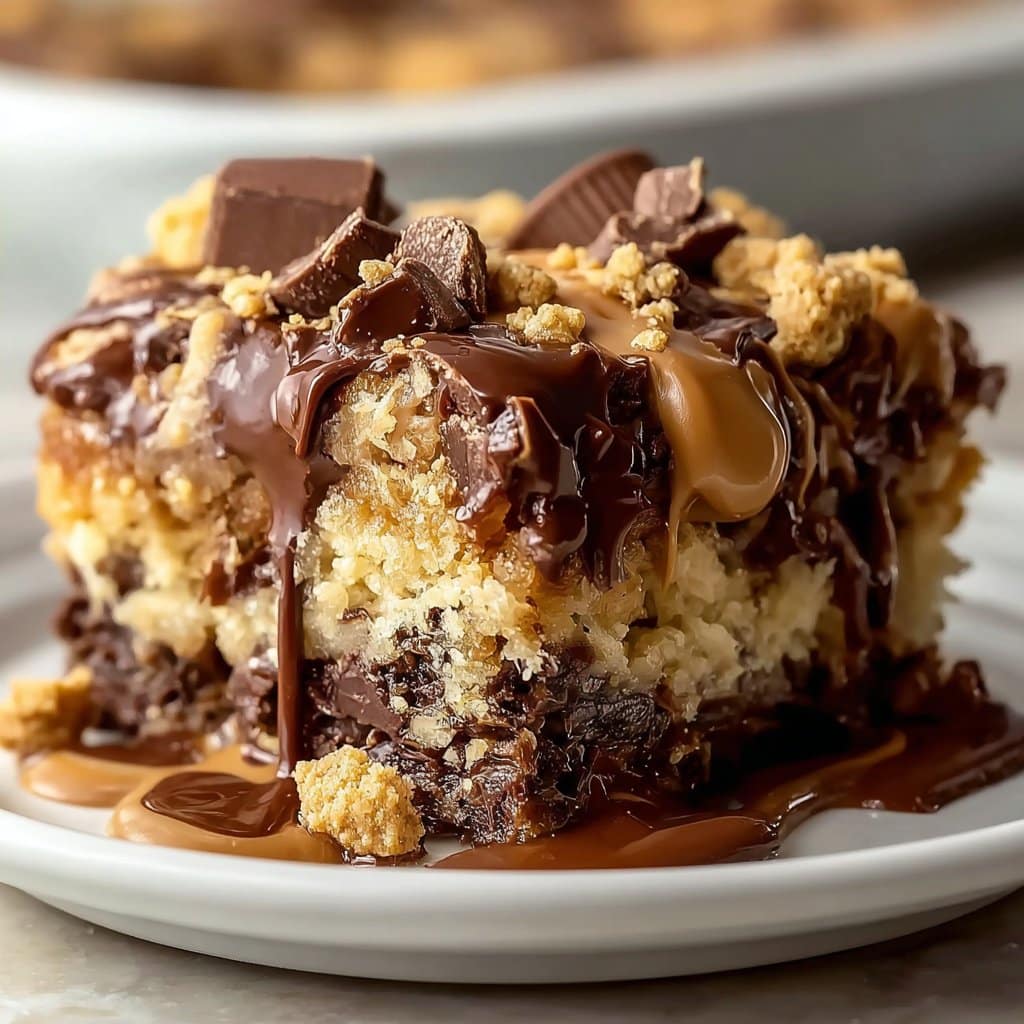
We like big, warm squares with a scoop of vanilla ice cream on top—sometimes with extra peanut butter cups, because, why not? My sister, though, dunks hers in coffee, which is honestly a pretty wild move but kind of genius. Every so often I’ll dust on a little powdered sugar if I’m feeling fancy, but mostly, we just dig in straight from the pan. You could make it look fancier with some chocolate syrup or caramel drizzle—totally up to you.
Pro Tips (Or, Things I’ve Messed Up, So You Don’t Have To)
- I once tried to use only half the butter to make it ‘lighter.’ Didn’t work. The top stayed dry and sad; just use all the butter. Life’s too short.
- If you rush the cooling time and try to slice it too soon, it’ll just run everywhere. (But hot spoonfuls are still pretty good…)
- Oh, and don’t skip greasing the pan like I did that one time. Total bummer—it sticks like you wouldn’t believe.
Quick FAQ (People Actually Ask Me These!)
Can I make this gluten-free?
Yeah, actually you can! Just grab a good GF cake mix (King Arthur’s is decent here’s a recipe, too). I did it for my neighbor once and it held up fine.
Can I freeze it?
Probably, but honestly I never have—the texture might go a bit odd with all that gooey stuff. If you do, let it cool completely first, wrap it tight, and defrost in the fridge. But…again, mine’s gone so fast I can’t say for sure.
What if I hate peanut butter?
I mean, you might be reading the wrong recipe! But you could try almond or cashew butter, or skip the PB cups and use a different candy. I’ve done chopped Snickers and it was pretty great.
Can kids help?
Absolutely! It’s mostly dumping and sprinkling, so short of turning the oven on, it’s safe. Little hands love tearing up the candy.
Completely off-topic, but does anyone else wonder why cake always tastes better at midnight? It’s a mystery I haven’t solved yet, but I’m committed to ongoing research.
Happy baking, friend!
Ingredients
- 1 box (15.25 oz) chocolate cake mix
- 2 cups miniature peanut butter cups, chopped
- 1 cup peanut butter chips
- 1/2 cup creamy peanut butter, melted
- 1 stick (1/2 cup) unsalted butter, melted
- 1 can (12 oz) evaporated milk
- 1/2 cup milk chocolate chips
Instructions
-
1Preheat oven to 350°F (175°C) and lightly grease a 9×13-inch baking dish.
-
2Spread the chopped peanut butter cups evenly onto the bottom of the prepared baking dish.
-
3Sprinkle the chocolate cake mix evenly over the peanut butter cups.
-
4Drizzle the melted peanut butter over the cake mix, then pour the melted butter and evaporated milk evenly over everything.
-
5Top with peanut butter chips and milk chocolate chips. Do not stir.
-
6Bake for 35-40 minutes, or until the cake topping is set and golden. Allow to cool slightly before serving.
Approximate Information for One Serving
Nutrition Disclaimers
Number of total servings shown is approximate. Actual number of servings will depend on your preferred portion sizes.
Nutritional values shown are general guidelines and reflect information for 1 serving using the ingredients listed, not including any optional ingredients. Actual macros may vary slightly depending on specific brands and types of ingredients used.
To determine the weight of one serving, prepare the recipe as instructed. Weigh the finished recipe, then divide the weight of the finished recipe (not including the weight of the container the food is in) by the desired number of servings. Result will be the weight of one serving.
Did you make this recipe?
Please consider Pinning it!!