Let’s Talk Pink Coconut Snowball Cake Bars (Yes, They’re As Fun As They Sound)
I’ll be honest right up front: nobody—seriously, not a living soul—needs another bar recipe unless it comes with a little story and a LOT of pink coconut. My Aunt Moira used to make something like these for every bake sale, and they always disappeared before the chocolate chip cookies, which used to drive her a bit bonkers. So, I’ve tried to recreate those magical bars—and put my own spin on them, too (Aunt Moira, if you’re reading this, sorry-not-sorry for making them pinker than you ever dared!). And don’t ask me why, but the coconut always gets everywhere. I still find shreds lingering in the oddest nooks a week later.
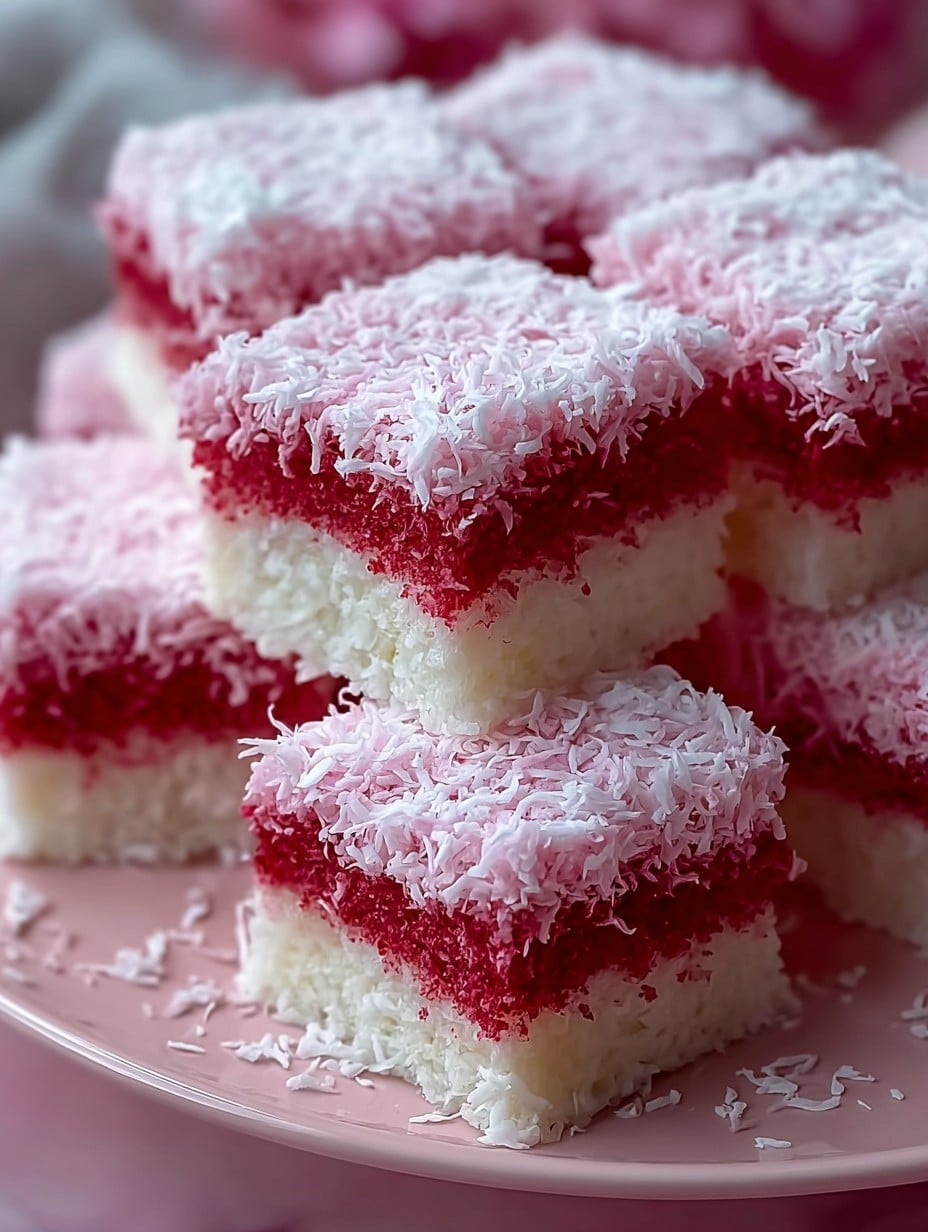
Why I Keep Making These (and Maybe You Will, Too)
I make these Pink Coconut Snowball Cake Bars whenever I want something that feels like a cross between a party and a cozy childhood snowstorm—without the cold. My family goes crazy for them. My kid once called them ‘Barbie snow brownies’ (not sure that’s entirely accurate, but I’ll take it). Also, they’re so much easier than rolling each one by hand like those super fiddly coconut balls. Not to mention, you can play a bit fast and loose with the ingredients (and, okay, the level of pink food dye depending on your mood that day) and they still come out pretty fab.
What You’ll Need (And What You Probably Already Have)
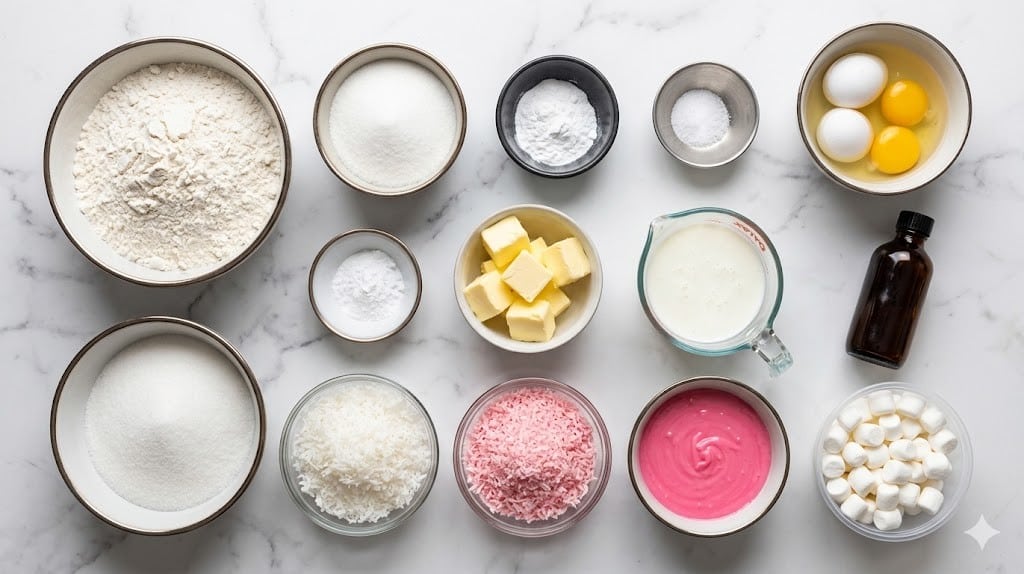
- 1 3/4 cups all-purpose flour (Gram insisted on Gold Medal; any brand does the trick, promise)
- 1/2 tsp baking powder
- 1/4 tsp salt (I sometimes skip this—depends if I remember, ha!)
- 1/2 cup unsalted butter, softened (stick butter or tub, iffier with spreadable but it’ll work)
- 1 cup granulated sugar
- 2 large eggs (room temp if you remember, cold if you don’t)
- 1 tsp vanilla extract
- 1/2 cup whole milk (or almond milk—I even tried oat milk once, honestly it was fine)
- 1 1/2 cups sweetened shredded coconut (plus extra for topping, if you’re heavy-handed like me)
- Pink gel food coloring—start with a couple drops, but you do you (or use red if that’s all you find at the back of the drawer!)
- 1 1/4 cups powdered sugar (for the snowy finish)
- 2–3 tbsp milk or cream (for the glaze – sometimes I use coconut milk for even more coconutty-ness)
How To Make Pink Coconut Snowball Cake Bars (It’s Not Rocket Science)
- Preheat your oven to 350°F (175°C). Grease an 8 or 9-inch square pan. Or—I once used a rectangle and cut them into messy parallelograms. Life’s too short.
- In a smallish bowl, whisk together flour, baking powder, and salt. I’ve totally forgotten the salt before and, honestly, it still tasted pretty good.
- In a bigger bowl, cream butter and sugar together until it looks fluffy. This is where I usually sneak a taste—because how could you not?
- Add eggs one at a time, mixing well after each. Then toss in your vanilla. (If you drop a shell in, just fish it out. Nobody’s judging!)
- Mix in half the flour mixture, then all the milk, then the rest of the flour stuff. Don’t overthink it—just stir until it’s all friendly.
- Add your food coloring (a little goes long way! I once got too enthusiastic and ended up with neon). Stir in shredded coconut. The dough will look delightfully weird—don’t panic.
- Spread dough in the pan as evenly as you can. My trick: wet a spatula with water so nothing sticks. Bake 24–28 minutes, until a toothpick comes out cleanish and the surface springs back a bit.
- Cool completely in the pan. Or at least until you can resist slicing in. (Warm bars sag a bit, but who cares?)
- For the glaze, whisk powdered sugar with 2 tablespoons milk or cream, adding more as needed for drizzling texture. Pour over cooled bars, then sprinkle over extra coconut—get wild here.
- Let the glaze set for about 30 minutes if you can wait. Slice into squares (or rectangles, or whatever shape happens—it’s all good). Enjoy!
Notes from (Way Too Many) Experiments
- If you overdo the food coloring, they can go a bit Pepto-Bismol. Less is actually more, in this rare case.
- I thought about skipping the glaze once, then realized it’s literally the best part. Don’t do what I did.
- These freeze pretty well, but, you might need a chisel to break them apart if you forget and don’t use parchment.
Variations I’ve Tried (And One I Definitely Won’t Again)
- Swap in lemon extract for vanilla, and you get a sort of pink lemonade thing. Pretty fresh.
- I added mini chocolate chips once—too much. The coconut wants to be the star, trust me.
- Toasted coconut on top looks posh… but, er, actually I burnt it the first time. Keep an eye on it!
Equipment – Do You Really Need Fancy Stuff?
A standard 8- or 9-inch baking pan is ideal. But I once used a pie plate (don’t tell the baking gods) and it was fine, just extra curved. No stand mixer? Elbow grease plus a sturdy wooden spoon works a treat, though your arm might protest a bit.
Storing—But Will They Even Last That Long?
Keep the bars in an airtight container at room temp for, oh, 2–3 days. Though honestly, in my house, they never last more than a day! If you’re restraining yourself, stash them in the fridge and they’ll keep a week (I think? Ours never make it that far).
Serving These Beauties? Here’s What I Do
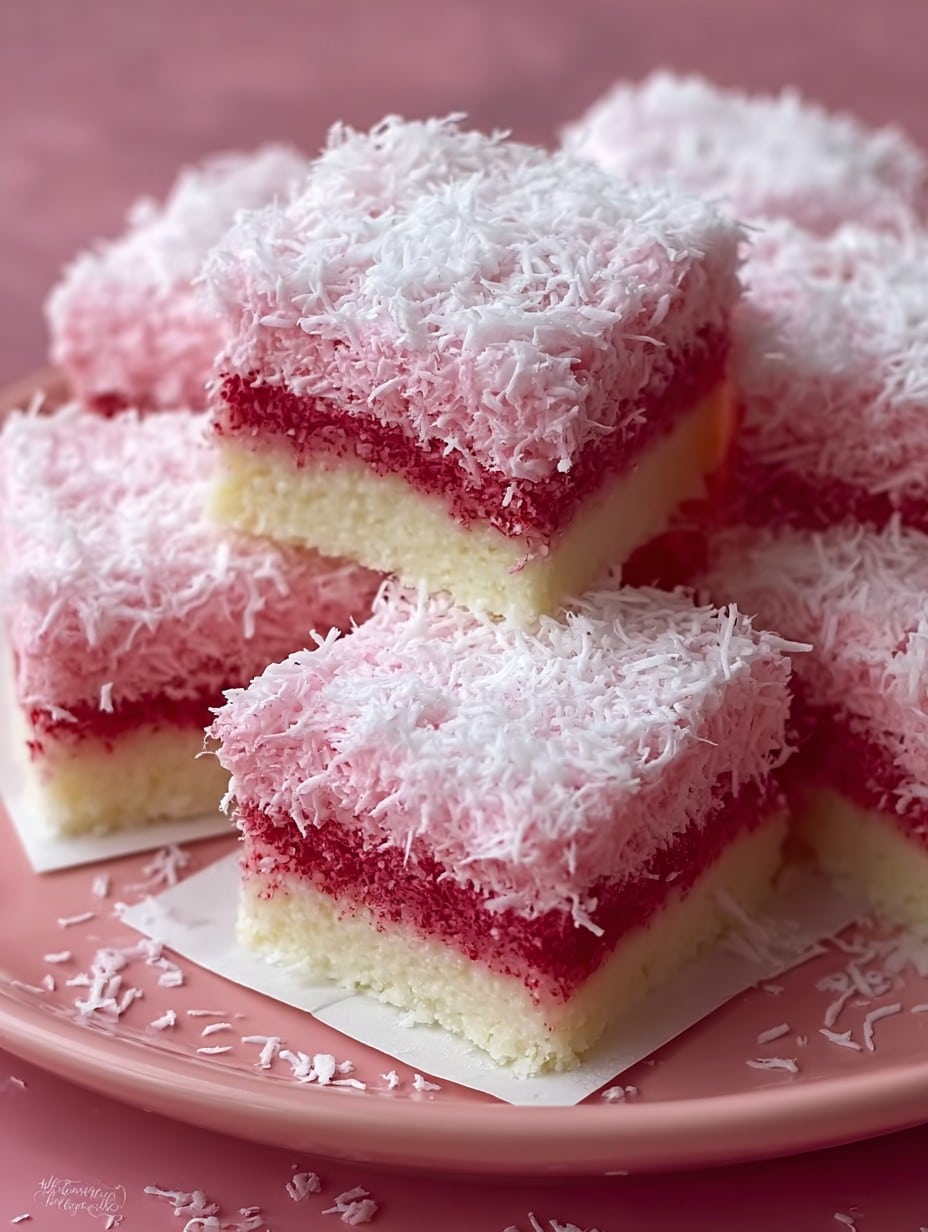
I like to cut them into little cubes and pile them up on a cake stand—makes ‘em look fancy. My cousin dips hers in extra melted white chocolate. For a birthday, toss on some rainbow sprinkles (my kid swears by this, so who am I to argue?).
Some Hard-Earned Pro Tips
- I once skipped lining the pan—ended up chiseling out the first slice. Parchment is your friend. Trust me.
- Don’t overbake! I tried rushing by turning up the oven and, uh, got coconut bricks.
- Try to let them cool before glazing. If you’re impatient (guilty), expect the glaze to soak in. Not the end of the world, just different!
Real-Life FAQ From My Inbox (and Friends’ Random Texts)
- Q: Can I make these gluten-free?
Sure! A good 1:1 GF flour blend works a treat, though maybe slice a bit smaller—they’re slightly crumblier. - Q: Do I have to use food coloring?
Nope, they’ll taste just as snowy, but less fun. Sometimes I skip it when I’m out; still tasty, but not as party-ish. - Q: Can I double for a party?
Of course—use a 9 x 13-inch pan. Watch your bake time, though; mine needed 5 mins extra. - Q: Is it super coconutty?
Pretty coconutty! But not in an overpowering way. If you’re worried, drop down to 1 cup in the dough. - Q: What if I don’t have powdered sugar?
I blitzed some granulated in a blender once. Worked fine! Bit coarser though.
So there you have it—my guide to Pink Coconut Snowball Cake Bars, complete with mess, memories, and a fair bit of pink. Go on, give ‘em a whirl!
Ingredients
- 1 3/4 cups all-purpose flour (Gram insisted on Gold Medal; any brand does the trick, promise)
- 1/2 tsp baking powder
- 1/4 tsp salt (I sometimes skip this—depends if I remember, ha!)
- 1/2 cup unsalted butter, softened (stick butter or tub, iffier with spreadable but it’ll work)
- 1 cup granulated sugar
- 2 large eggs (room temp if you remember, cold if you don’t)
- 1 tsp vanilla extract
- 1/2 cup whole milk (or almond milk—I even tried oat milk once, honestly it was fine)
- 1 1/2 cups sweetened shredded coconut (plus extra for topping, if you’re heavy-handed like me)
- Pink gel food coloring—start with a couple drops, but you do you (or use red if that’s all you find at the back of the drawer!)
- 1 1/4 cups powdered sugar (for the snowy finish)
- 2–3 tbsp milk or cream (for the glaze – sometimes I use coconut milk for even more coconutty-ness)
Instructions
-
1Preheat your oven to 350°F (175°C). Grease an 8 or 9-inch square pan. Or—I once used a rectangle and cut them into messy parallelograms. Life’s too short.
-
2In a smallish bowl, whisk together flour, baking powder, and salt. I’ve totally forgotten the salt before and, honestly, it still tasted pretty good.
-
3In a bigger bowl, cream butter and sugar together until it looks fluffy. This is where I usually sneak a taste—because how could you not?
-
4Add eggs one at a time, mixing well after each. Then toss in your vanilla. (If you drop a shell in, just fish it out. Nobody’s judging!)
-
5Mix in half the flour mixture, then all the milk, then the rest of the flour stuff. Don’t overthink it—just stir until it’s all friendly.
-
6Add your food coloring (a little goes long way! I once got too enthusiastic and ended up with neon). Stir in shredded coconut. The dough will look delightfully weird—don’t panic.
-
7Spread dough in the pan as evenly as you can. My trick: wet a spatula with water so nothing sticks. Bake 24–28 minutes, until a toothpick comes out cleanish and the surface springs back a bit.
-
8Cool completely in the pan. Or at least until you can resist slicing in. (Warm bars sag a bit, but who cares?)
-
9For the glaze, whisk powdered sugar with 2 tablespoons milk or cream, adding more as needed for drizzling texture. Pour over cooled bars, then sprinkle over extra coconut—get wild here.
-
10Let the glaze set for about 30 minutes if you can wait. Slice into squares (or rectangles, or whatever shape happens—it’s all good). Enjoy!
Approximate Information for One Serving
Nutrition Disclaimers
Number of total servings shown is approximate. Actual number of servings will depend on your preferred portion sizes.
Nutritional values shown are general guidelines and reflect information for 1 serving using the ingredients listed, not including any optional ingredients. Actual macros may vary slightly depending on specific brands and types of ingredients used.
To determine the weight of one serving, prepare the recipe as instructed. Weigh the finished recipe, then divide the weight of the finished recipe (not including the weight of the container the food is in) by the desired number of servings. Result will be the weight of one serving.
Did you make this recipe?
Please consider Pinning it!




