Alright, friend, pull up a chair and let me tell you how many times this Easy 5-Minute Smooth Hummus has saved my skin. There was this once when my in-laws dropped by right before lunch (no warning, of course). I had, like, 10 minutes to magic up a snack or risk hearing about it until kingdom come. Enter this hummus. I swear, I could make it blindfolded—with one hand stirring and the other shooing people away to give it time to blend. It’s creamy, dreamy, and honestly, half the reason my family’s still speaking to me after all these years.
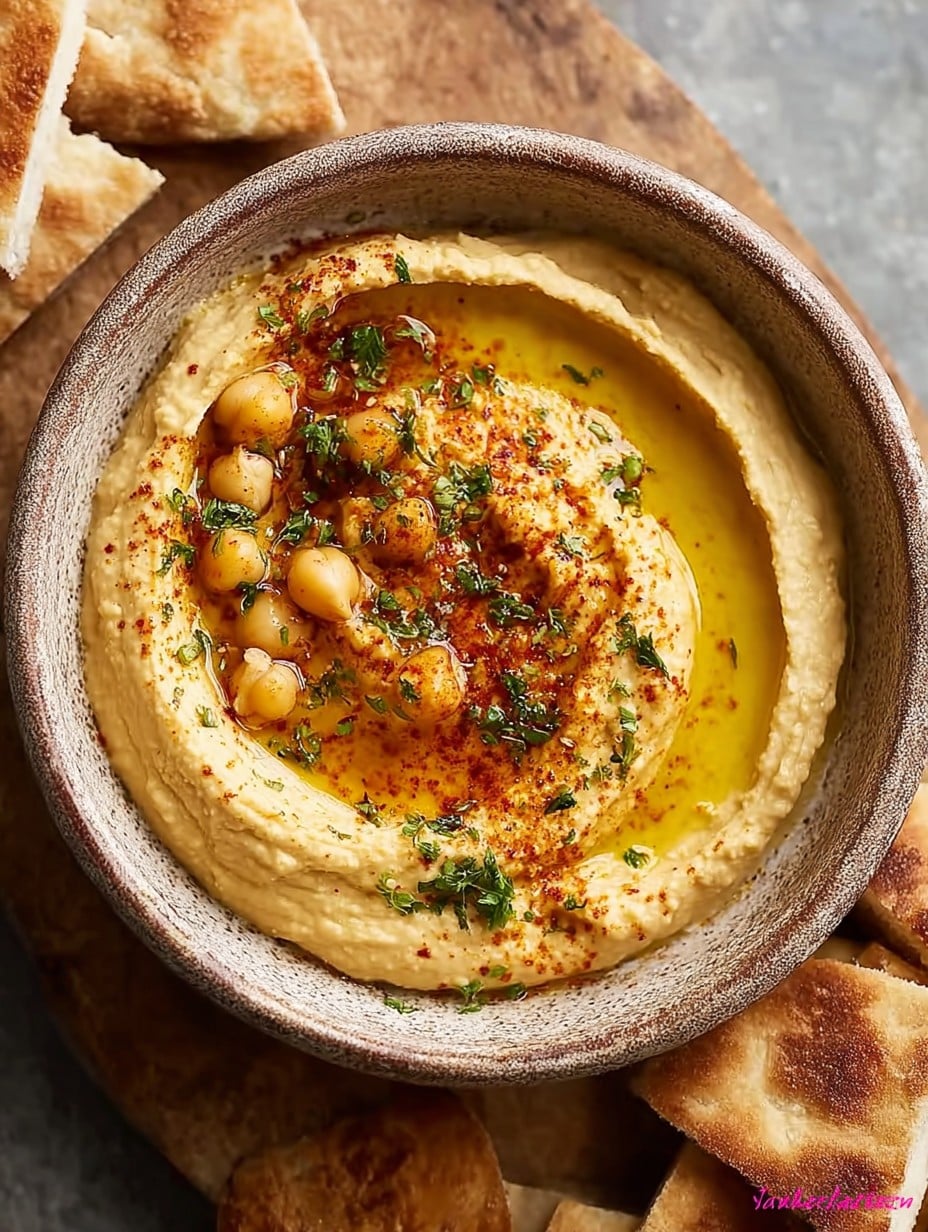
Why You’ll Love This Hummus
I make this when it’s way too hot to turn on the oven, or when we just need something on the table so the herd stops circling the fridge. My family goes nuts for it (my cousin Ben will actually eat it with a spoon—I’m both horrified and impressed). It’s cheap, fast, and you won’t believe how much better it tastes than store-bought. Plus, for anyone who’s had gritty homemade hummus disasters—you know who you are—it’s gloriously smooth. I used to think creamy hummus was a myth until I found my groove (lots of lemon juice, and don’t skimp on the tahini!).
Here’s What You Need (Give or Take)
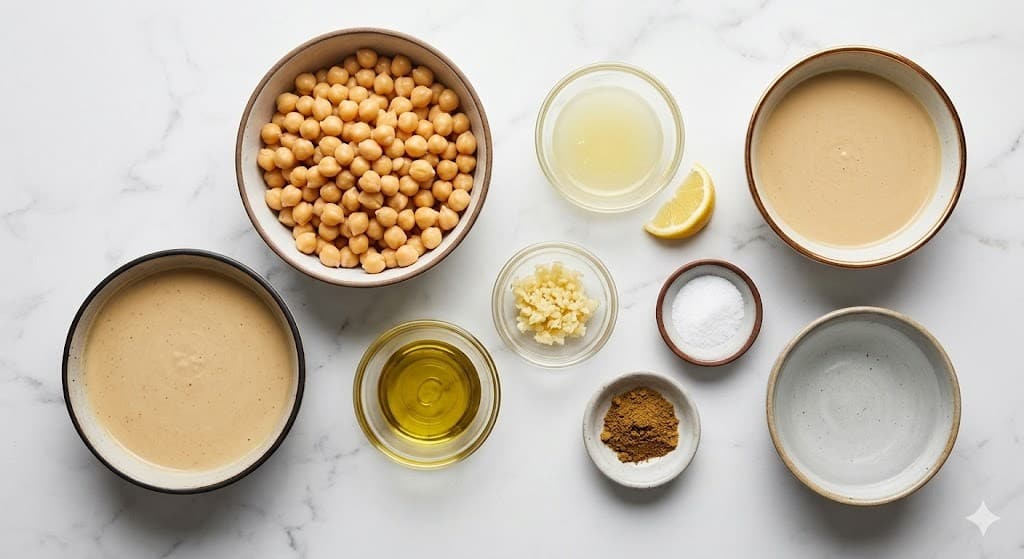
- 1 can (15 oz/400g) chickpeas, drained and rinsed (sometimes I use homemade, but if I’m honest, canned saves my sanity)
- 3 heaping tablespoons tahini (my grandmother would only buy one particular Lebanese brand, but truly, whatever you have in the cupboard is fine)
- 1 fat clove of garlic, roughly chopped (confession: I use 2 if nobody’s got meetings later)
- Juice of 1 lemon (occasionally I’ve run out and used bottled, works in a pinch, though not quite the same zing)
- 2-3 tablespoons cold water (start with 2, then see how you feel)
- 2 tablespoons olive oil (plus a bit extra for drizzling – I’m a sucker for shiny dips)
- 1/2 teaspoon salt (eh, I eyeball it, then add more if I overshoot on the lemon)
- 1/4 teaspoon ground cumin (optional, but I think it adds a little somethin’ somethin’)
How I Actually Make It – Not Just The Polished Version
- Dump the chickpeas, tahini, and garlic into your food processor. I sometimes let the machine go for a minute before the liquids—just because it makes me feel like things are moving.
- Add the lemon juice, olive oil, salt, cumin (if you like) and 2 tablespoons cold water.
- Whizz it up. Like, really let it go for a full minute or two. It might sound loud and dramatic, but that’s how the magic happens. Scrape the sides down once; this is where I usually sneak a taste. If it’s too thick, drizzle in a bit more water. If it looks weird at first—don’t worry, it settles down.
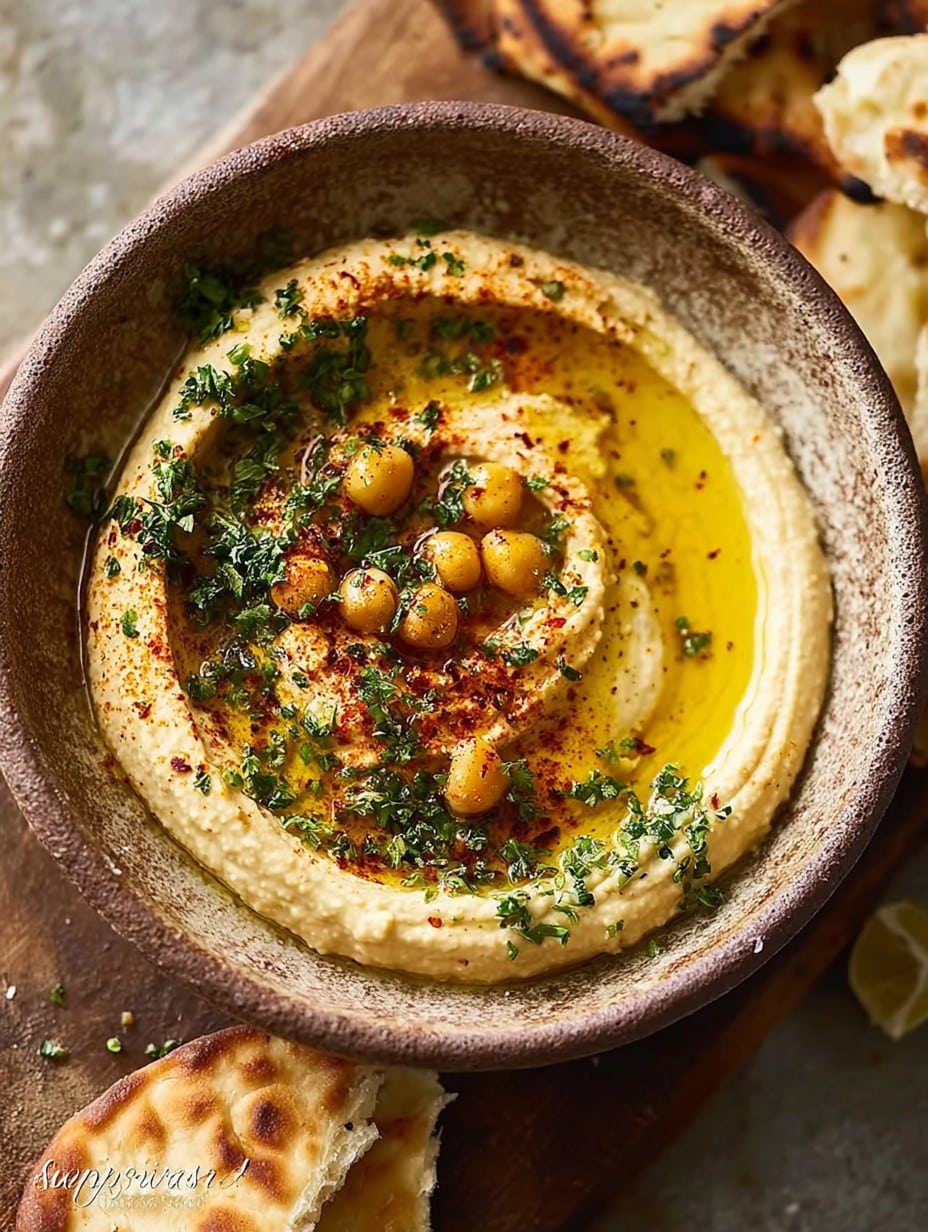
- Spoon into a bowl, swirl the top, and pour over extra olive oil. Maybe a little sprinkle of paprika or chopped parsley if you’re feeling fancy. Or don’t—it’s honestly great right out of the bowl. Grab a pita triangle and go wild.
No-Pressure Notes from My Kitchen
- I once thought peeling chickpeas was mandatory for smooth hummus, but actually, if you just blend long enough, it’s not a big deal. Save the fiddly work for another dish.
- Tahini: Some days I forget to stir it before scooping—little lumps are fine; just blend longer.
- If you like it super tangy, chuck in more lemon. I wouldn’t tell my kids, but I sometimes add a splash of white vinegar if I’m short on lemons.
I Tried These Variations (Some Worked, Some…Not So Much)
- Roasted red pepper hummus: Toss in half a roasted red pepper before blending. 10/10, strong recommend.
- Spicy: Just add a pinch of cayenne or harissa paste. My mouth thanked me—my four-year-old did not.
- Herby: Big handful of cilantro or parsley. Looks lovely, tastes fresh. But don’t try basil, trust me, it just got weirdly sweet.
What If I Don’t Have a Food Processor?
So, the food processor is handy, but a strong blender works (though you may need to stop and wrestle things away from the blade a few times). I once used a potato masher in a holiday rental—texture was chunkier, but honestly, nobody minded once the snack plates came out.
Storing It (If It Ever Lasts That Long)
Technically, you can keep this in an airtight container in the fridge up to 4 days. But, in all honesty, it’s usually gone in under 24 hours in my house. That said—hummus does taste better the next day, something about the flavors settling in together. If you notice it firms up, just give it a stir and add a splash of water.
This Is How I Serve It (Mostly So I Can Snack Too)
Classic is with warm pita or flatbread, but raw veggies make it look respectable. Sometimes I even use it as a spread on sandwiches. My dad insists on a drizzle of paprika oil on top—it’s not negotiable if he’s coming over. Also, sometimes we just scoop it right from the bowl with those tiny cucumbers. No shame.
Mistakes I’ve Made (So You Don’t Have To)
- I once rushed the blending and, surprise, ended up with gritty hummus. Don’t do that. Let the motor run—give it a few extra seconds than you think it needs.
- Adding all the water at once sometimes thins it too much. Add some, blend, then decide if you need more. Learned that one the messy way.
FAQ – You’ve Actually Asked Me These
- Can I make it without tahini? Probably, but it’s not quite the same. You could swap in a spoonful of Greek yogurt, a mate of mine swears by that, but I like the earthy sesame hit.
- What about dried chickpeas? You can totally use those, just cook till really soft. Honestly, I’m too impatient, but on weekends I sometimes do it for fun (we all need a hobby, right?).
- Does it freeze? I mean, yes, but the texture goes a bit off. If you do freeze it, stir like crazy after thawing and maybe add a splash more oil or water.
- Help, it’s too runny! Try blending in a few more chickpeas or even a spoonful of instant mashed potato flakes (weird, but it works!).
- Can I double the recipe? Yes, but if your food processor’s small, do two batches; learned that one when I overflowed and hummus got everywhere; even in the toaster.
And that’s it! Go on, give it a whirl. Message me if you run into any surprises—or even if you make up your own odd twist. Always up for a good hummus story, especially if it’s got a plot twist involving wayward lemon juice or surprise guests.
Ingredients
- 1 can (15 oz/400g) chickpeas, drained and rinsed (sometimes I use homemade, but if I’m honest, canned saves my sanity)
- 3 heaping tablespoons tahini (my grandmother would only buy one particular Lebanese brand, but truly, whatever you have in the cupboard is fine)
- 1 fat clove of garlic, roughly chopped (confession: I use 2 if nobody’s got meetings later)
- Juice of 1 lemon (occasionally I’ve run out and used bottled, works in a pinch, though not quite the same zing)
- 2-3 tablespoons cold water (start with 2, then see how you feel)
- 2 tablespoons olive oil (plus a bit extra for drizzling – I’m a sucker for shiny dips)
- 1/2 teaspoon salt (eh, I eyeball it, then add more if I overshoot on the lemon)
- 1/4 teaspoon ground cumin (optional, but I think it adds a little somethin’ somethin’)
Instructions
-
1Dump the chickpeas, tahini, and garlic into your food processor. I sometimes let the machine go for a minute before the liquids—just because it makes me feel like things are moving.
-
2Add the lemon juice, olive oil, salt, cumin (if you like) and 2 tablespoons cold water.
-
3Whizz it up. Like, really let it go for a full minute or two. It might sound loud and dramatic, but that’s how the magic happens. Scrape the sides down once; this is where I usually sneak a taste. If it’s too thick, drizzle in a bit more water. If it looks weird at first—don’t worry, it settles down.
-
4Spoon into a bowl, swirl the top, and pour over extra olive oil. Maybe a little sprinkle of paprika or chopped parsley if you’re feeling fancy. Or don’t—it’s honestly great right out of the bowl. Grab a pita triangle and go wild.
Approximate Information for One Serving
Nutrition Disclaimers
Number of total servings shown is approximate. Actual number of servings will depend on your preferred portion sizes.
Nutritional values shown are general guidelines and reflect information for 1 serving using the ingredients listed, not including any optional ingredients. Actual macros may vary slightly depending on specific brands and types of ingredients used.
To determine the weight of one serving, prepare the recipe as instructed. Weigh the finished recipe, then divide the weight of the finished recipe (not including the weight of the container the food is in) by the desired number of servings. Result will be the weight of one serving.
Did you make this recipe?
Please consider Pinning it!




