Let Me Tell You—Pumpkin and Chocolate? Magic
Alright, I’ve got to confess something: I didn’t grow up in a house where pumpkin was a big deal. Honestly, the first time I made pumpkin chocolate chip cookies, it was mostly because a can of pumpkin puree fell out of my cupboard and nearly broke my toe (thanks, gravity). But now? These cookies are a cold-weather staple at my place. They’re basically my autumn mood in cookie form. Oh, and warning—they’re so good, you might just eat half the batch before anyone else walks through the door. Don’t ask how I know that.
Why I Keep Making These (And You Probably Will Too)
I make these cookies when I want my whole house to smell like a cozy coffee shop. My family goes a bit bonkers for them, probably because the pumpkin makes them so soft. (It’s almost like biting into a cake, but lazier.) And let’s be honest, sometimes I’m just looking for an excuse to use up that half-empty bag of chocolate chips. If you’ve ever had your cookies come out weirdly dry—ugh, the worst—these are the cure. One time I completely forgot the egg, and they still came out decent. That’s the kind of recipe I need in my life.
The Stuff You’ll Need (But Don’t Panic About Substitutions)
- 1 cup pumpkin puree (I use canned, but if you’re feeling ambitious, roast your own. Or don’t. Up to you!)
- 1/2 cup butter, melted (I sometimes swap in coconut oil if I’m out of butter—totally works, just a bit more coconut-ty)
- 1 cup brown sugar (Granulated’s okay in a pinch, but brown sugar gives more oomph)
- 1 egg (No eggs? I once used a flax egg. Not bad, just a tad earthier.)
- 1 tsp vanilla extract (My gran swore by the real stuff, but I use whatever’s cheapest on sale)
- 2 cups all-purpose flour (Whole wheat works, but makes the cookies less fluffy. Personal preference!)
- 1 tsp baking soda
- 1/2 tsp salt (I forget this sometimes; cookies are still edible, but salt’s important, just saying)
- 1 1/2 tsp cinnamon (More if you like it spicy, or swap in pumpkin pie spice if you’re fancy)
- 1 cup chocolate chips (I just dump in whatever’s left in the bag, honestly. Semi-sweet, dark, milk—dealer’s choice)
- Optional: handful of chopped walnuts or pecans (My sister-in-law adds these, but the kids pick them out. Up to you.)
Let’s Get Baking (Don’t Overthink It)
- Preheat your oven to 350°F (180°C). I always forget to do this at the start, so if you’re the same—no judgment.
- In a big bowl, whisk together your melted butter and brown sugar. It’ll look kind of grainy—don’t stress.
- Plop in the pumpkin puree, egg, and vanilla. Mix until it’s smoothish. (This is when I usually sneak a taste. Quality control!)
- In another bowl, mix flour, baking soda, salt, and cinnamon. I used to skip the separate bowl and just add everything together, but the cookies come out better if you do it this way. Actually, I find it works better if you at least give them a quick mix before combining.
- Dump the dry ingredients into the wet. Stir until just combined. Don’t go wild—it’s supposed to be thick and a bit sticky.
- Fold in your chocolate chips (and nuts if you want). If you overmix, they’ll get tough, so just enough to spread the chips around.
- Spoon the dough onto a lined baking tray—about a heaping tablespoon per cookie. They puff up, so leave a bit of space.
- Bake for 10 to 12 minutes. Mine are usually done at 11, but ovens are weird. They should look set around the edges but still a bit soft in the middle. Don’t panic if they seem underdone; they’ll firm up as they cool.
- Let them cool a bit on the tray (otherwise, they fall apart). Move to a rack if you have one, or just eat them straight away. Who am I to tell you what to do?
Random Notes I’ve Learned (The Hard Way)
- If your pumpkin puree seems watery, blot it a bit with paper towels. Otherwise, you’ll get puddle cookies. (Ask me how I know…)
- Don’t skip the salt. I know I said it’s edible without it, but it really makes the flavors pop.
- If your dough feels too runny, pop it in the fridge for 30 minutes. This saved my cookies more than once.
- I think these are even better the next day, but they never last that long in my house.
Cookie Experiments (Some More Successful Than Others)
- White chocolate chips instead of regular chocolate? Surprisingly awesome.
- Adding a little orange zest—refreshing, if you’re into that. My kids weren’t sold.
- I tried making these gluten-free once with almond flour. Result: tasty but fell apart like sandcastles at high tide. Maybe try a 1:1 gluten-free mix instead.
What You Need in the Kitchen (Or Improvise, Like Me)
- Baking trays (covered with parchment if you hate sticky cleanup)
- Mixing bowls—at least two, but if you only have one, just give it a quick rinse between wet and dry stuff
- Spoon or cookie scoop (my friend swears by a cookie scoop, but I just use whatever tablespoon’s clean)
- Wire rack (nice, but honestly, a chopping board will do if you’re short on gear)
How to Store ‘Em (If They Survive That Long)
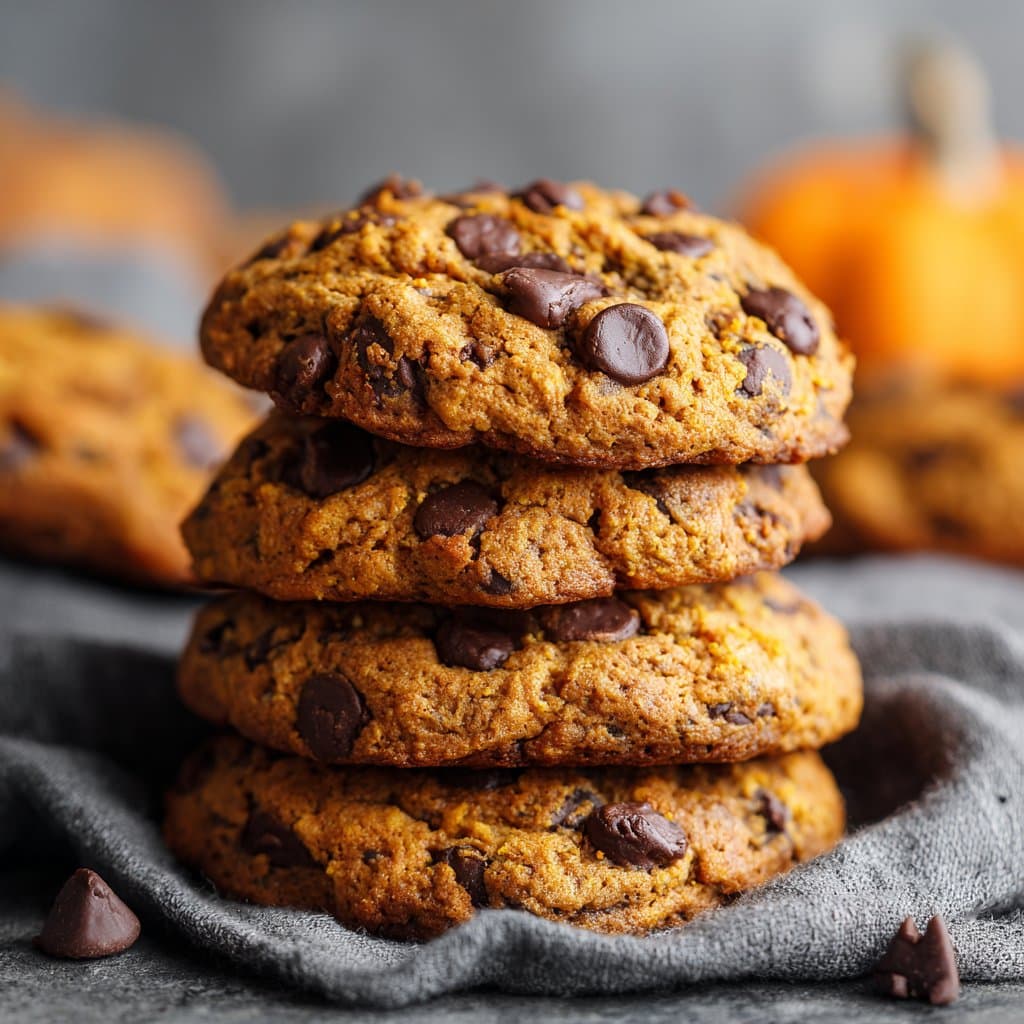
I keep these cookies in an old cookie tin with some parchment paper between layers. They’re fine for two or three days, but honestly, in my house it never lasts more than a day! If you want to freeze them, wrap tightly and they’ll keep for a month or so. Just thaw and snack (or, I sometimes eat them frozen—don’t judge).
Serving: My Two Cents
I like these with a glass of cold milk, but my cousin dunks hers in hot coffee (to each their own). Sometimes I sandwich two together with cream cheese frosting if I’m feeling especially extra. On autumn weekends, we’ll pile them up in a basket for movie night—blankets, cookies, and not a care in the world.
Lessons Learned (Or: Don’t Be Like Me)
- Don’t skip chilling the dough if it seems too soft; I once tried to rush this and ended up with cookie pancakes. Not what I was going for.
- Measure your flour loosely, not packed. I packed it in once and the cookies were like little rocks. Oops.
- If you forget the parchment, don’t panic—just let the cookies cool longer before trying to peel them off the tray.
People Always Ask Me…
- Can I use pumpkin pie filling instead of puree?
- Technically yes, but it’s a lot sweeter and already spiced. Maybe just cut back on the sugar and cinnamon if you do. I prefer plain puree, but hey, use what you’ve got!
- Why are my cookies cakey?
- These cookies are a bit cakey thanks to the pumpkin. If you want them chewier, reduce the flour a little or use less pumpkin. But honestly, the cakiness is part of the charm.
- Do I have to use chocolate chips?
- Nope! Sometimes I use chopped chocolate or even butterscotch chips if I’m feeling wild. Or skip them altogether and add raisins. (But then my kids revolt.)
- Where can I learn more about baking basics?
- I like the handy guides at King Arthur Baking—they have great troubleshooting tips. Also, Sally’s Baking Addiction (link) is where I first learned about cookie chilling (and honestly, a bunch of my other baking hacks).
One last thing—if you’ve made it this far, thanks for sticking with my rambling. Hope your batch comes out as deliciously imperfect as mine usually does. And if not, well, that’s what kitchen experiments are for, right?
Ingredients
- 1 1/2 cups all-purpose flour
- 1/2 teaspoon baking soda
- 1/2 teaspoon ground cinnamon
- 1/4 teaspoon ground nutmeg
- 1/4 teaspoon salt
- 1/2 cup unsalted butter, softened
- 1/2 cup granulated sugar
- 1/4 cup brown sugar, packed
- 1/2 cup pumpkin puree
- 1 teaspoon vanilla extract
- 1 cup semi-sweet chocolate chips
Instructions
-
1Preheat the oven to 350°F (175°C) and line a baking sheet with parchment paper.
-
2In a medium bowl, whisk together the flour, baking soda, cinnamon, nutmeg, and salt.
-
3In a large bowl, cream the softened butter, granulated sugar, and brown sugar until light and fluffy.
-
4Mix in the pumpkin puree and vanilla extract until well combined.
-
5Gradually add the dry ingredients to the wet ingredients, mixing just until combined. Fold in the chocolate chips.
-
6Drop tablespoonfuls of dough onto the prepared baking sheet. Bake for 10-12 minutes or until the edges are set. Cool on a wire rack before serving.
Approximate Information for One Serving
Nutrition Disclaimers
Number of total servings shown is approximate. Actual number of servings will depend on your preferred portion sizes.
Nutritional values shown are general guidelines and reflect information for 1 serving using the ingredients listed, not including any optional ingredients. Actual macros may vary slightly depending on specific brands and types of ingredients used.
To determine the weight of one serving, prepare the recipe as instructed. Weigh the finished recipe, then divide the weight of the finished recipe (not including the weight of the container the food is in) by the desired number of servings. Result will be the weight of one serving.
Did you make this recipe?
Please consider Pinning it!!




