Well, Here’s My Raspberry Chia Pudding Story
This pudding gets trotted out whenever I’m craving something a bit special, but absolutely cannot be bothered with complicated steps (or, let’s be honest, any step requiring an oven mitt). The first time I made it, I was actually convinced it would taste like wet seeds masquerading as a dessert. And yet—miracles happen! My cousin came over that morning (completely unannounced, as cousins do) and what was meant to be my private experimental breakfast became both our snack. She now requests it every time she visits, just for the record.
One random thing: the first time I made this, I misread “tablespoon” as “teaspoon” and couldn’t figure out why it wouldn’t set. So, in case you’re also running on autopilot before your coffee, double-check your spoons!
Why You’ll Love This Raspberry Chia Pudding (According to Me)
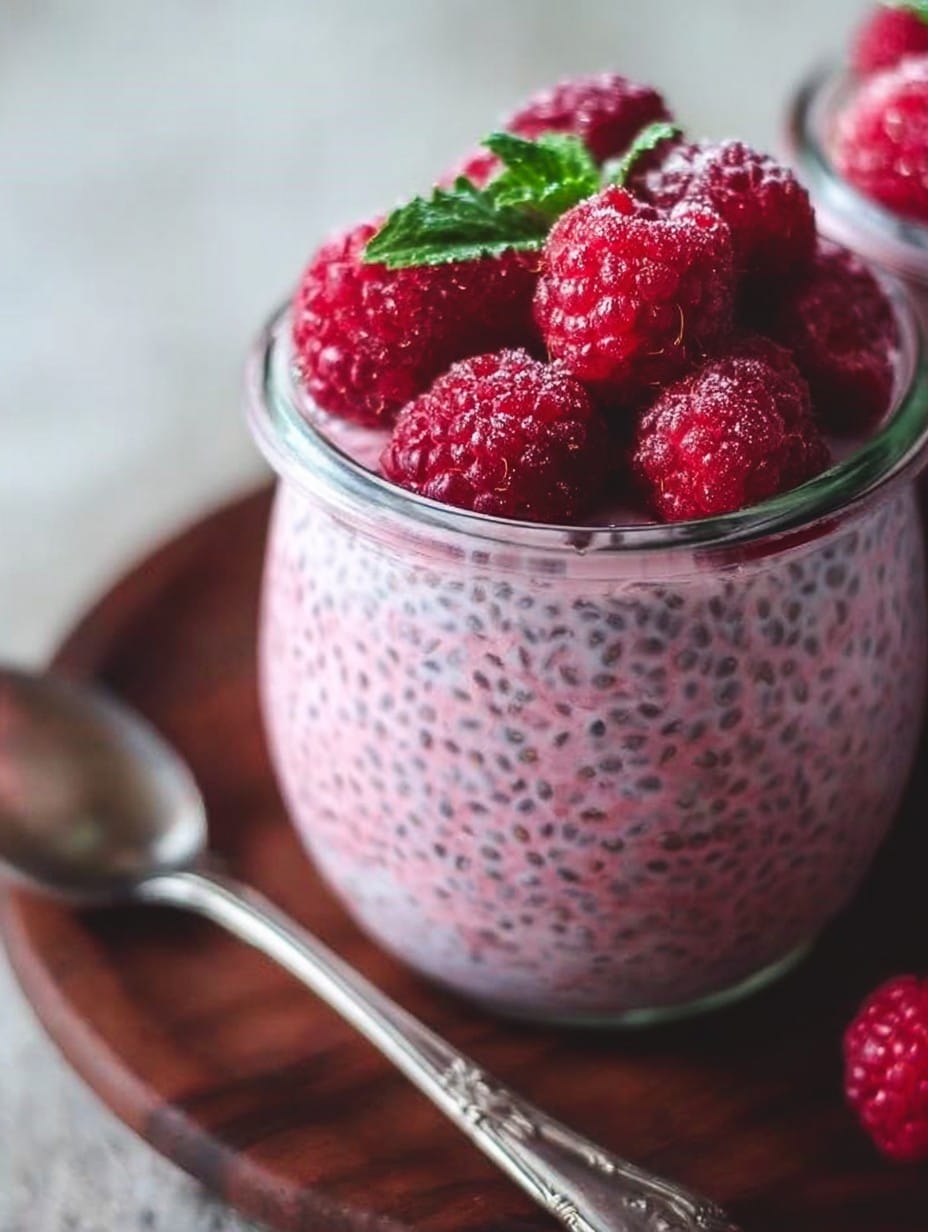
I make this when I want something that’s basically hands-off but still lets me feel like I’ve made a homemade treat. My family goes a little wild for it, especially because it’s such a bright, poppy pink in the morning—it feels a bit like eating dessert for breakfast (but with less guilt, maybe). Oh, and if you’re thinking chia pudding is some kind of “healthy but sad” dish, I thought so too! Turns out, that was completely wrong—at least with enough maple syrup.
There was a brief period when my niece went through a “no seeds!” phase, but after blending it once (a bit clumsy, I admit), she declared it acceptable. Victory.
What You’ll Need (Plus Some Lazy Swaps)
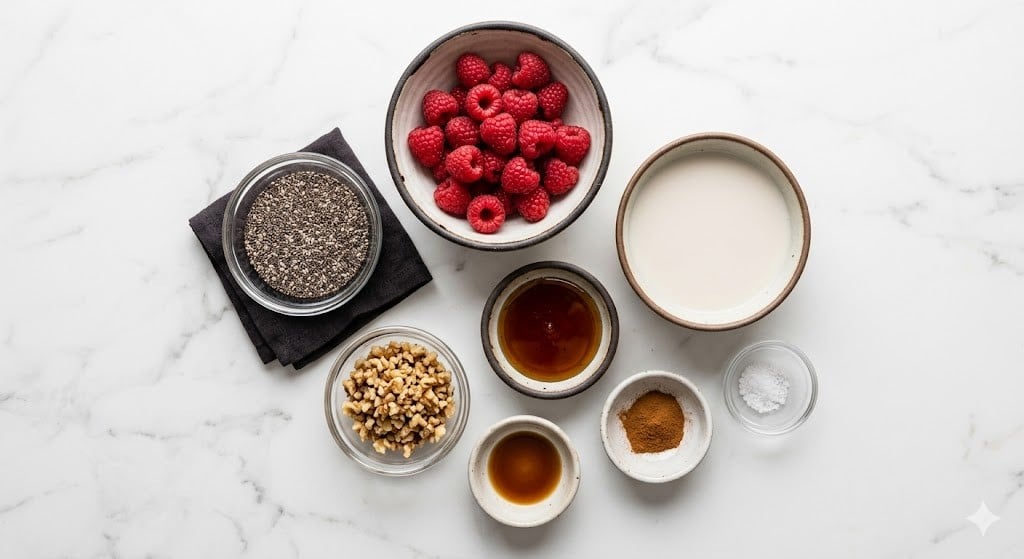
- 2 cups milk (I usually use almond, but honestly, any will do; my mate Tom swears by oat)
- 6 tablespoons chia seeds (I’ve never noticed any difference between black or white—just use what you’ve got)
- 1 1/2 cups fresh or frozen raspberries (sometimes I throw in mixed berries if I’m low on raspberries—no one’s noticed yet)
- 3-4 tablespoons pure maple syrup (I always eyeball it, but if you’re a stickler for sweetness, go for 4)
- 1 teaspoon vanilla extract (my grandmother insisted on pure vanilla, but extract seems fine to me)
- Pinch of salt (I forget this half the time—tastes fine either way)
How To Make Raspberry Chia Pudding (My Scatterbrained Style)
- In a medium bowl or my favorite big ol’ glass jar, add the milk, chia seeds, maple syrup, vanilla, and salt.
- Stir it all up. I go at it for a good minute or so—otherwise the seeds just do their own thing and clump together. (If you don’t stir enough, you get weird blobs, so just keep going—it smooths out!)
- Add the raspberries. If they’re frozen, I don’t even bother thawing—just chuck them in. Give everything another stir.
- Cover the bowl (or jar or whatever you’re using—one time I just used a plate, no shame) and stick it in the fridge for at least 4 hours. Overnight is honestly better, especially if you like it a bit thicker.
- When you’re ready to eat, give it a final stir. This is where I sneak a small taste to check sweetness (sometimes I end up drizzling… okay, pouring… a tad more maple syrup on top).
- If you want a less lumpy, more mousse-y texture, blend the pudding before serving. Truthfully, I’m too lazy most days, but my niece loves it this way.
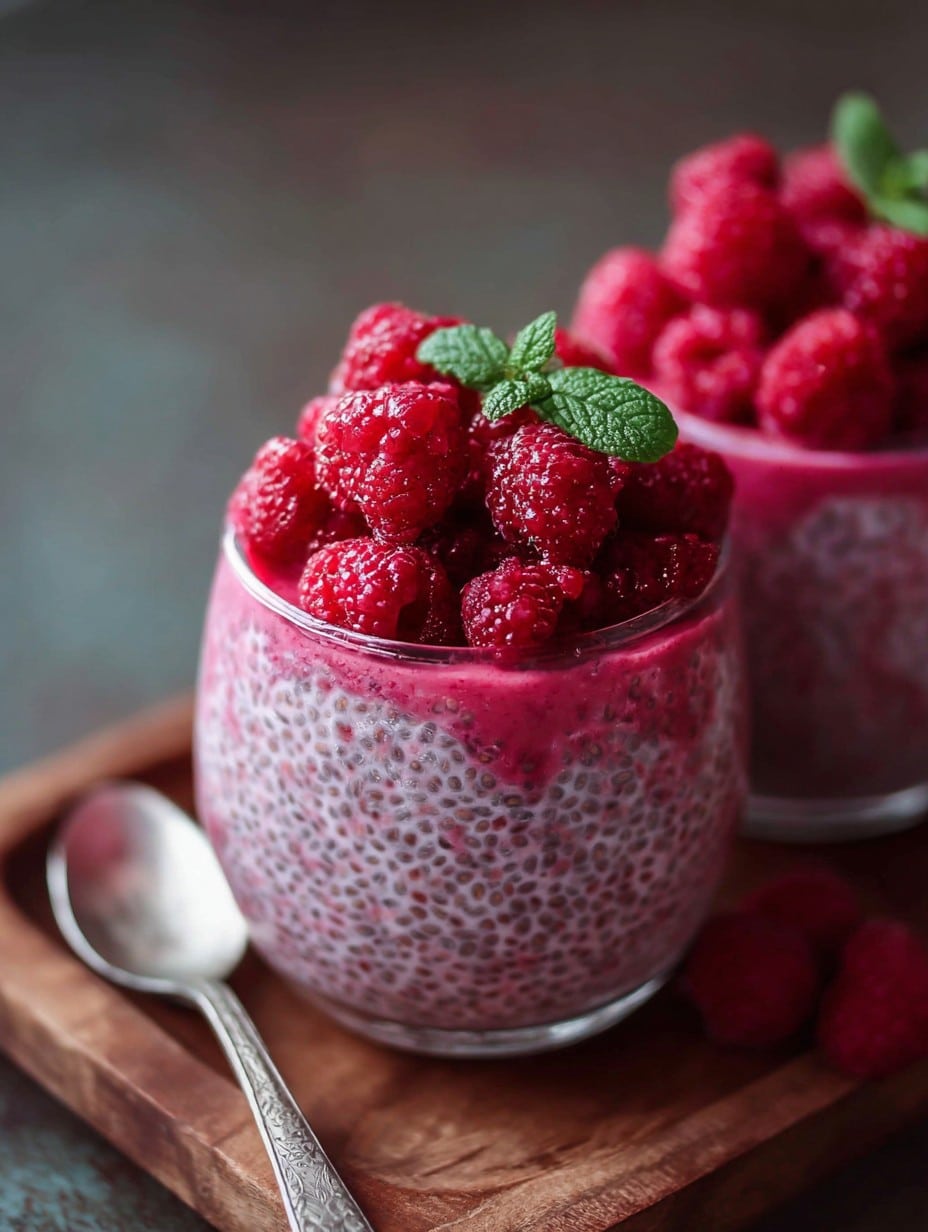
- Top with a few extra raspberries, some crunchy granola, shaved chocolate, or, if it’s Sunday and I’m feeling fancy—a dollop of whipped coconut cream.
Notes From My Many Mistakes
- If you use frozen berries, your pudding will be a bit thicker. This is either a win or a slight disappointment, depending who you ask.
- Sometimes the seeds don’t soak evenly, especially if you don’t stir well at first—so go overboard stirring the first minute.
- One time, I tried making it with honey instead of maple syrup—tasted totally fine, but the texture got weird (maybe it just didn’t like me that day).
- You can skip the vanilla if you’re out—I won’t judge, promise.
All The Ways I’ve Tried Changing This Up (Some Worked, Some… Erm, Nope)
- Swapped in blackberries for raspberries. Unpopular opinion: less tangy, not my fave, but maybe you’ll like it.
- Used half mango, half raspberry once—tasted tropical, kids loved it though it was a bit mushy in the end.
- Attempted a chocolate version by adding cocoa powder… uh, it was more like chocolate frogspawn. Not recommended.
- Tried coconut milk instead of almond milk, actually comes out richer—almost cheesecake-y!
Equipment (But Don’t Panic If You’re Missing Stuff)
- Medium bowl or big jar with lid—my friend just uses a massive coffee mug. You do you.
- A good spoon (or a fork, or hey, shake it up with a chopstick, I won’t tattle)
- Optional: Blender, for silky-smooth pudding. Or muscle power and a whisk, if you’re old-school or your blender is hiding in the cupboard covered in toast crumbs.
- Fridge. I suppose you could try the freezer, but I genuinely don’t recommend it unless you like your pudding frozen solid.
Storage (Not That It Ever Lasts Here)
Technically, this keeps in the fridge for up to 3 days (in a covered bowl or jar), but honestly, in my house it never lasts more than a day. One time I discovered an old jar in the back—a little too tangy; eat it sooner rather than later, trust me.
Serving: Do Your Own Thing
I usually just eat it straight out of the jar (sometimes standing by the fridge, no shame). On weekends, I’ll layer it in cups with granola and more berries. My partner swears by a drizzle of peanut butter on top—pretty good, actually. Every now and then, if it’s breakfast-for-dinner night, I’ll pop some shaved dark chocolate on top and call it fancy dessert. Honestly, do what makes your tastebuds happiest.
What I Wish Someone Had Told Me (Pro Tips, Kinda)
- Once, I tried skipping the initial stirring and figured it’d sort itself out… but I got a chia brick. Don’t skip the stirring, seriously.
- If you want more of a dessert vibe, don’t shy away from extra maple syrup. Life’s too short for bland pudding.
- Actually, I find it works better if you give it a stir about 10 minutes after it goes in the fridge – helps stop seed clumping.
FAQs: Honest Answers to Real Questions
- Do I really need to use chia seeds? Well, it wouldn’t be chia pudding otherwise, but hey, I bet flaxseed might work—even if it’s a bit less jiggly.
- Can I make this less sweet? Absolutely! Sometimes I only use 2 tablespoons maple syrup and top with extra berries. Or none at all—though, in my opinion, that’s more like berry oatmeal.
- What if my pudding is too runny? Yup, been there. Just let it sit longer (overnight usually fixes it), or maybe double-check your tablespoon situation—trust me on this.
- Can you freeze chia pudding? You could, I guess, but it turns kind of icy and sad when thawed. I tried, wasn’t a fan.
- Is this kid-approved? According to my niece and her notorious picky streak, it passes the test! Blending helps if your little one hates the texture.
- Can I prep this ahead? Yes, and actually, I think this tastes even better the next day—as long as you’ve hidden it from everyone else in the fridge.
So that’s pretty much the lowdown on my Raspberry Chia Pudding Sweetened with Maple Syrup—made using chaos, love, and whatever’s handy in the cupboard.
Ingredients
- 2 cups milk (almond milk, oat milk, cow’s milk or whatever you’ve got on hand)
- 6 tablespoons chia seeds
- 1 1/2 cups fresh or frozen raspberries
- 3-4 tablespoons pure maple syrup
- 1 teaspoon vanilla extract
- Pinch of salt
Instructions
-
1In a medium bowl or glass jar, add the milk, chia seeds, maple syrup, vanilla, and salt.
-
2Stir everything for about a minute until the seeds are well distributed (seriously, don’t skimp here to avoid clumps).
-
3Add the raspberries, frozen or fresh, and give it another good stir.
-
4Cover and refrigerate for at least 4 hours, or preferably overnight for maximum puddingness.
-
5Give it one last stir before serving, and taste for sweetness—add more maple syrup if you like.
-
6For a creamier texture, blend the pudding before serving (optional, but a kid-pleaser).
-
7Top with extra raspberries, granola, shaved chocolate, or whatever you’re craving.
Approximate Information for One Serving
Nutrition Disclaimers
Number of total servings shown is approximate. Actual number of servings will depend on your preferred portion sizes.
Nutritional values shown are general guidelines and reflect information for 1 serving using the ingredients listed, not including any optional ingredients. Actual macros may vary slightly depending on specific brands and types of ingredients used.
To determine the weight of one serving, prepare the recipe as instructed. Weigh the finished recipe, then divide the weight of the finished recipe (not including the weight of the container the food is in) by the desired number of servings. Result will be the weight of one serving.
Did you make this recipe?
Please consider Pinning it!




