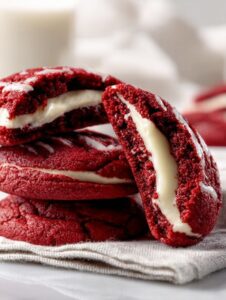
Okay, so, let me tell you about the time I first made these Red Velvet Cheesecake Cookies. It was for a family movie night, the kind where you think you’re just gonna throw together a snack, but instead it turns into this hilarious kitchen adventure with flour in my hair and my cousin trying to sneak bites of the dough (classic move, by the way). If I’m being honest, the first batch was a little… wobbly. But oh man, as soon as we bit into those melty cheesecake centers? Chaos. I basically had to fend folks off until they cooled. Anyway, every time I whip these up, I half-expect them to turn out differently because, well, baking is a fickle beast. But most days? Pretty close to perfect.

When Do I Make These? (Or… Why the Fuss?)
I bake these for birthdays, snow days, or—let’s be honest—when I need to bribe my brother-in-law for any kind of favor. My family pretty much loses their minds (in a good way) because red velvet is already a winner, but then that cheesecake middle? Forget about it! I’ve tried shortcuts that ended in lopsided blobs, but the dough is actually super forgiving if you don’t overthink it—just embrace the gooeyness and trust the process.
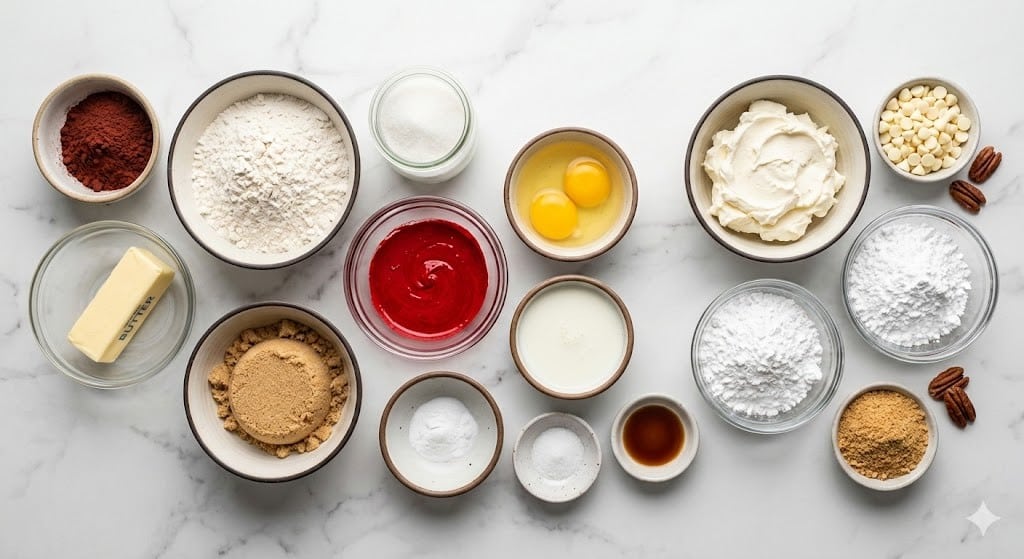
Here’s What You’ll Need (Or What I Scramble For When I’m Out of Stuff)
- 1 cup (225g) cream cheese, softened (full-fat makes it taste richer but I’ve subbed in light in a pinch)
- 1/3 cup (65g) granulated sugar (sometimes I use golden caster sugar, and it’s fine!)
- 1/2 teaspoon vanilla extract (my grandmother swears by the “real” stuff, but the imitation gets you by)
- 2 cups (250g) all-purpose flour
- 1/3 cup (30g) unsweetened cocoa powder (I switch between Dutch-process and natural—try both!)
- 1 teaspoon baking soda
- 1/2 teaspoon salt
- 1/2 cup (115g) unsalted butter, softened (salted works if you skip the extra salt)
- 3/4 cup (150g) brown sugar, packed
- 1/4 cup (50g) granulated sugar
- 1 large egg (room temp is best but honestly, I’ve cracked a cold one in plenty of times)
- 2 teaspoons red food coloring (sometimes I use a bit less if I’m feeling lazy)
- 1 teaspoon vanilla extract
- 1 cup (175g) white chocolate chips (chunks or even chopped up white chocolate bars also totally work)
How I Actually Make These (with a Bit of Chaos…)
- Start with the cheesecake center: Mix the cream cheese, 1/3 cup sugar, and 1/2 teaspoon vanilla in a bowl with a fork or (if you’re fancy, an electric mixer) until smooth. Dollop out 18-ish teaspoon-sized scoops onto a lined tray and freeze for half an hour. Yes, the freezing helps, trust me; I once skipped it and wound up with a cheese puddle.
- Prep the cookie dough: Whisk together your flour, cocoa, baking soda, and salt in a bowl. In another big bowl, cream your butter, brown sugar, and the other 1/4 cup sugar until it’s light and kinda fluffy (I use my cheap hand mixer, but a good ol’ wooden spoon is fine if you don’t mind a workout).
- Add the egg, red food coloring, and vanilla to the butter mixture. Stir until it looks wildly red and maybe question your life choices, but press on.
- Gradually toss the dry stuff into the wet mix. I do this in two batches so I don’t send flour flying everywhere (which, let’s face it, still happens half the time).
- Stir in the white chocolate chips however you want. This is usually when I sneak a taste and justify it as “quality control.”
- Chill the dough for at least 30 minutes. Or if you’re impatient like me, plop it in the freezer for 15.
- Preheat your oven to 350°F (175°C). Line two baking sheets with parchment.
- To assemble: Take a heaped tablespoon of red velvet dough, flatten it into your palm, and plop a cream cheese nub right in the center. Fold the dough around it and pinch shut—don’t stress if it looks a little lumpy. Place seam-down on your tray. Repeat until your dough runs out. (It gets sticky, so keep your hands just a bit floured, but not too much or it’ll dry out.)
- Bake for 11–13 minutes or until the tops look set but still a bit soft. They might look underbaked but resist temptation to leave them in too long; they firm up as they cool.
- Let cool on the tray for about 5 minutes, then transfer to a rack. Or just eat one straight away (risking molten cream cheese lips, but worth it).
Notes That Only Come from Making These Too Many Times
- The cookies look softer than you think when they’re ready—don’t keep baking or you’ll lose that fudgy inside.
- If your dough is extra sticky, a quick pop in the fridge helps a lot.
- The white chocolate bits can melt into funny shapes. I kind of love it, but if you want “perfect,” add them right before baking.
Variations I’ve Actually Tried (Some Good, Some… Oops)
- Swapped white chocolate for dark—super decadent and grown-up vibes.
- Added a handful of chopped pecans once; not for me, but my dad raved.
- Tried to use low-fat cream cheese instead of full-fat. The filling went weird and runny—better stick to the regular kind.
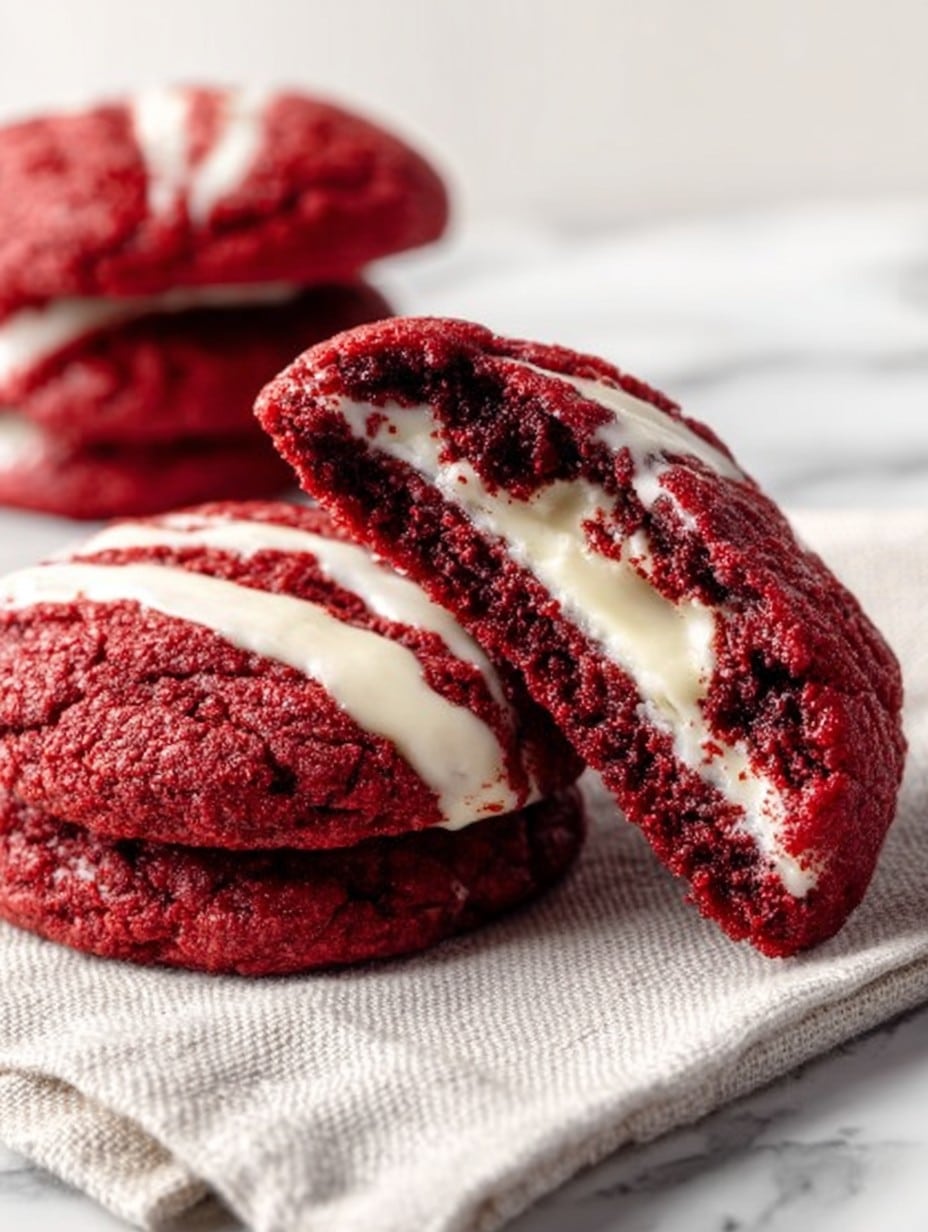
Equipment (And How I Sometimes Wing It)
- Hand mixer (but if you don’t have one, a good arm plus a fork or spoon is totally fine, just takes a minute longer)
- Baking sheets & parchment (or in a pinch, just grease your tray—it’s worked in my rental kitchen!)
- Mixing bowls galore
- A rack for cooling (or the back of a clean baking sheet—done that more than I’d care to admit)
How to Store (if, by some miracle, there are leftovers)
I stick these in a container in the fridge for up to four days—honestly, they hardly make it past day one in our house unless I hide them. The centers stay lush if you let them get back to room temp before eating. Freezing? Haven’t tried. I can’t bring myself to lock away cookies like that.
How We Serve ‘Em
I’m a huge fan of serving these with a cold glass of milk or, on a fancier day, sandwiched around ice cream (ice cream “burgers,” as my niece calls ’em). If you’re feeling extra, drizzle with a bit of melted chocolate. For birthdays, we stick a candle right in the middle and call it festive—maybe a little silly, but it’s tradition now.
Lessons I’ve Learned—Mostly the Hard Way
- Rushing the freezing step on the cheesecake centers makes them melt everywhere. Trust me, just wait for the freeze.
- Don’t overbake—seriously, set a timer. The cookies firm up when they cool, and overbaking just gives you dry edges.
- Actually, I find it works better if you let them cool fully before moving them. Early impatience has caused a few crumbled cookies—and some tasty little scraps.
FAQ—Because People Actually Text Me About These Cookies
- Can I use boxed red velvet cake mix? Hmm, I tried once; the dough got really soft and spread too much, but maybe if you add more flour. If you’re in a rush, it might work okay—just don’t blame me if things get a bit flat.
- What if I forget to chill the dough? The dough’s stickier but you can still make it work with well-floured hands (I’ve been there, usually in a hurry to get to dessert faster).
- Can I double the filling for extra cheesecake? Totally! Just make sure you wrap the dough around it well or the filling will ooze out (I learned the messy way).
- How long do they stay fresh? About 4 days in the fridge, but in my place, by day two there’s only crumbs left.
- Do I have to use red food coloring? Not at all; they’ll just be “velvet chocolate” cookies, which sounds pretty fancy anyway!
Ingredients
- 1 cup (225g) cream cheese, softened (full-fat makes it taste richer but I’ve subbed in light in a pinch)
- 1/3 cup (65g) granulated sugar (sometimes I use golden caster sugar, and it’s fine!)
- 1/2 teaspoon vanilla extract (my grandmother swears by the “real” stuff, but the imitation gets you by)
- 2 cups (250g) all-purpose flour
- 1/3 cup (30g) unsweetened cocoa powder (I switch between Dutch-process and natural—try both!)
- 1 teaspoon baking soda
- 1/2 teaspoon salt
- 1/2 cup (115g) unsalted butter, softened (salted works if you skip the extra salt)
- 3/4 cup (150g) brown sugar, packed
- 1/4 cup (50g) granulated sugar
- 1 large egg (room temp is best but honestly, I’ve cracked a cold one in plenty of times)
- 2 teaspoons red food coloring (sometimes I use a bit less if I’m feeling lazy)
- 1 teaspoon vanilla extract
- 1 cup (175g) white chocolate chips (chunks or even chopped up white chocolate bars also totally work)
Instructions
-
1Start with the cheesecake center: Mix the cream cheese, 1/3 cup sugar, and 1/2 teaspoon vanilla in a bowl with a fork or (if you’re fancy, an electric mixer) until smooth. Dollop out 18-ish teaspoon-sized scoops onto a lined tray and freeze for half an hour. Yes, the freezing helps, trust me; I once skipped it and wound up with a cheese puddle.
-
2Prep the cookie dough: Whisk together your flour, cocoa, baking soda, and salt in a bowl. In another big bowl, cream your butter, brown sugar, and the other 1/4 cup sugar until it’s light and kinda fluffy (I use my cheap hand mixer, but a good ol’ wooden spoon is fine if you don’t mind a workout).
-
3Add the egg, red food coloring, and vanilla to the butter mixture. Stir until it looks wildly red and maybe question your life choices, but press on.
-
4Gradually toss the dry stuff into the wet mix. I do this in two batches so I don’t send flour flying everywhere (which, let’s face it, still happens half the time).
-
5Stir in the white chocolate chips however you want. This is usually when I sneak a taste and justify it as “quality control.”
-
6Chill the dough for at least 30 minutes. Or if you’re impatient like me, plop it in the freezer for 15.
-
7Preheat your oven to 350°F (175°C). Line two baking sheets with parchment.
-
8To assemble: Take a heaped tablespoon of red velvet dough, flatten it into your palm, and plop a cream cheese nub right in the center. Fold the dough around it and pinch shut—don’t stress if it looks a little lumpy. Place seam-down on your tray. Repeat until your dough runs out. (It gets sticky, so keep your hands just a bit floured, but not too much or it’ll dry out.)
-
9Bake for 11–13 minutes or until the tops look set but still a bit soft. They might look underbaked but resist temptation to leave them in too long; they firm up as they cool.
-
10Let cool on the tray for about 5 minutes, then transfer to a rack. Or just eat one straight away (risking molten cream cheese lips, but worth it).
Approximate Information for One Serving
Nutrition Disclaimers
Number of total servings shown is approximate. Actual number of servings will depend on your preferred portion sizes.
Nutritional values shown are general guidelines and reflect information for 1 serving using the ingredients listed, not including any optional ingredients. Actual macros may vary slightly depending on specific brands and types of ingredients used.
To determine the weight of one serving, prepare the recipe as instructed. Weigh the finished recipe, then divide the weight of the finished recipe (not including the weight of the container the food is in) by the desired number of servings. Result will be the weight of one serving.
Did you make this recipe?
Please consider Pinning it!