Let’s Talk Red Velvet Cinnamon Rolls (And Fall, Obviously!)
Ah, fall. That magical time when you dig out your warmest socks, every coffee shop smells like cinnamon, and—if you’re anything like me—you start looking for excuses to bake something that makes the house feel extra cozy. These red velvet cinnamon rolls? Oh, man. I made them for the first time one rainy October with a playlist of questionable ’90s hits in the background and, no joke, the smell alone nearly convinced my neighbor to move in. If you’ve ever wondered what would happen if a classic cinnamon roll and red velvet cake had a very delicious baby, well—wonder no more.
Why You’ll Love These (Trust Me, I Do!)
I make this recipe every time I want to impress someone (or, you know, when I just want to eat three in a row with extra cream cheese icing—no shame). My family goes a bit wild for these because they’re pillowy, gooey, and just the right amount of chocolatey. Oh, and if I’m being honest, when I tried not to eat the dough straight out of the bowl, my willpower lasted maybe… ten seconds? Don’t judge.
If you’ve ever struggled with dry cinnamon rolls (been there, cried over that), these stay soft and happy even the next day. Or so I’m told. They don’t usually last that long around here.
Here’s What You’ll Need (And a Few Substitutions If You’re in a Pinch)
- 3 cups (375g) all-purpose flour (sometimes I swap in half bread flour if I have it—makes ’em a bit chewier, but not mandatory)
- 1 packet (2 1/4 tsp) active dry yeast (instant works too, honestly I can never tell much difference)
- 1/4 cup (50g) granulated sugar
- 1/2 teaspoon salt (my grandma swore by sea salt, but table salt is fine—she’d probably haunt me for that, but oh well)
- 2 tablespoons unsweetened cocoa powder (I’ve even used hot chocolate mix once… it worked, kinda)
- 1/2 cup (120ml) warm milk (any kind, even almond in a pinch)
- 1/4 cup (60g) unsalted butter, melted (I’ve used margarine; don’t recommend unless you really have to)
- 2 large eggs, room temp is best
- 2 teaspoons red food coloring (gel or liquid, whatever’s handy; or skip it for “not-very-red velvet” rolls)
- For the filling:
- 1/3 cup (75g) unsalted butter, softened
- 1 cup (200g) brown sugar, packed
- 2 tablespoons ground cinnamon (sometimes I just eyeball it—more is better, right?)
- For the icing:
- 4 oz (115g) cream cheese, softened
- 1/4 cup (60g) unsalted butter, softened
- 1 cup (120g) powdered sugar (plus more if you like it thicker)
- 1 teaspoon vanilla extract (or bourbon, which I tried once; it was… interesting)
How I Actually Make These (With a Little Chaos)
- Get the dough going: In a big bowl (because the dough likes to climb), mix the flour, cocoa powder, salt, and sugar. In a smaller bowl, whisk the yeast into the warm milk and let it sit for 5 min—unless I’m in a hurry, then I just dump it right in. Add the eggs, melted butter, and that bright red food coloring. Pour wet into dry and stir until it forms a shaggy mess. (It will look odd. That’s normal, promise!)
- Knead: Turn it out onto a floured surface—my countertop gets totally red, but it comes off eventually. Knead for about 5-8 minutes (or until it’s smooth and elastic, or until your arms get tired and you decide it’s probably good enough).
- First rise: Pop the dough in a greased bowl, cover, and let it hang out somewhere warm for an hour, or until doubled. Sometimes it takes 90 minutes if the kitchen’s cold. Sometimes I stick it in the (turned-off) oven with a mug of hot water. Works a treat.
- Roll it out: Punch down the dough (satisfying bit) and roll into a big rectangle—about 16×12 inches? I never measure. Spread on that softened butter, then mix the brown sugar and cinnamon and scatter it all over, right to the edges.
- Roll and slice: Roll the dough up (the long way gives you more swirls), then cut into about 12 rolls. I use dental floss for this—seriously, it’s the best trick! You can use a knife, but it kind of squishes them. Lay them in a greased baking dish. (If they look weird and uneven, join the club. They puff up and hide all sins in the oven.)
- Second rise: Cover and let them puff up for another 30-40 minutes, or until they look puffy and snuggled up together.
- Bake: Oven at 350°F (180°C). Bake 20 to 25 minutes, until just barely golden. Don’t overbake—dry rolls make me sad. This is where I usually sneak a taste of the gooey center if no one’s watching.
- Make the icing: Beat the cream cheese and butter together—just go for it until it looks fluffyish. Add powdered sugar and vanilla, beat again. Taste-test way more than you should. If it’s too thick, add a splash of milk; too thin, more sugar.
- Ice and enjoy: Slather icing on warm rolls. Let it melt into the cracks. Take photos for Instagram, then eat three before anyone else notices.
Notes from My (Slightly Unhinged) Kitchen
- I once ran out of food coloring and used beet juice. It was… not the same, but it did the job. Sort of.
- If you forget the second rise, they’ll still bake, but they’re denser. Not the worst mistake I’ve made in baking, honestly.
- The dough stains your hands, but it’s temporary. Pink palms are a small price for deliciousness.
- Actually, I find it works better if you use parchment under the rolls; easier cleanup and less sticking.
Variations I’ve Tried (And One That Flopped)
- Added mini chocolate chips inside with the filling—so good, but messy.
- Swapped half the cinnamon for pumpkin pie spice once. Tasted like autumn on a plate. Would do again.
- Tried using gluten-free flour—mine came out a bit tough, but maybe you’ll have better luck! Or a better flour.
- Once I tried to add a swirl of raspberry jam. It leaked everywhere. Wouldn’t recommend, unless you like sticky chaos.
Do You Really Need Fancy Equipment?
A stand mixer with a dough hook is nice, but I mostly just use my hands and a sturdy wooden spoon. If you don’t have a rolling pin, a bottle of wine works (ask me how I know). Dental floss for cutting—sounds quirky, but it’s genius. Or just a sharp knife. Don’t stress over it.
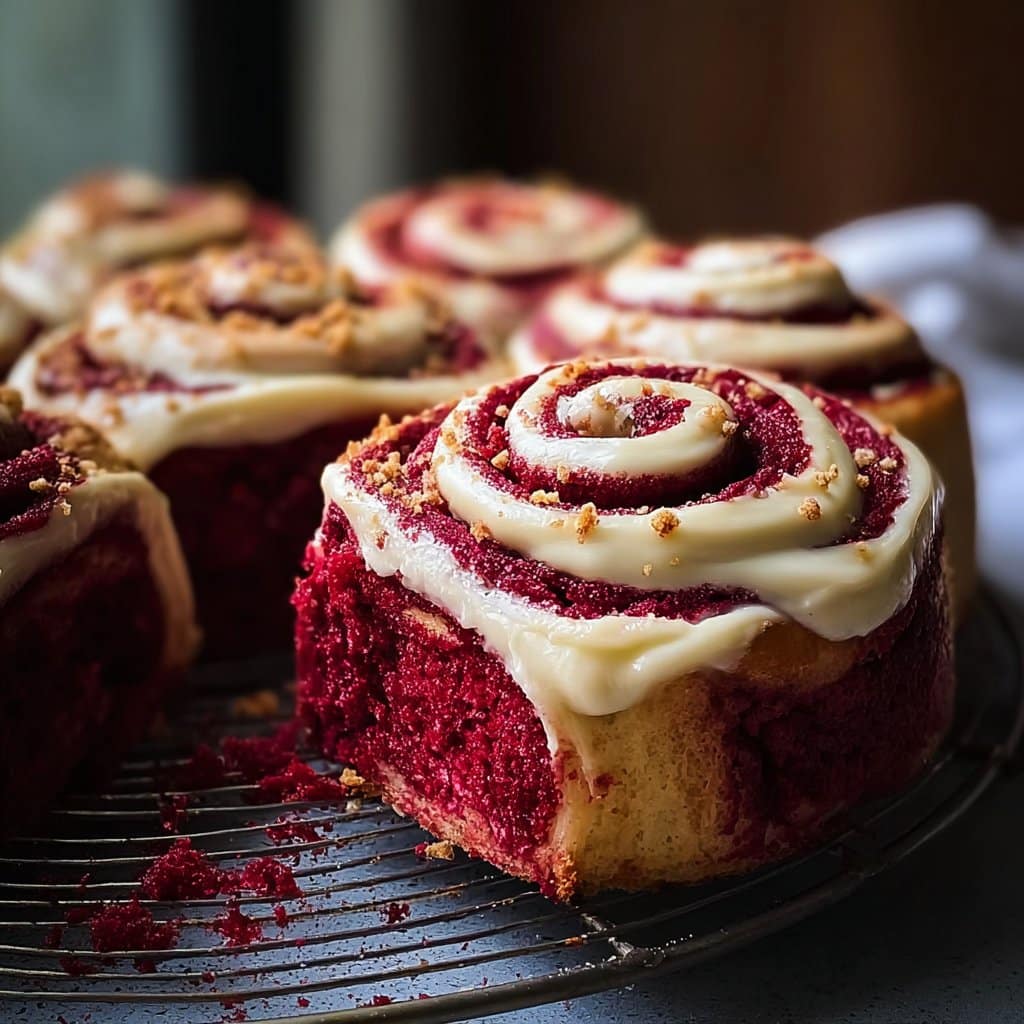
Storing Your Rolls (Though They Never Last Here)
Keep them in an airtight container at room temp for about two days, or in the fridge for up to 4 days. That’s what “they” say. Mine have never survived longer than 24 hours before someone nabs the last one. To freshen up, zap in the microwave for 15 seconds—life-changing.
How We Like to Serve These (Family Debate Edition)
My little cousin insists on hot chocolate with hers. I’m partial to a big mug of strong coffee (bonus if it’s a chilly Saturday morning and I can eat one in pajamas). Sometimes we eat them as dessert and breakfast. Who’s judging?
Pro Tips I Learned the Hard Way
- I once tried to rush the first rise by putting the bowl right on a radiator—ended up half cooking the dough. Oops.
- Don’t overbake, seriously. Better a little underdone than dry; trust me, gooey centers are the goal.
- Actually, I think these taste even better the next morning, if you can stand to wait.
FAQ (People Actually Ask Me These!)
- Can I make these ahead?
- Sure thing! Assemble and refrigerate overnight, then let come to room temp and bake in the morning. Or freeze after baking and thaw as needed. Super handy if you’re hosting brunch (or just want to pretend you have your life together).
- My dough didn’t rise, what gives?
- Probably the yeast was old or your kitchen’s cold—try the oven trick with hot water next time. Or just leave it longer, it usually gets there in the end.
- Do I have to use food coloring?
- Nope! It won’t be red, but it’ll still taste fab. You can use a bit of beet powder or just skip it (I do, when I run out).
- Could I double the recipe?
- Absolutely. Just make sure you’ve got a big enough pan—or two!—and don’t crowd the rolls too much.
- Where do you get your cinnamon?
- I like to order mine form Penzeys—it’s super strong. Or, honestly, supermarket stuff works fine for these.
- Can I bake these in a cast iron skillet?
- Yes, and they get mega crusty edges. I love that. Just grease it well!
- What do you do with leftover icing?
- Besides just eating it with a spoon? (Kidding. Mostly.) It’s great on toast or stirred into coffee, weirdly enough.
A Totally Unnecessary Digression (Because Why Not?)
One time I tried to bake these with my headphones on, got distracted by a podcast about migrating whales, and accidentally left out the sugar. The result? Not recommended. But hey, you win some, you learn some!
P.S. If you want more cinnamon roll tips, Sally’s Baking Addiction has a great troubleshooting guide. Or for red velvet cake nerdiness, check out Serious Eats’ deep dive—it’s a rabbit hole, but a fun one.
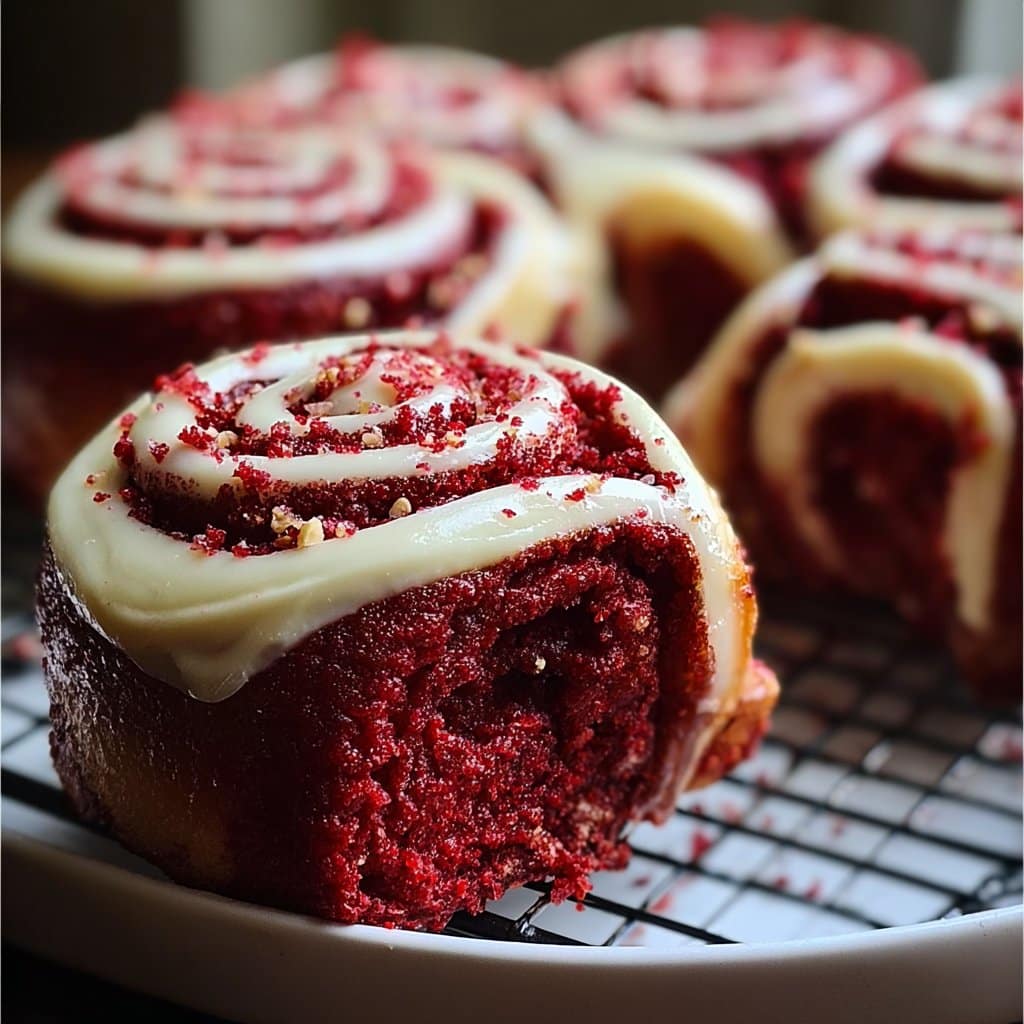
Ingredients
- 2 1/4 cups all-purpose flour
- 1/4 cup granulated sugar
- 2 1/4 tsp active dry yeast
- 1/2 cup warm milk
- 1/4 cup unsalted butter, melted
- 1 large egg
- 2 tbsp unsweetened cocoa powder
- 1 tbsp red food coloring
- 1/2 cup brown sugar
- 2 tsp ground cinnamon
- 4 oz cream cheese, softened
- 1/2 cup powdered sugar
- 2 tbsp milk (for frosting)
Instructions
-
1In a large bowl, combine warm milk, yeast, and 1 tablespoon of sugar. Let sit for 5 minutes until foamy.
-
2Add melted butter, remaining sugar, egg, cocoa powder, red food coloring, and flour. Mix until a soft dough forms.
-
3Knead the dough on a floured surface for 5-7 minutes, then place in a greased bowl, cover, and let rise for 1 hour.
-
4Roll out the dough into a rectangle. Spread with softened butter, sprinkle with brown sugar and cinnamon. Roll up tightly and slice into 8 rolls.
-
5Arrange rolls in a greased baking dish, cover, and let rise for 20 minutes. Bake at 350°F (175°C) for 25 minutes until golden.
-
6For the frosting, beat cream cheese, powdered sugar, and milk until smooth. Spread over warm rolls before serving.
Approximate Information for One Serving
Nutrition Disclaimers
Number of total servings shown is approximate. Actual number of servings will depend on your preferred portion sizes.
Nutritional values shown are general guidelines and reflect information for 1 serving using the ingredients listed, not including any optional ingredients. Actual macros may vary slightly depending on specific brands and types of ingredients used.
To determine the weight of one serving, prepare the recipe as instructed. Weigh the finished recipe, then divide the weight of the finished recipe (not including the weight of the container the food is in) by the desired number of servings. Result will be the weight of one serving.
Did you make this recipe?
Please consider Pinning it!!




