Salmon with Brown Sugar Garlic Glaze: Why I Can’t Stop Making This
So, let me tell you, the first time I made this Salmon with Brown Sugar Garlic Glaze, I was in a rush and (not gonna lie) slightly distracted by my neighbor’s dog barking like he’d found buried treasure. Anyway, I threw things together and hoped for the best. Turns out, it was one of those rare nights where everyone at the table asked for seconds, even my teenager who usually only eats nuggets. It’s honestly become my weeknight ace-in-the-hole, especially when I’m craving something sweet and savory but absolutely do not have the energy for anything fancy. Plus, there’s something almost magical about the way the brown sugar bubbles up around the edges. (I may have licked the pan once. Okay, twice.)
Why You’ll Love This (Or At Least Why I Do!)
I make this when I want to look like I’ve got it all together—even though, trust me, that’s rarely the case. My family goes wild for this because the glaze turns sticky and caramelized (if you don’t burn it, which I’ve managed once or twice; just keep an eye, okay?). Sometimes I make extra glaze just so I can spoon it over rice. And if I’m feeling lazy? This is ready so fast that you can basically start cooking after you hear “What’s for dinner?” and still have it done in time. No judgment if you eat straight from the pan, by the way; I’ve been there.
What You’ll Need (And What You Can Swap)
- 4 salmon fillets (about 150g each; sometimes I use frozen, just let them thaw well—my aunt swears by wild-caught, but honestly, whatever’s on sale)
- 2 tbsp brown sugar (light or dark, or even honey if you’re out—I’ve done it in a pinch)
- 3 garlic cloves, minced (jarred garlic is fine, and sometimes I go a bit heavy)
- 1 tbsp soy sauce (I use low sodium because my brother nags me, but regular is totally fine)
- 1 tbsp Dijon mustard (or yellow mustard, or leave it out if you’re anti-mustard—it’s flexible)
- 1 tsp olive oil (butter is also good, or heck, even canola if that’s what you’ve got)
- Salt & pepper, to taste
- Optional: pinch of chili flakes for heat (I don’t always, but sometimes it’s just the thing)
How To Make It (Just Follow Along—It’s Easy!)
- Preheat your oven to 400°F (about 200°C). Or, if your oven is being moody like mine sometimes is, just go for somewhere in that hot oven zone.
- Make the glaze: In a small bowl, mix brown sugar, garlic, soy sauce, Dijon, olive oil, and a little salt/pepper. I use a fork, but a spoon’s fine. (This is where I usually sneak a taste—sometimes it needs a smidge more mustard.)
- Prep your salmon: Pat the fillets dry and lay them out on a lined baking sheet. I use parchment, but foil is fine (my cousin once used a cake pan and it worked out just fine too.)
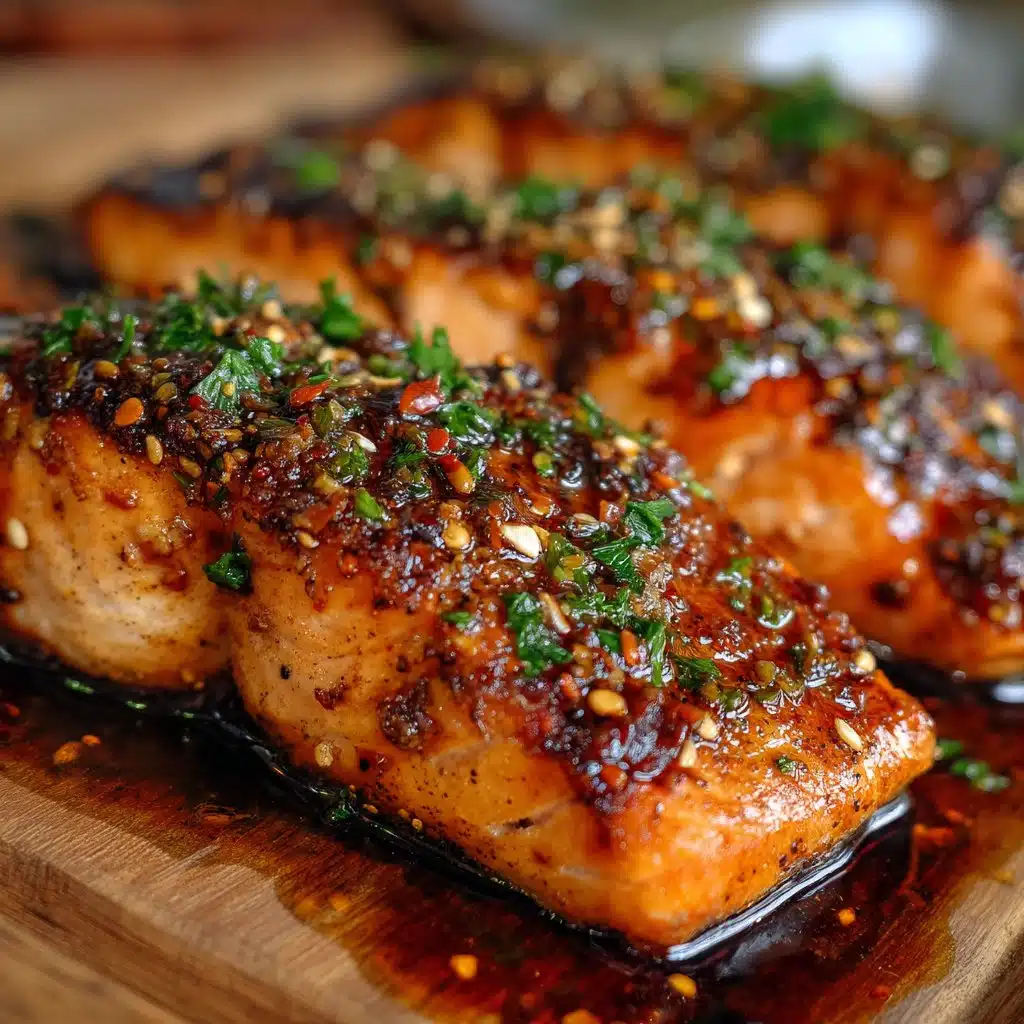
- Spoon the glaze generously over the top of each fillet. Don’t worry if some runs down the sides—it gets all caramel-y in the pan. Sprinkle with chili flakes if you want a bit of punch. (Don’t stress if it looks weird before baking—always does!)
- Bake 12-15 minutes, depending on thickness. Salmon should flake easily with a fork. If you like a crispier top, pop it under the broiler for 2-3 minutes at the end—but keep watch, because it can go from perfect to “uh oh” pretty quick!
- Let it rest a minute, then serve. (Or eat a corner straight off the tray. I won’t tell.)
Stuff I Learned (So You Don’t Have To)
- If you forget to pat the salmon dry, the glaze kinda slides off. Not the end of the world, but it’s better if you remember.
- Doubling the glaze? Not a bad idea. I dunk veggies in it, too.
- Once I tried using maple syrup instead of brown sugar, but the glaze was a bit runny. Tasted good, though!
- If the salmon flakes but looks a little translucent, don’t panic—it’ll keep cooking a bit after coming out of the oven.
Variations I’ve Messed With (Some Better Than Others)
- Tried adding a handful of chopped walnuts on top once—nice crunch, but my youngest picked them all off, so, eh.
- Lemon zest is a good addition if you want a bit of brightness. Sometimes I just squeeze a wedge over at the end instead. Actually, I think that’s easier.
- One time I tried using whole grain mustard, but it tasted a little too sharp for my liking. Maybe just me?
- I’ve also done a quick pan-fry instead of baking—great if you don’t want to heat the oven, but cleanup was kind of a pain.
Do You Really Need Special Equipment?
Honestly, a lined baking tray is what I use (makes cleaning up less of a headache). No tray? I’ve cooked these in a cast iron pan before—it works, just a bit trickier to get the glaze even. No parchment? Foil. No foil? Just oil the pan well and hope for the best. It’s not rocket science.
Keeping Leftovers (If They Exist)
Store leftovers in an airtight container in the fridge—should be good for up to 2 days, though honestly, in my house it never lasts more than a day! I think it tastes almost better cold (like a fancy salmon salad topping, if you’re into that sort of thing).
What To Serve With It? Here’s How We Do It
I usually make some simple rice or roasted potatoes (sometimes both if I’m feeling wild). Steamed broccoli is a classic, but my mum always serves it with a big, lemony salad. Oh, and sometimes we do crusty bread to mop up extra glaze. At least once, I just ate it with a fork and some pickles on the side—don’t ask me why, it just worked.
Learned the Hard Way: My Pro Tips
- Don’t try to rush the glaze on the stove to ‘save time’—I did that once and ended up with burnt sugar cement. Not worth it. Let the oven do its thing.
- Don’t skip the broiler if you like a bit of crisp. But also don’t wander off to check your phone; it can burn fast, and trust me, scraping burnt sugar off a pan is not fun.
- Actually, I find it works better if you let the salmon rest a minute before serving—seems to keep it juicier.
FAQ: Real Questions (And My Very Real Answers)
- Can I use frozen salmon? Yep! Just thaw it well and pat it dry. Otherwise, the glaze doesn’t really stick. (Learned that the messy way.)
- Is this super sweet? Not really. More like sweet-and-savory. If you want it less sweet, just use a bit less brown sugar. Or swap for honey—though it’s runnier, it works.
- Can I make this ahead? Sort of. It’s best fresh, but leftovers are great cold or gently reheated (just don’t nuke it to death).
- What sides are best? Honestly, whatever you’ve got. Rice, potatoes, salad… Even tossed with some noodles. No judgment!
- Where do you get your salmon? Usually just from the grocery store seafood counter. Sometimes I splurge on wild-caught from Vital Choice if there’s a sale. And if you want sustainable tips, Seafood Watch is a handy resource.
- Do I have to use mustard? Nah. It balances the sweetness, but skip it if you’re not a fan. Maybe add a splash of vinegar instead?
And, okay, one last thing—I never manage to get all the glaze onto the salmon, so I scrape the pan for extra sauce while nobody’s looking. Everyone pretends not to notice, but I know they’re doing it too. If you make this and love it, let me know! Or, you know, if you find a better glaze, send it my way. Sharing’s caring, right?
Ingredients
- 4 salmon fillets (about 6 oz each)
- 3 tablespoons brown sugar
- 3 cloves garlic, minced
- 2 tablespoons soy sauce
- 1 tablespoon olive oil
- 1 tablespoon lemon juice
- 1/2 teaspoon black pepper
- 1/2 teaspoon salt
- 1/4 teaspoon crushed red pepper flakes (optional)
- 2 tablespoons chopped fresh parsley (for garnish)
Instructions
-
1Preheat your oven to 400°F (200°C). Line a baking sheet with parchment paper or lightly grease it.
-
2In a small bowl, mix together brown sugar, minced garlic, soy sauce, olive oil, lemon juice, black pepper, salt, and red pepper flakes until well combined.
-
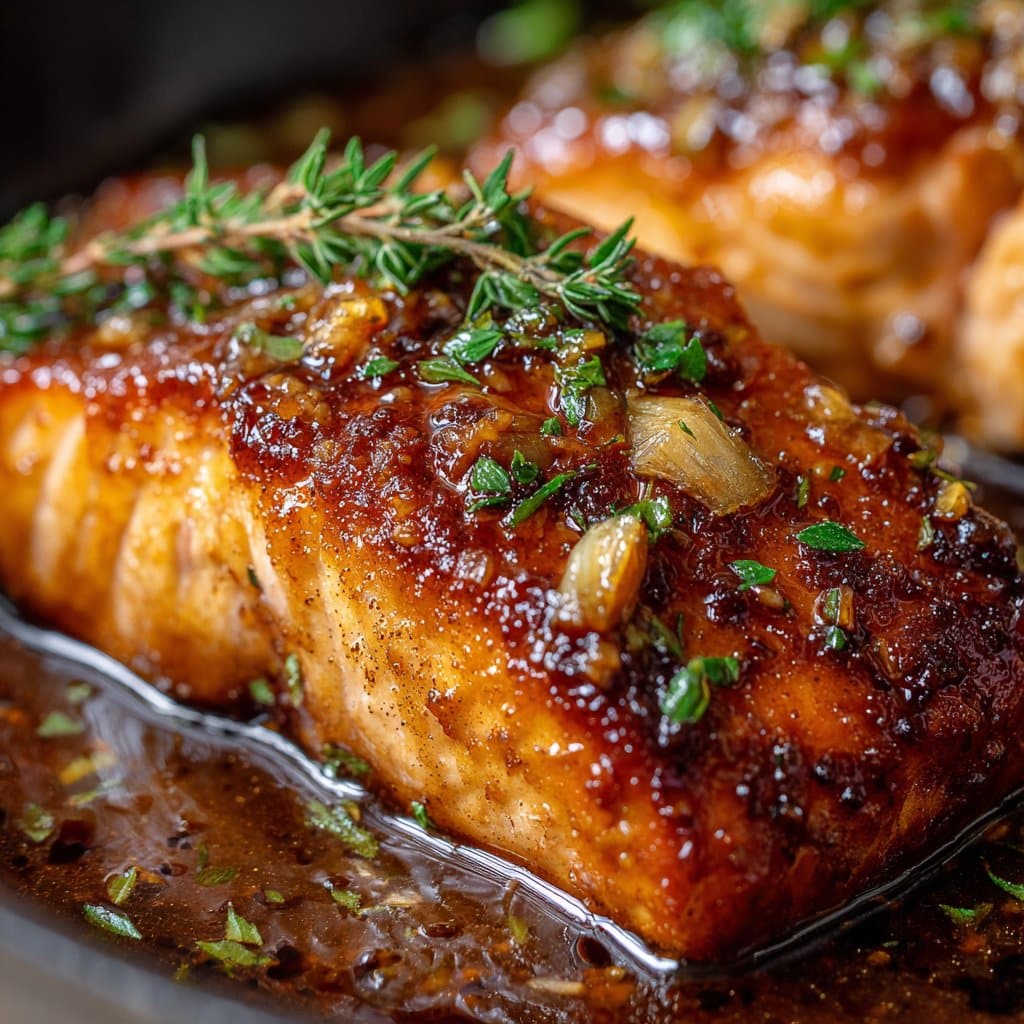
3Place the salmon fillets skin-side down on the prepared baking sheet. Brush the brown sugar garlic glaze generously over each fillet.
-
4Bake the salmon in the preheated oven for 12-15 minutes, or until the fish flakes easily with a fork and the glaze is caramelized.
-
5Remove from the oven and garnish with chopped fresh parsley before serving.
Approximate Information for One Serving
Nutrition Disclaimers
Number of total servings shown is approximate. Actual number of servings will depend on your preferred portion sizes.
Nutritional values shown are general guidelines and reflect information for 1 serving using the ingredients listed, not including any optional ingredients. Actual macros may vary slightly depending on specific brands and types of ingredients used.
To determine the weight of one serving, prepare the recipe as instructed. Weigh the finished recipe, then divide the weight of the finished recipe (not including the weight of the container the food is in) by the desired number of servings. Result will be the weight of one serving.
Did you make this recipe?
Please consider Pinning it!!




