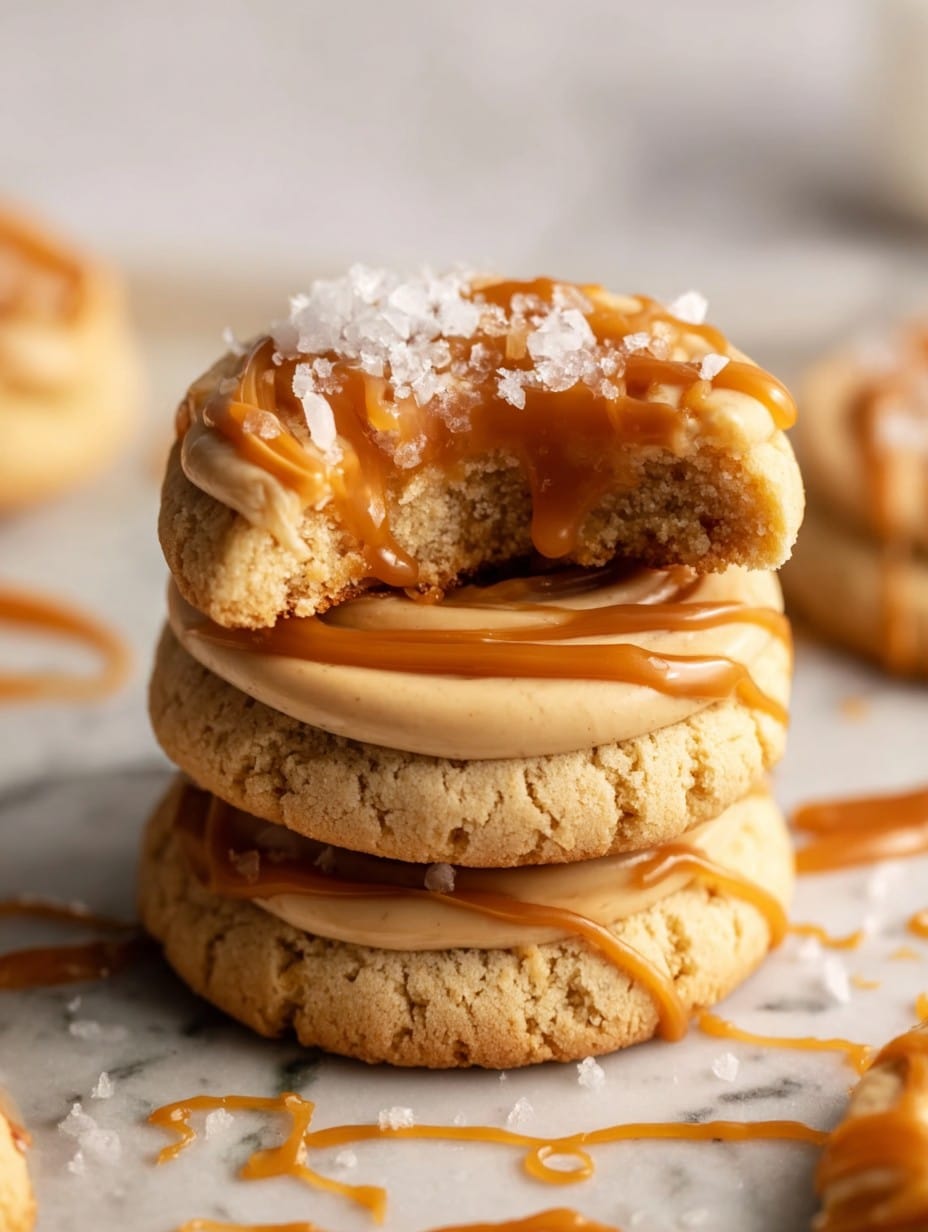
The Story Behind These Gooey Salted Caramel Cheesecake Cookies
I still remember the first (slightly chaotic) time I made these Salted Caramel Cheesecake Cookies. My kitchen looked like a caramel tornado had hit by the end and, truthfully, I wasn’t even sure if the whole mix of tangy cream cheese and runny caramel would actually hold up once baked (spoiler: it totally did). They’re now kind of a legend at my house, and if any cousins are visiting, the batch vanishes even before the tea’s finished steeping. Oh, and fair warning, making the caramel can turn into a sticky situation fast—one time, I glued a spoon to the counter. Don’t ask.
Why I’m Obsessed With These Cookies (And You Might Be Too)
I make this recipe whenever I want to impress people but can’t be bothered with cake layers or a water bath (ugh, why are cheesecakes so needy?). Honestly, my family goes mad for these because they get decadent cheesecake flavor without the fuss. If I’m in a really generous mood, I’ll double the caramel and drizzle extra; though sometimes, it’s completely for me, not them. And you know, I used to dread rolling dough into balls—ah, so sticky—but I found chilling the dough actually helps, which probably should have been obvious but somehow wasn’t. (Live and learn.)
What You’ll Need (Plus Some Swaps I Make When Needed)
- 1 cup (225g) unsalted butter, softened (I’ve used salted in a pinch, just ditch the added sea salt)
- 1 package (8 oz) cream cheese, room temp (full fat’s best, but I’ve snuck in Neufchâtel when it’s all I had — no one noticed!)
- 1 1/4 cups brown sugar (light or dark, doesn’t matter much)
- 1/2 cup granulated sugar
- 2 large eggs
- 1 tsp pure vanilla extract (sometimes I dump in a bit extra, oops)
- 3 cups (375g) all-purpose flour (I tried half wholewheat once — don’t, it’s not the same)
- 1 tsp baking soda
- 1/2 tsp salt
- 1 cup soft caramels, chopped (Werther’s or homemade; honestly, whatever is hiding in the candy drawer)
- Sea salt flakes, for sprinkling
If the shops are out of soft caramels, I’ve melted chewy ones with a dab of cream to fake a homemade caramel—takes a bit longer but works in a pinch.
How I Throw These Together (With a Few Mishaps)
- Cream butter, cream cheese, and both sugars until it’s light and fluffy — usually about 2-3 minutes with a mixer. I’ve done this by hand with a wooden spoon on a stubborn day; my arm nearly fell off, but hey, it was good.
- Add eggs, one at a time. Don’t stress if it looks a little weird or splits after the second egg — it sorts itself out.
- Splash in the vanilla. Accidentally poured too much? Same.
- Toss all the dry stuff (flour, baking soda, salt) together in a separate bowl. Tip it into the wet stuff in two or three batches. Go slow-ish, unless you want a flour snowstorm.
- Fold in the chopped caramel. This is where I sneak a few bites. Dough will be soft — that’s normal.
- Pop the whole bowl in the fridge for at least an hour. Ok, even half an hour works if you’re impatient, just expect stickier fingers.
- Preheat oven to 350 F (180 C). Line baking trays with parchment (or use silicone mats if you’re fancy — I’m not).
- Roll out heaped tablespoonfuls of dough into balls. Sometimes I just use two spoons to plop them down – rustic charm, right?
- Bake 11–14 minutes until edges are just golden but the middle still looks slightly soft. Don’t overdo it! They keep baking once out; I’ve learned this the hard way.
- Right after they come out, sprinkle a pinch of sea salt flakes over each. Let them cool a bit before moving – they’re fragile when warm (ask me how I know).
Mistakes I’ve Made (& What I Learned)
- If you rush the chilling, cookies will spread way too much. Tasted fine, looked a fright.
- Don’t put the caramels too close to the edge of each cookie ball — otherwise, you’ll end up basically caramel-laced lace doilies. Still good, just super sticky.
- Actually, I find they taste even better day two. The flavor just kinda settles in; assuming you still have any left by then.
Some Variations I’ve Tried (And One I Wouldn’t Repeat)
- Used chocolate-covered caramels instead of plain: decadent, obviously. Maybe a bit much for breakfast. Maybe.
- Swapped vanilla for a tiny splash of bourbon — surprisingly nice, but didn’t fly with the kids.
- Tried using store-bought caramel sauce as a swirl: ran like a river all over the pan (not worth the cleanup).
Tools I Use (And Makeshift Solutions)
Look, I love my stand mixer, but I’ve absolutely made these with a whisk and a strong arm. Parchment paper is handy but if you’re out, an oiled baking tray works — just watch for sticking. Oh, and if you don’t have a cookie scoop, just use two spoons and a little hope.
How Long These Last (Realistically)
In theory, you can store these in an airtight container for up to five days at room temp, or a week in the fridge — but honestly, nobody at my place has enough self-restraint for that. If you’re planning to freeze them, go for it! Just layer parchment between and thaw before eating (they’re a bit hard frozen, unless you like a hefty chew).
How I Serve ‘Em — Family Style
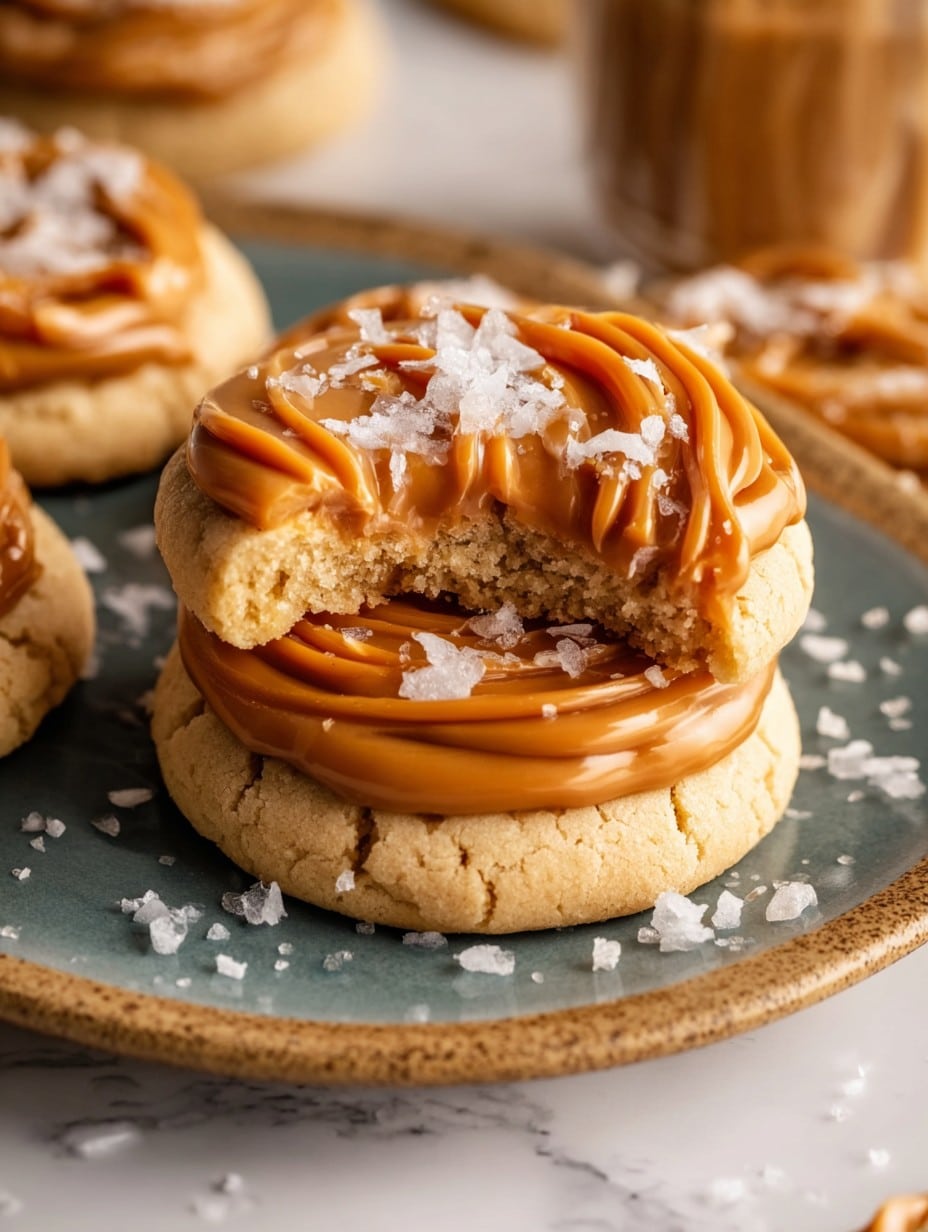
I kinda like putting a plate of these Salted Caramel Cheesecake Cookies right smack in the middle of the table after dinner, maybe with some vanilla ice cream if it’s a fancy night. Sometimes, we even dunk them in coffee for breakfast the next day (don’t tell my mother-in-law).
Pro Tips (Mostly Hard-Won Lessons)
- I once tried baking a second tray right after the first, without letting the dough chill again. Bad plan: the cookies splooged out into weird shapes.
- If the caramel leaks out a little, it’s okay. Actually, those are my favorite bites – crispy caramel edges, so good!
- But if you use warm ingredients (especially butter), just expect pancake-style cookies. Cold is your friend here.
FAQ: Real Questions I’ve Gotten About These Cookies
- Can I use store-bought caramel sauce instead of caramels? You can, but it gets really messy—seriously, it leaks everywhere, and you lose those nice chewy caramel chunks. If you’re set on sauce, maybe drizzle some on top after baking instead.
- Are these freezer-friendly? Absolutely — they freeze well! I usually let them thaw on the counter. On second thought, microwaving for 10 seconds makes ‘em super gooey. Try it!
- What if I don’t have cream cheese? Well, it sorta defeats the whole point, but mascarpone can work in a pinch. The flavor’s richer, though — more like a dessert from an Italian café than classic cheesecake.
By the way, if you want a deeper dive into the trickiness of caramel (and how not to crystalize your whole pot), Sally’s Baking Addiction has tips worth checking. For parchment alternatives, Cook’s Illustrated does a handy run-down. I could talk baking gear all day, but maybe I’ll save that for another time. Anyway, happy baking!
Ingredients
- 1 1/4 cups all-purpose flour
- 1/2 teaspoon baking powder
- 1/4 teaspoon salt
- 4 ounces cream cheese, softened
- 1/2 cup unsalted butter, softened
- 3/4 cup granulated sugar
- 1 large egg
- 1 teaspoon vanilla extract
- 24 soft caramel candies
- Flaky sea salt, for topping
Instructions
-
1Preheat oven to 350°F (175°C) and line two baking sheets with parchment paper.
-
2In a medium bowl, whisk together the flour, baking powder, and salt. Set aside.
-
3In a large bowl, beat the cream cheese, butter, and sugar until light and fluffy. Add egg and vanilla, beating until well combined.
-
4Gradually mix in the dry ingredients until just combined.
-
5Scoop tablespoon-sized balls of dough and flatten gently. Place a caramel candy in the center, wrap the dough around the caramel, and seal.
-
6Arrange cookies on prepared baking sheets, sprinkle lightly with sea salt, and bake for 12-14 minutes until edges are set. Cool before serving.
Approximate Information for One Serving
Nutrition Disclaimers
Number of total servings shown is approximate. Actual number of servings will depend on your preferred portion sizes.
Nutritional values shown are general guidelines and reflect information for 1 serving using the ingredients listed, not including any optional ingredients. Actual macros may vary slightly depending on specific brands and types of ingredients used.
To determine the weight of one serving, prepare the recipe as instructed. Weigh the finished recipe, then divide the weight of the finished recipe (not including the weight of the container the food is in) by the desired number of servings. Result will be the weight of one serving.
Did you make this recipe?
Please consider Pinning it!!




